
Using the Toggle Tool in Silhouette Studio
The Toggle Tool allows you to toggle between studio versions. It is an important tool for those who teach or create tutorials using Silhouette Studio. We will show you how easy it is to use the Toggle Tool in Silhouette Studio. You will also learn how to hide your email address that is shown under your Library. Please note this option is only available in the Business Edition.
Being able to toggle between versions makes it possible to create tutorials for all Silhouette Studio users. If the teacher has the Business Edition they can swap over to the Standard edition. This means they are able to demonstrate features available to everyone.
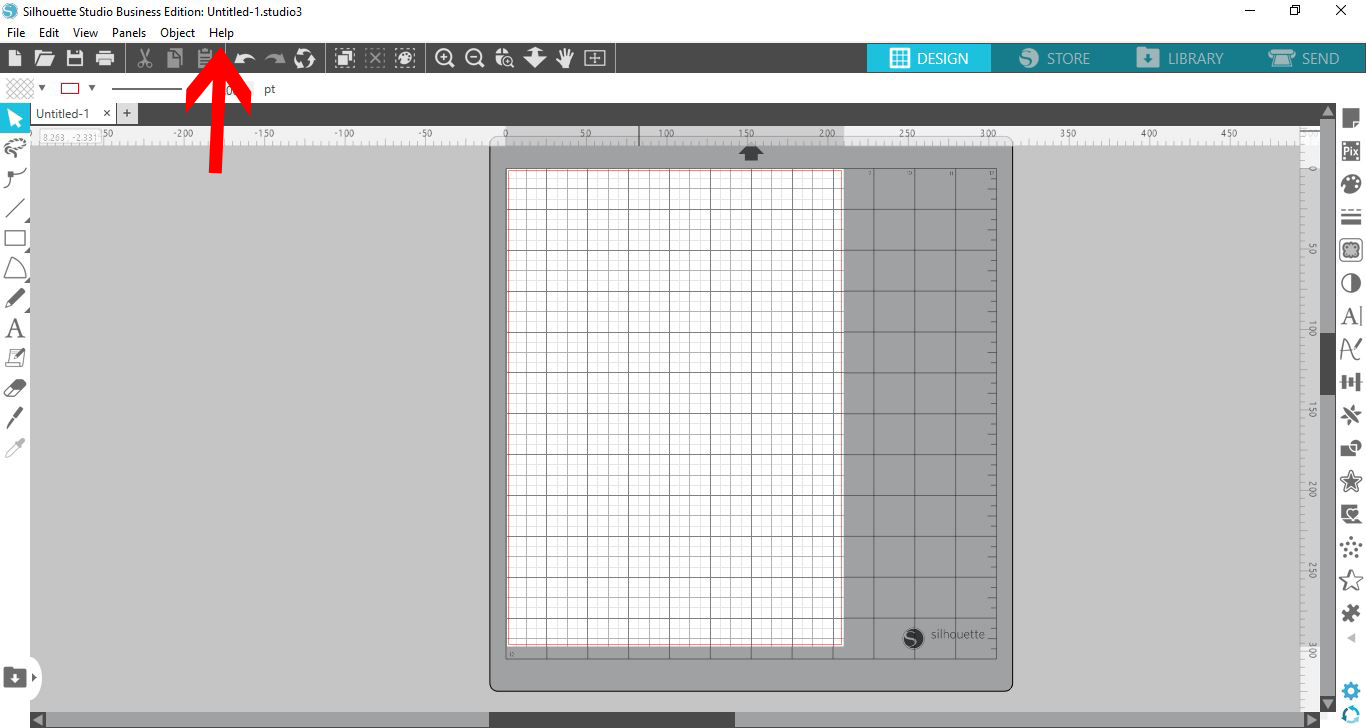
Once you have opened Silhouette Studio, click on the Help menu at the top.
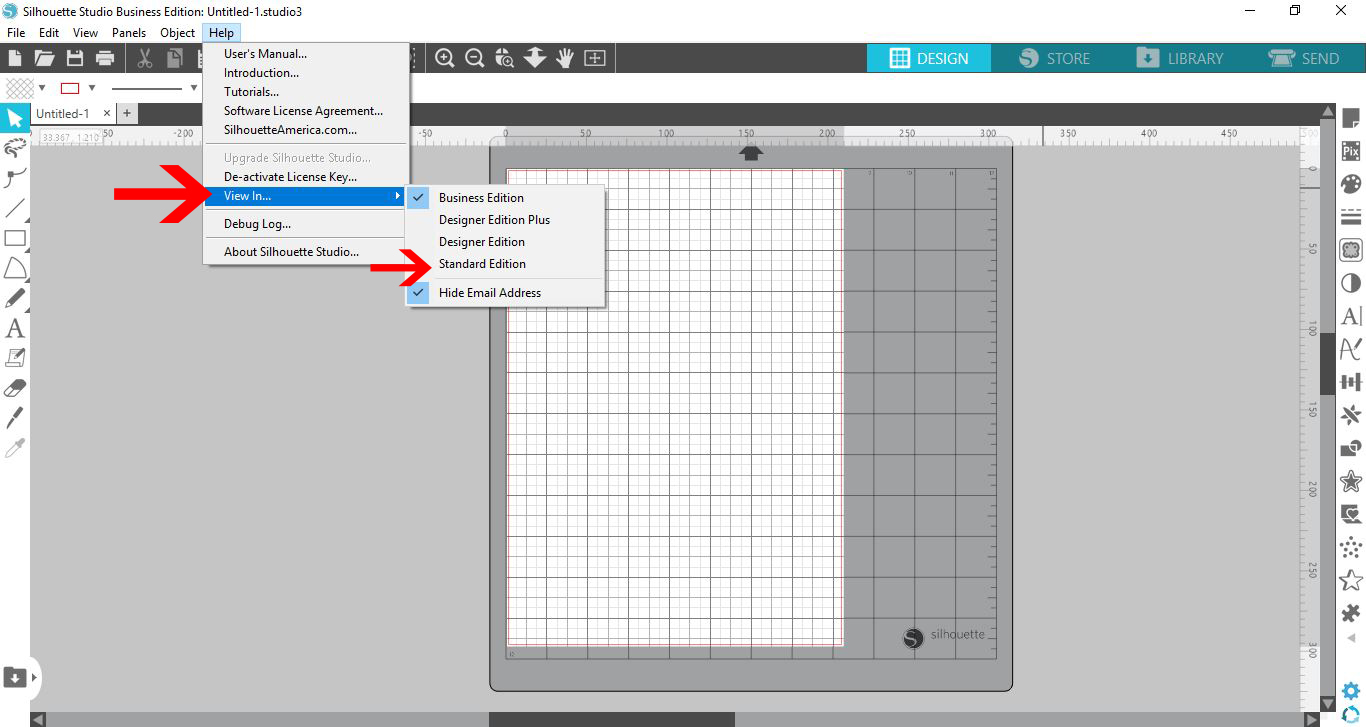
Under the Help menu go to View In, which will open up the options for the Studio versions. You can now toggle between the different versions of the Silhouette software.
As you toggle between each edition you will notice the change in features available. We will give a quick overview of the versions below.
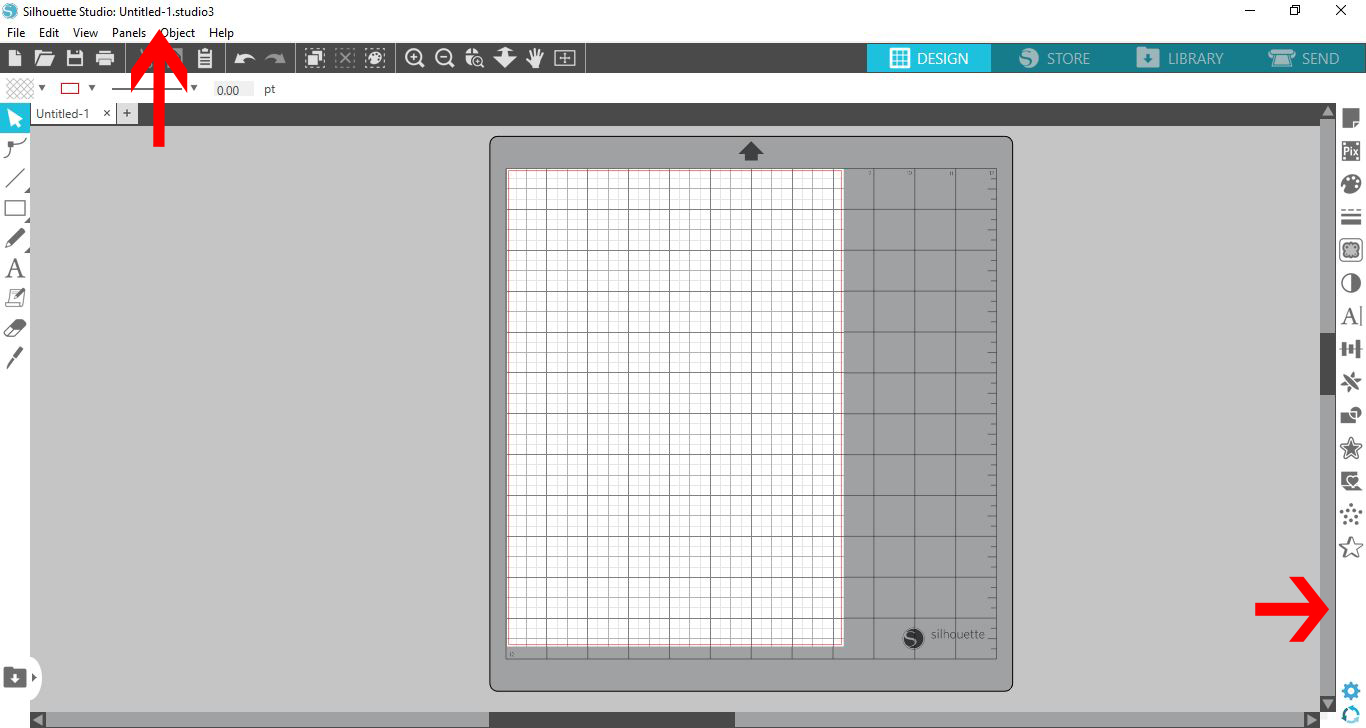
When the Standard edition is selected, only the options for that version will be visible. The Business edition options that were initially available are now hidden. You will also see that the description 'Business edition' has disappeared from the top of the screen.
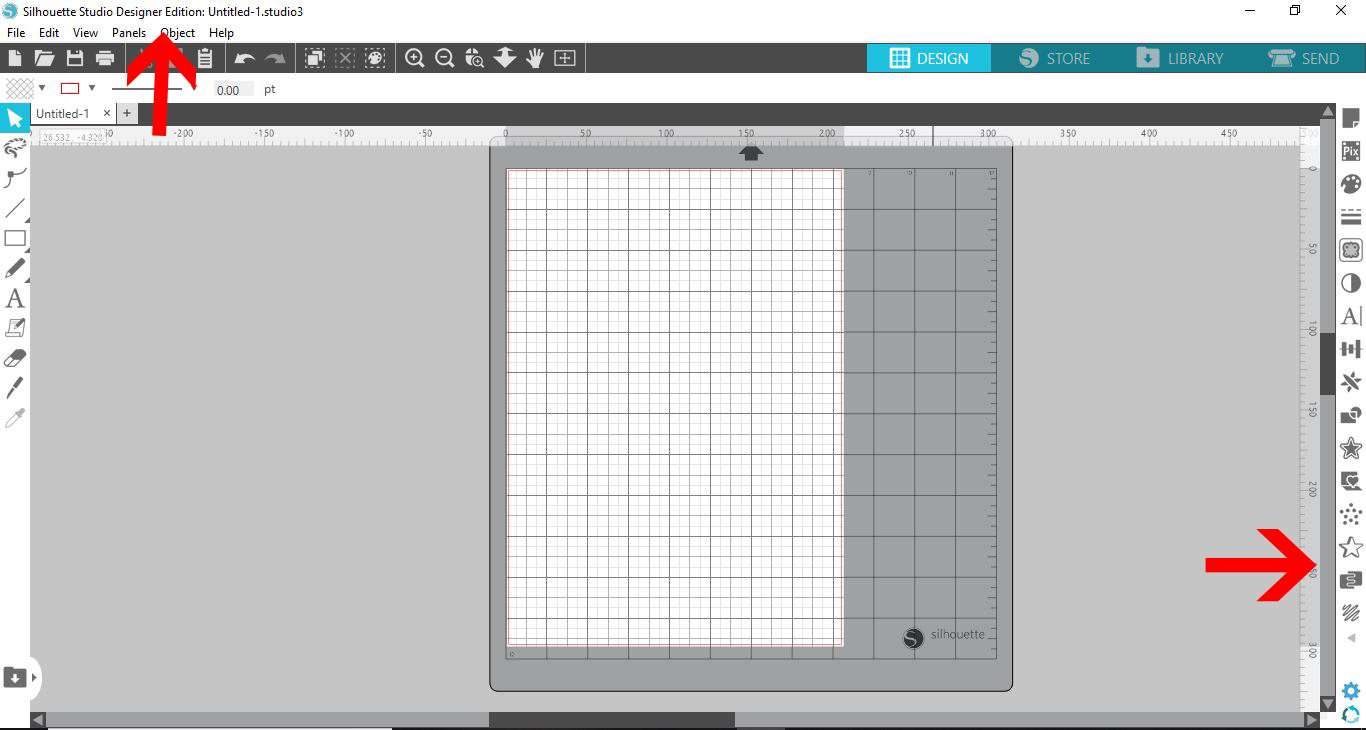
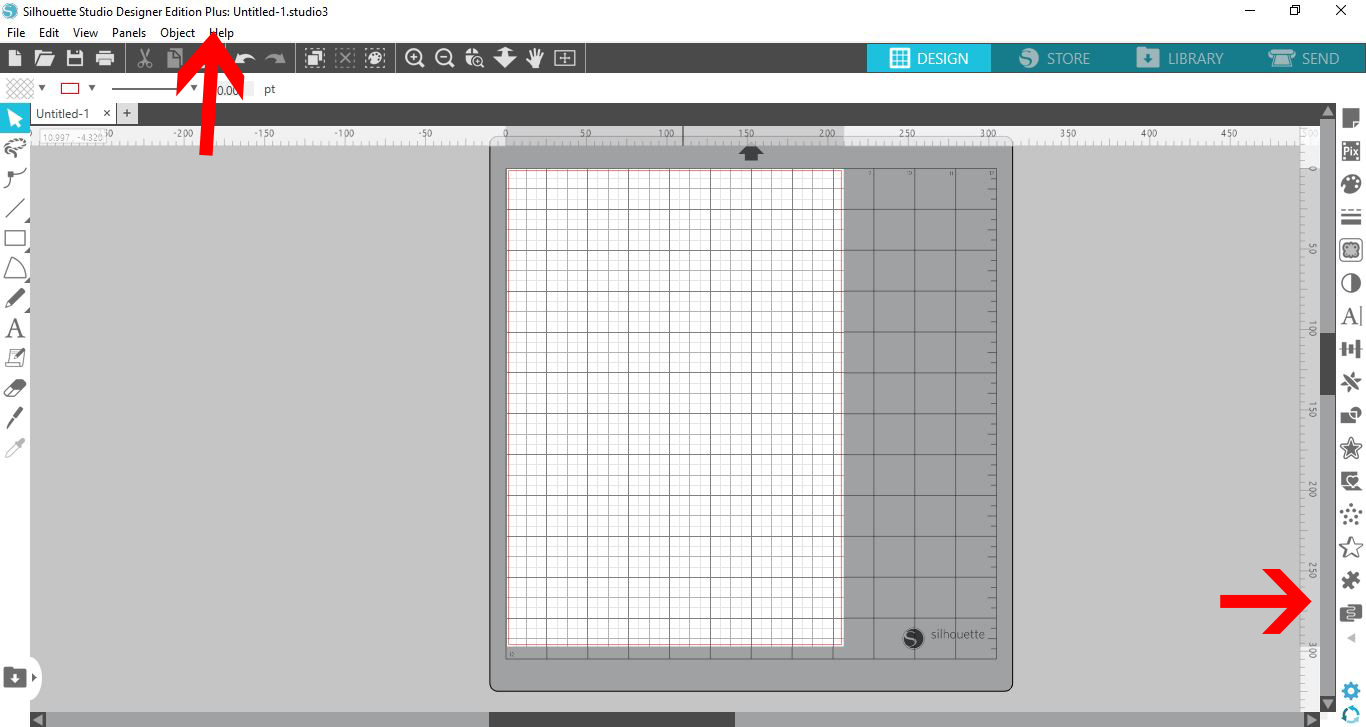
If you toggle to the Designer edition, you will see it noted at the top of your screen. The additional designer features for this version will appear on the left and right side panel. These features will include the Lasso Tool, added options to the other tools, Warp Panel, Layers Panel and more.
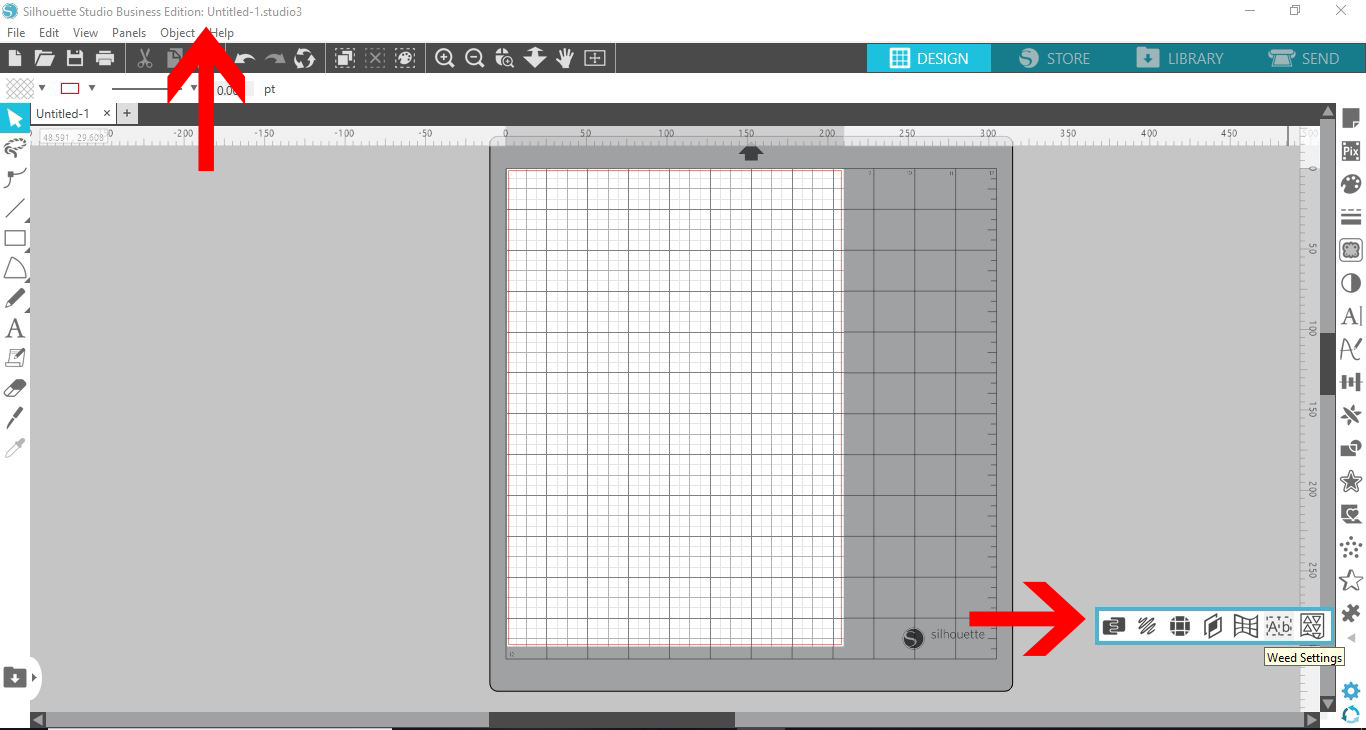
Toggling to the Designer Plus Edition will bring up the features included in this version. You will also see the version name at the top of the screen. Here will have access to the Puzzle Panel.
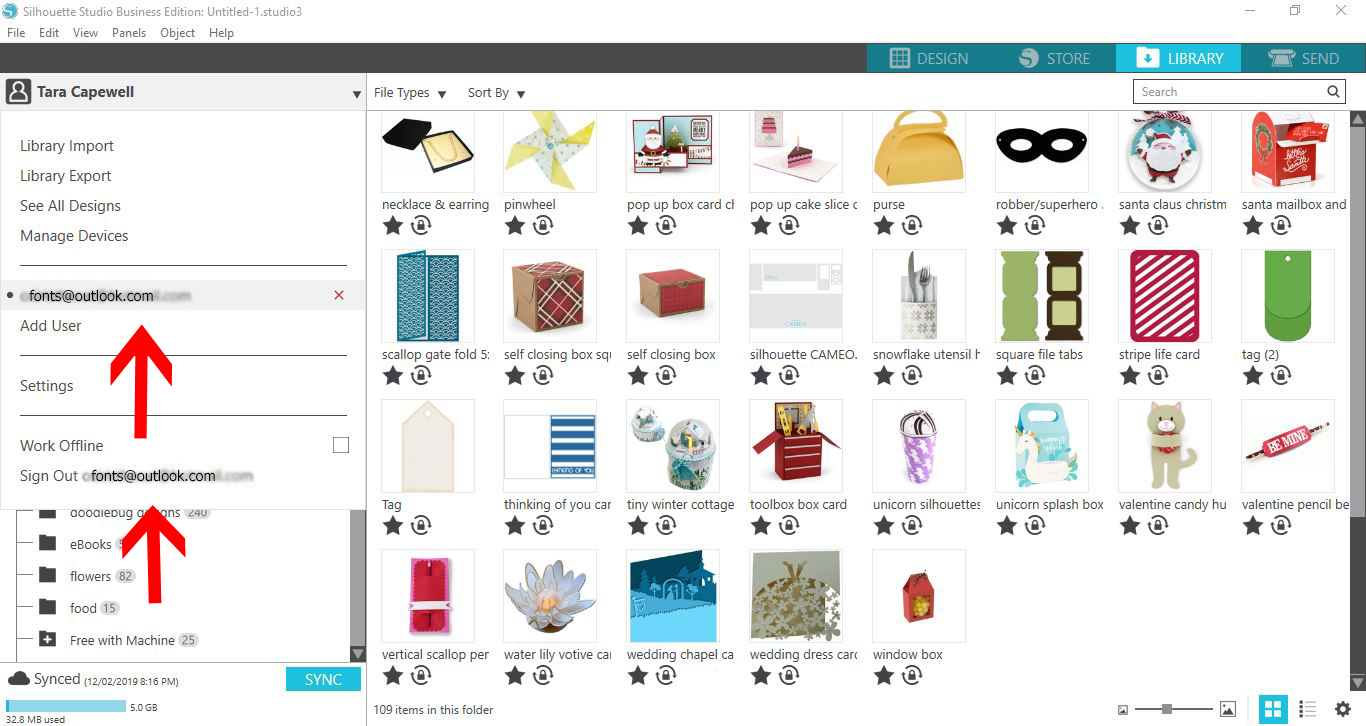
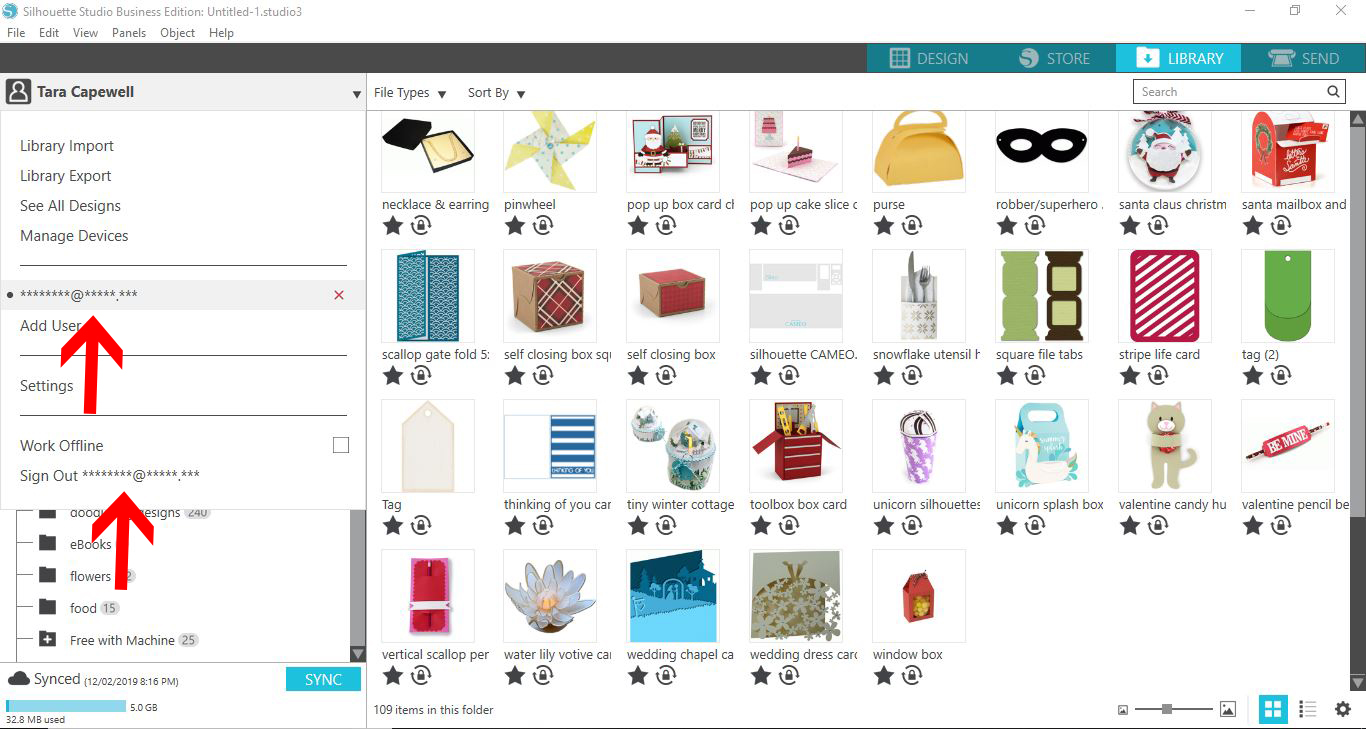
When creating tutorials, you will, at some point, want to show how to access details under the Library. Under normal circumstances, your email will be visible in the Library. You won't want your personal information to be made public. Silhouette Studio has designed a feature to help with that.
Access the Hide Email Address option by going to Help, then View In. You will find this option along with the other versions. Select Hide Email Address.
Now your email address will be hidden on your library.

We hope that you found this tutorial helpful. We also have many more great tutorials such as removing duplicate files from the Library, using the Lasso Tool and how to make and edit shapes in Silhouette Studio.
Step 1 - Accessing the Toggle Tool
Being able to toggle between versions makes it possible to create tutorials for all Silhouette Studio users. If the teacher has the Business Edition they can swap over to the Standard edition. This means they are able to demonstrate features available to everyone.
Once you have opened Silhouette Studio, click on the Help menu at the top.
Under the Help menu go to View In, which will open up the options for the Studio versions. You can now toggle between the different versions of the Silhouette software.
Step 2 - Toggle between the software versions
As you toggle between each edition you will notice the change in features available. We will give a quick overview of the versions below.
Standard Edition
When the Standard edition is selected, only the options for that version will be visible. The Business edition options that were initially available are now hidden. You will also see that the description 'Business edition' has disappeared from the top of the screen.
Designer Edition
If you toggle to the Designer edition, you will see it noted at the top of your screen. The additional designer features for this version will appear on the left and right side panel. These features will include the Lasso Tool, added options to the other tools, Warp Panel, Layers Panel and more.
Designer Plus Edition
Toggling to the Designer Plus Edition will bring up the features included in this version. You will also see the version name at the top of the screen. Here will have access to the Puzzle Panel.
You can toggle back to your original version at any point. Click on the Help menu again, select View In and choose the desired version.
Step 3 - Hide your email in the Library view
When creating tutorials, you will, at some point, want to show how to access details under the Library. Under normal circumstances, your email will be visible in the Library. You won't want your personal information to be made public. Silhouette Studio has designed a feature to help with that.
Access the Hide Email Address option by going to Help, then View In. You will find this option along with the other versions. Select Hide Email Address.
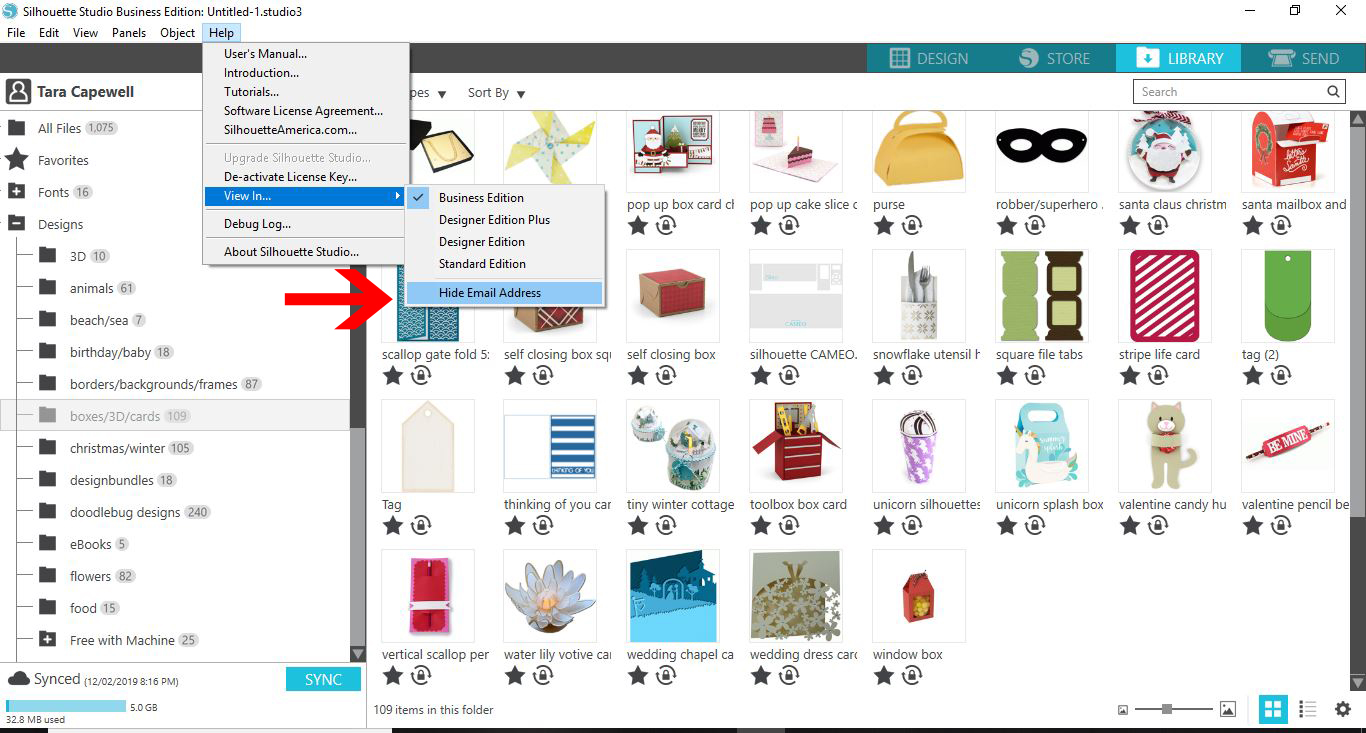
Now your email address will be hidden on your library.
We hope that you found this tutorial helpful. We also have many more great tutorials such as removing duplicate files from the Library, using the Lasso Tool and how to make and edit shapes in Silhouette Studio.


