
Using Fonts in Adobe Photoshop
Fonts play a big part in design customization as well as creative projects. A font can boost the visibility of your product or design to your audience. There are preloaded fonts available in Photoshop but you can also download and install fonts. These include fun and unique fonts, with some containing glyphs. Follow our quick and easy tutorial on how to use your installed fonts in Adobe Photoshop.
We will be using the Crisp Leaves font duo. It includes a sans serif font and a dingbat font all in one!
First, you need to make sure that the font has been unzipped and installed on your computer. If you need some directions on how to do this, feel free to follow our tutorial on how to install fonts.
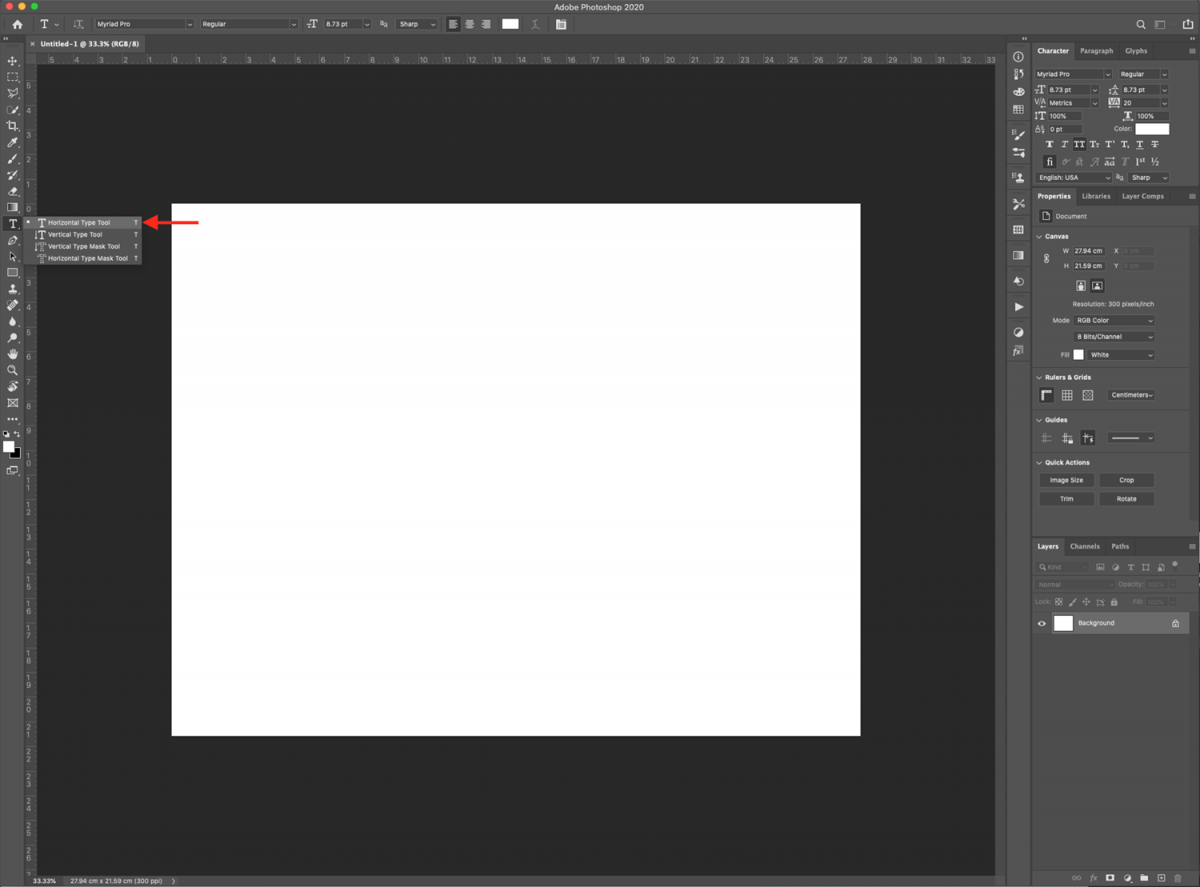
Open Photoshop and either create a new document. Select the Horizontal Type tool (T) and click inside the canvas.
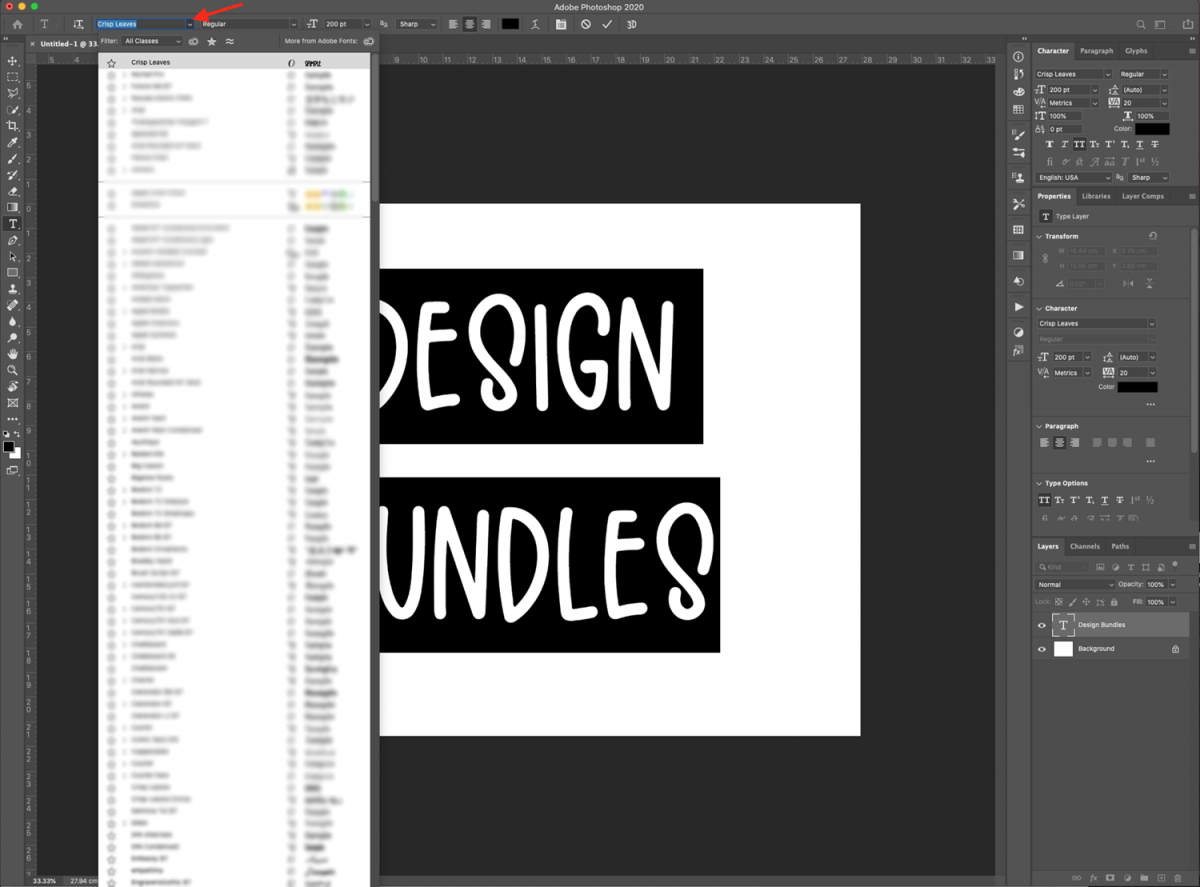
Next, type out your text. Click on the font drop-down menu from the top bar and select the font you want to use.
Once you have typed out the text, you can make some adjustments directly from the top menu. You can adjust the font, size, style, orientation, anti-aliasing, and color.
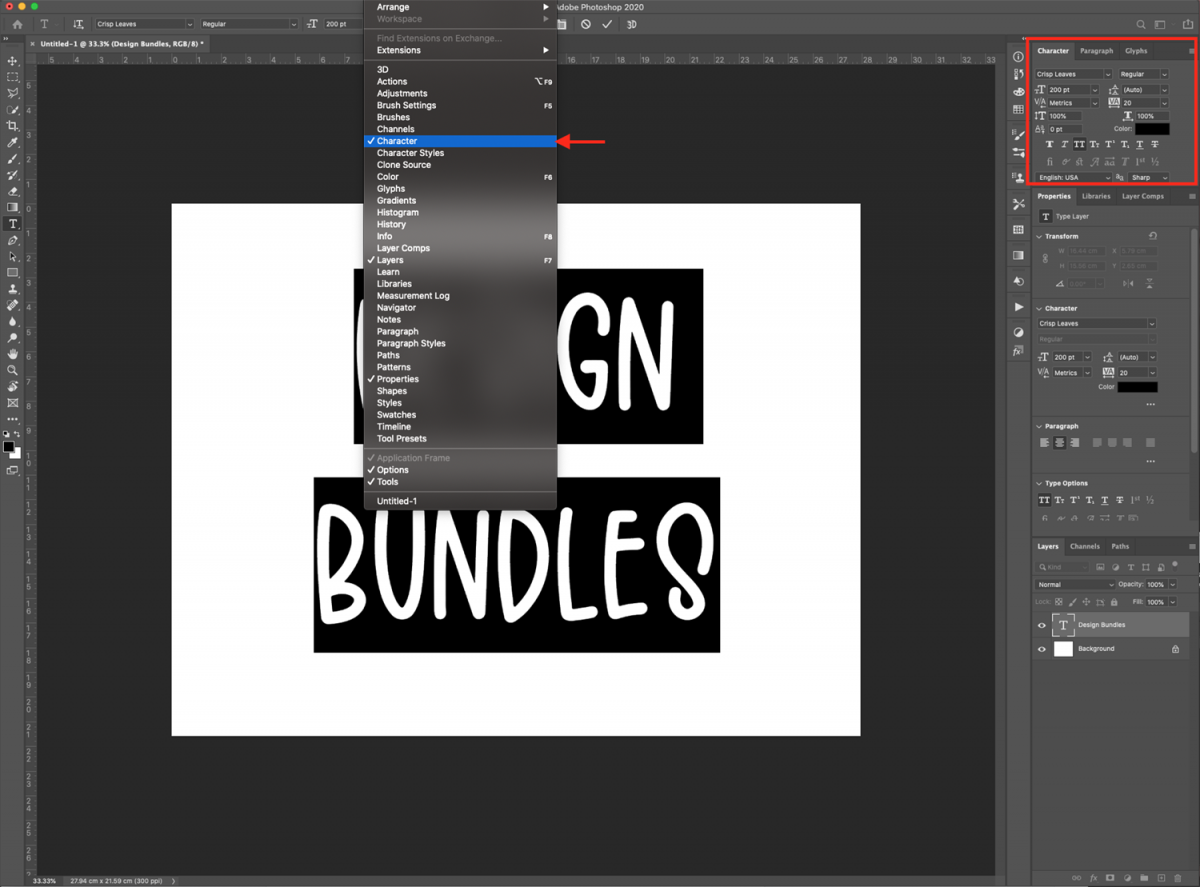
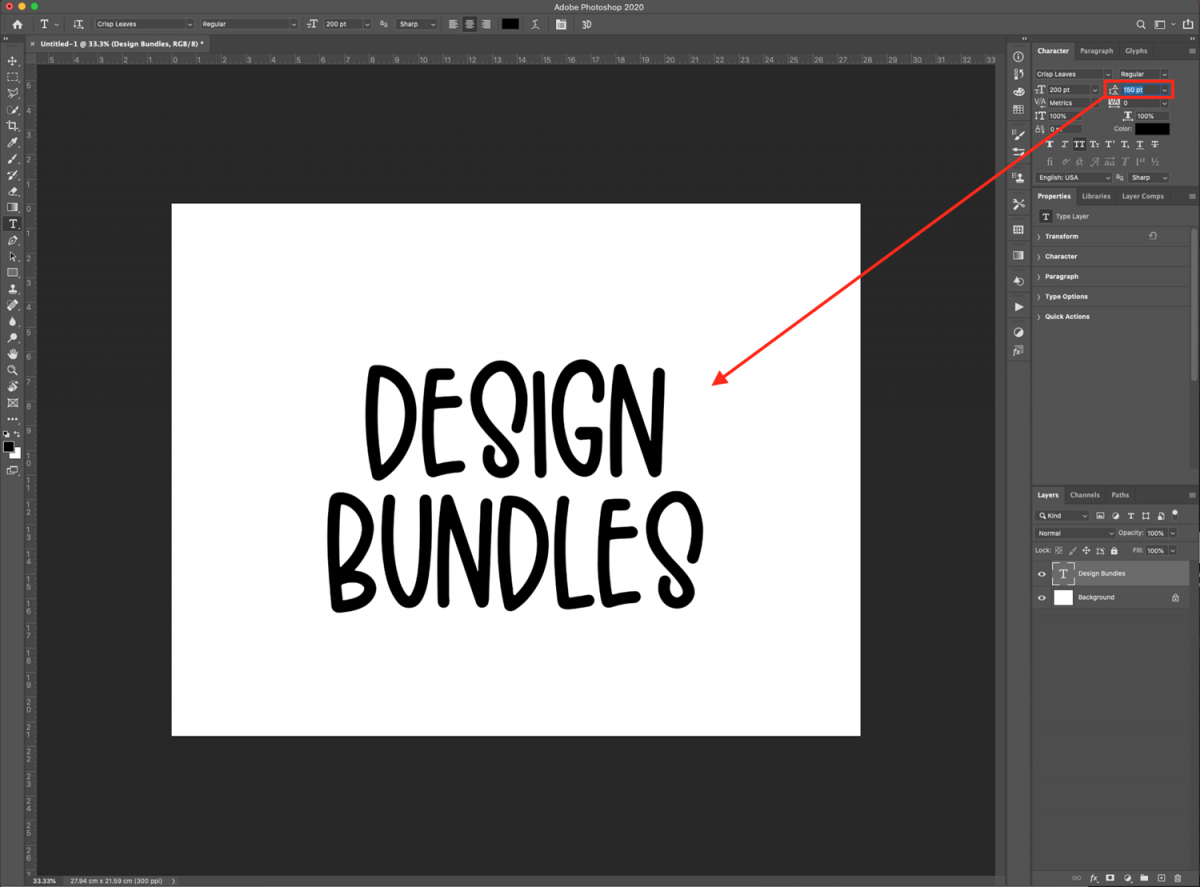
You can also head to the Character panel (Windows > Character) or click on the small icon on the top menu.
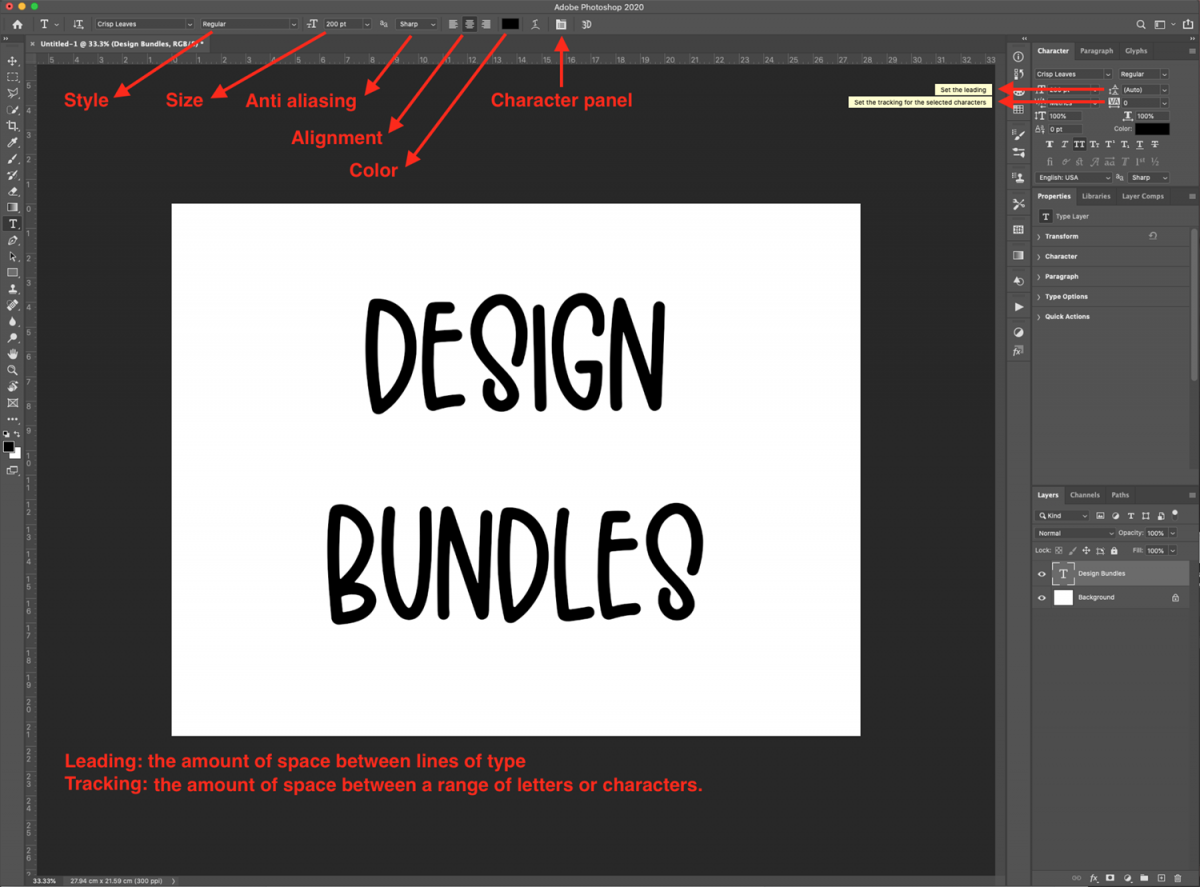
One of the things you can adjust from the Character panel is the Leading, which controls the amount of space between lines of type.
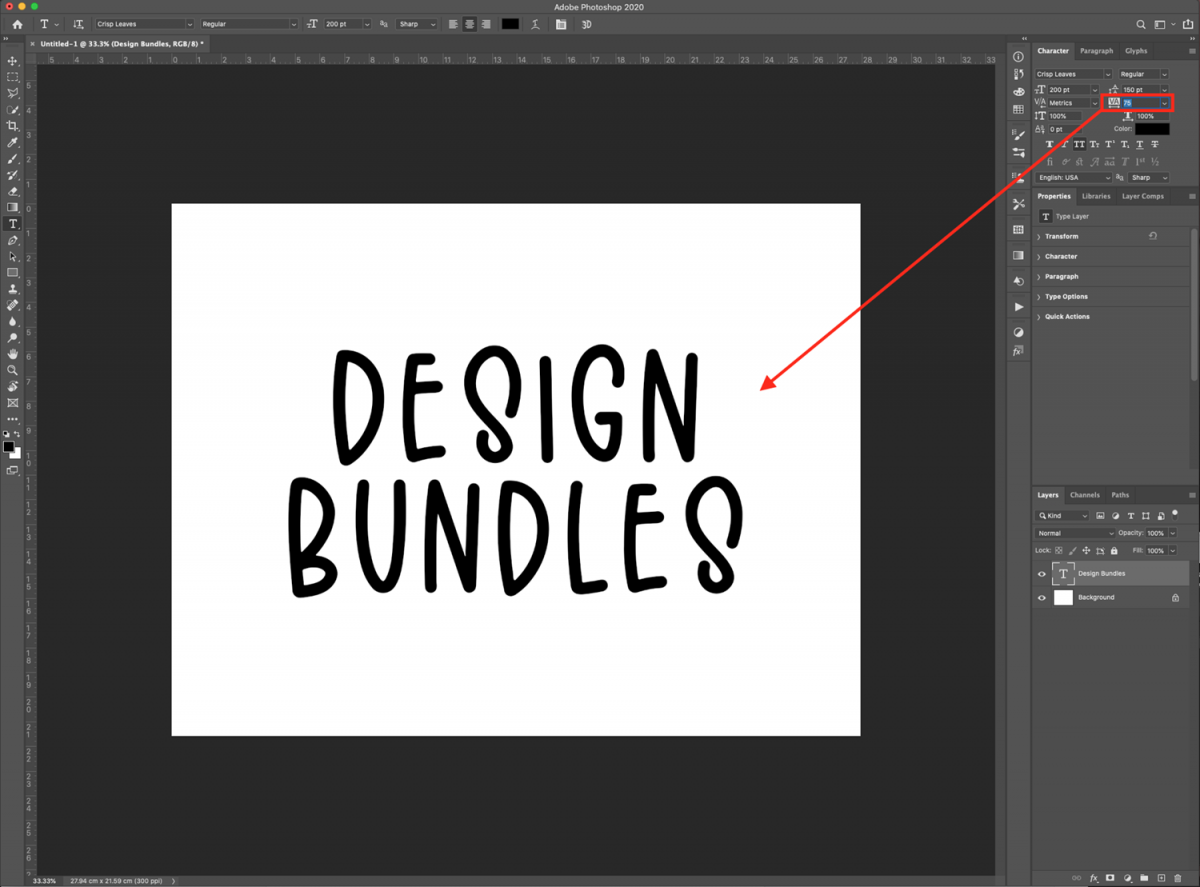
The Tracking option controls the amount of space between a range of letters or characters.
If your chosen font has extra glyphs or swashes, we have a guide on using glyphs in Photoshop.
If you liked this tutorial, make sure to check out our guides on how to create a hollow 3D text effect and how to create a hologram text effect in Adobe Photoshop.
We will be using the Crisp Leaves font duo. It includes a sans serif font and a dingbat font all in one!
Step 1 - Add text and select your font
First, you need to make sure that the font has been unzipped and installed on your computer. If you need some directions on how to do this, feel free to follow our tutorial on how to install fonts.
Open Photoshop and either create a new document. Select the Horizontal Type tool (T) and click inside the canvas.
Next, type out your text. Click on the font drop-down menu from the top bar and select the font you want to use.
Step 2 - Adjust your text
Once you have typed out the text, you can make some adjustments directly from the top menu. You can adjust the font, size, style, orientation, anti-aliasing, and color.
You can also head to the Character panel (Windows > Character) or click on the small icon on the top menu.
One of the things you can adjust from the Character panel is the Leading, which controls the amount of space between lines of type.
The Tracking option controls the amount of space between a range of letters or characters.
If your chosen font has extra glyphs or swashes, we have a guide on using glyphs in Photoshop.
If you liked this tutorial, make sure to check out our guides on how to create a hollow 3D text effect and how to create a hologram text effect in Adobe Photoshop.


