
Using Silhouette Cloud on Silhouette Mobile
Learn how to use Silhouette Cloud on the Silhouette Mobile app. Access fonts, designs, and patterns.
1- Open Silhouette Mobile.

2- On the main screen you will see a "S" in the bottom left corner. Tap on it.
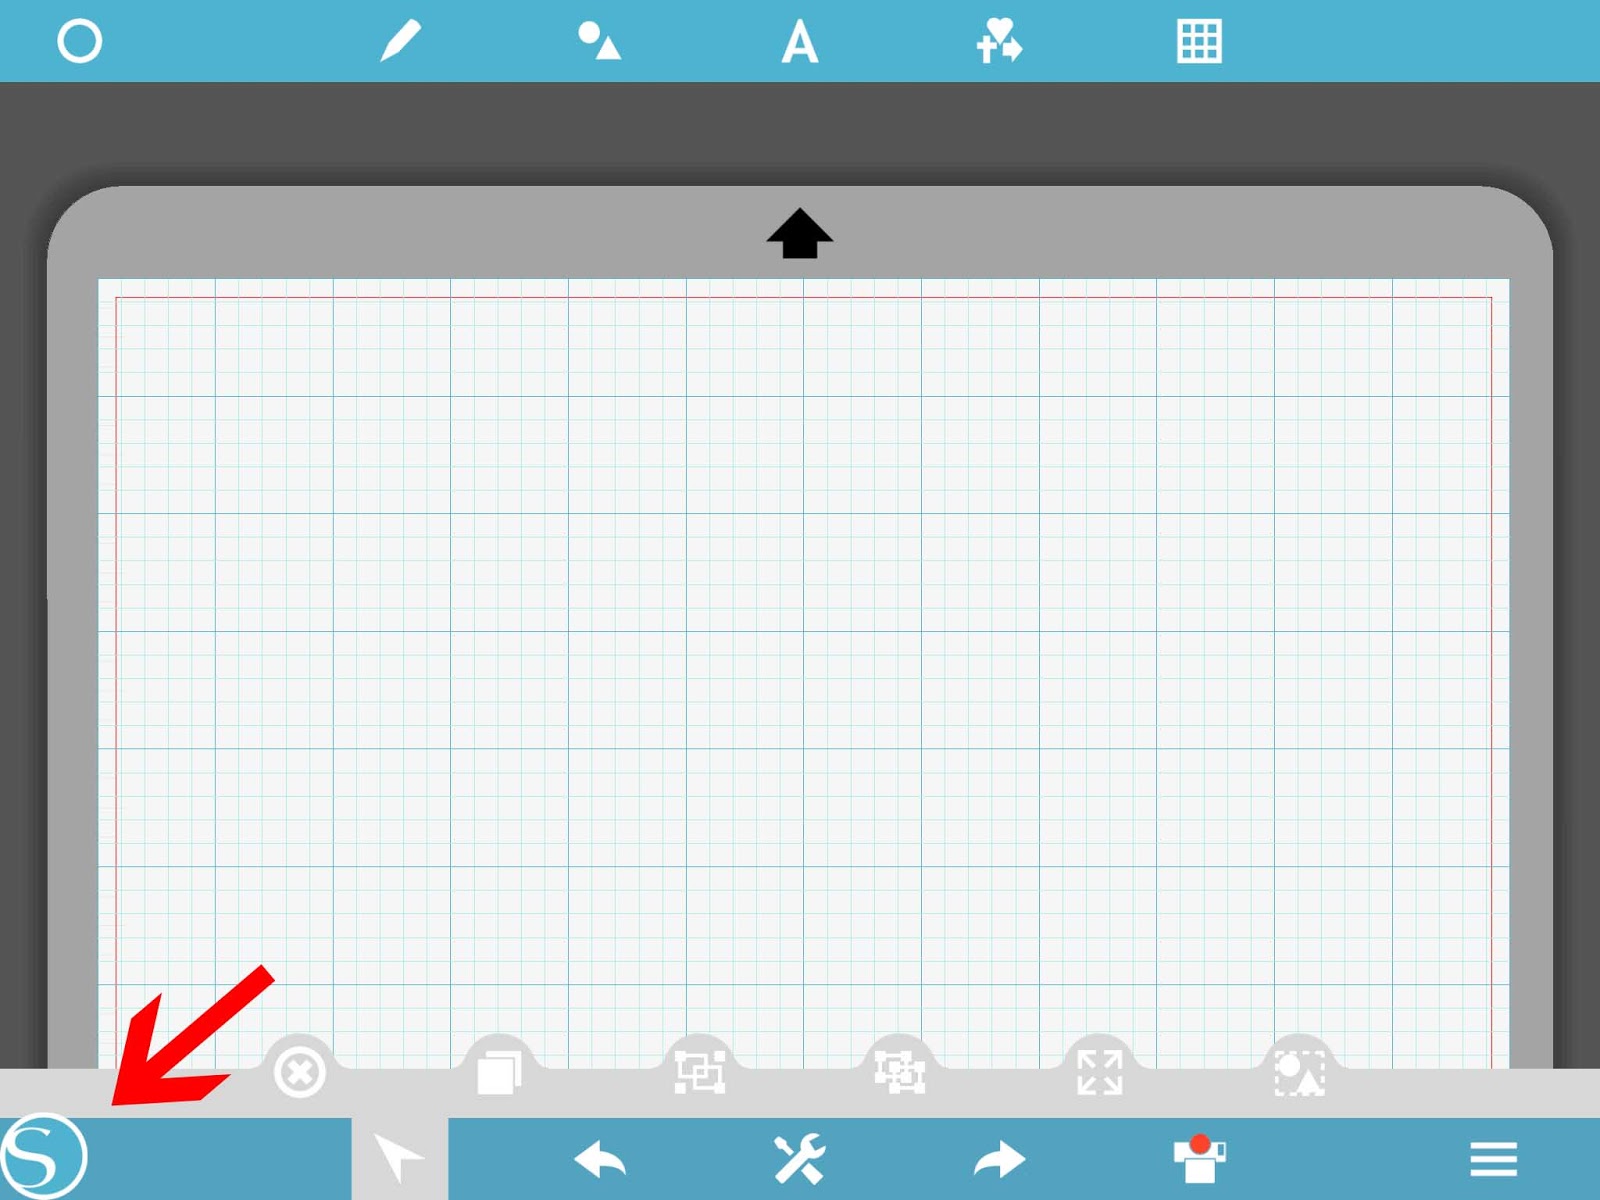
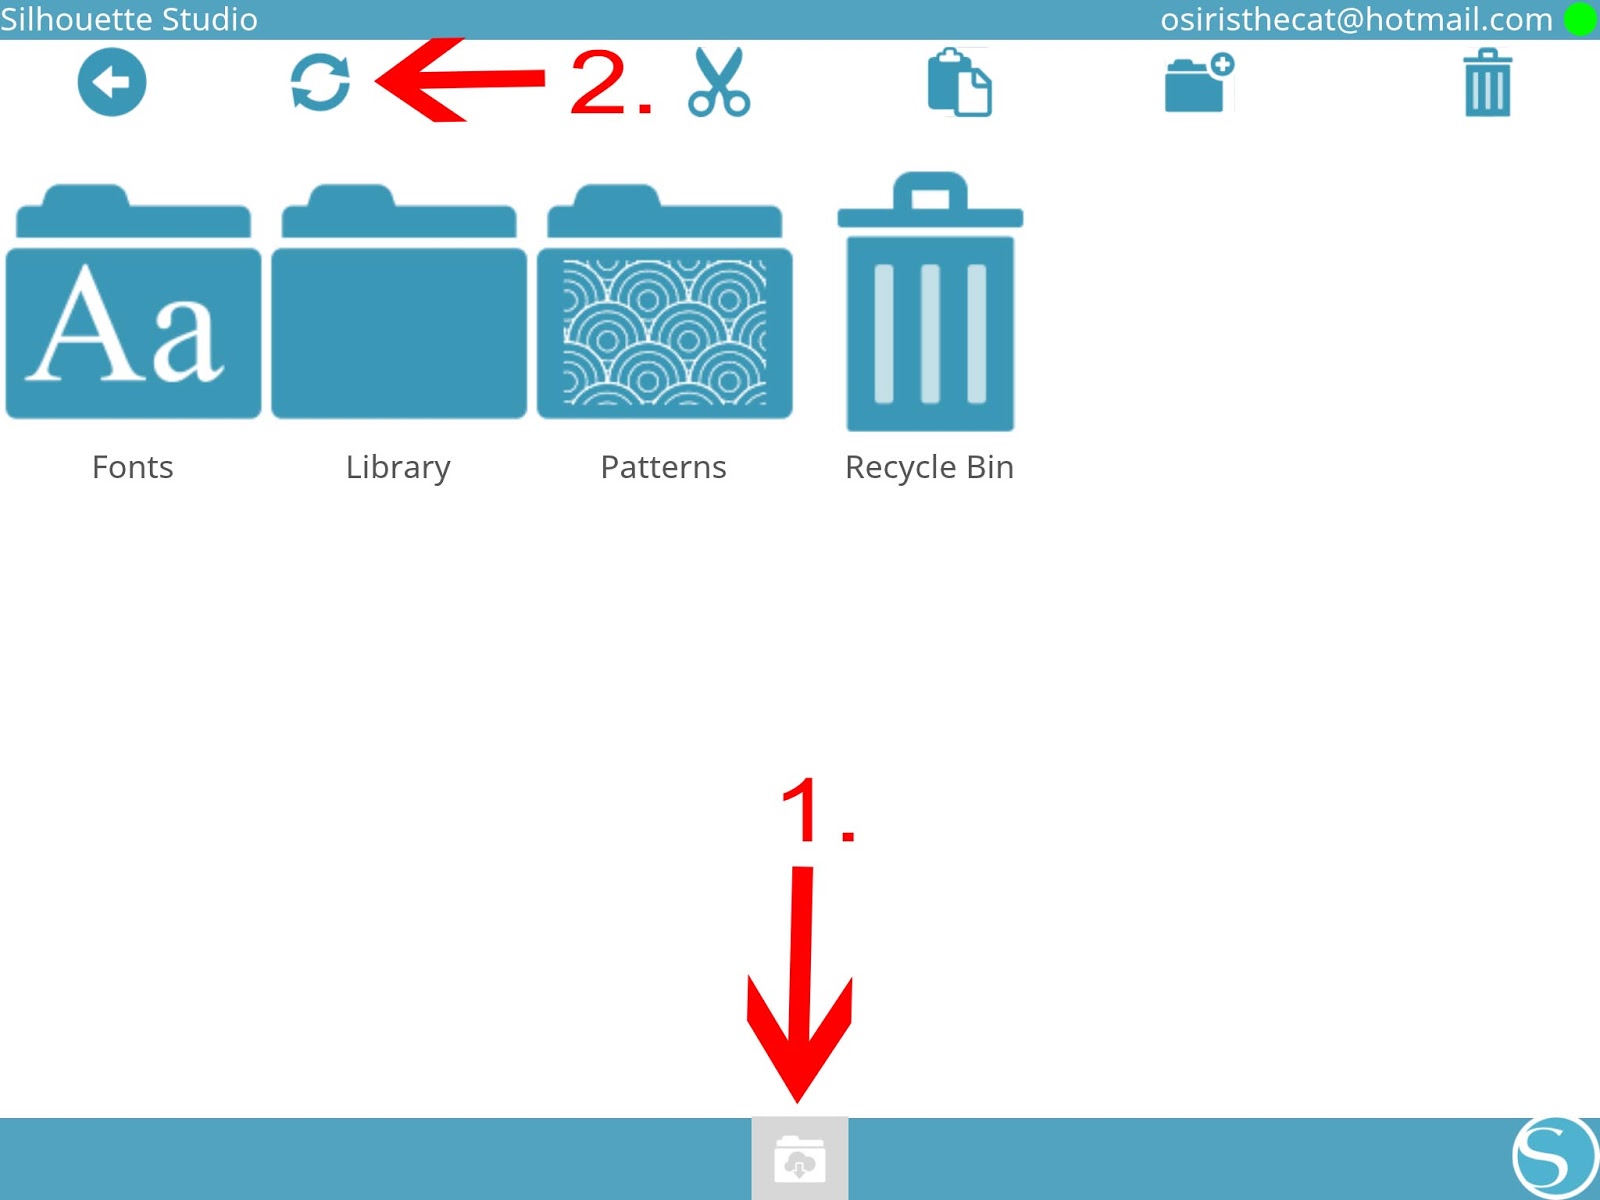
3- To access your Silhouette Cloud tap on the cloud icon at the bottom of the screen (1).The arrows at the top of your screen will start to turn. This is showing you are being connected to the cloud.(2)
4- Once connected you will be able to access any designs you have purchased from the Silhouette Design Store.* Note- you can only access the actual design store if you are using the app on Android. when using an Apple device you cannot directly access the design store.
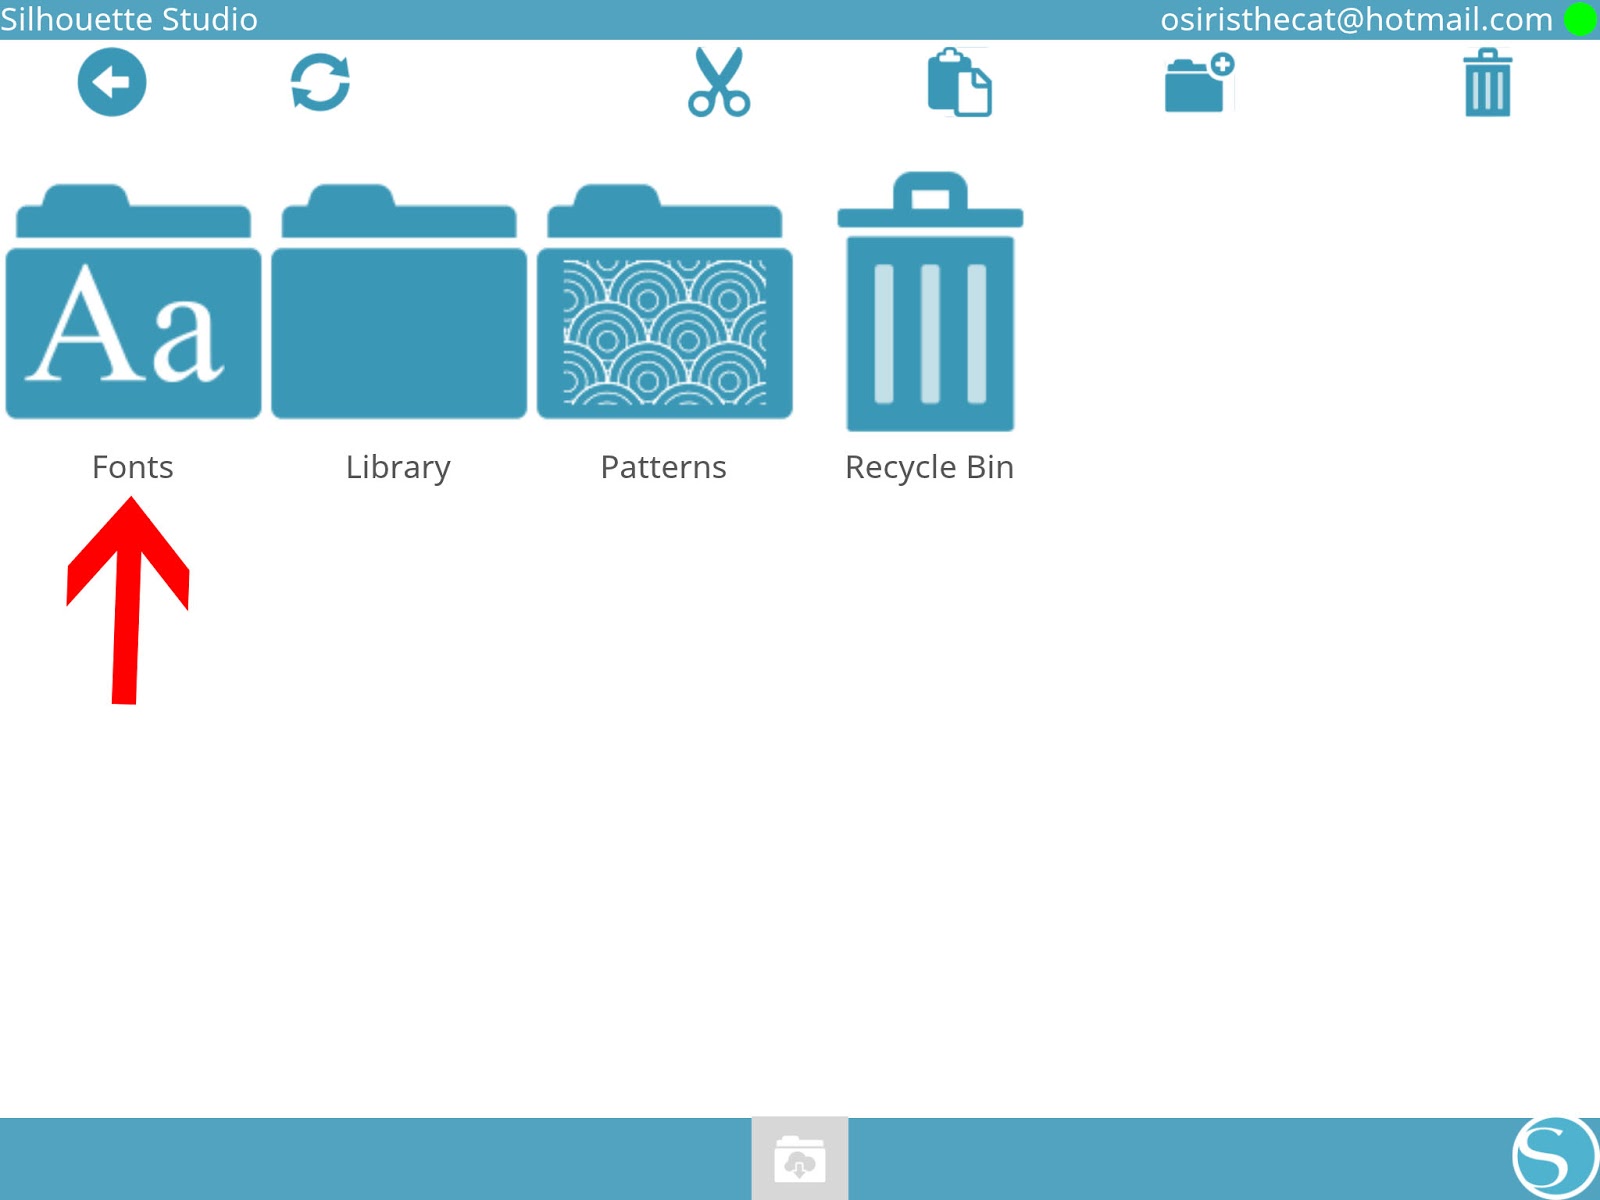
5- The first folder you will have access to is any font you have purchased in the Silhouette design store. Tap on the folder.
6- All the font you have will appear. They can be accessed here or on the main screen.
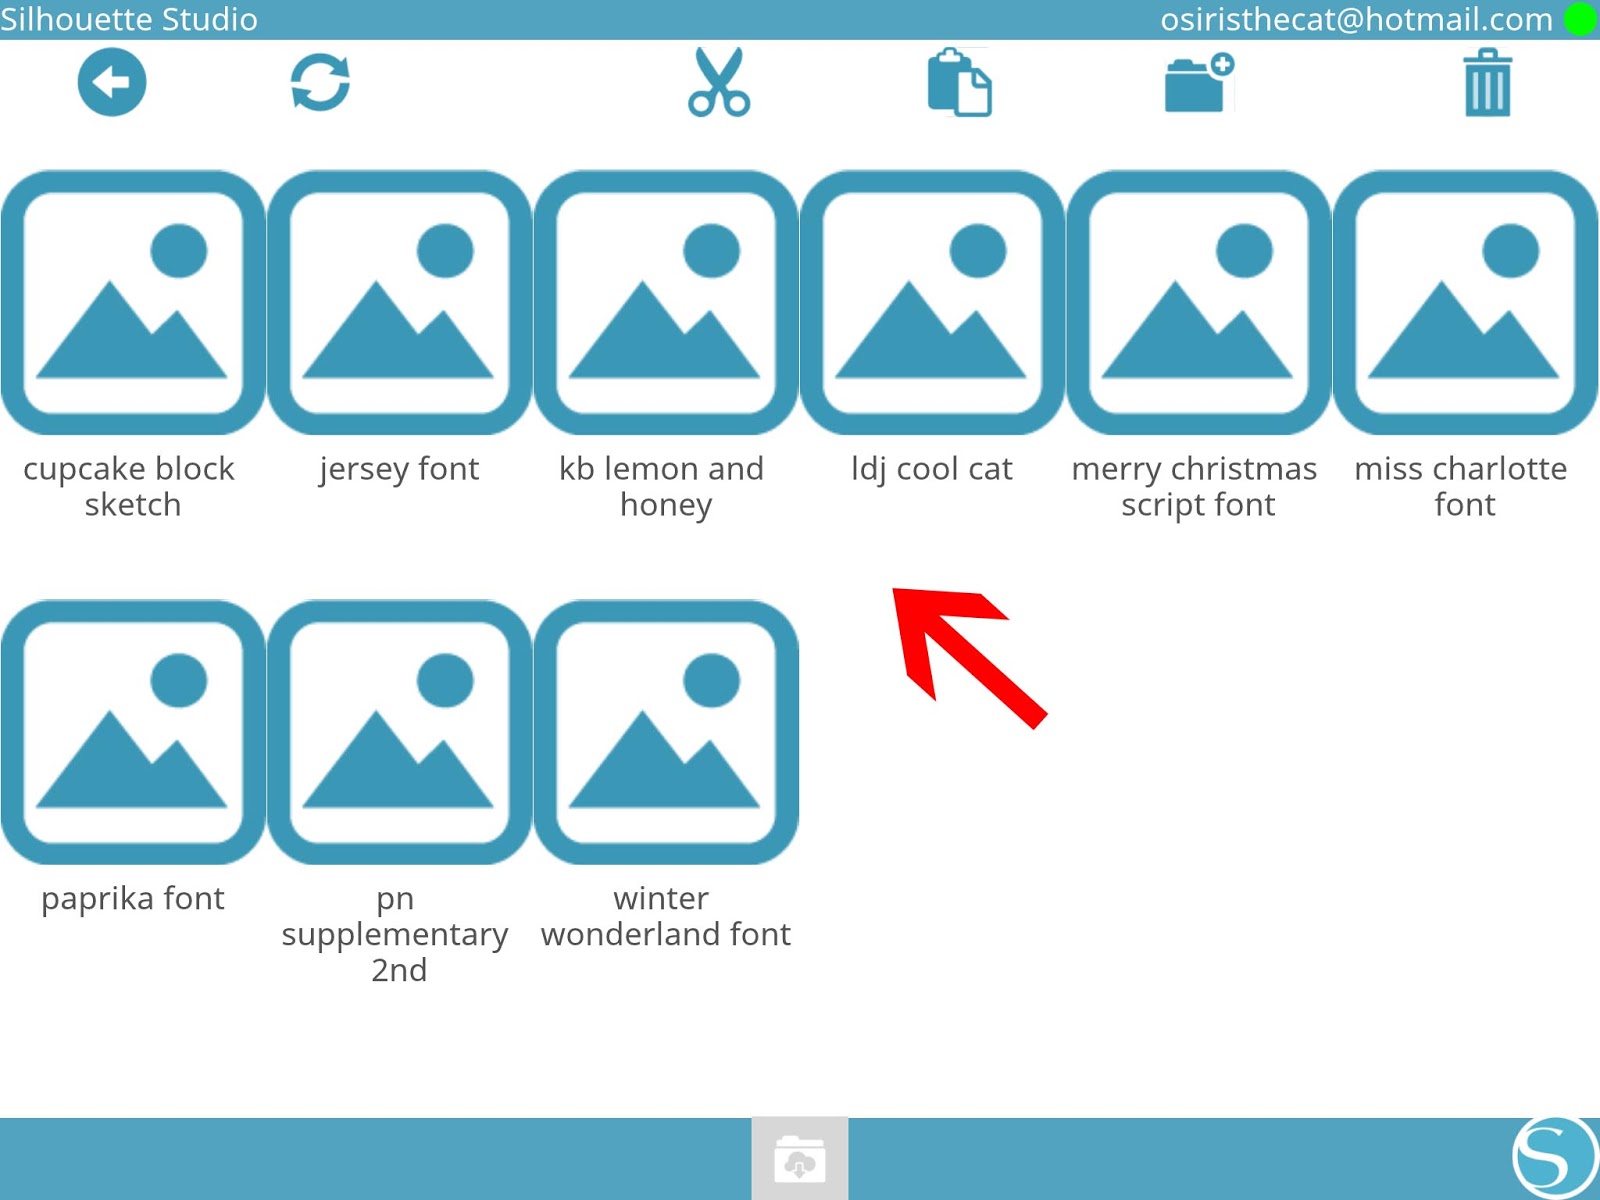
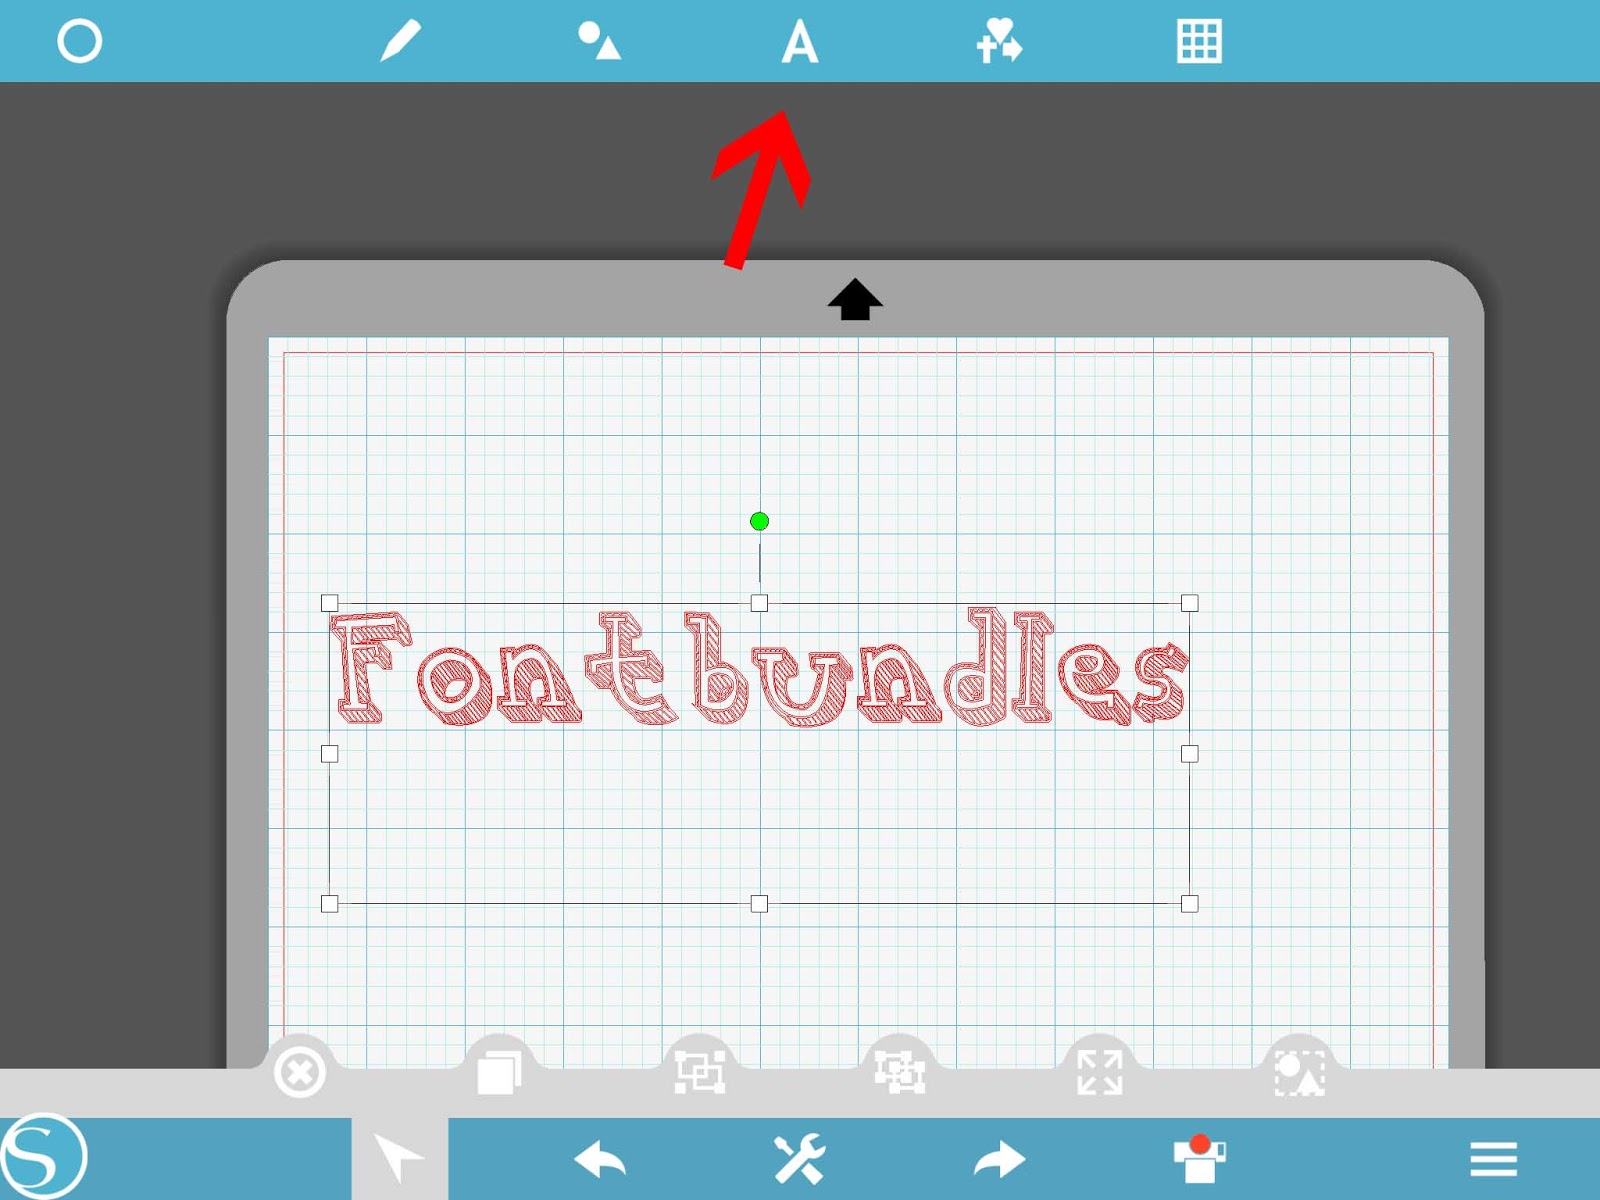
7- To access on the main design work space, click on the "A" icon and then select your font. You can see how to use your fontsHere.
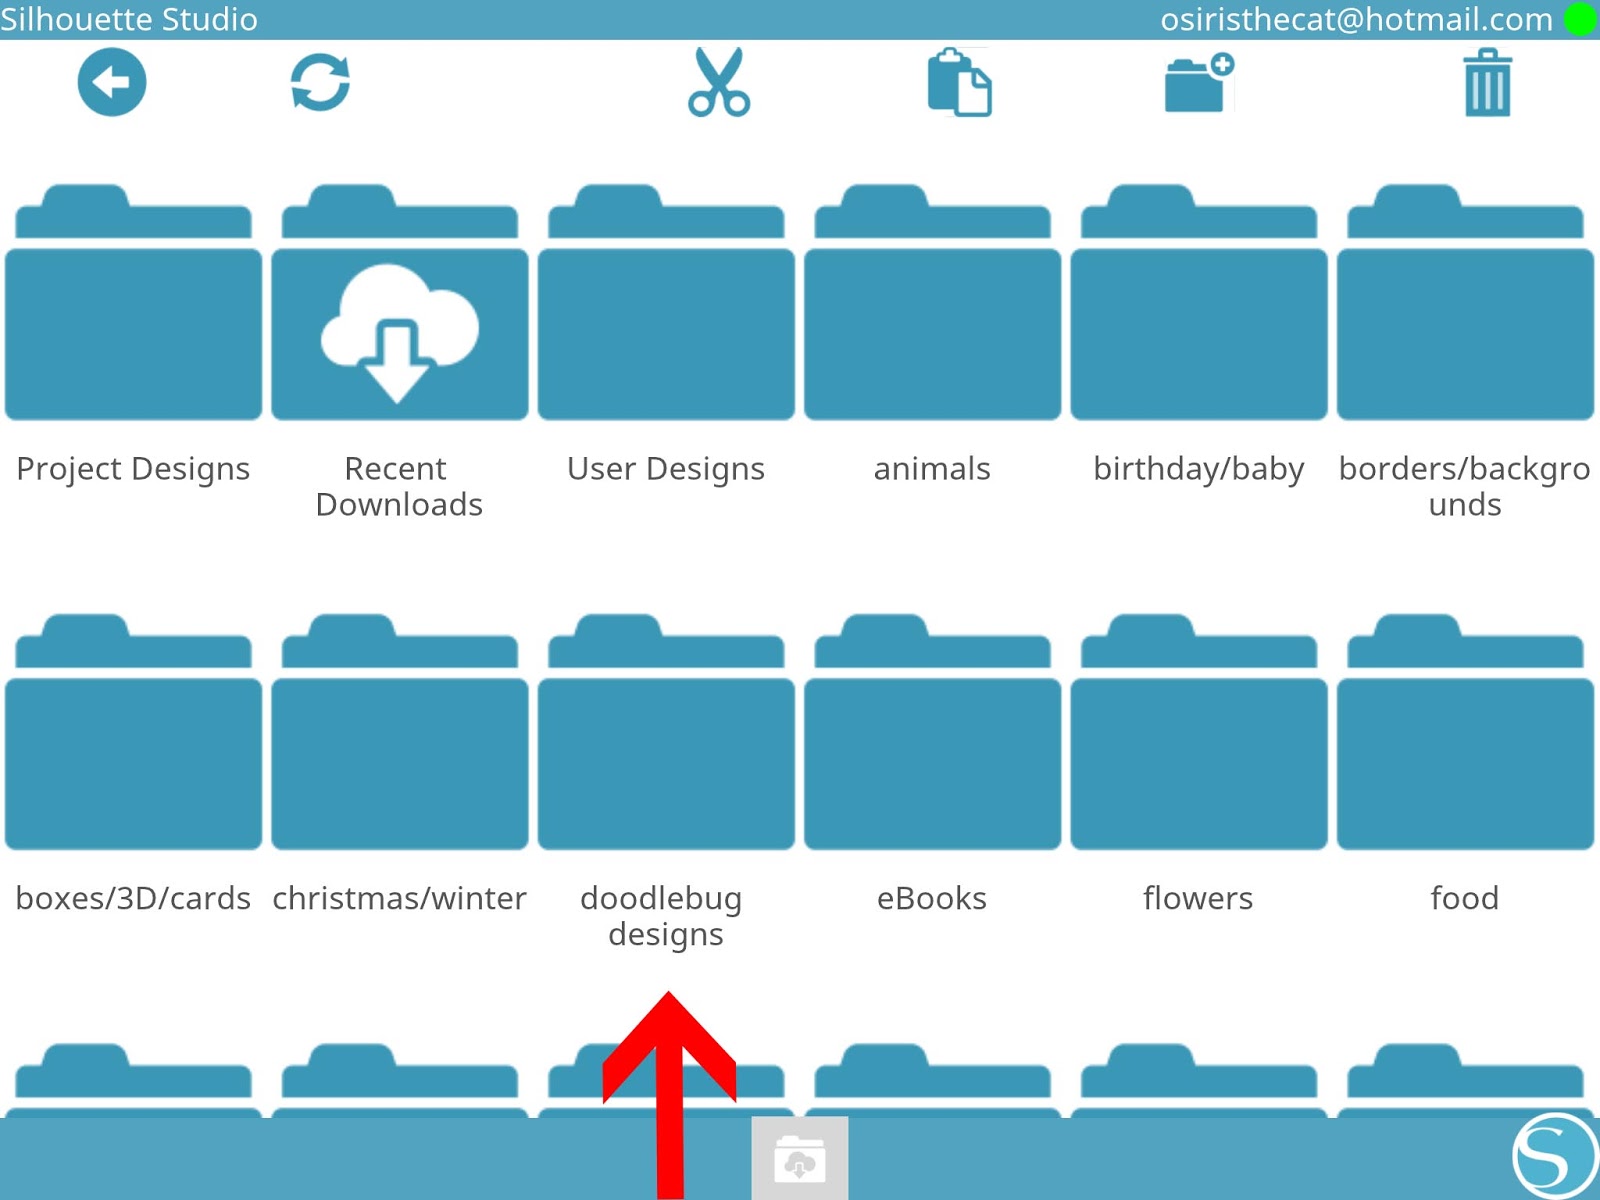
8- The second Folder is your library. This has all the designs that are in your silhouette Cloud. Tap on the folder.

9- Depending how you have your designs saved in your PC/laptop you will either see all the individual files or as I have my file, in folders. Tap on the folder that you need.
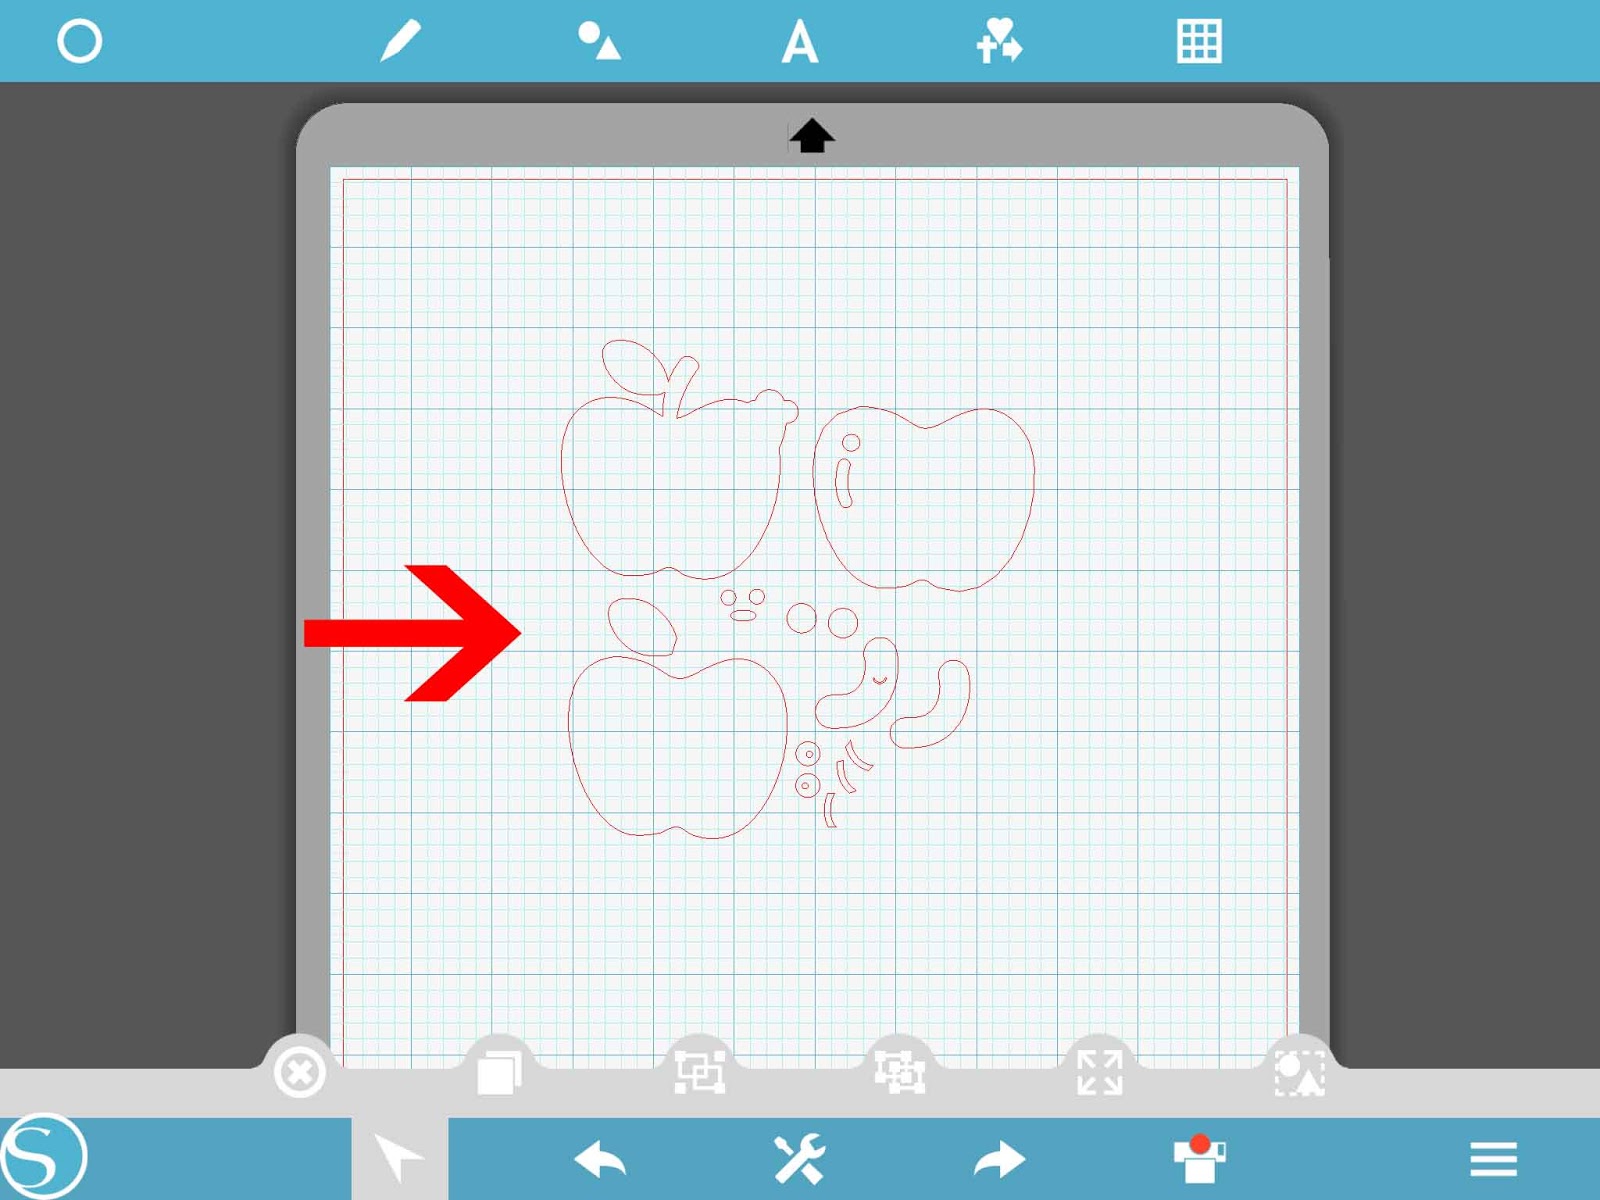
10- Tap on the file you would like to use.

11- The file will not appear on your design space.
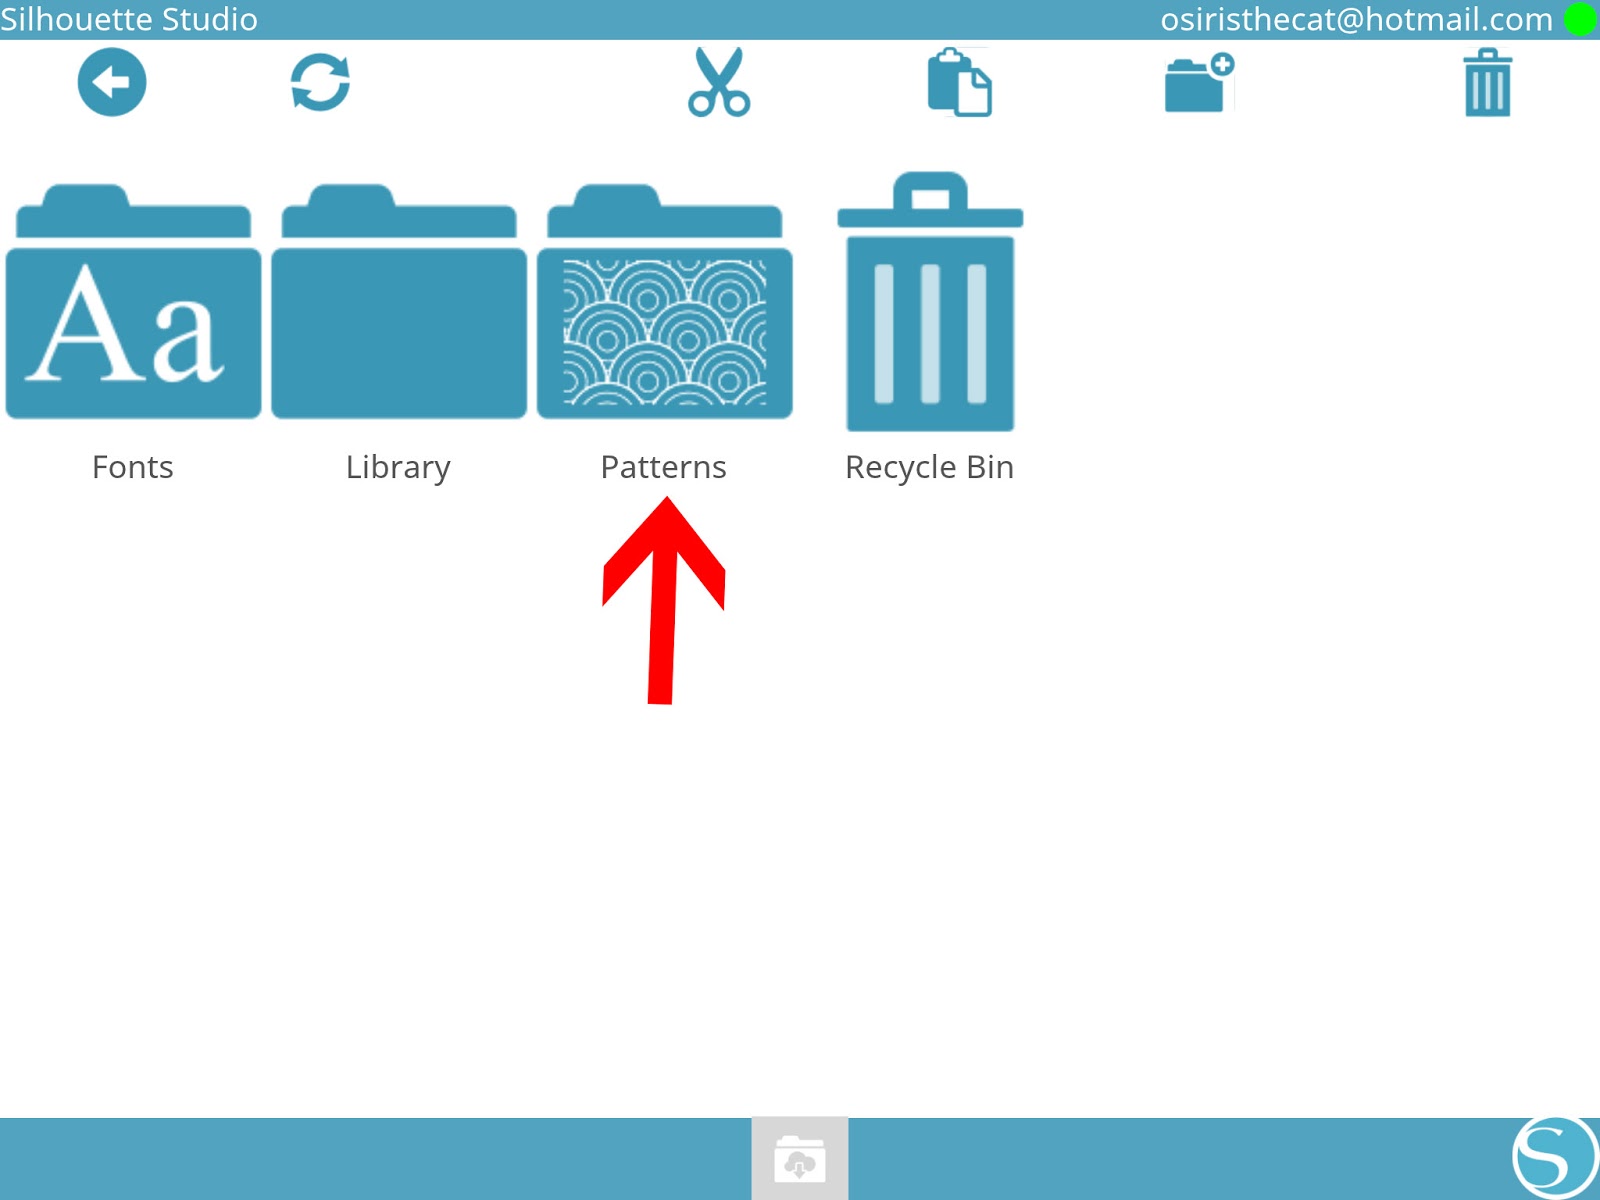
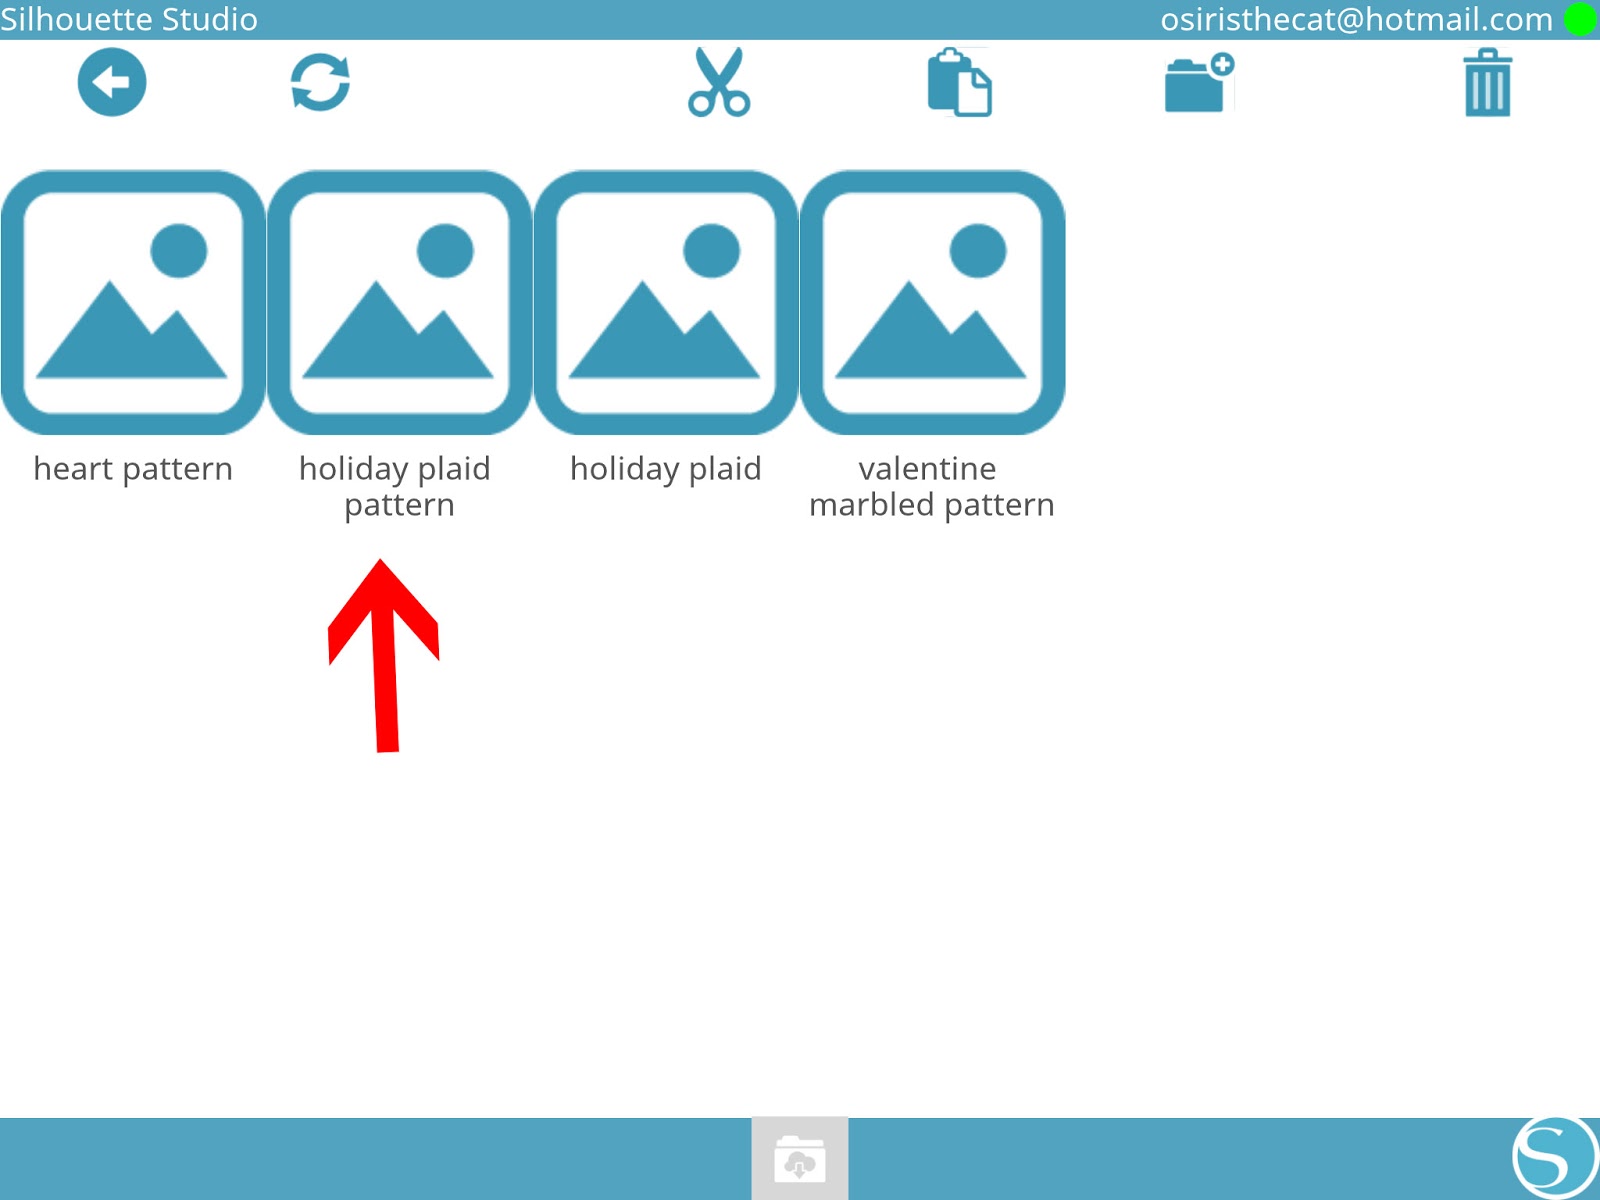
12- The next option is patterns. You can purchase patterns in the design store, or upload your own on your PC/laptop and save to the cloud. Tap on the patterns folder.
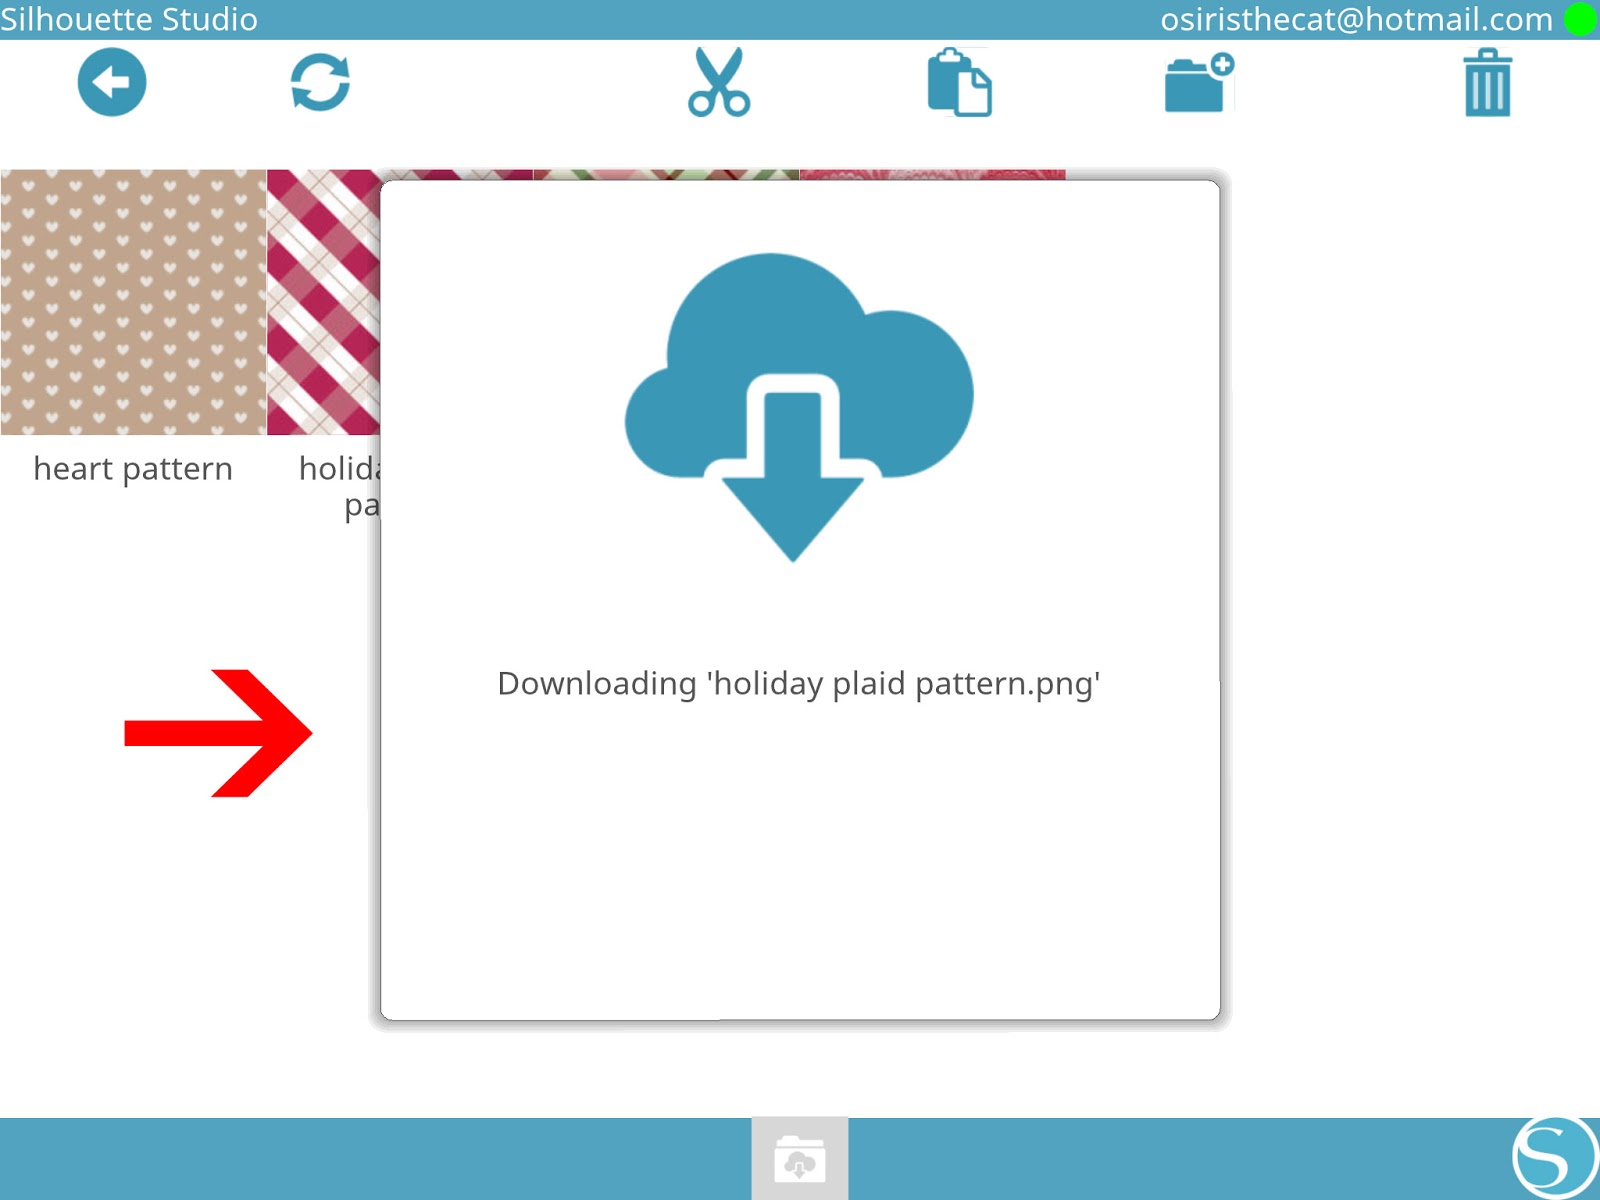
13- All your patterns will appear. Tap on the one you would like to use.
14- With patterns they will need to download from the cloud. this may take a few seconds to complete. Once downloaded you can use them in your designs.
15-The other options you also have on the silhouette cloud screen are - Recycle bin to delete folders(1), Cut(2), copy(3), create a new folder to sort your files(4), delete(5).


