- By Design Bundles
- 4 Mins
- Illustrator Tutorials
Wavy Ribbon Gradient in Illustrator
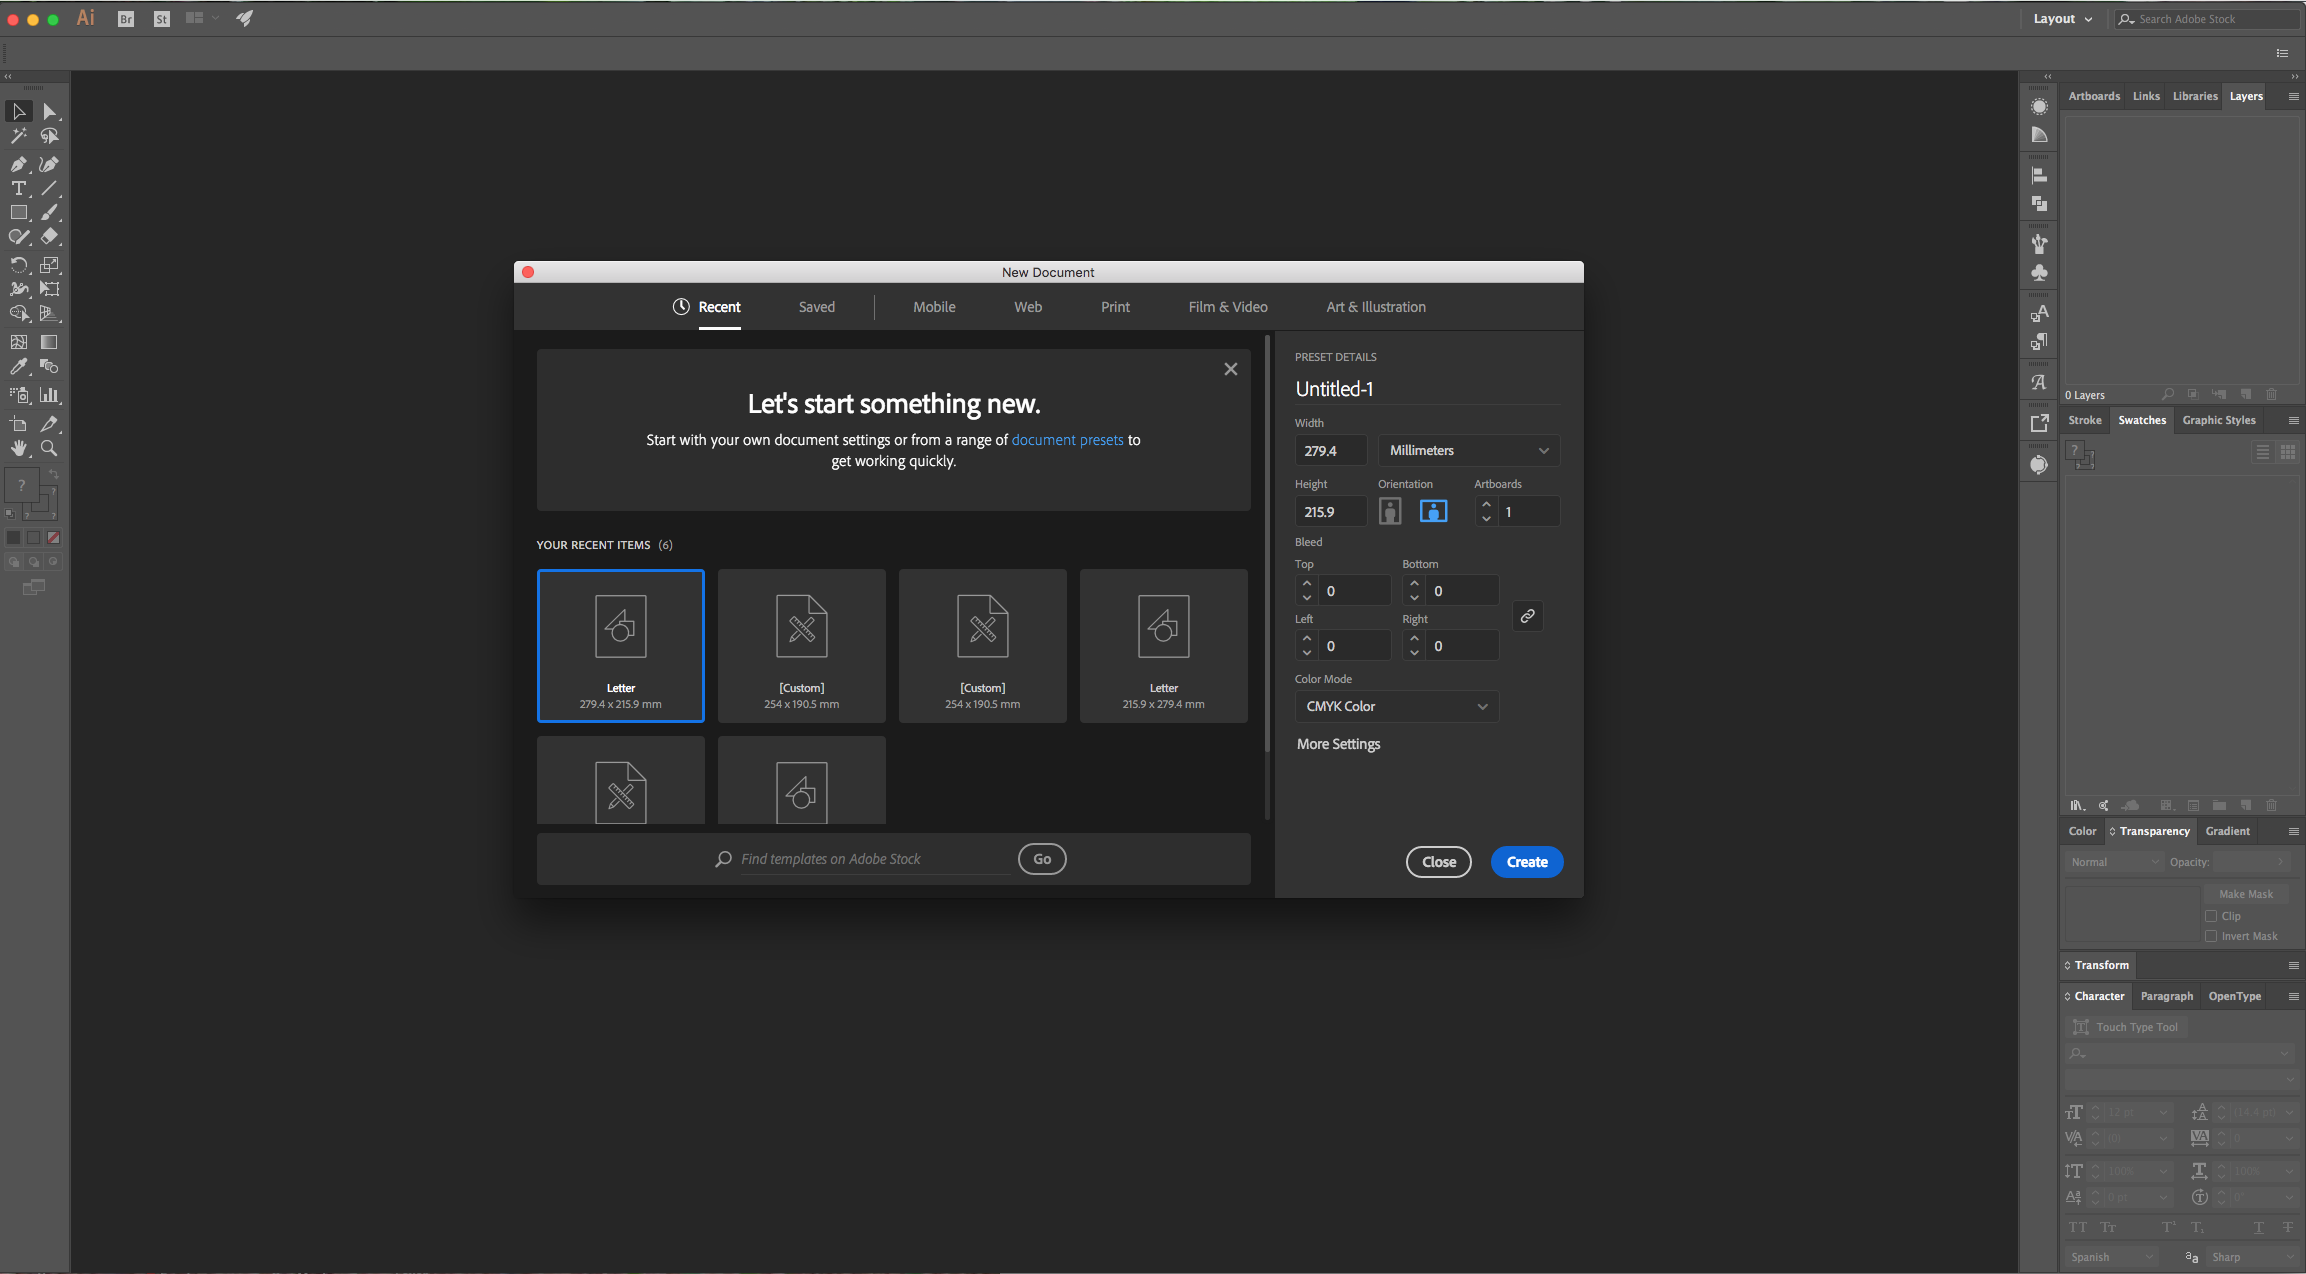
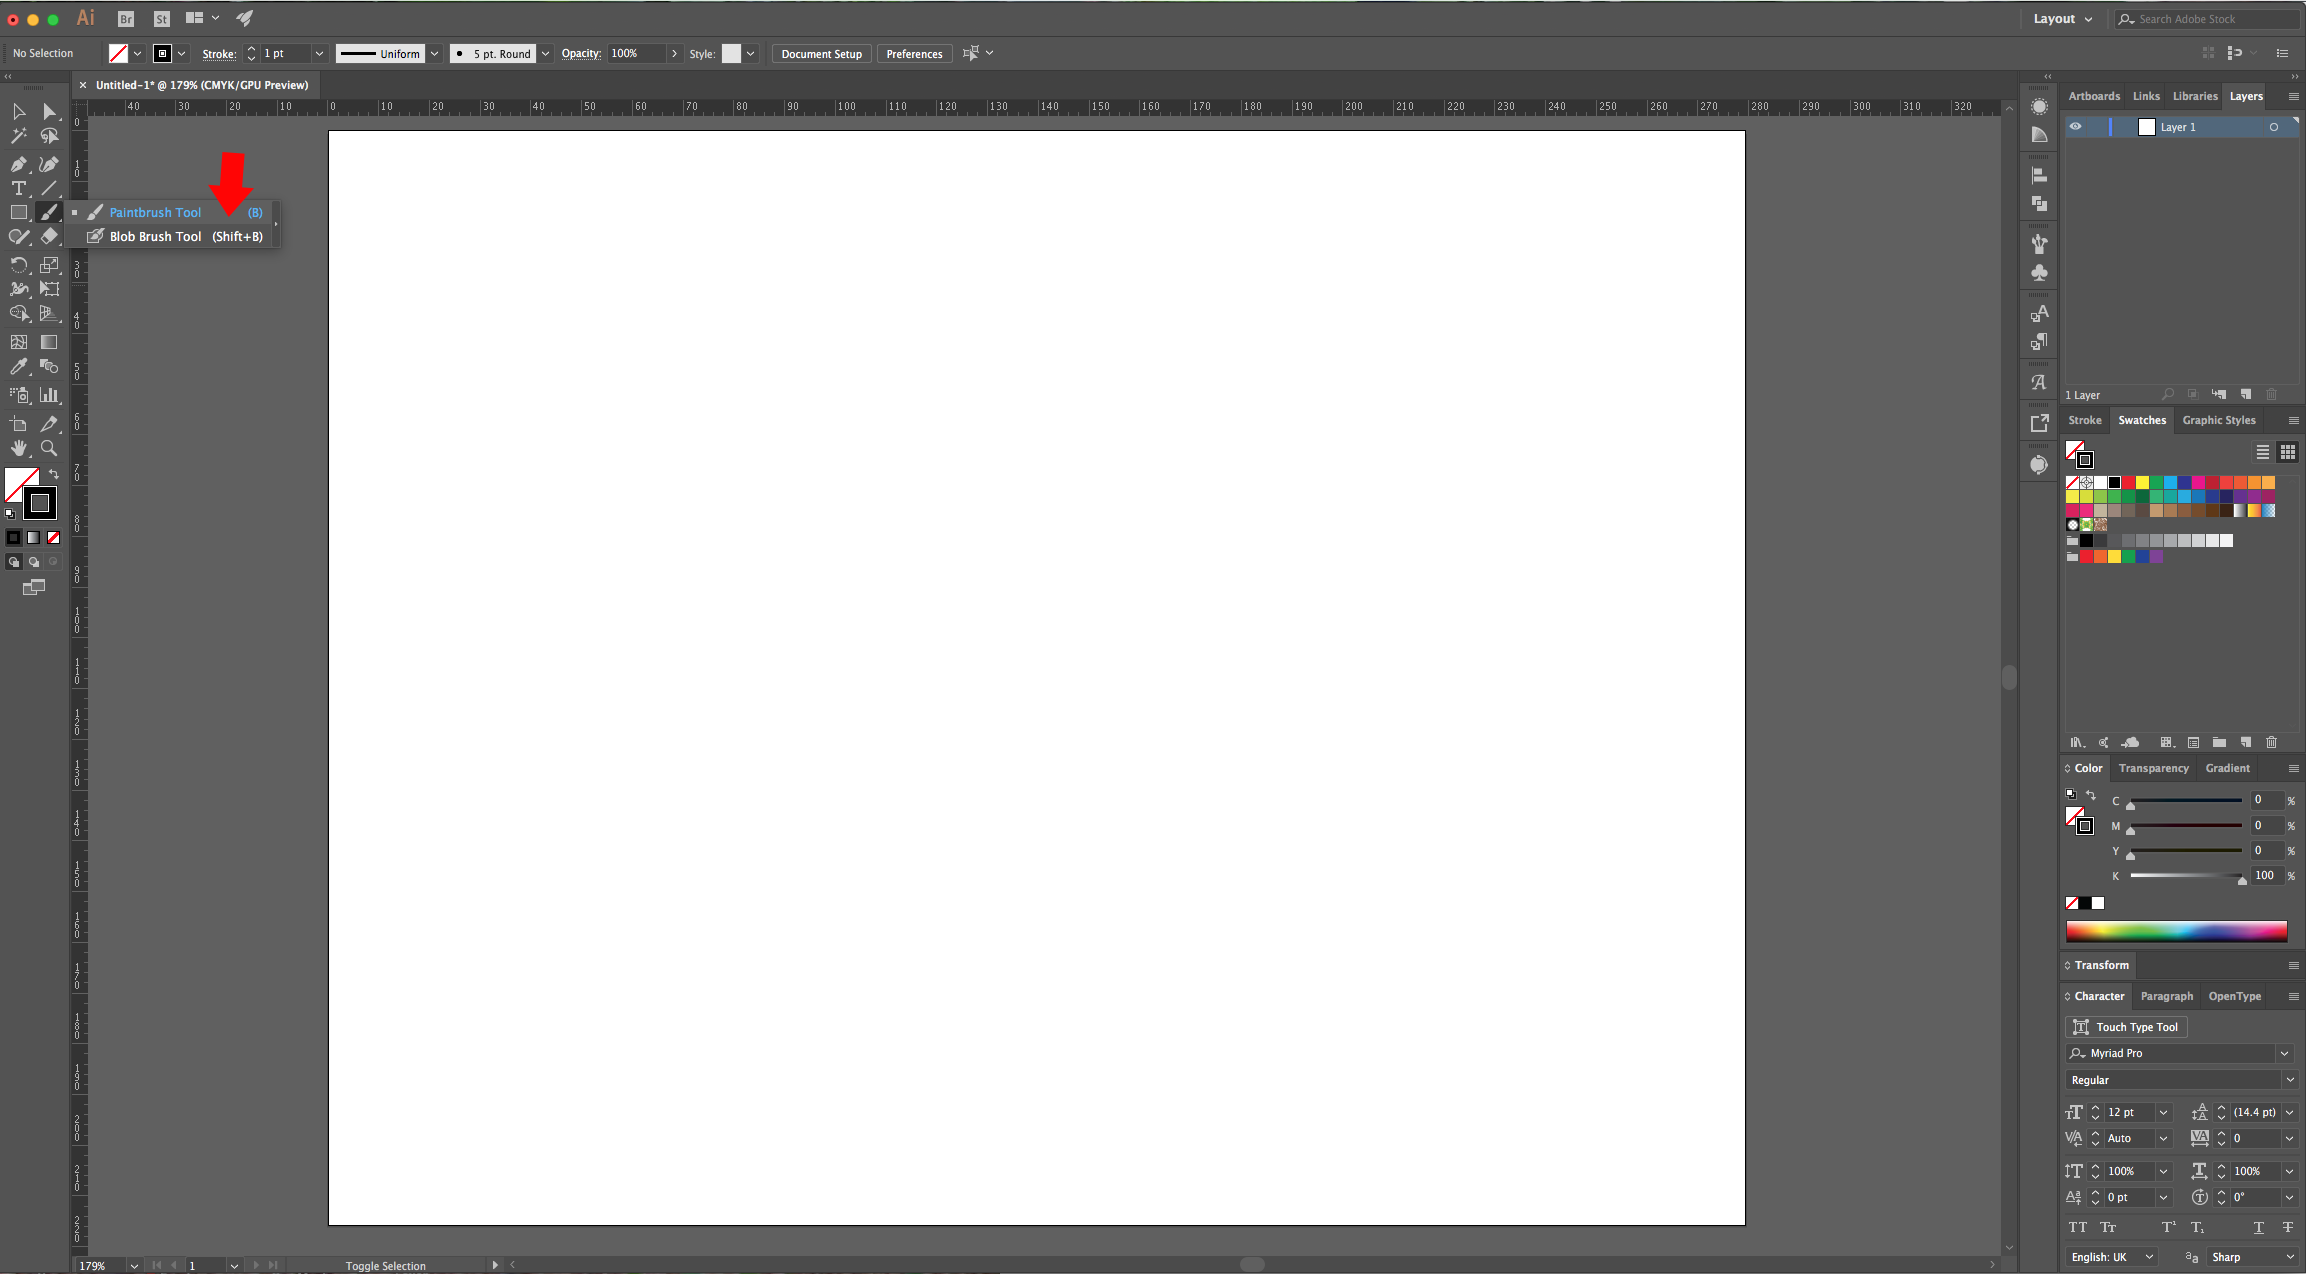
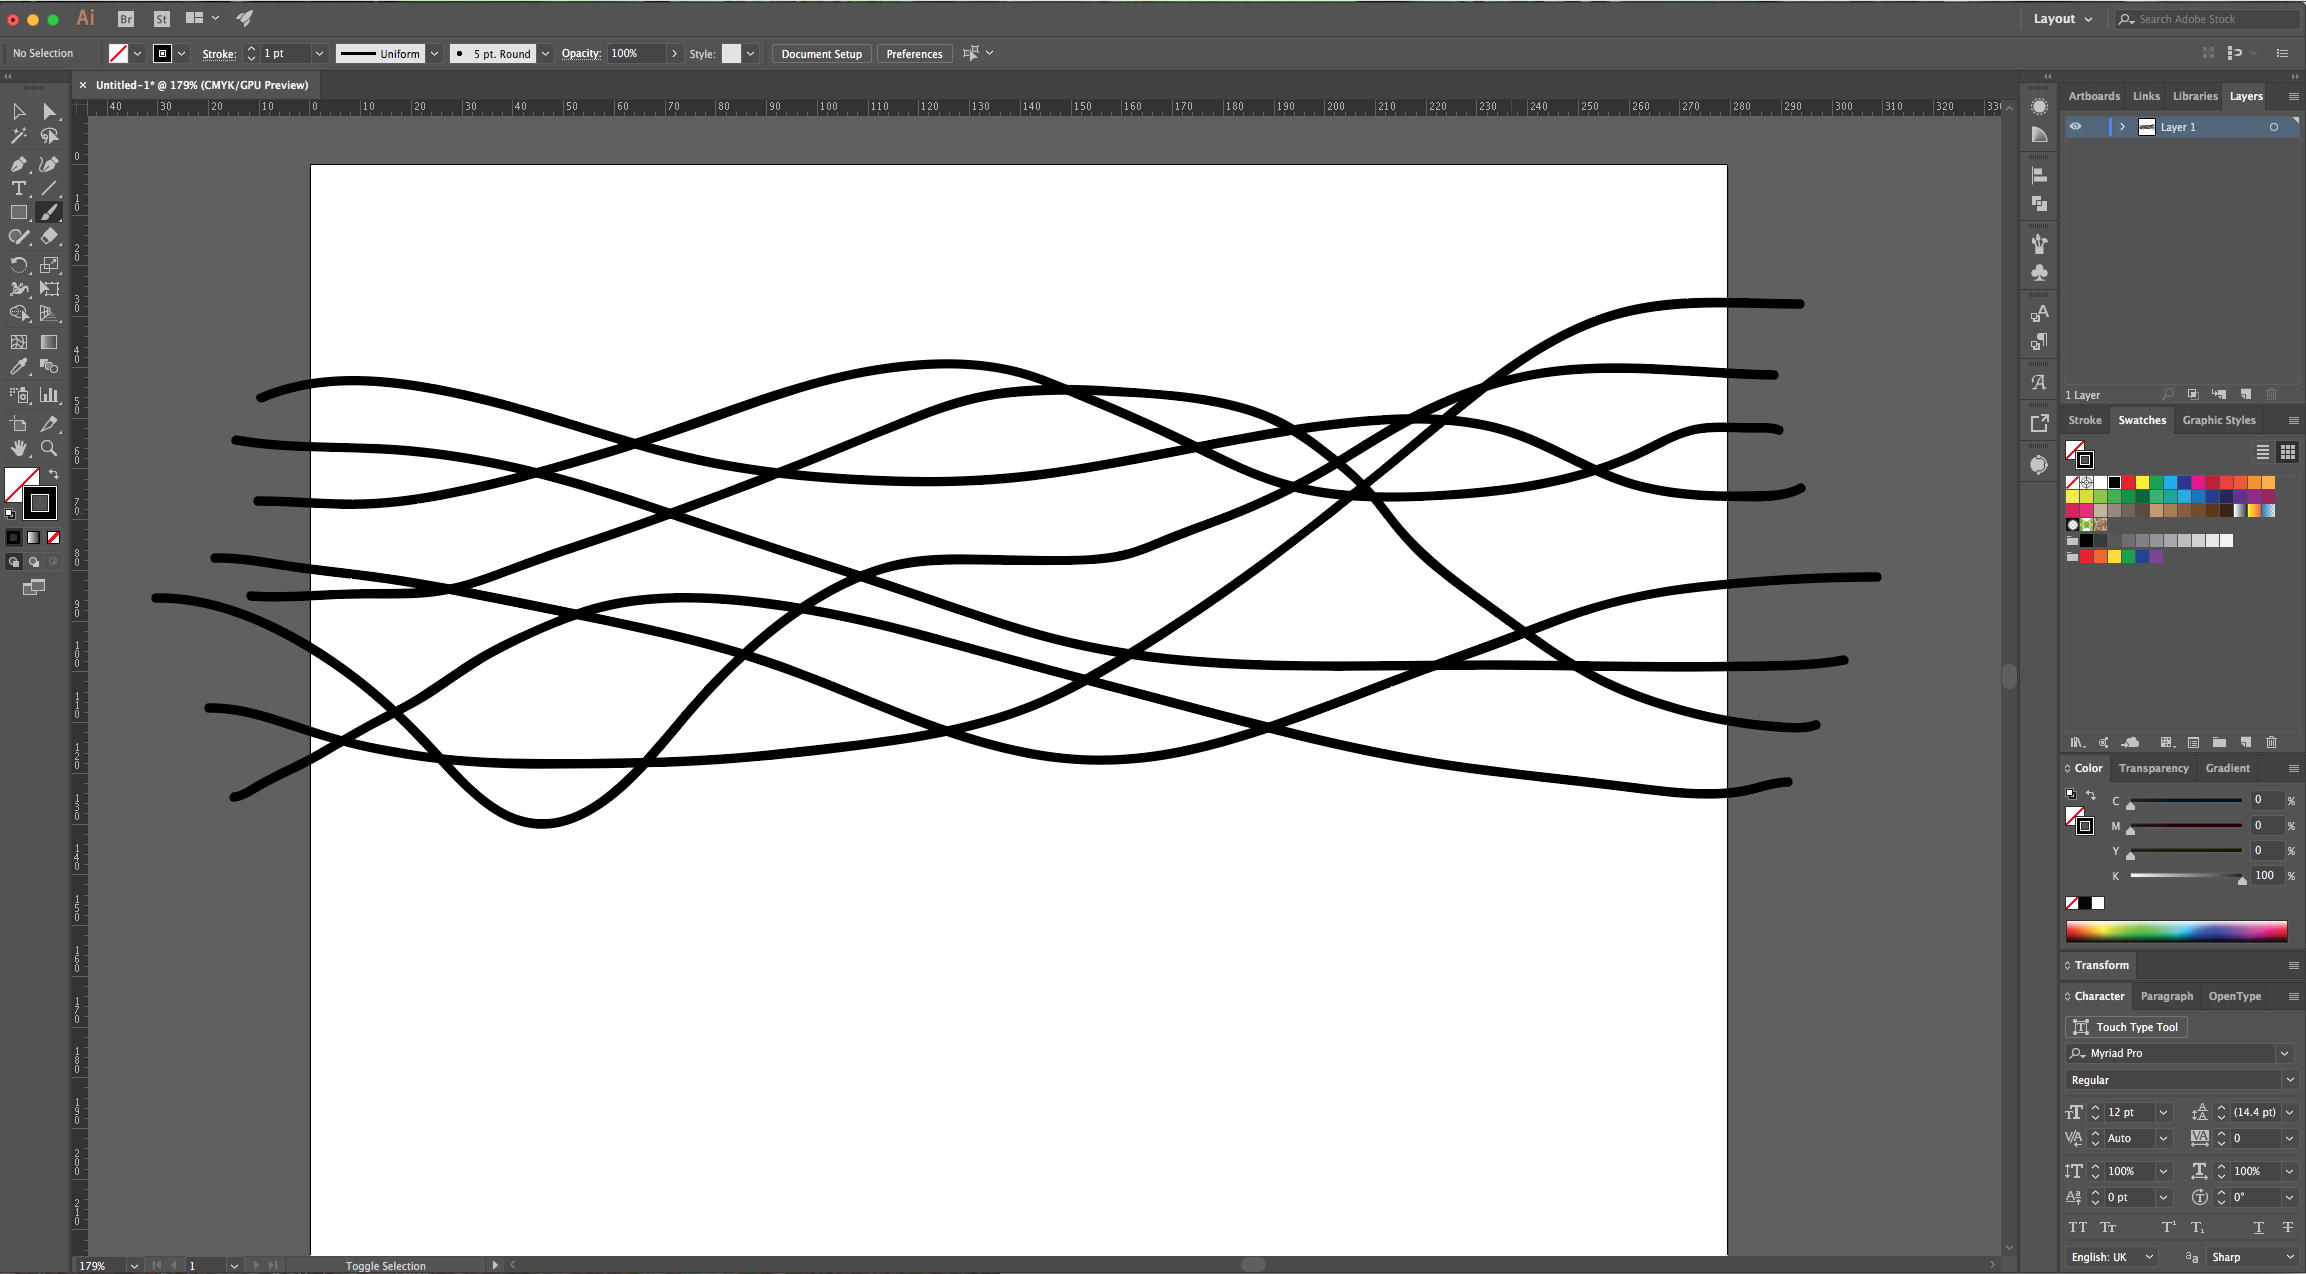
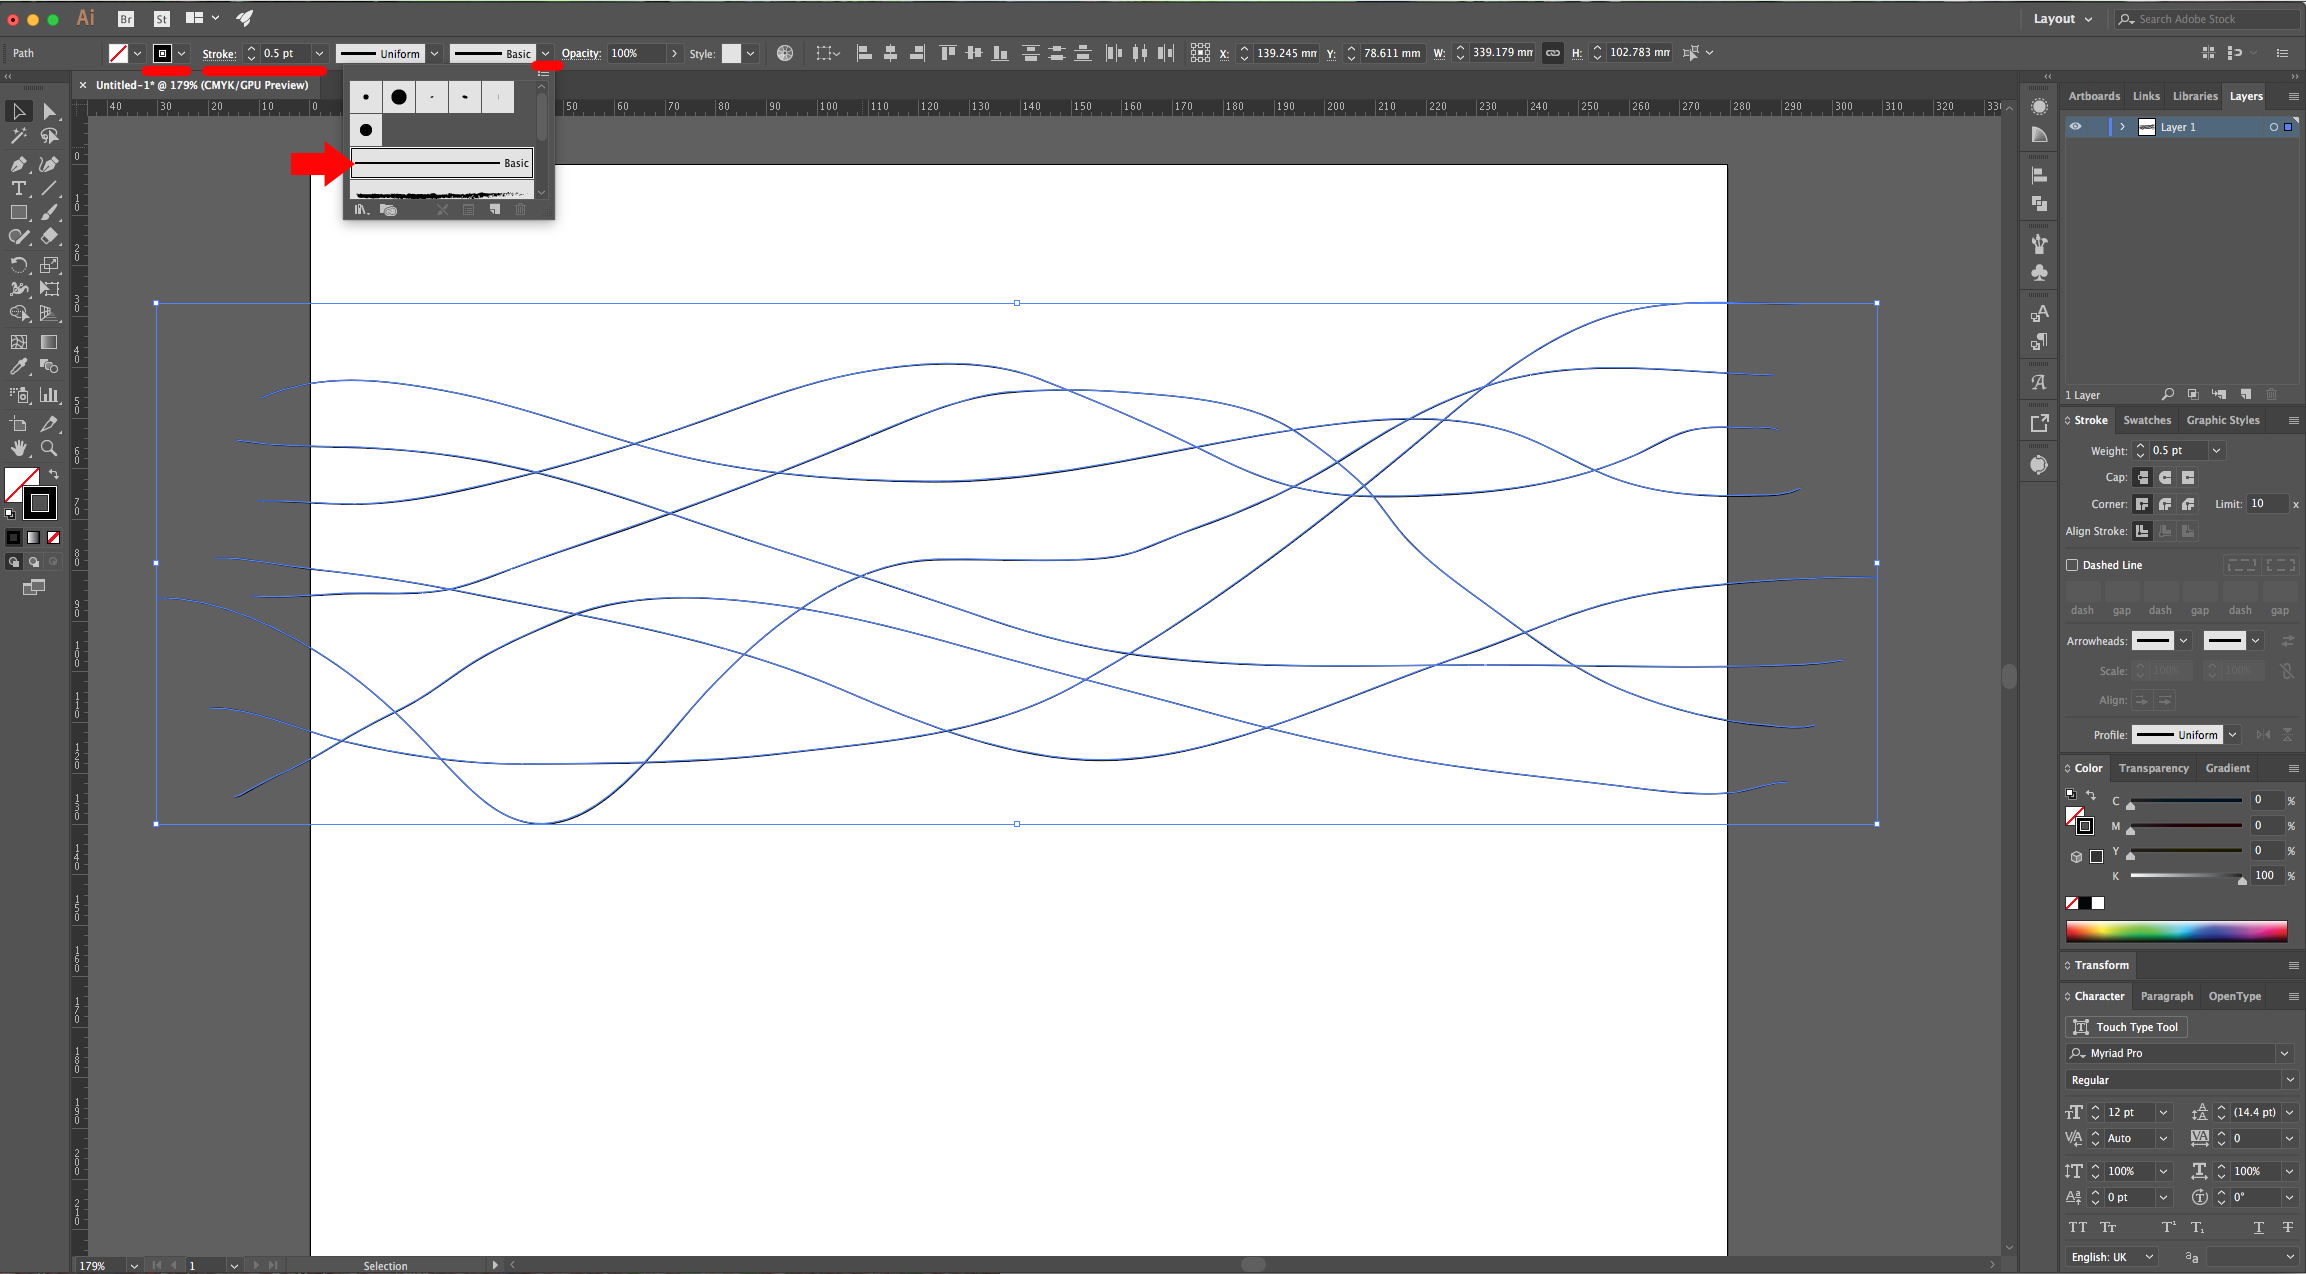
2 - Select the “Brush Tool” (B) and draw some wavy lines from side to side. Once you are happy with them, select them all and change their “Weight” to 0.5 pt and choose the “Basic” shape.
3 - Go to Object > Blend > Make (Shift + Command/Control + B) to create some more waves with the default preset.
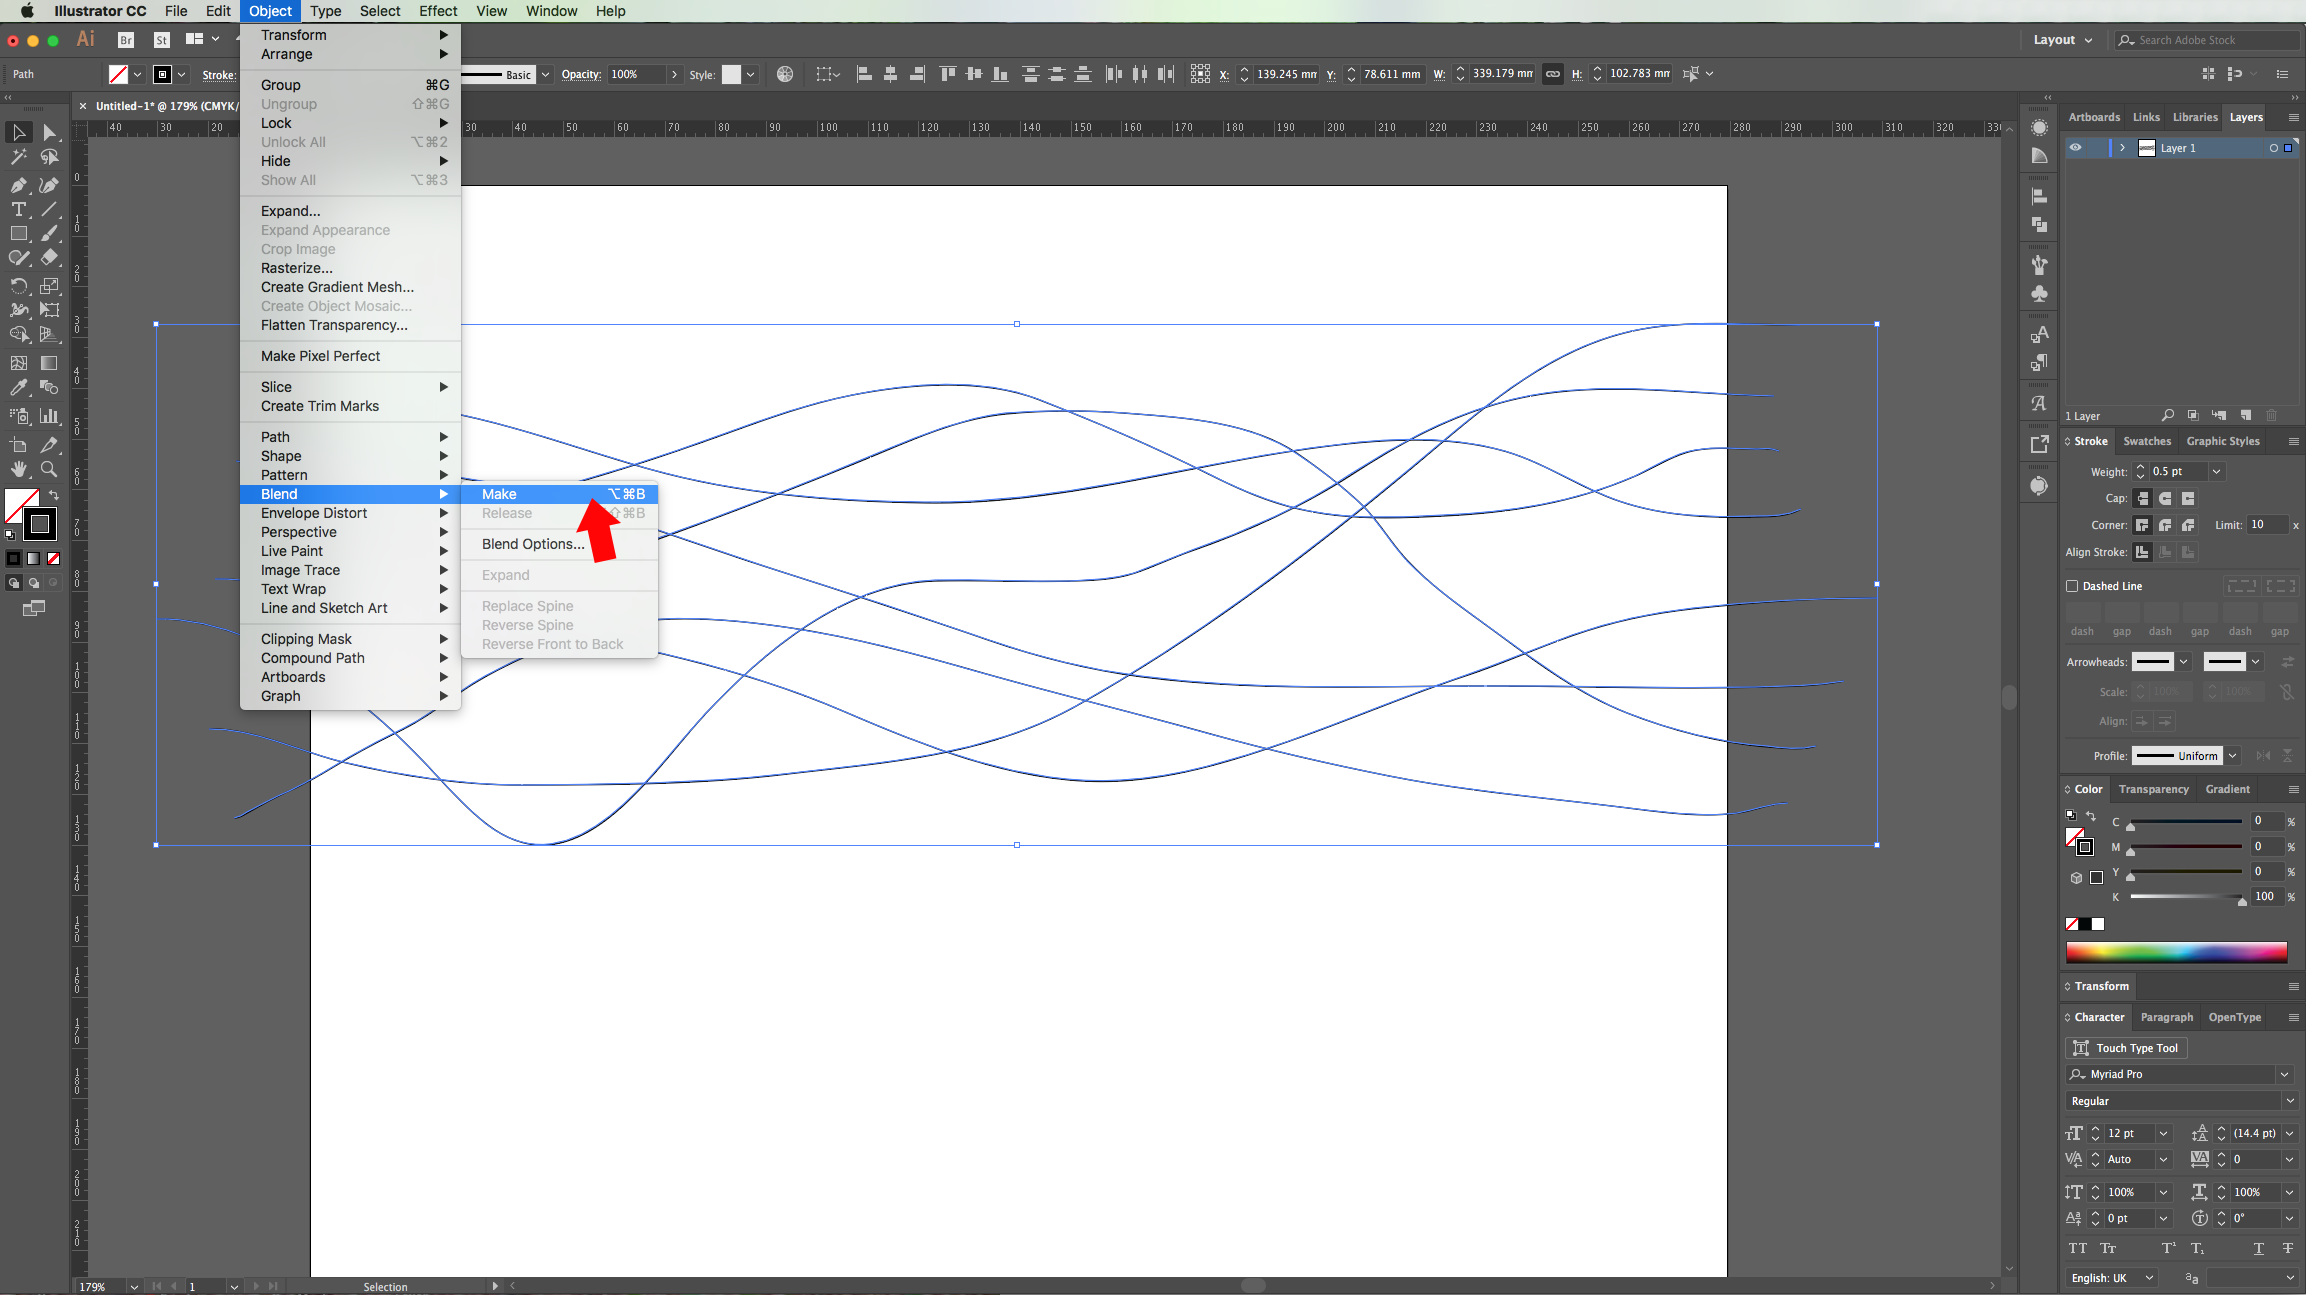
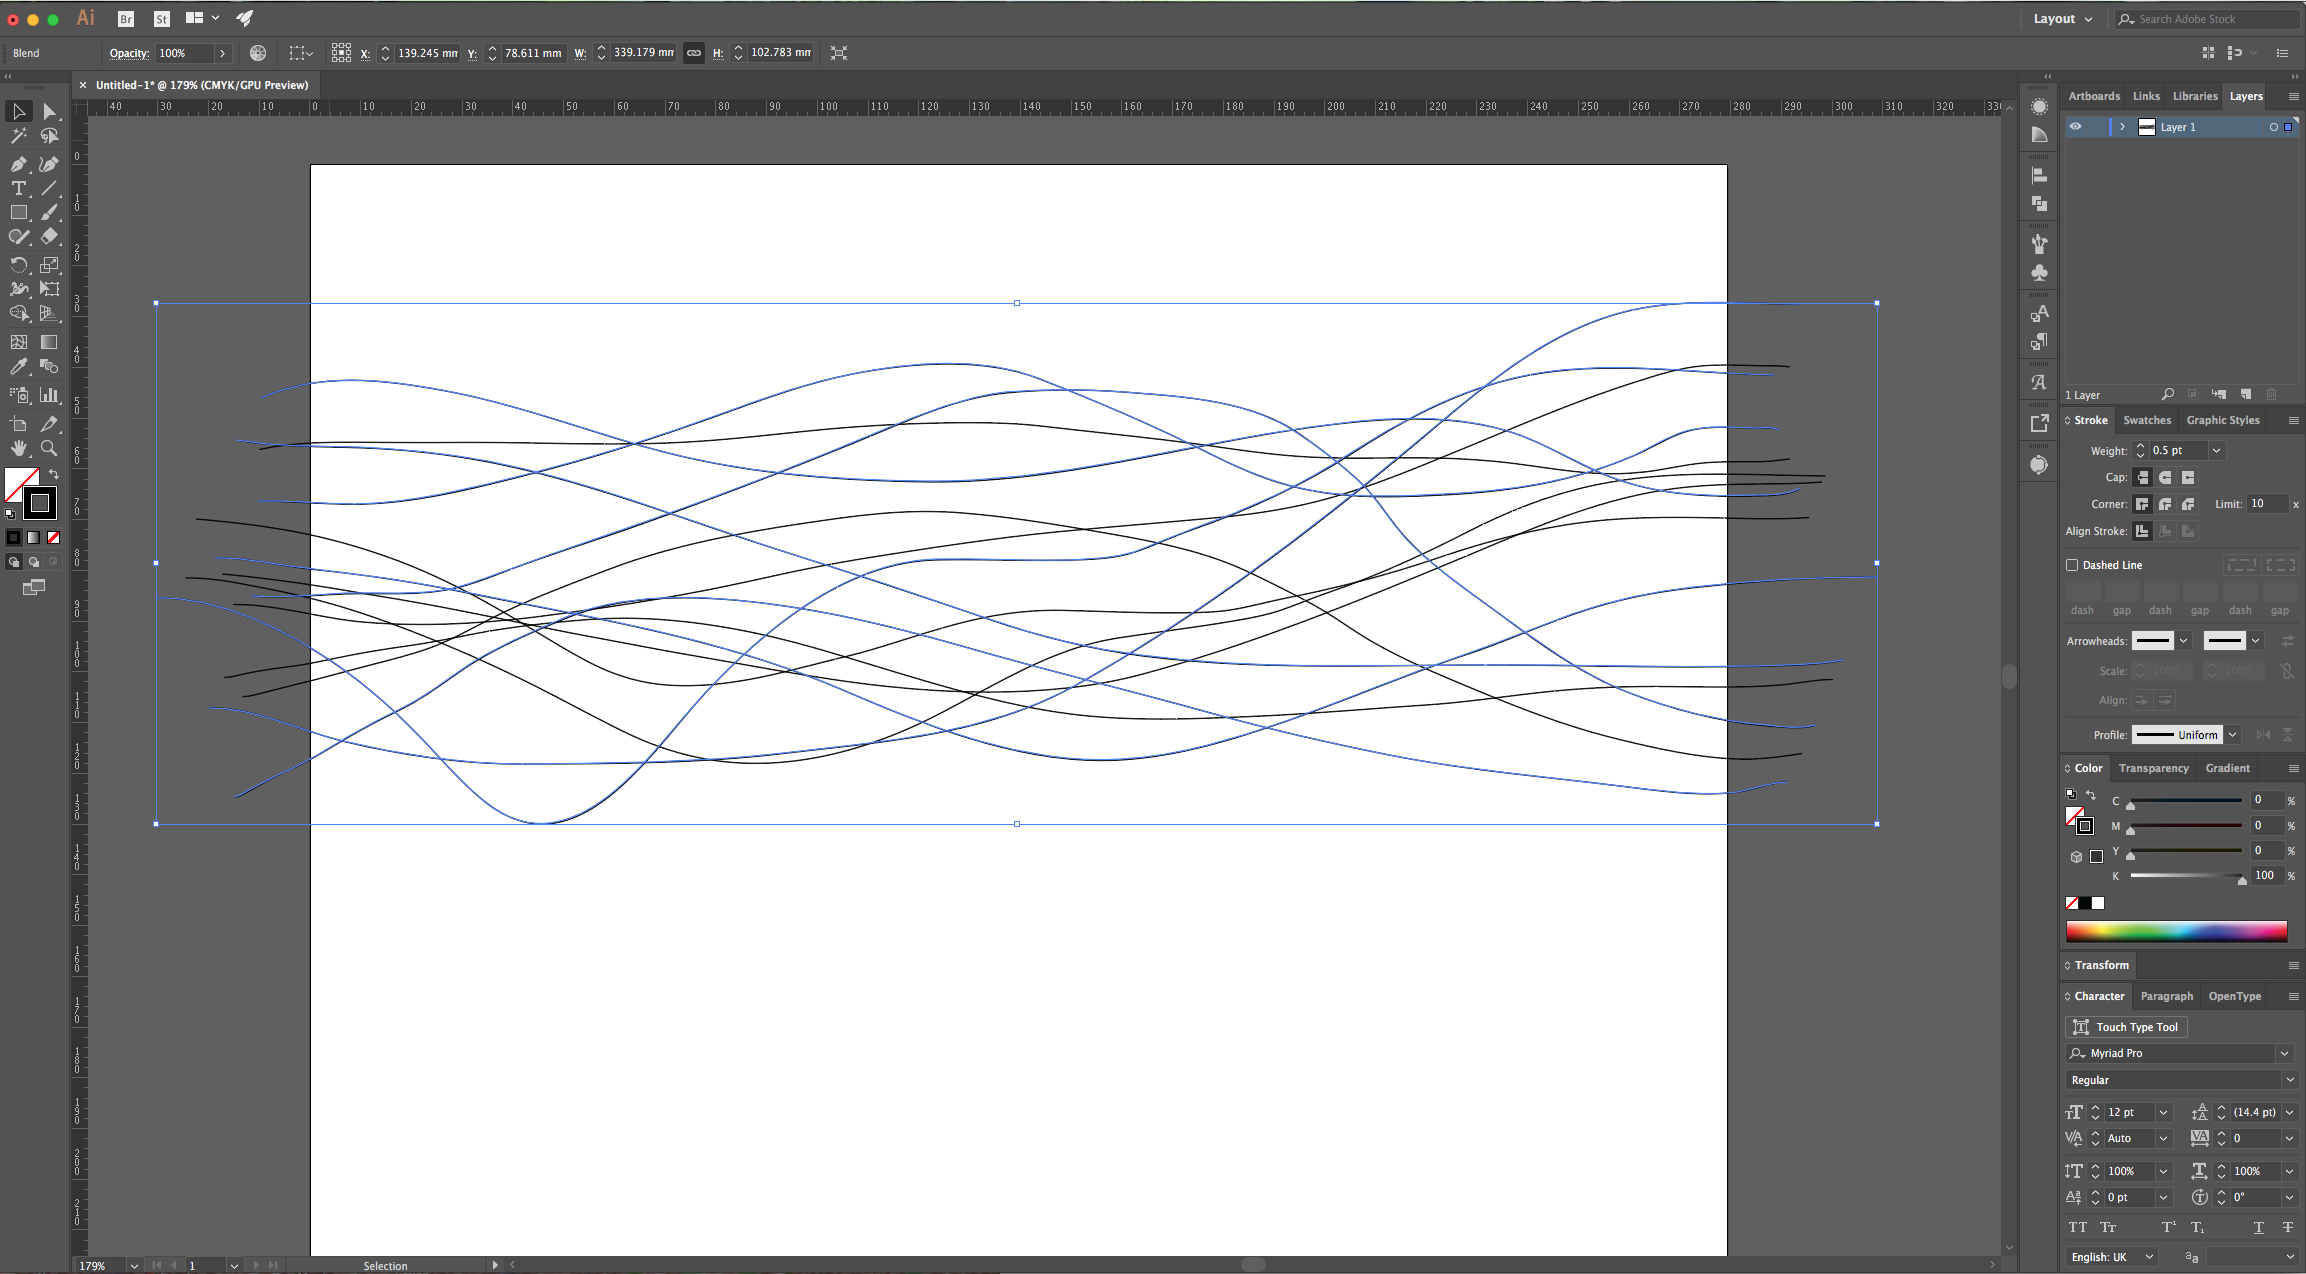
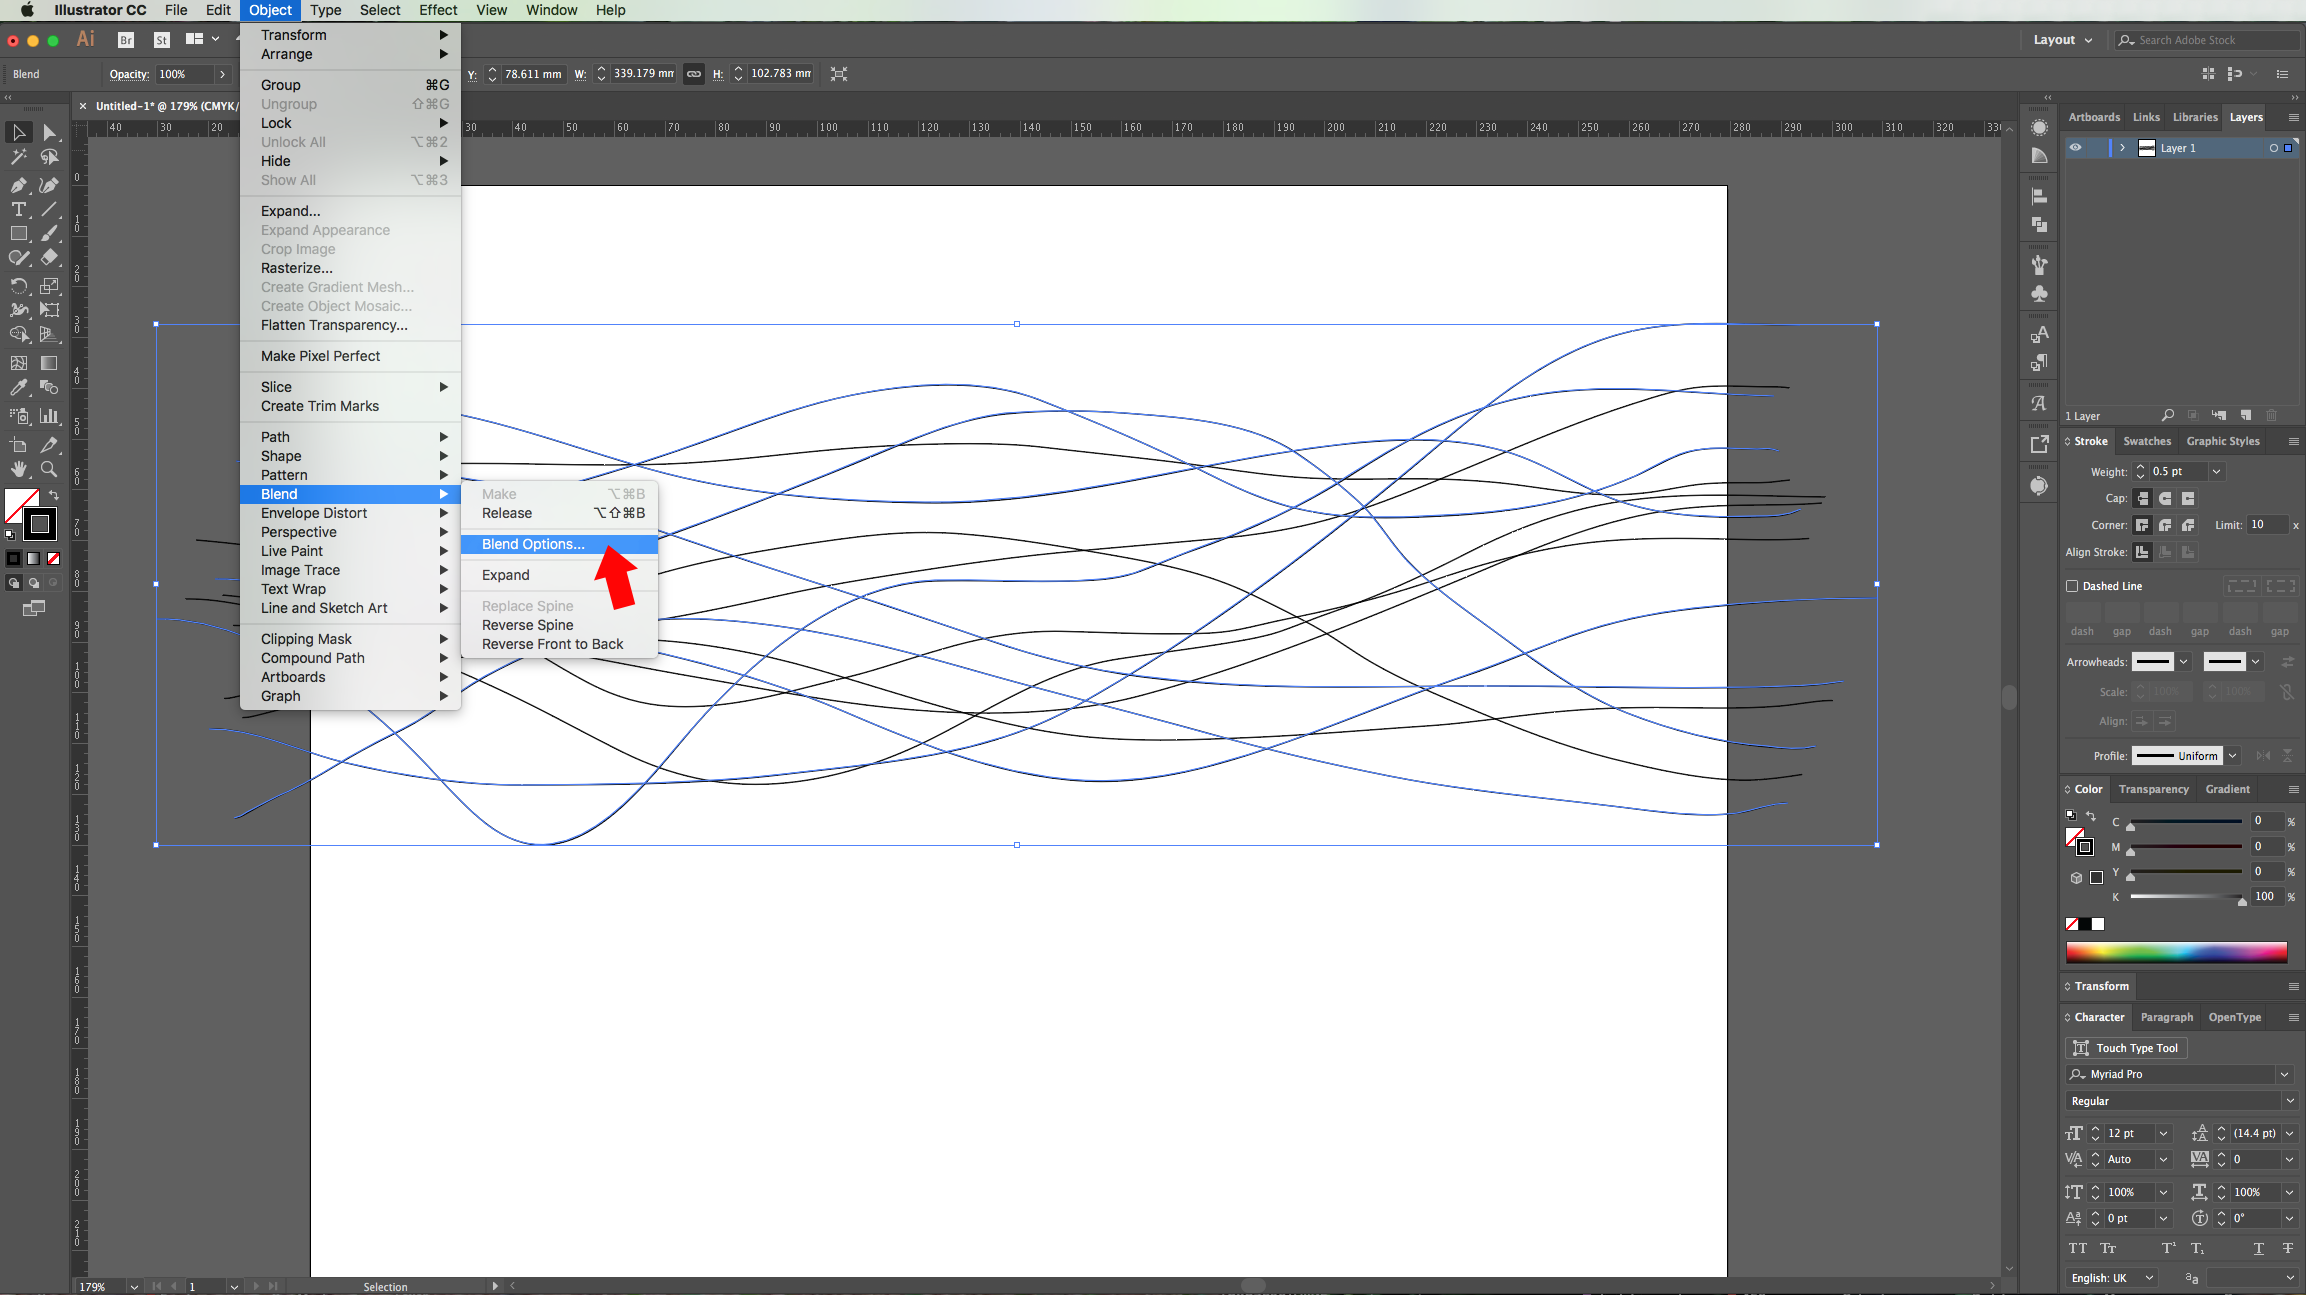
4 - Then, go to Object > Blend > Blend Options, change the “Spacing” to “Specified Steps” and use 100 or more. Click “OK”.
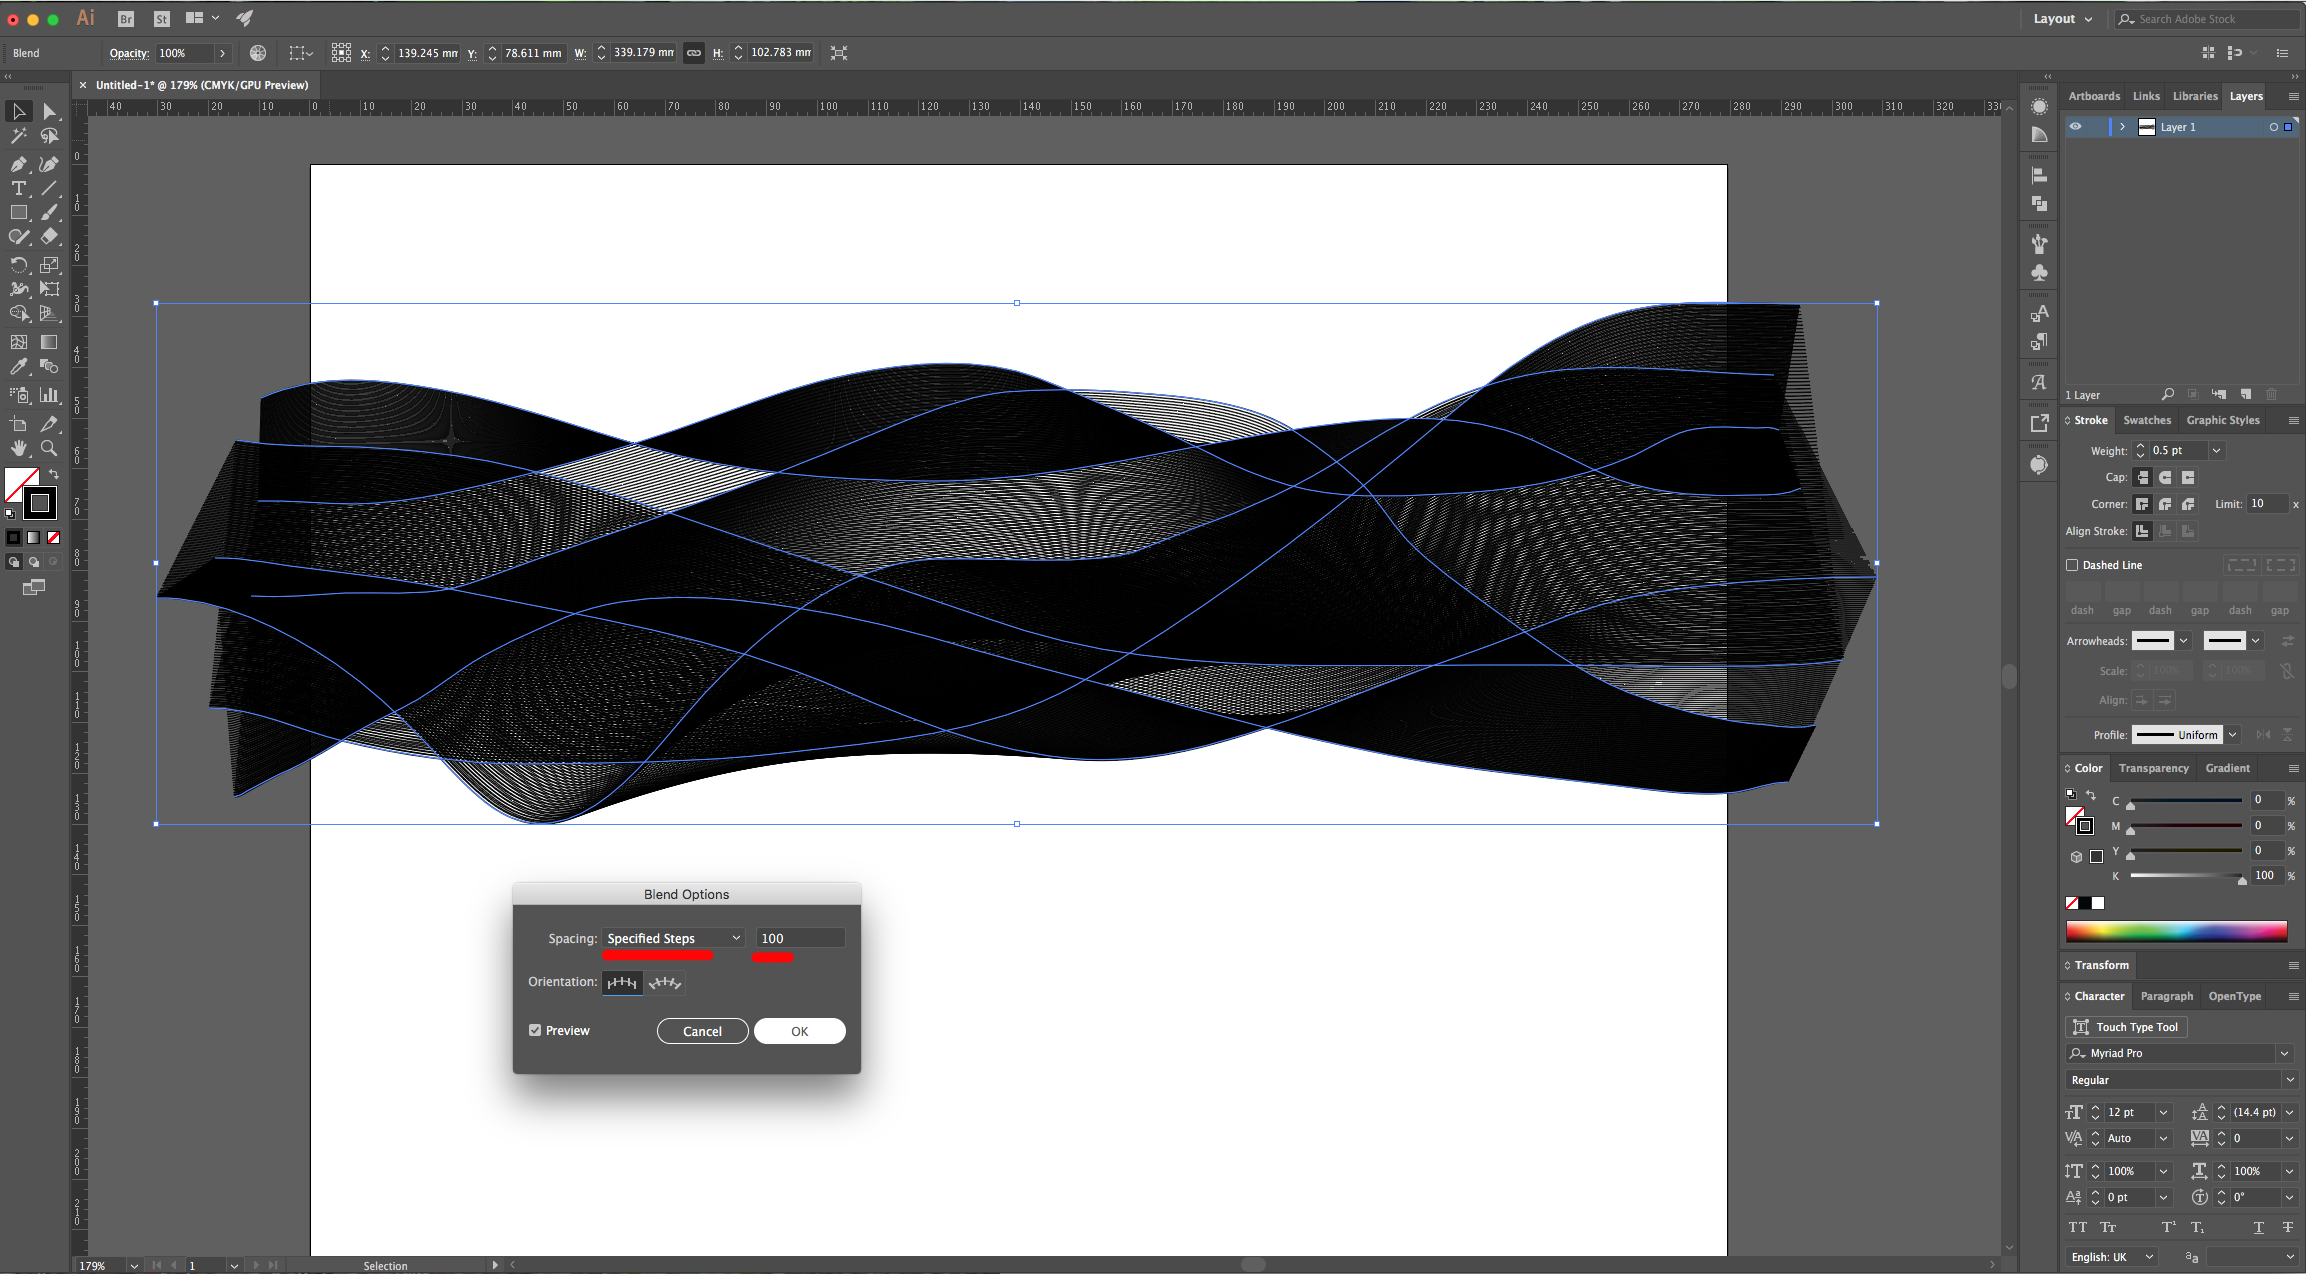
5 - With the “Direct Selection Tool” (A) click on one of the original lines to select it and change its “Opacity” in the “Transparency Panel”. Do this to some of the other lines with different percentages to create some depth in your “Ribbon” shape.
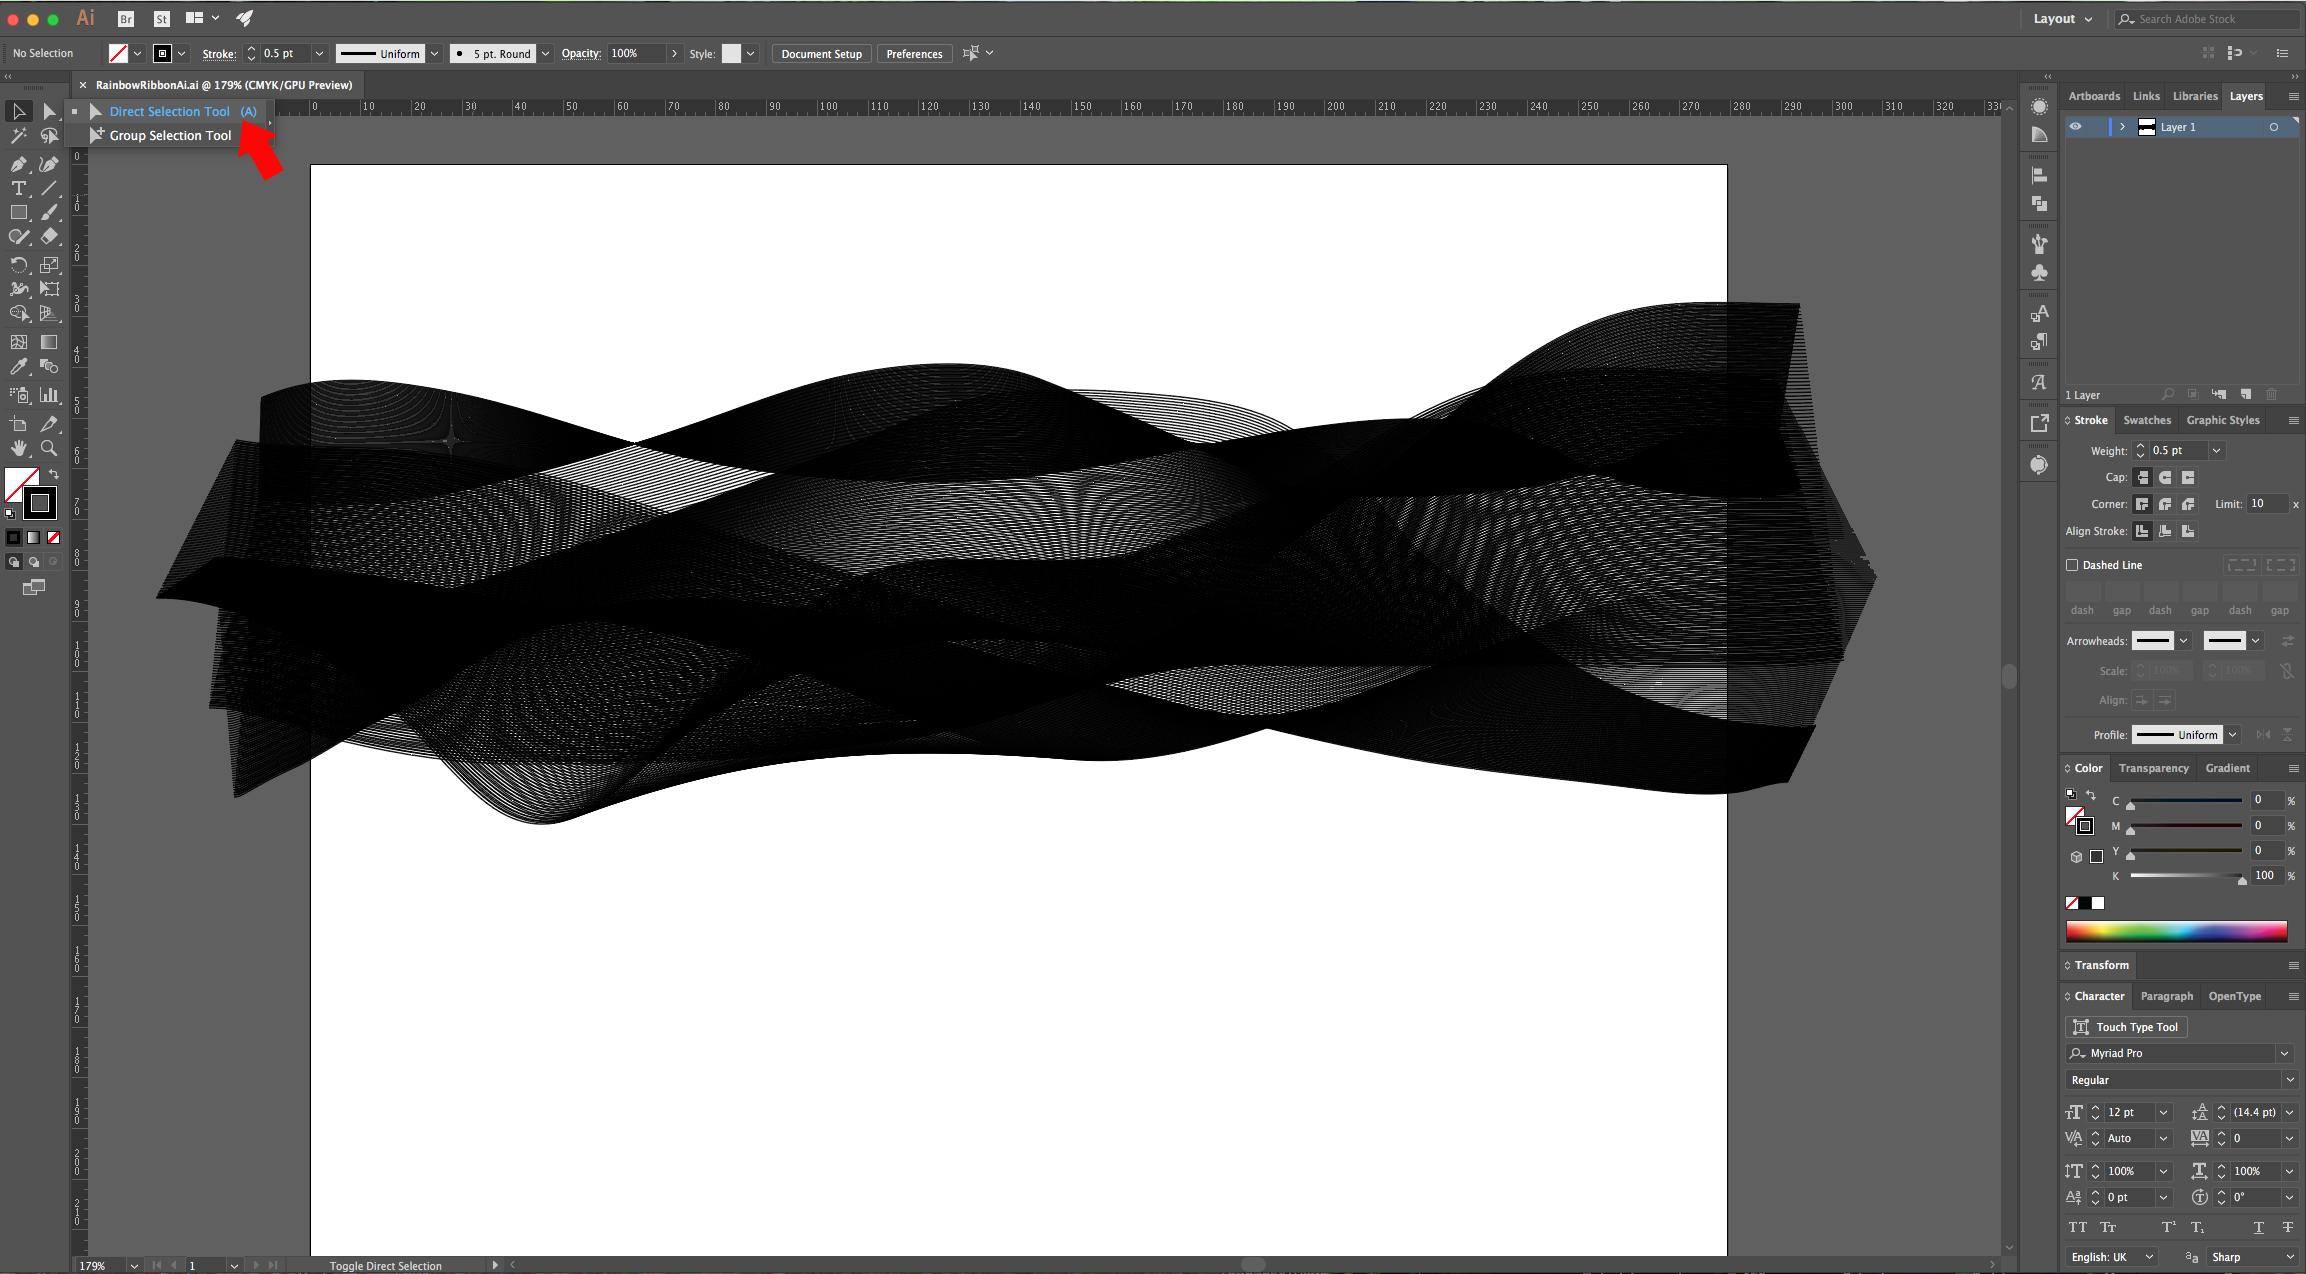
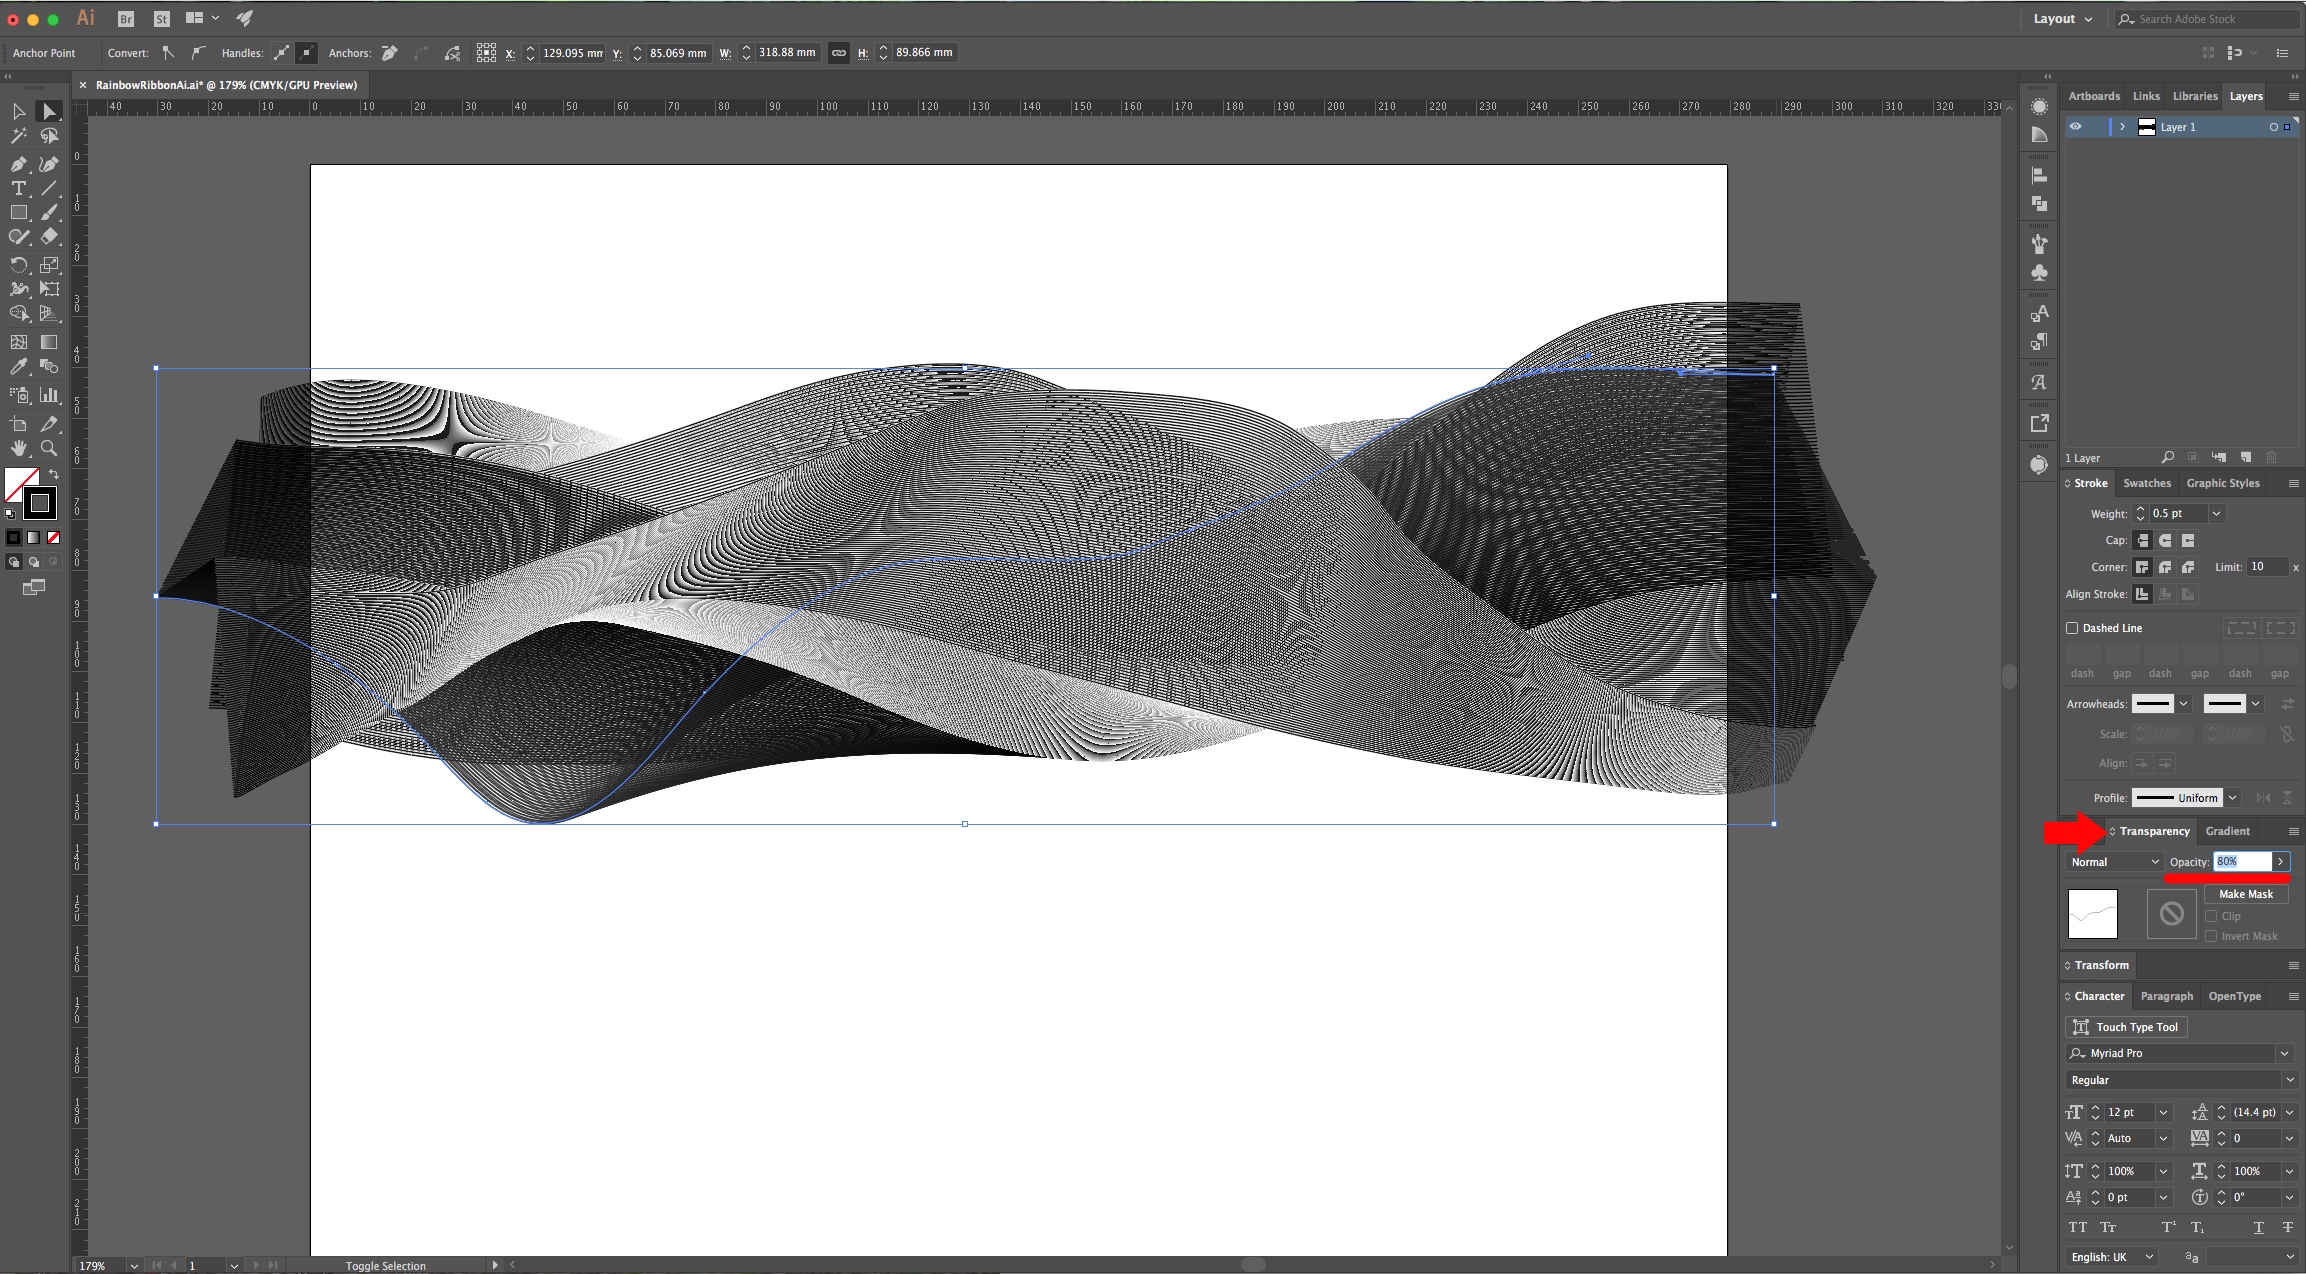
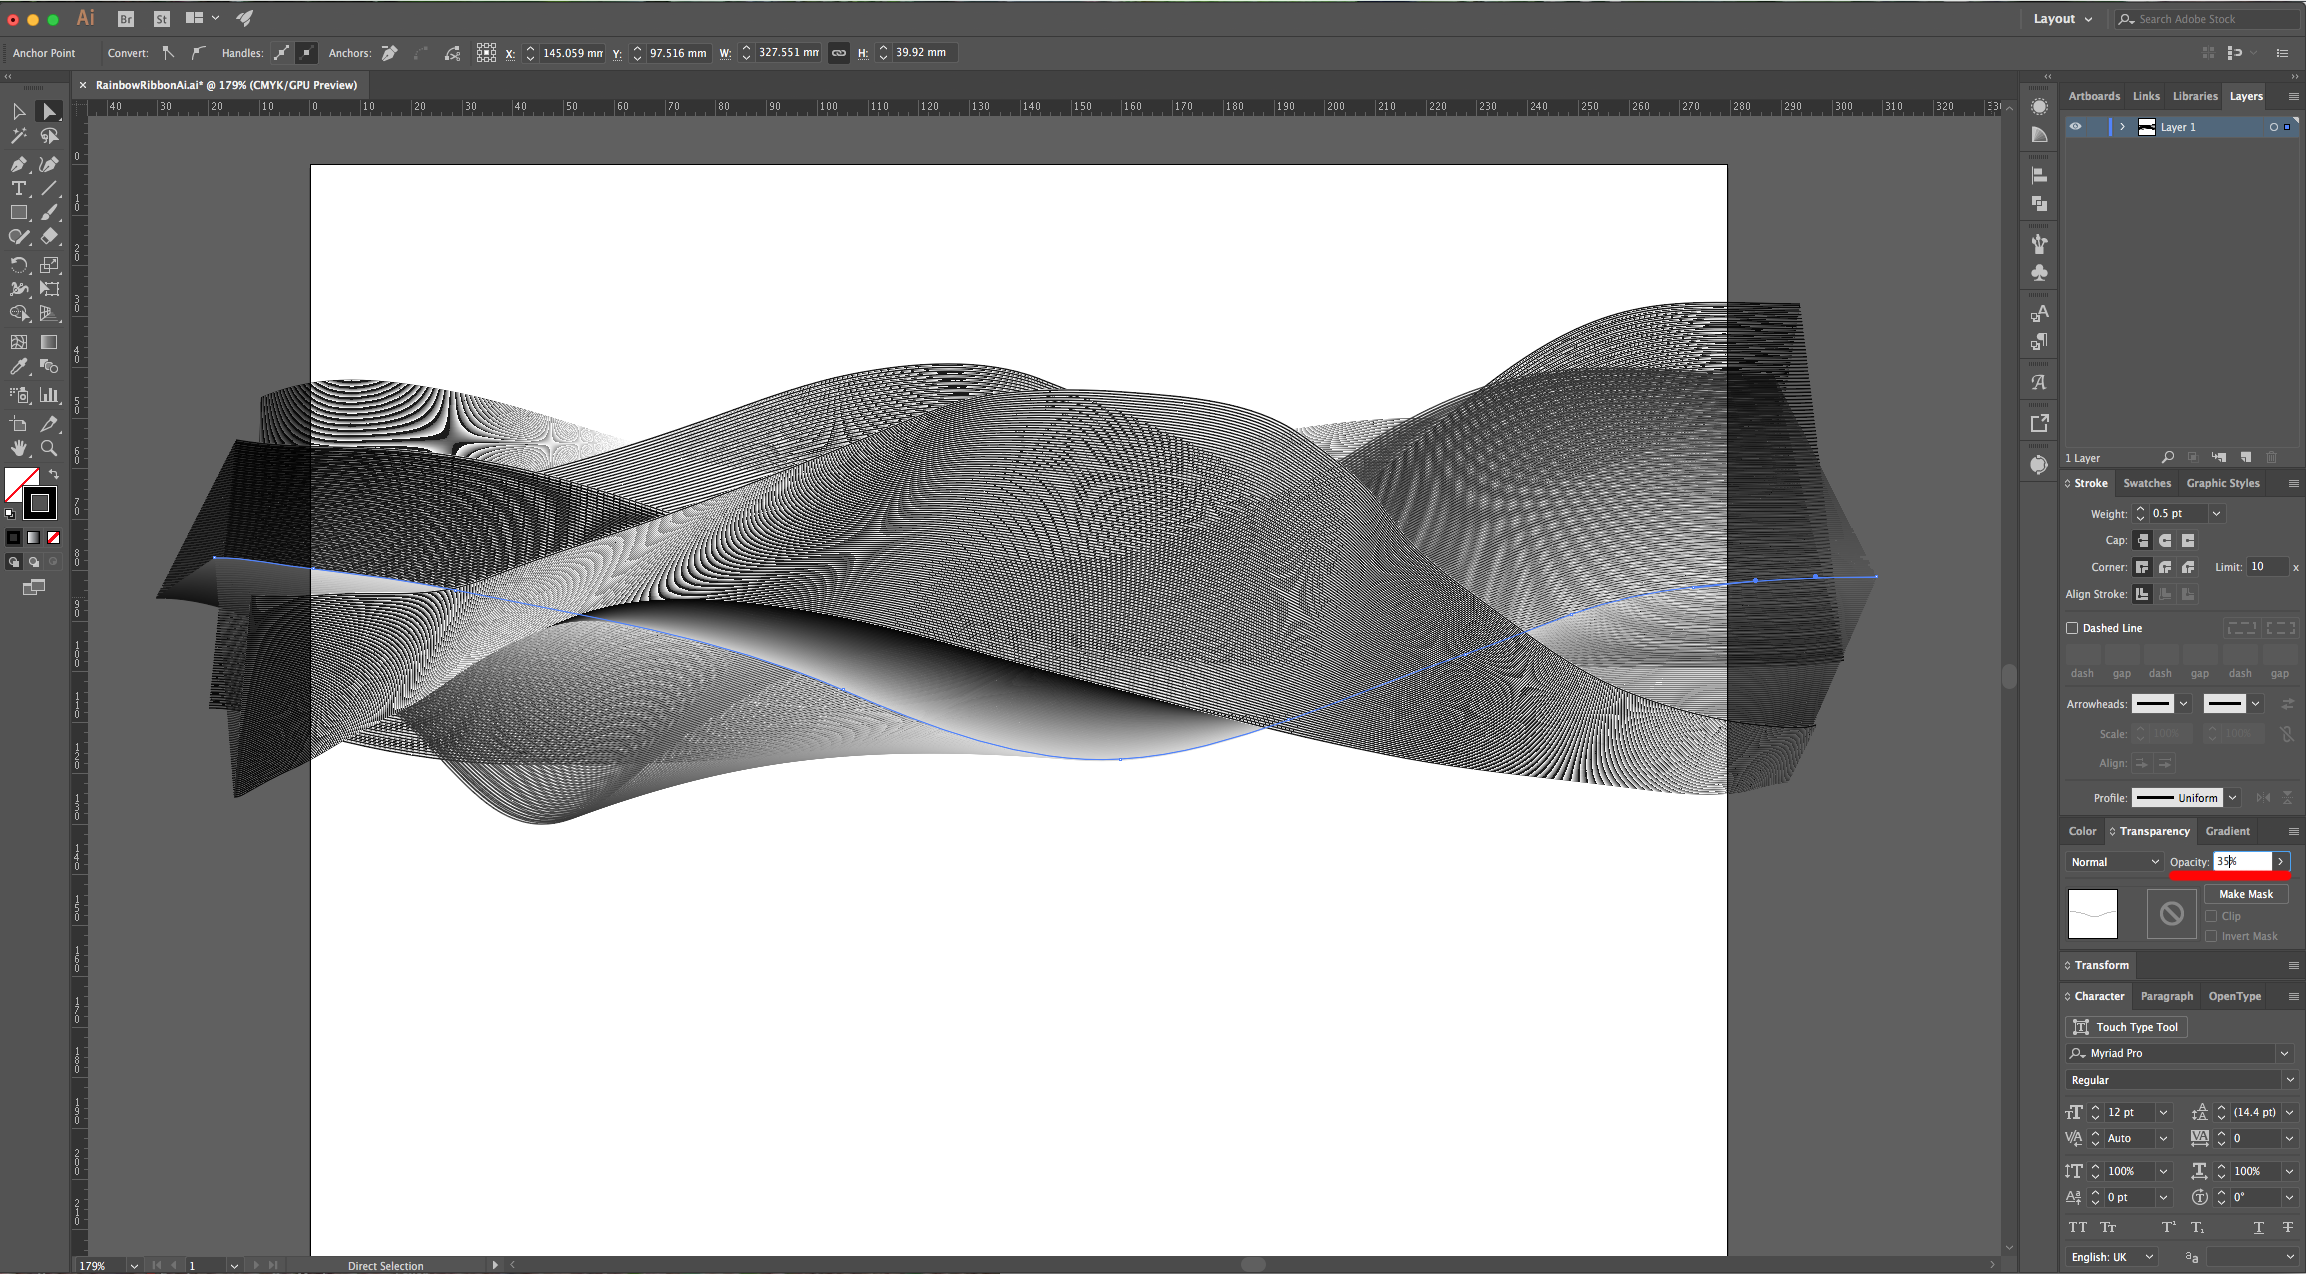
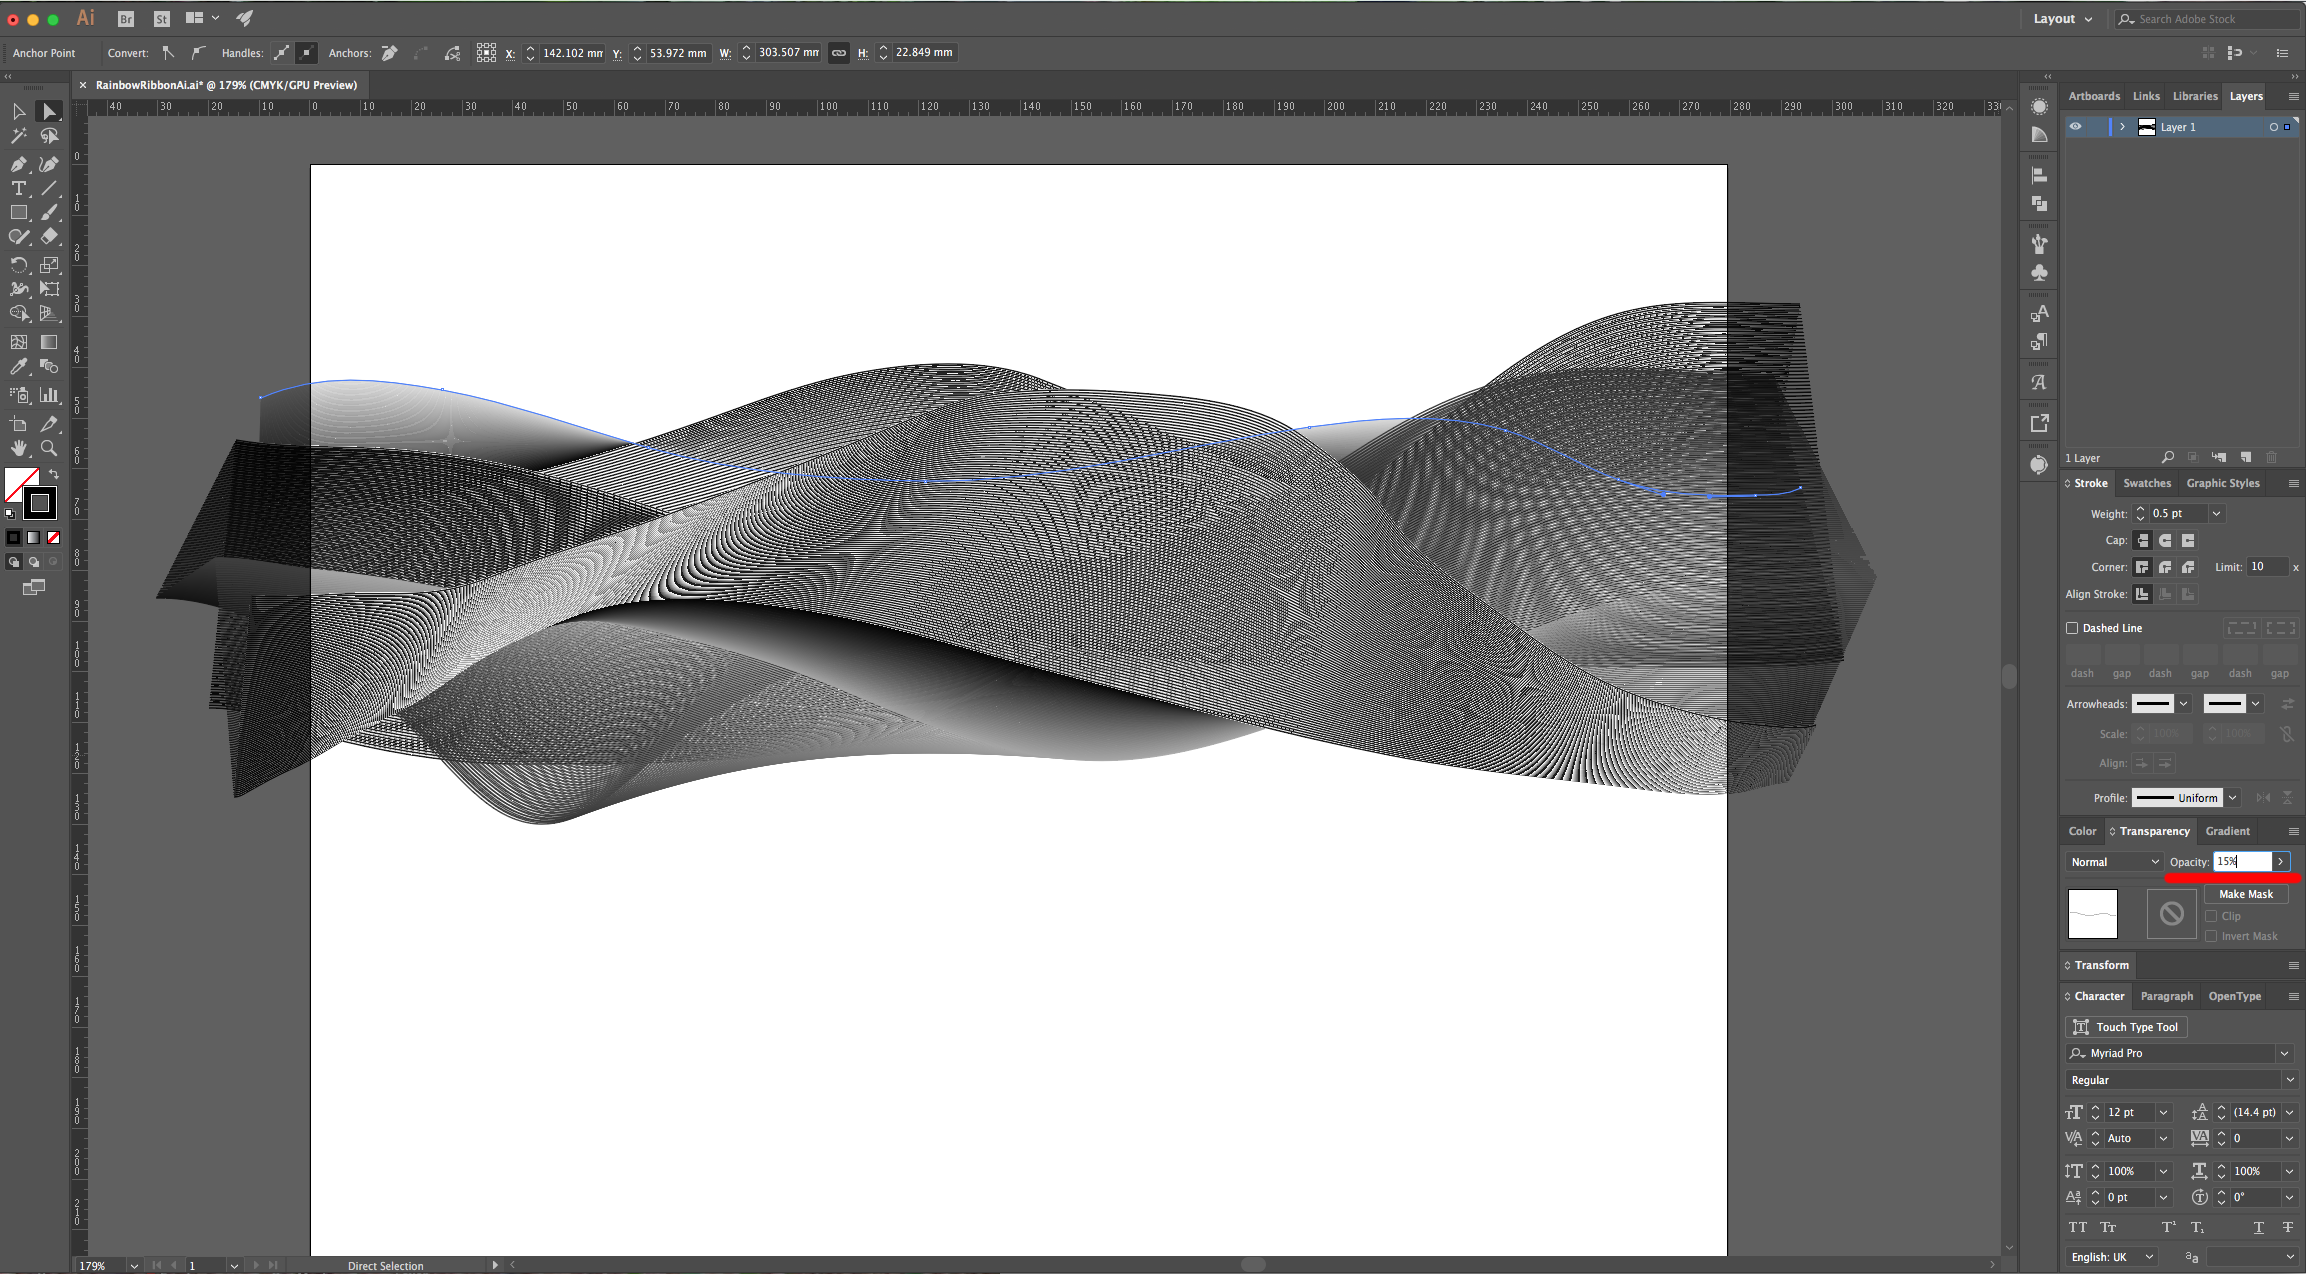
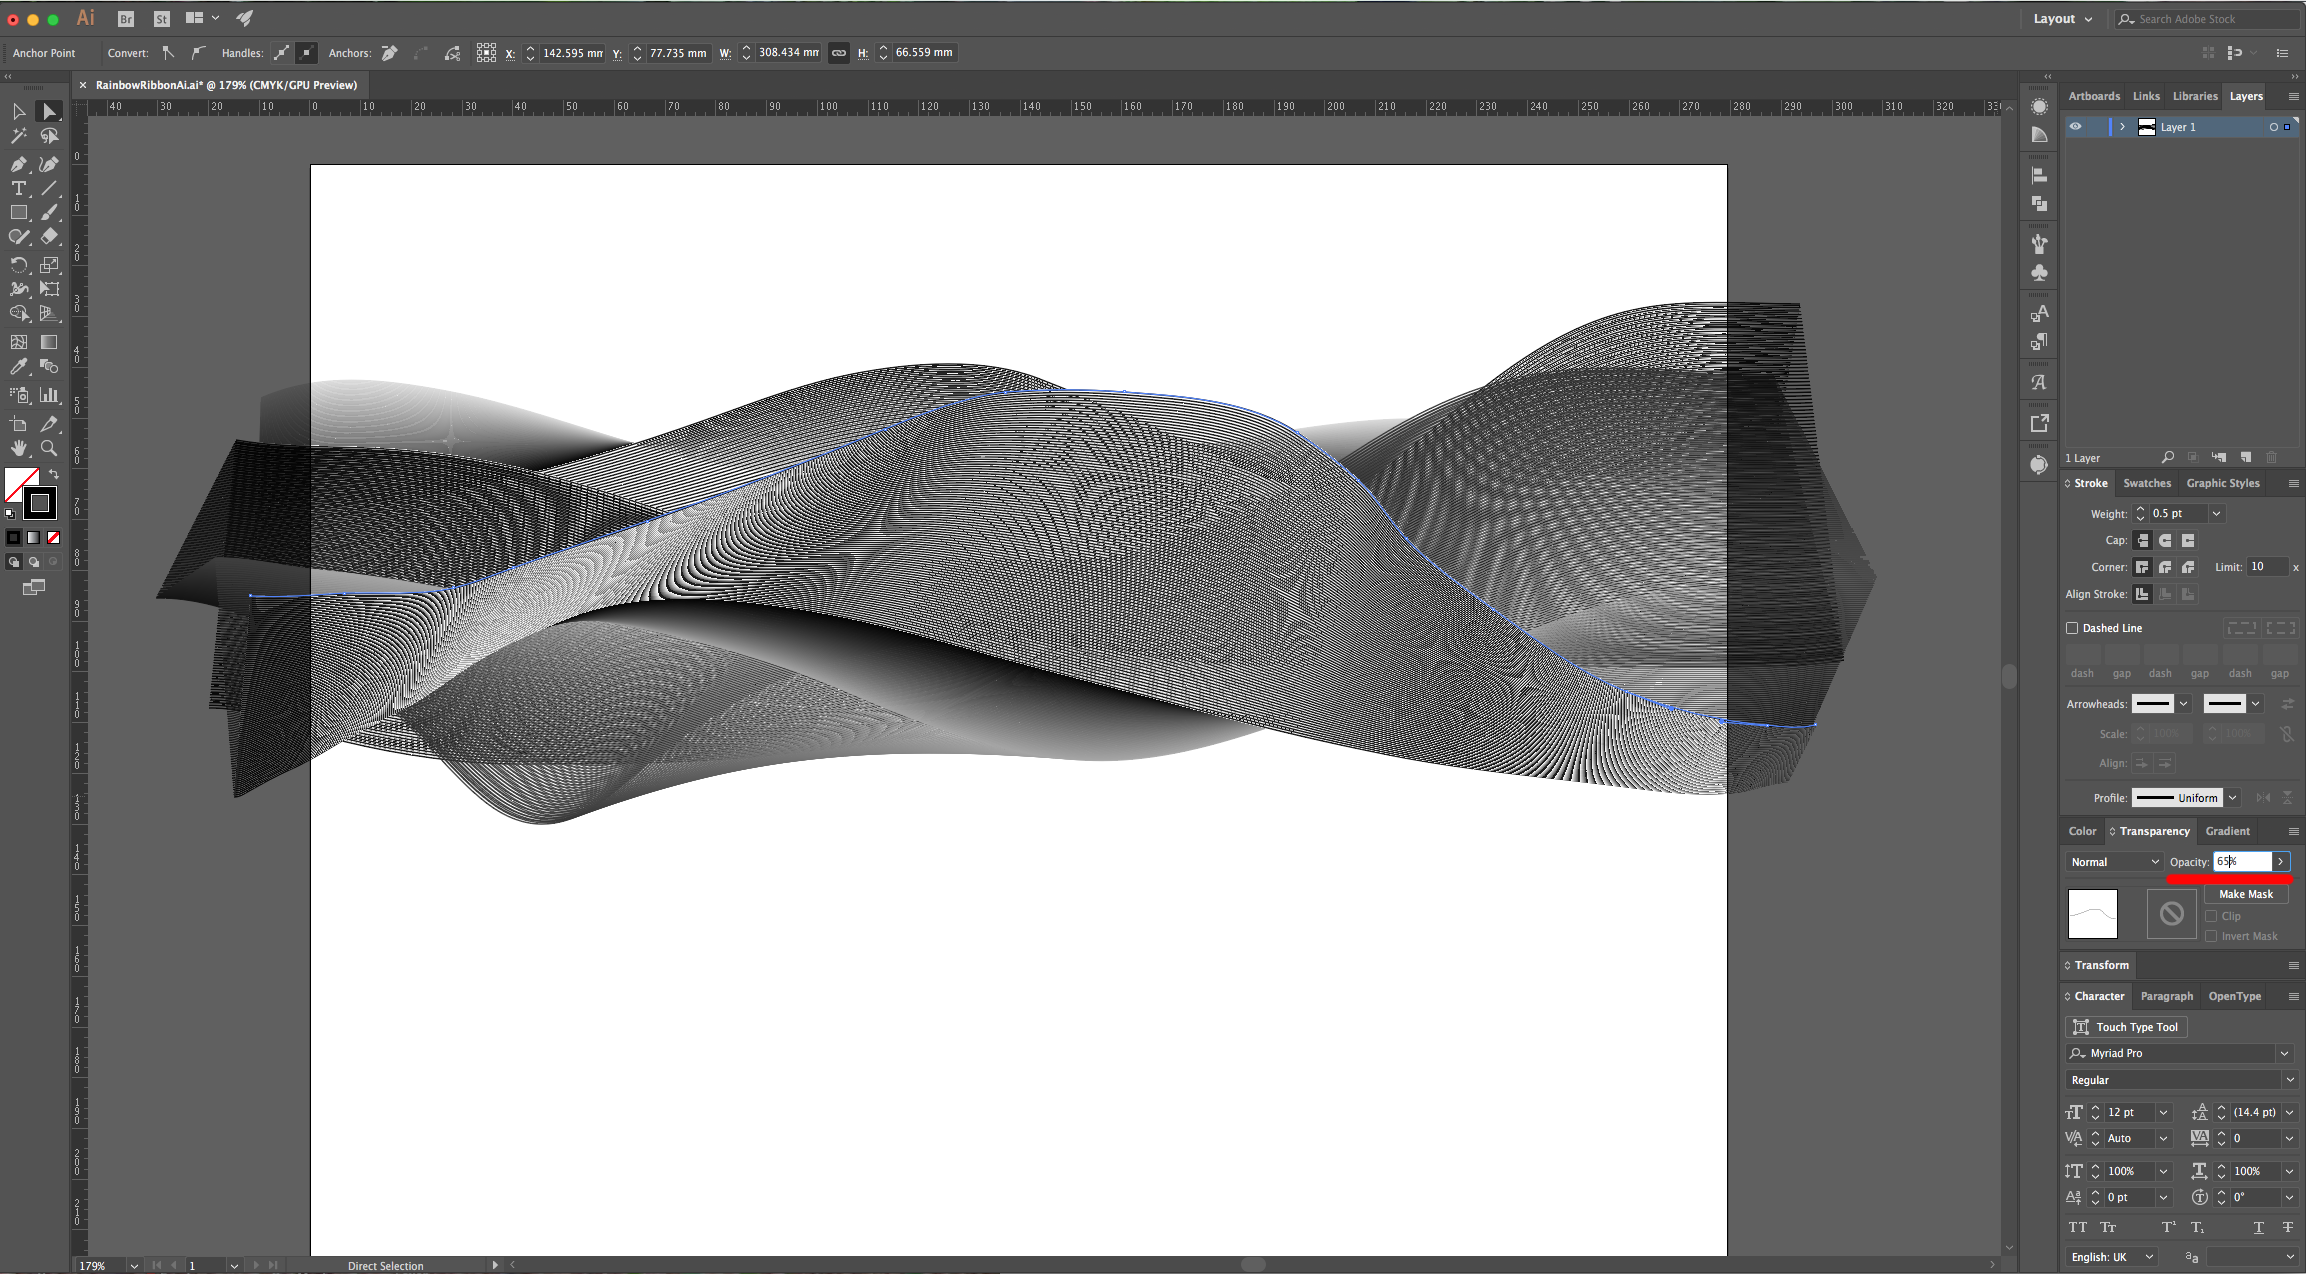
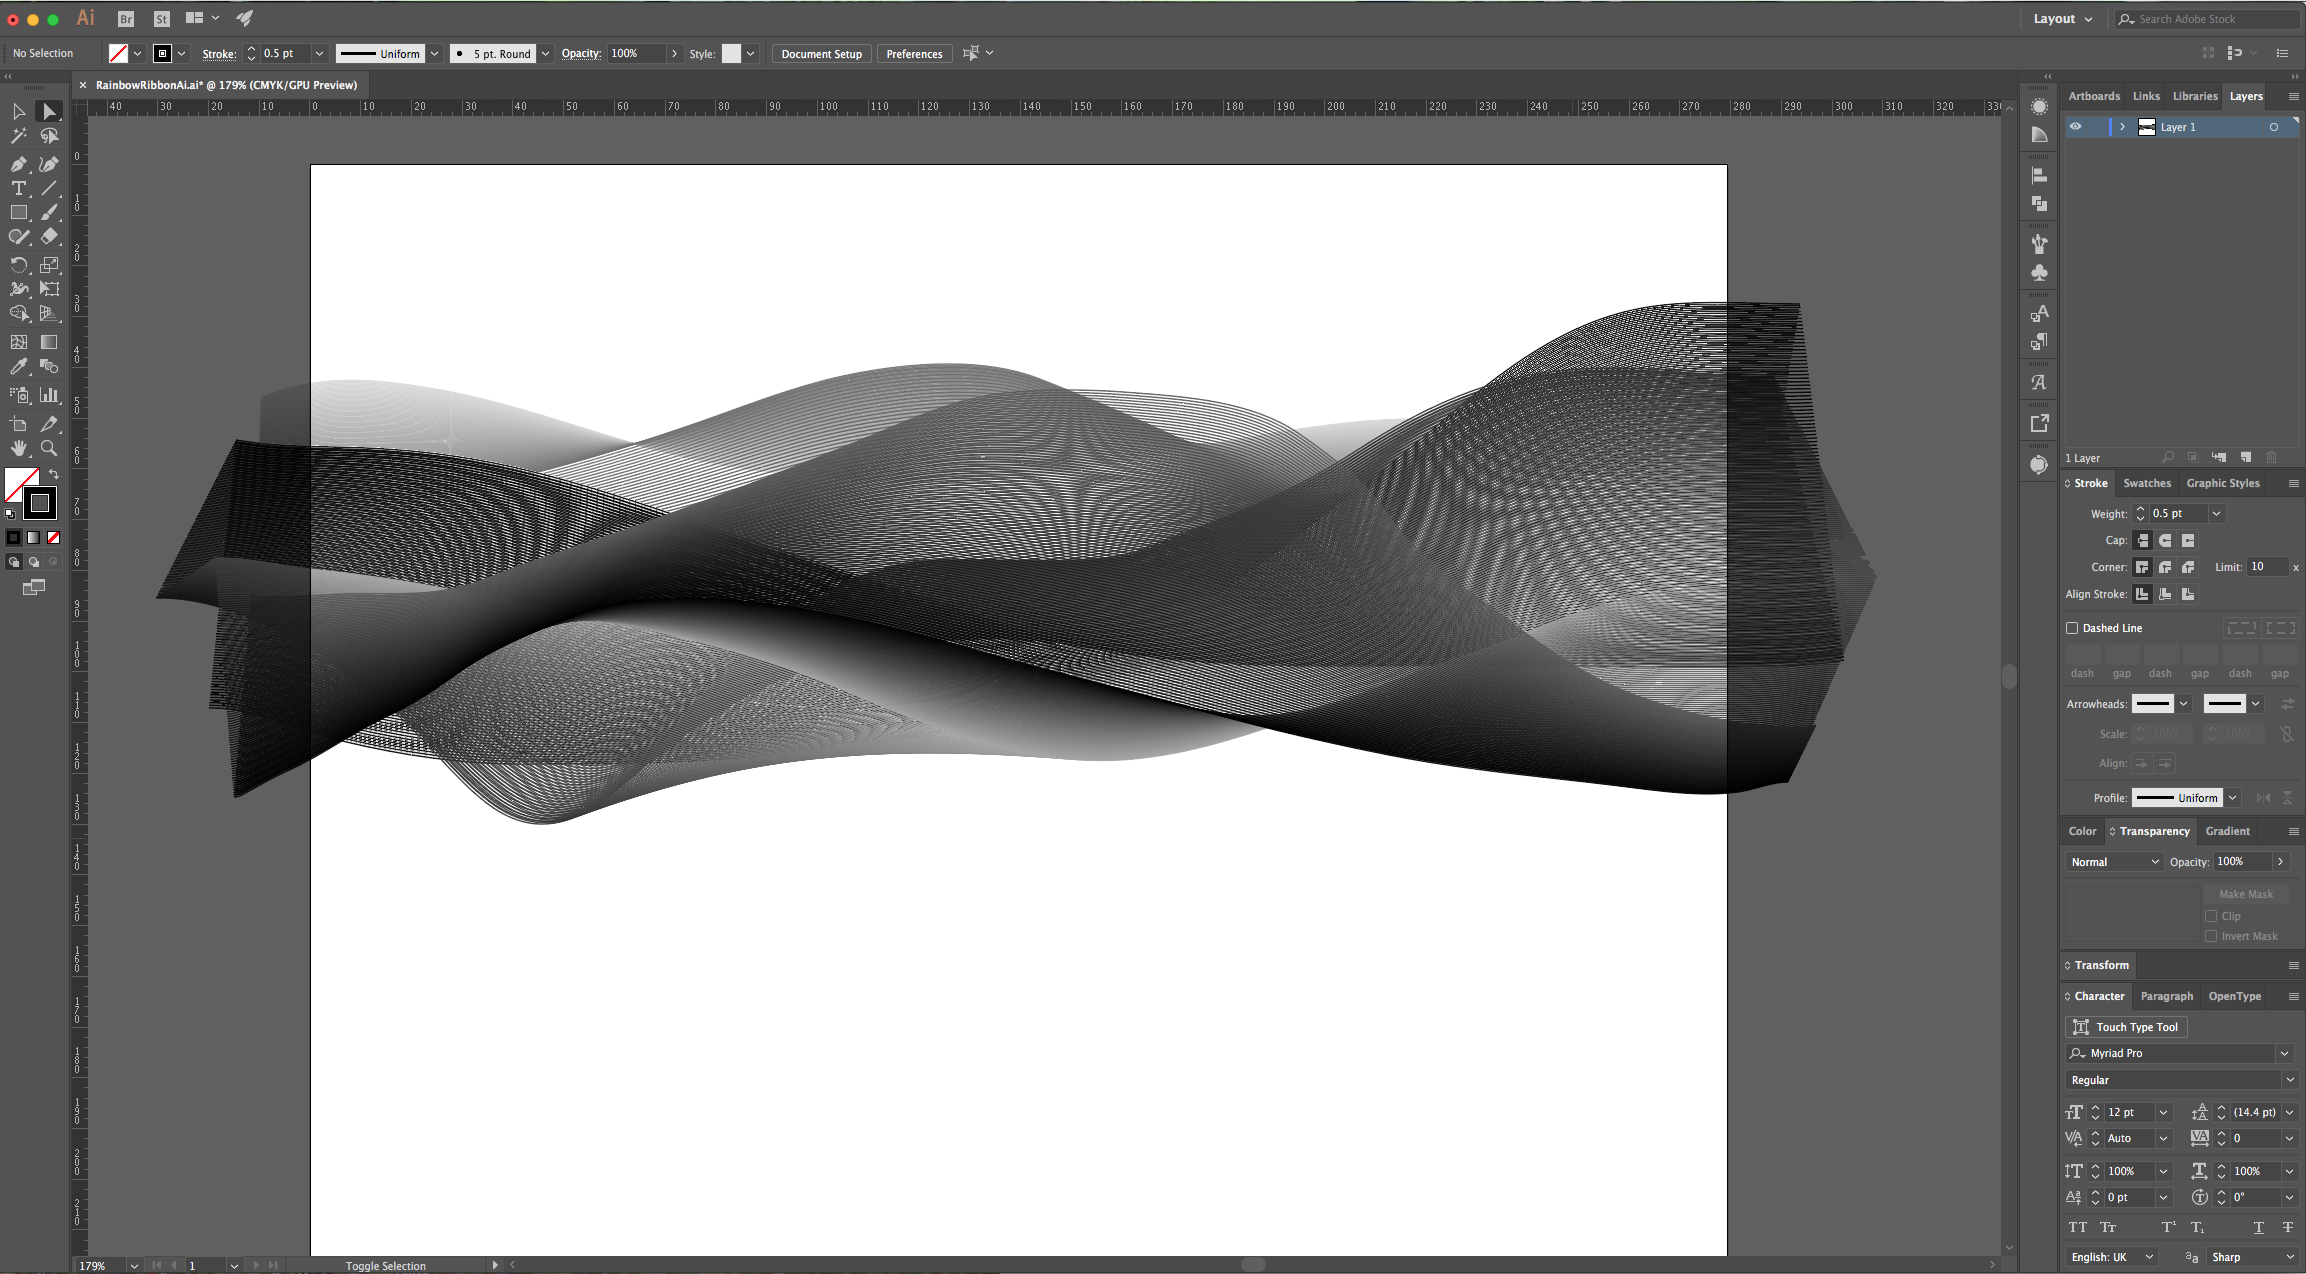
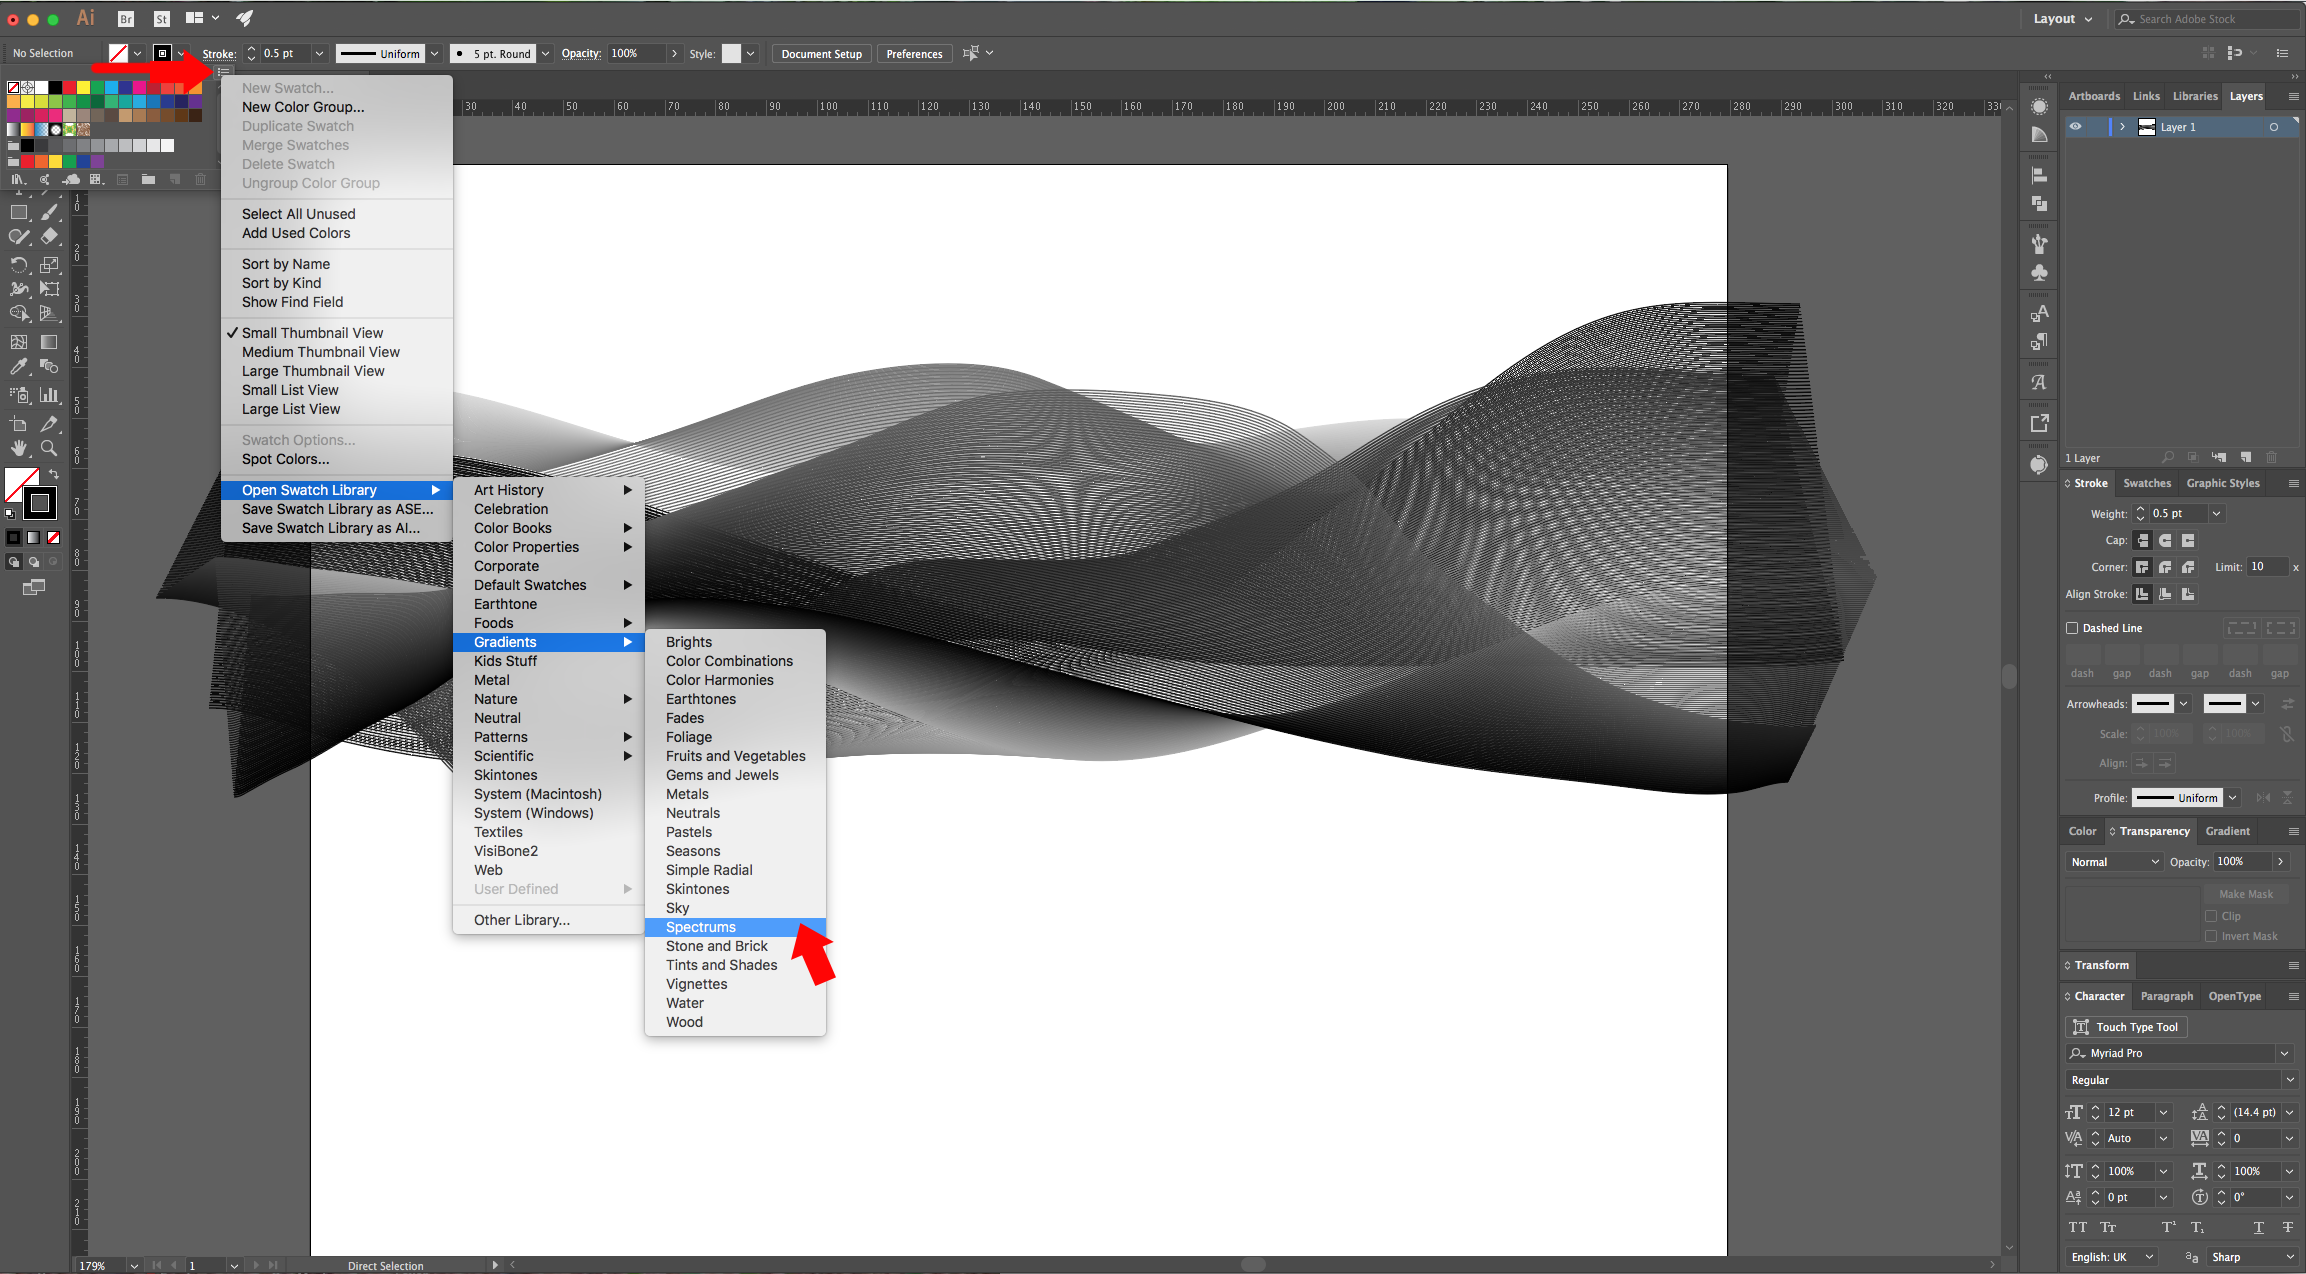
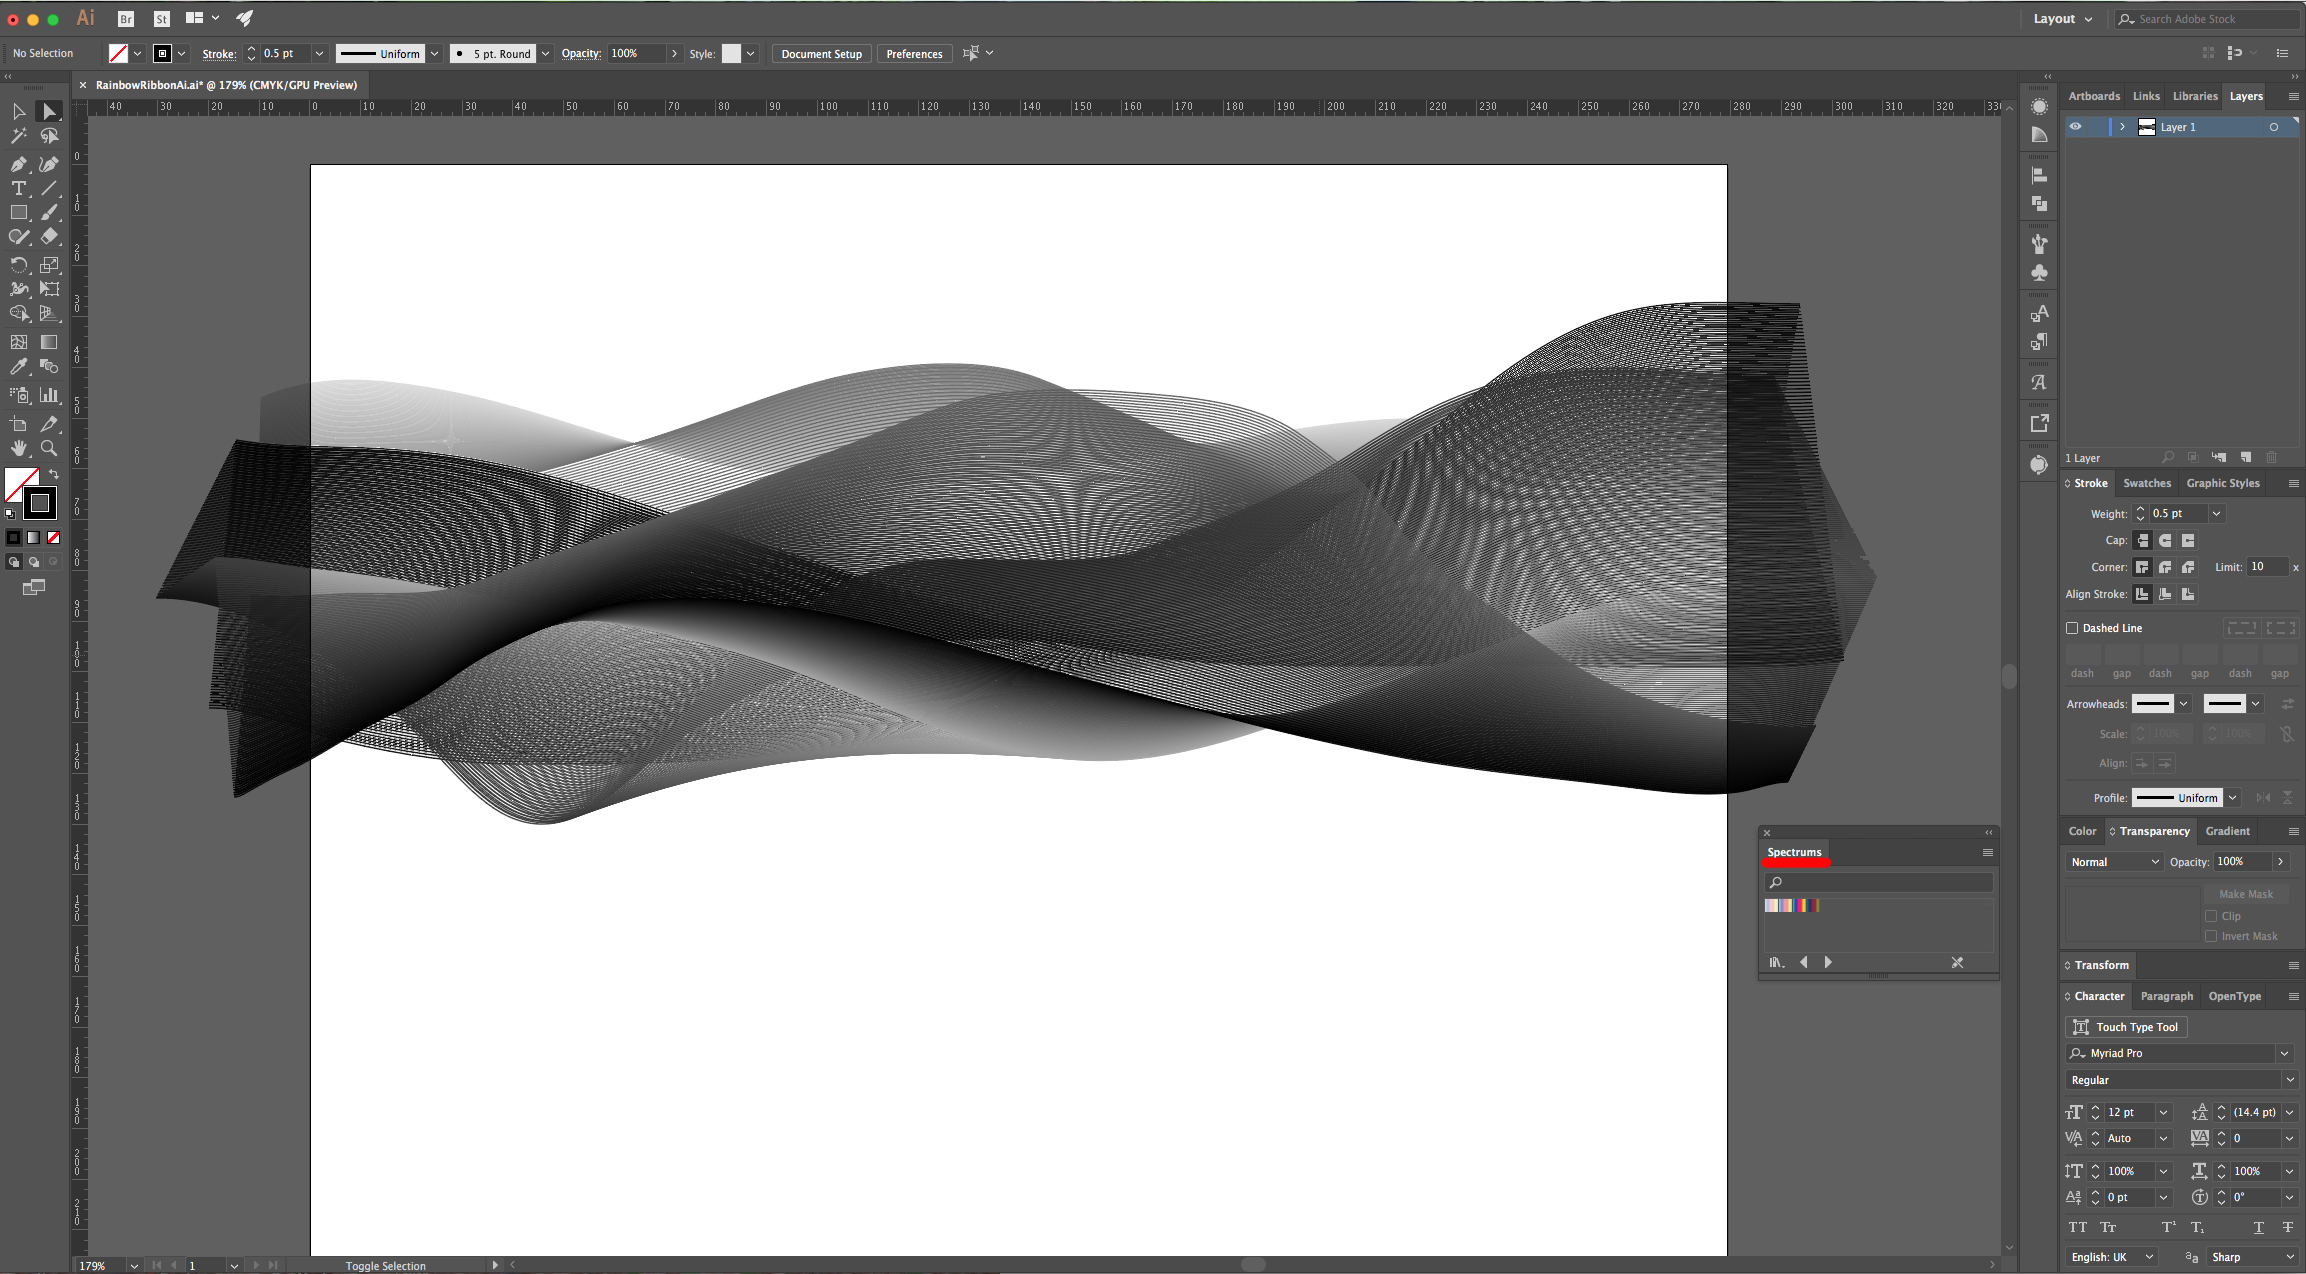
6 - Once you are satisfied, select everything, go to the “Swatches Panel”, click on the Menu on the Top-Right corner and navigate to Open Swatch Library > Gradients > Spectrums. Choose one of the “Gradients”.
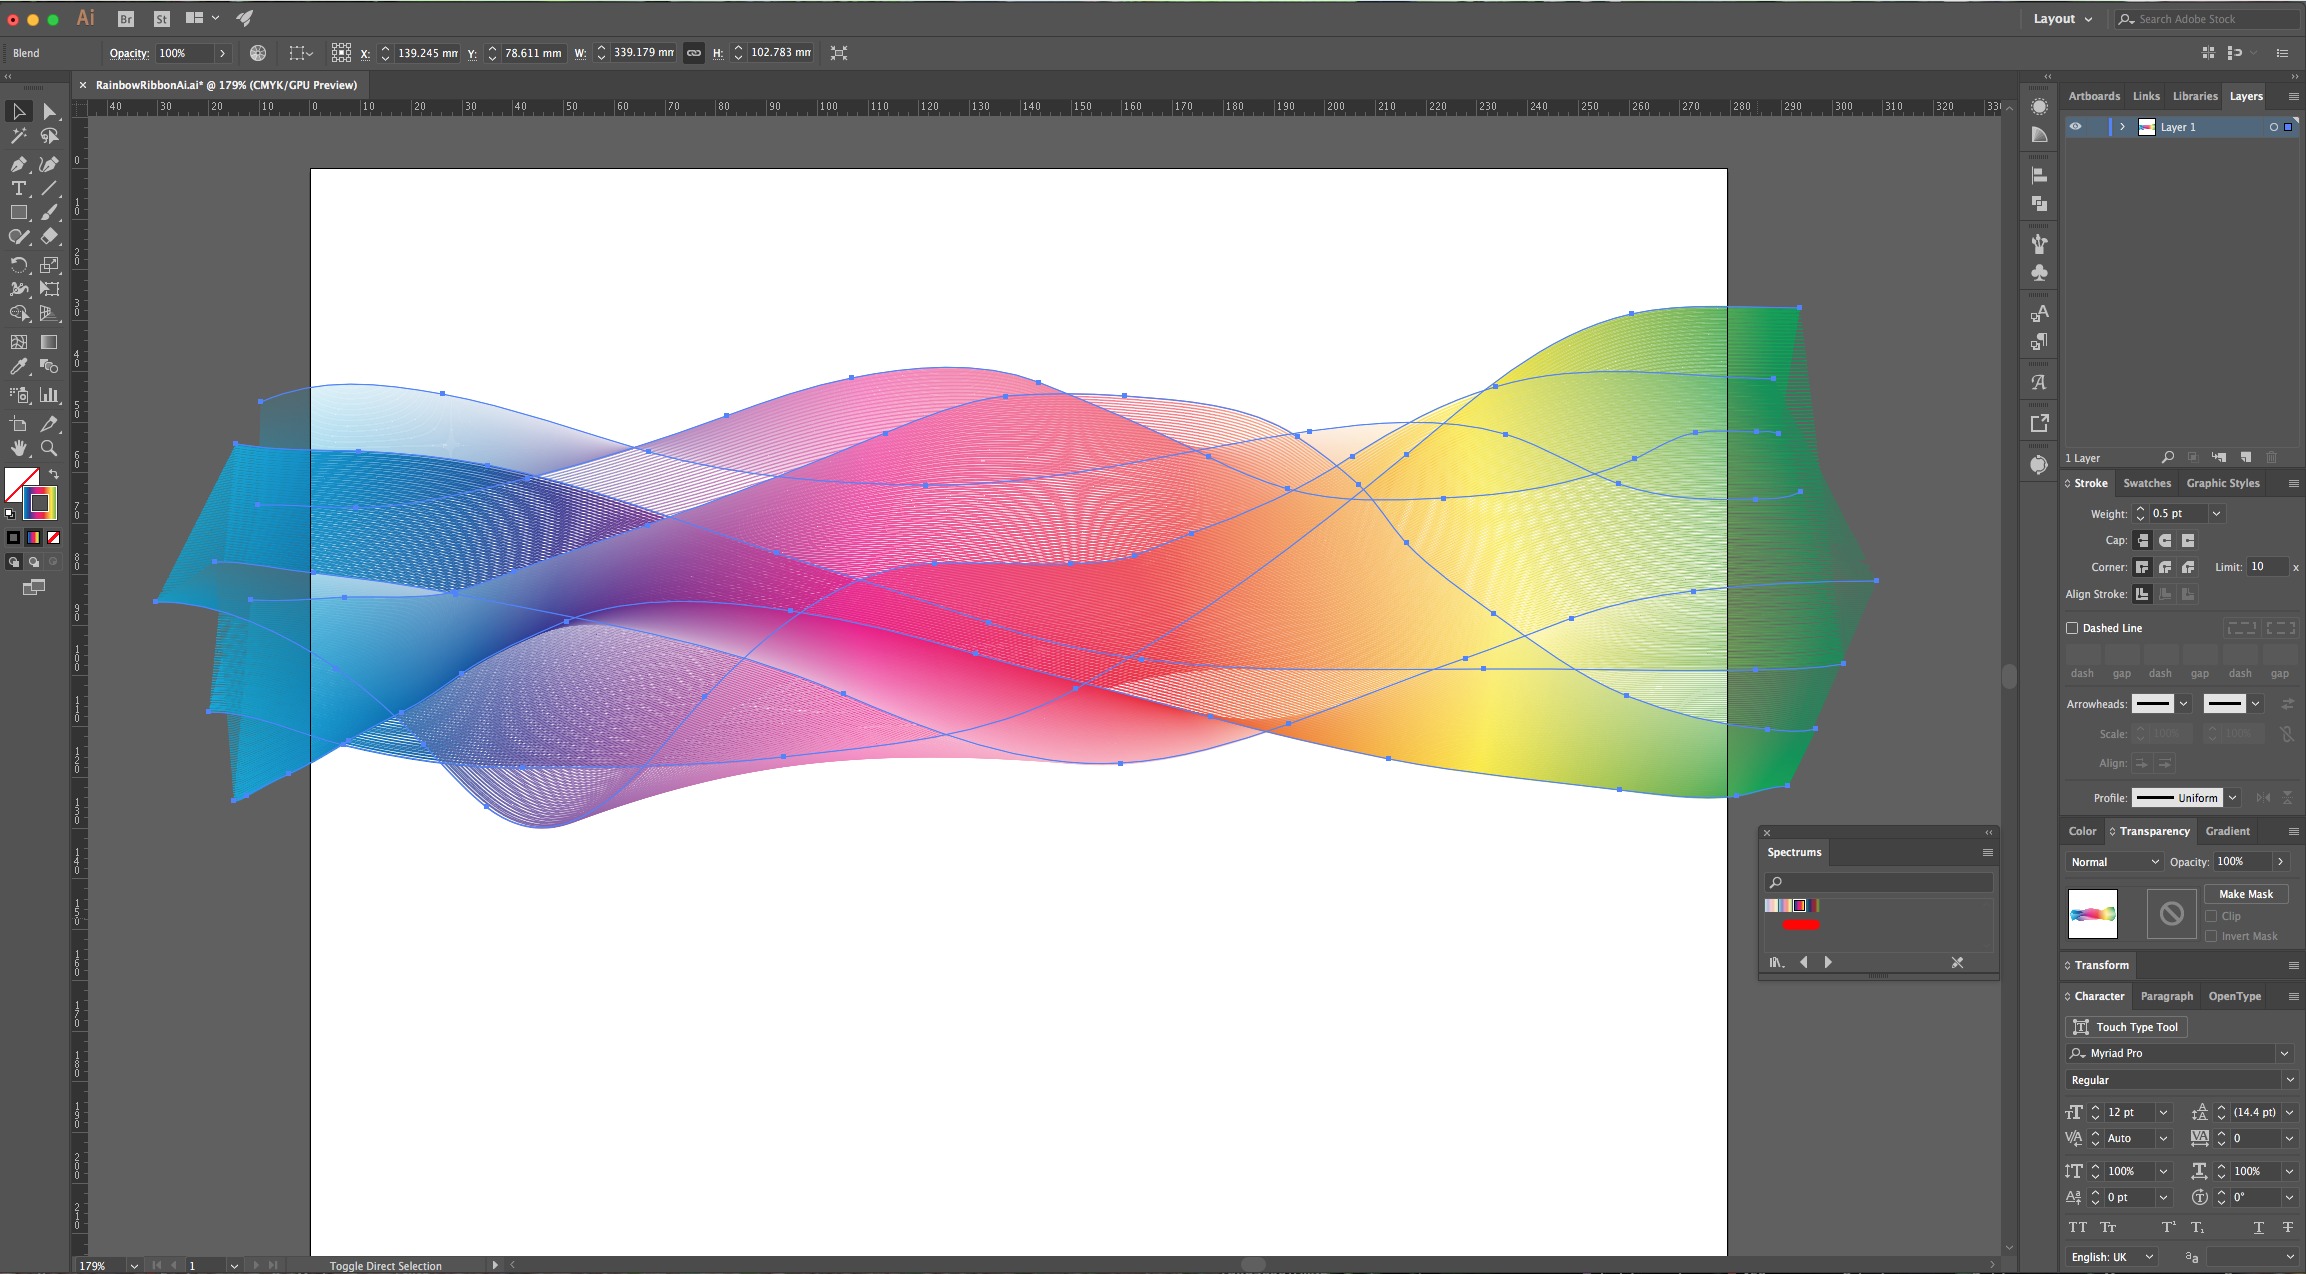
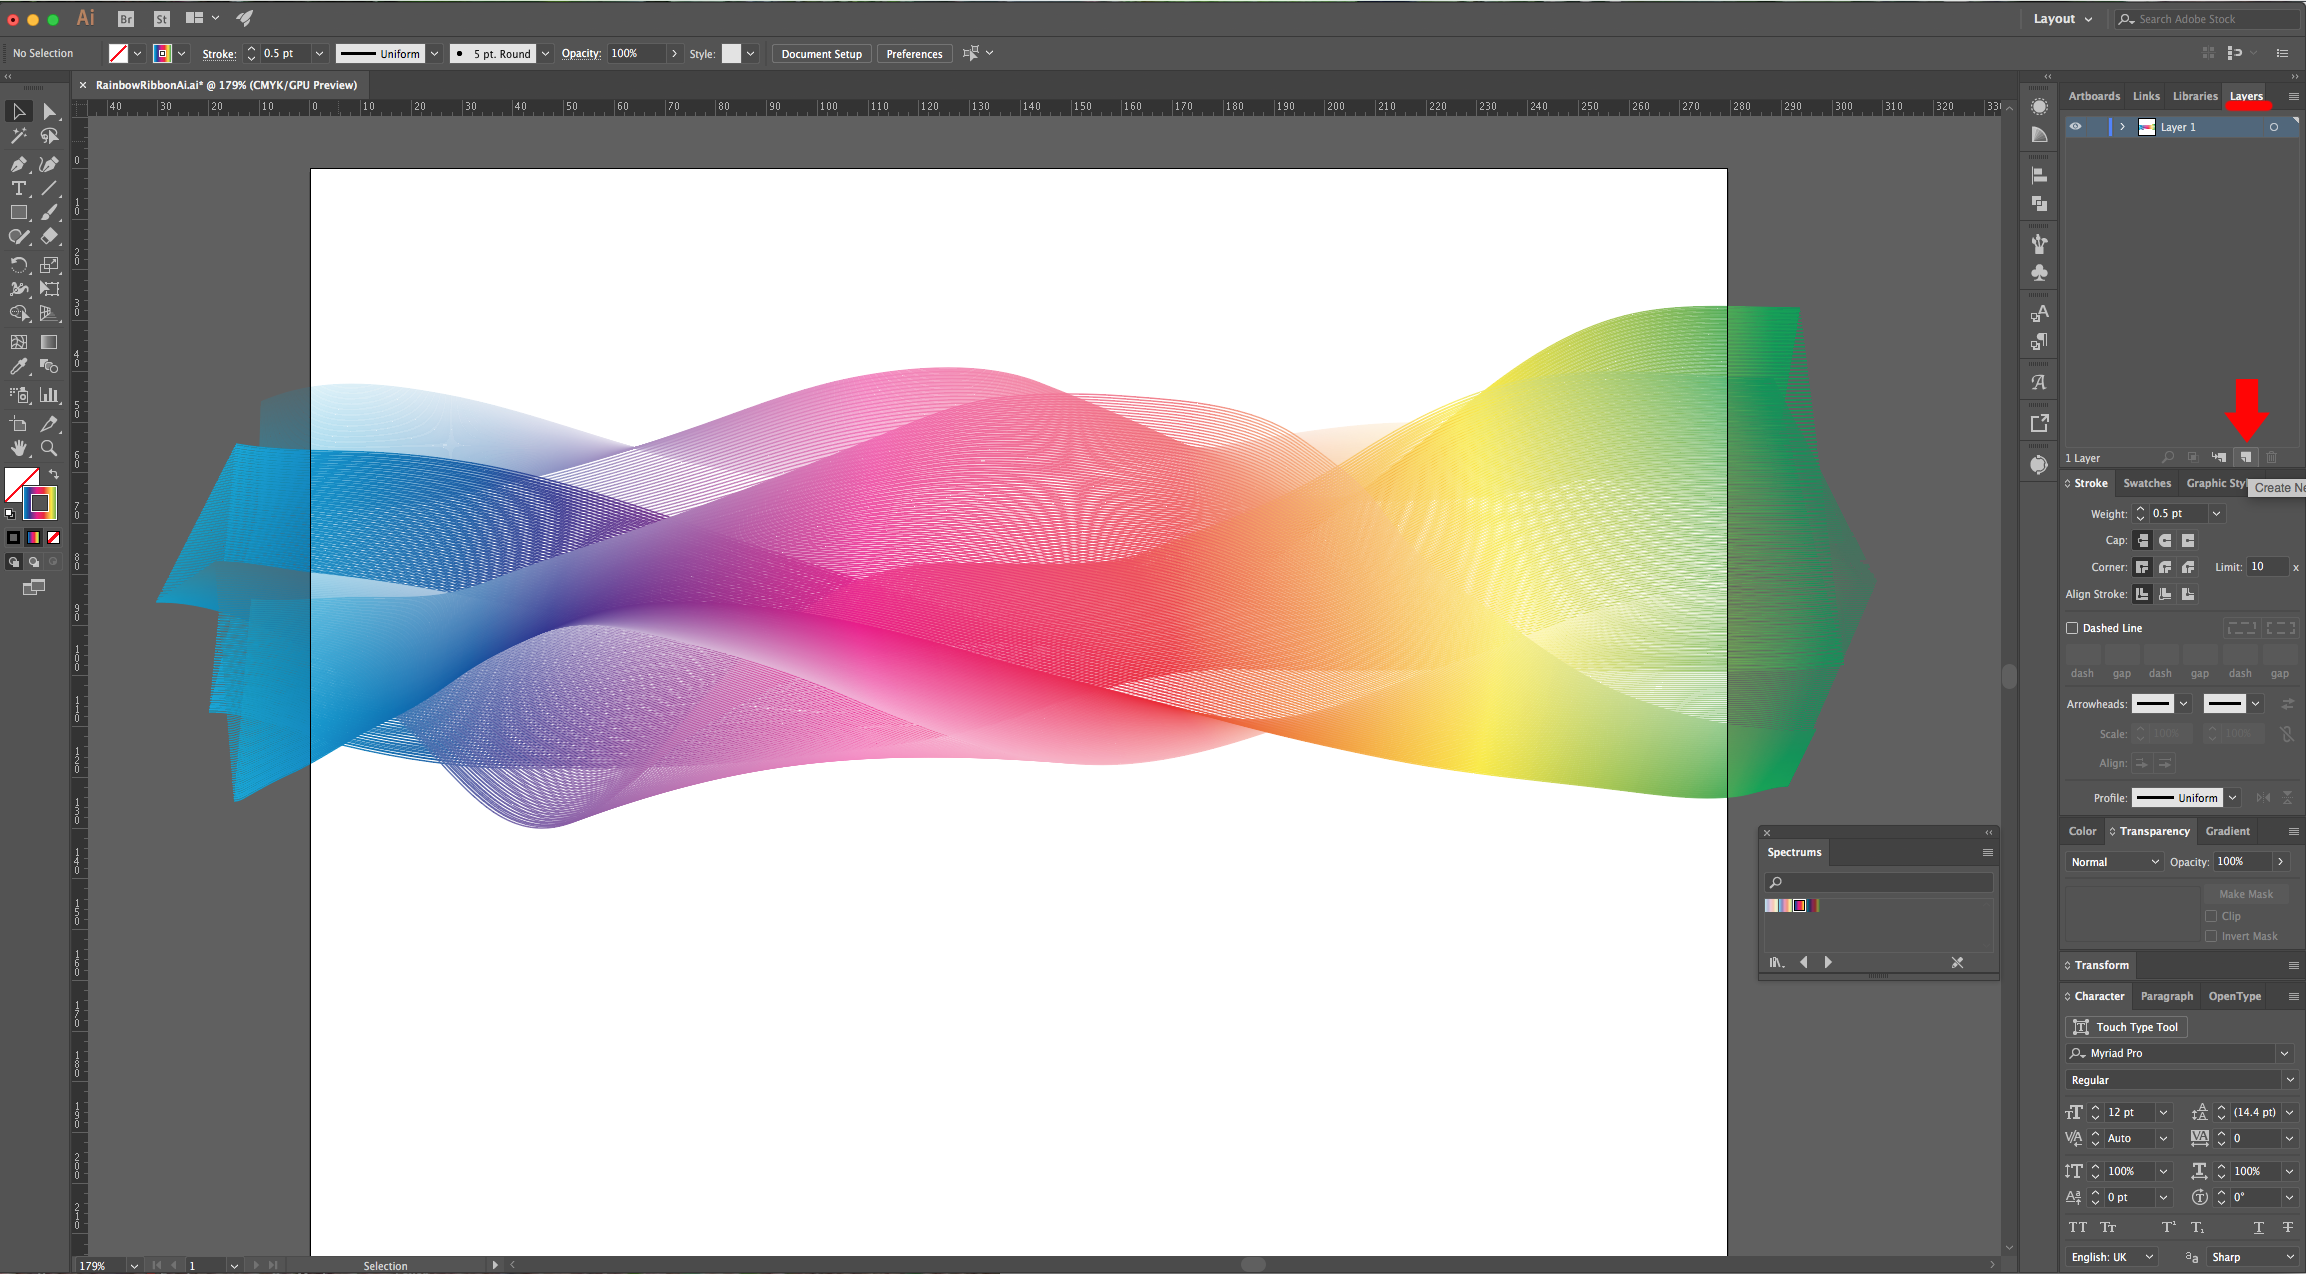
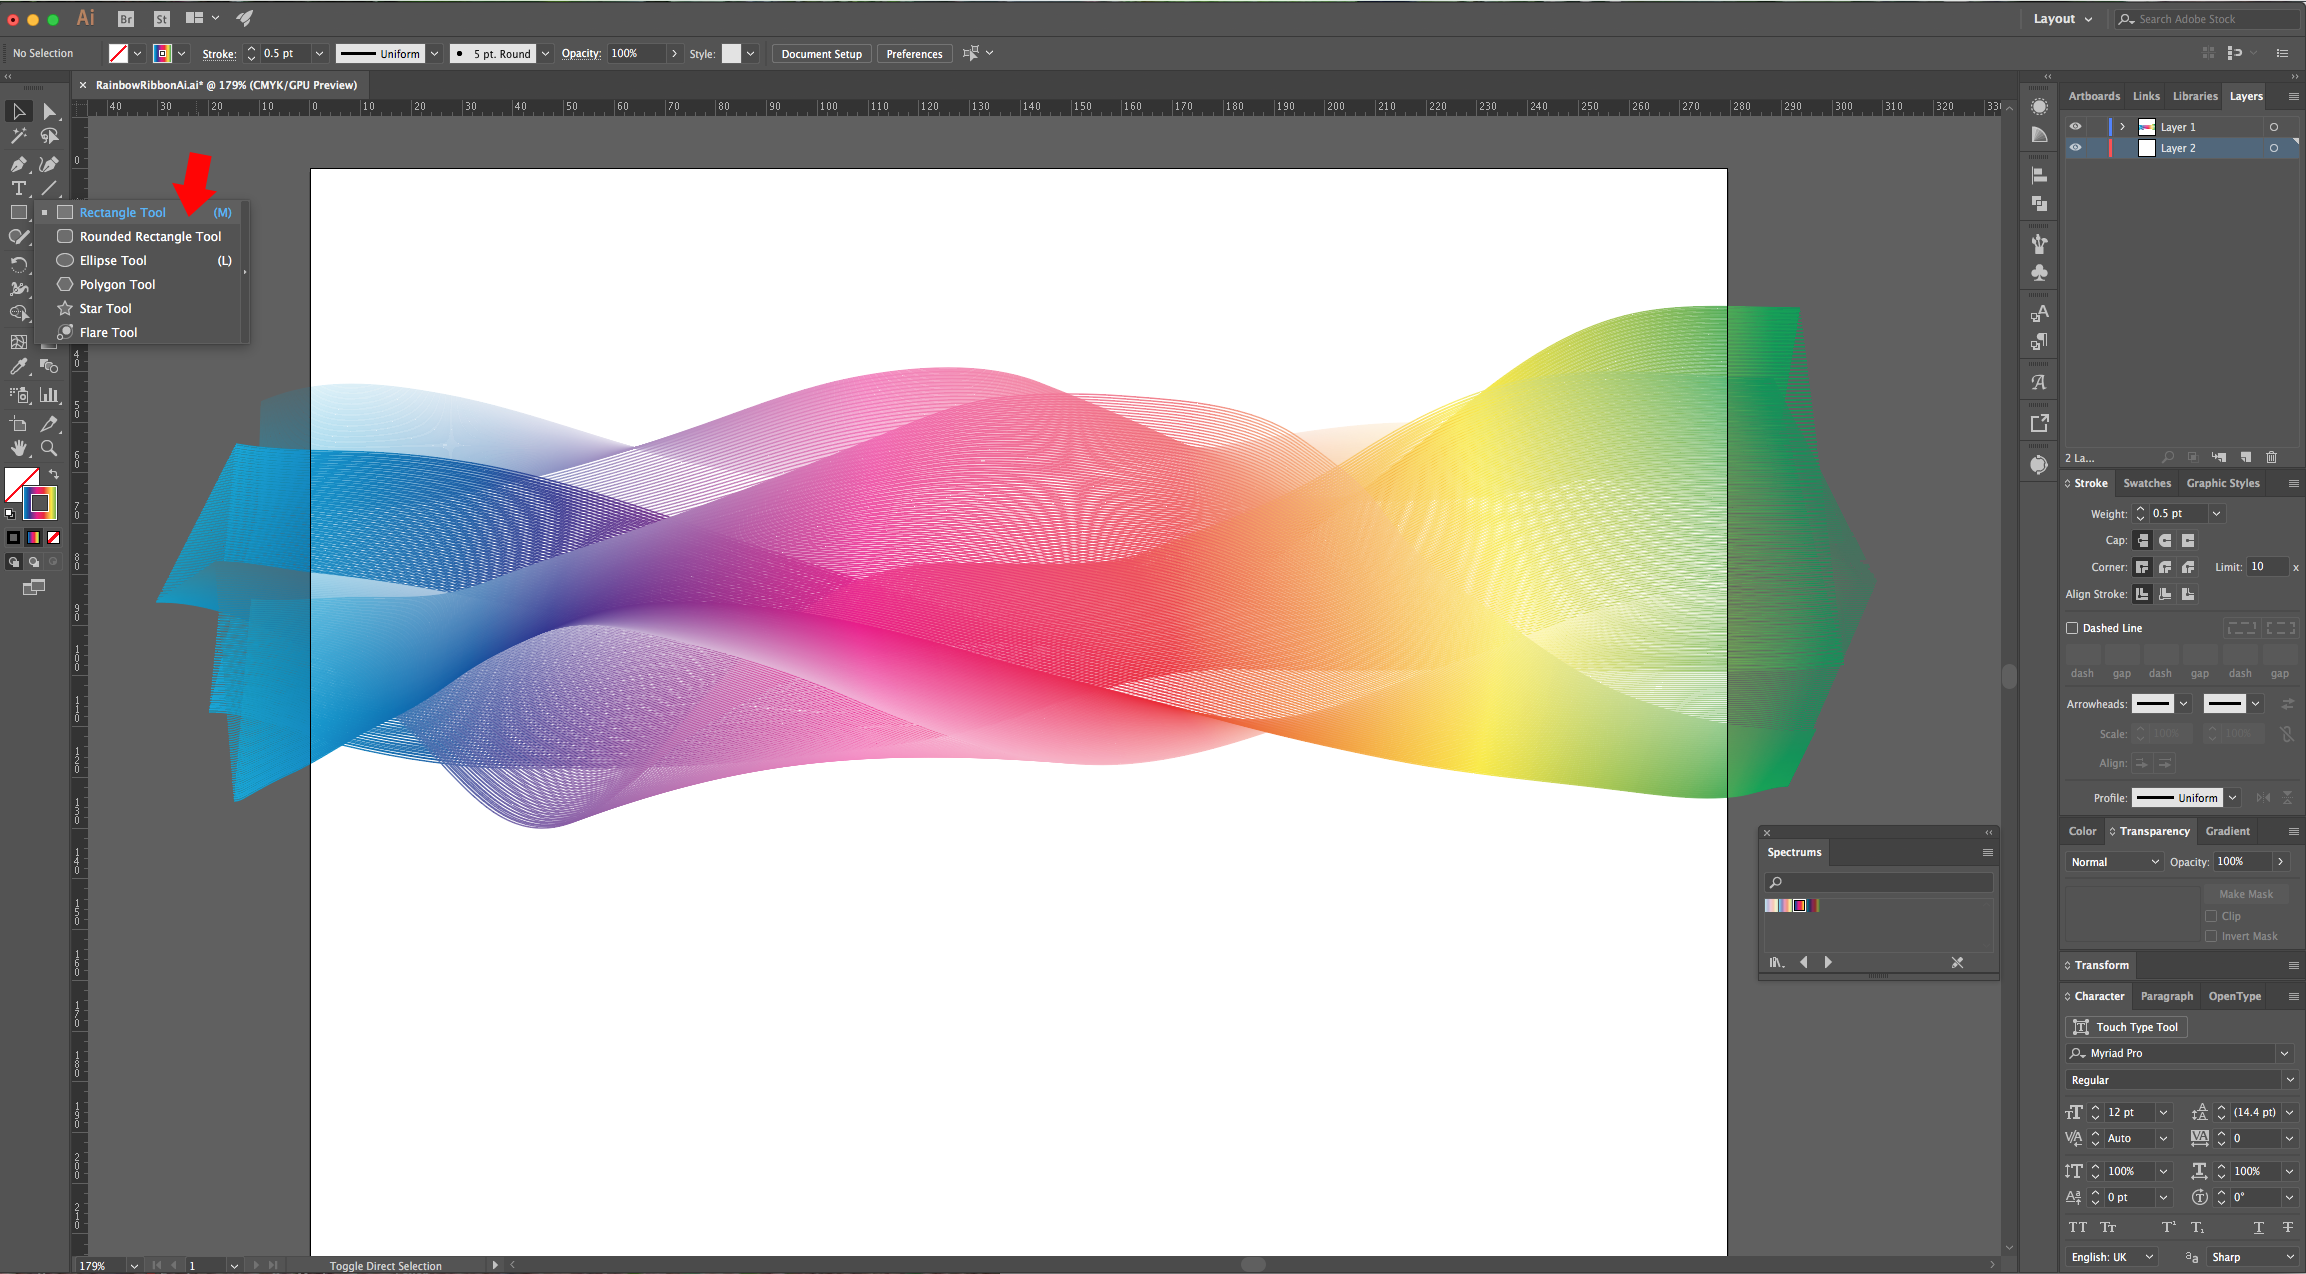
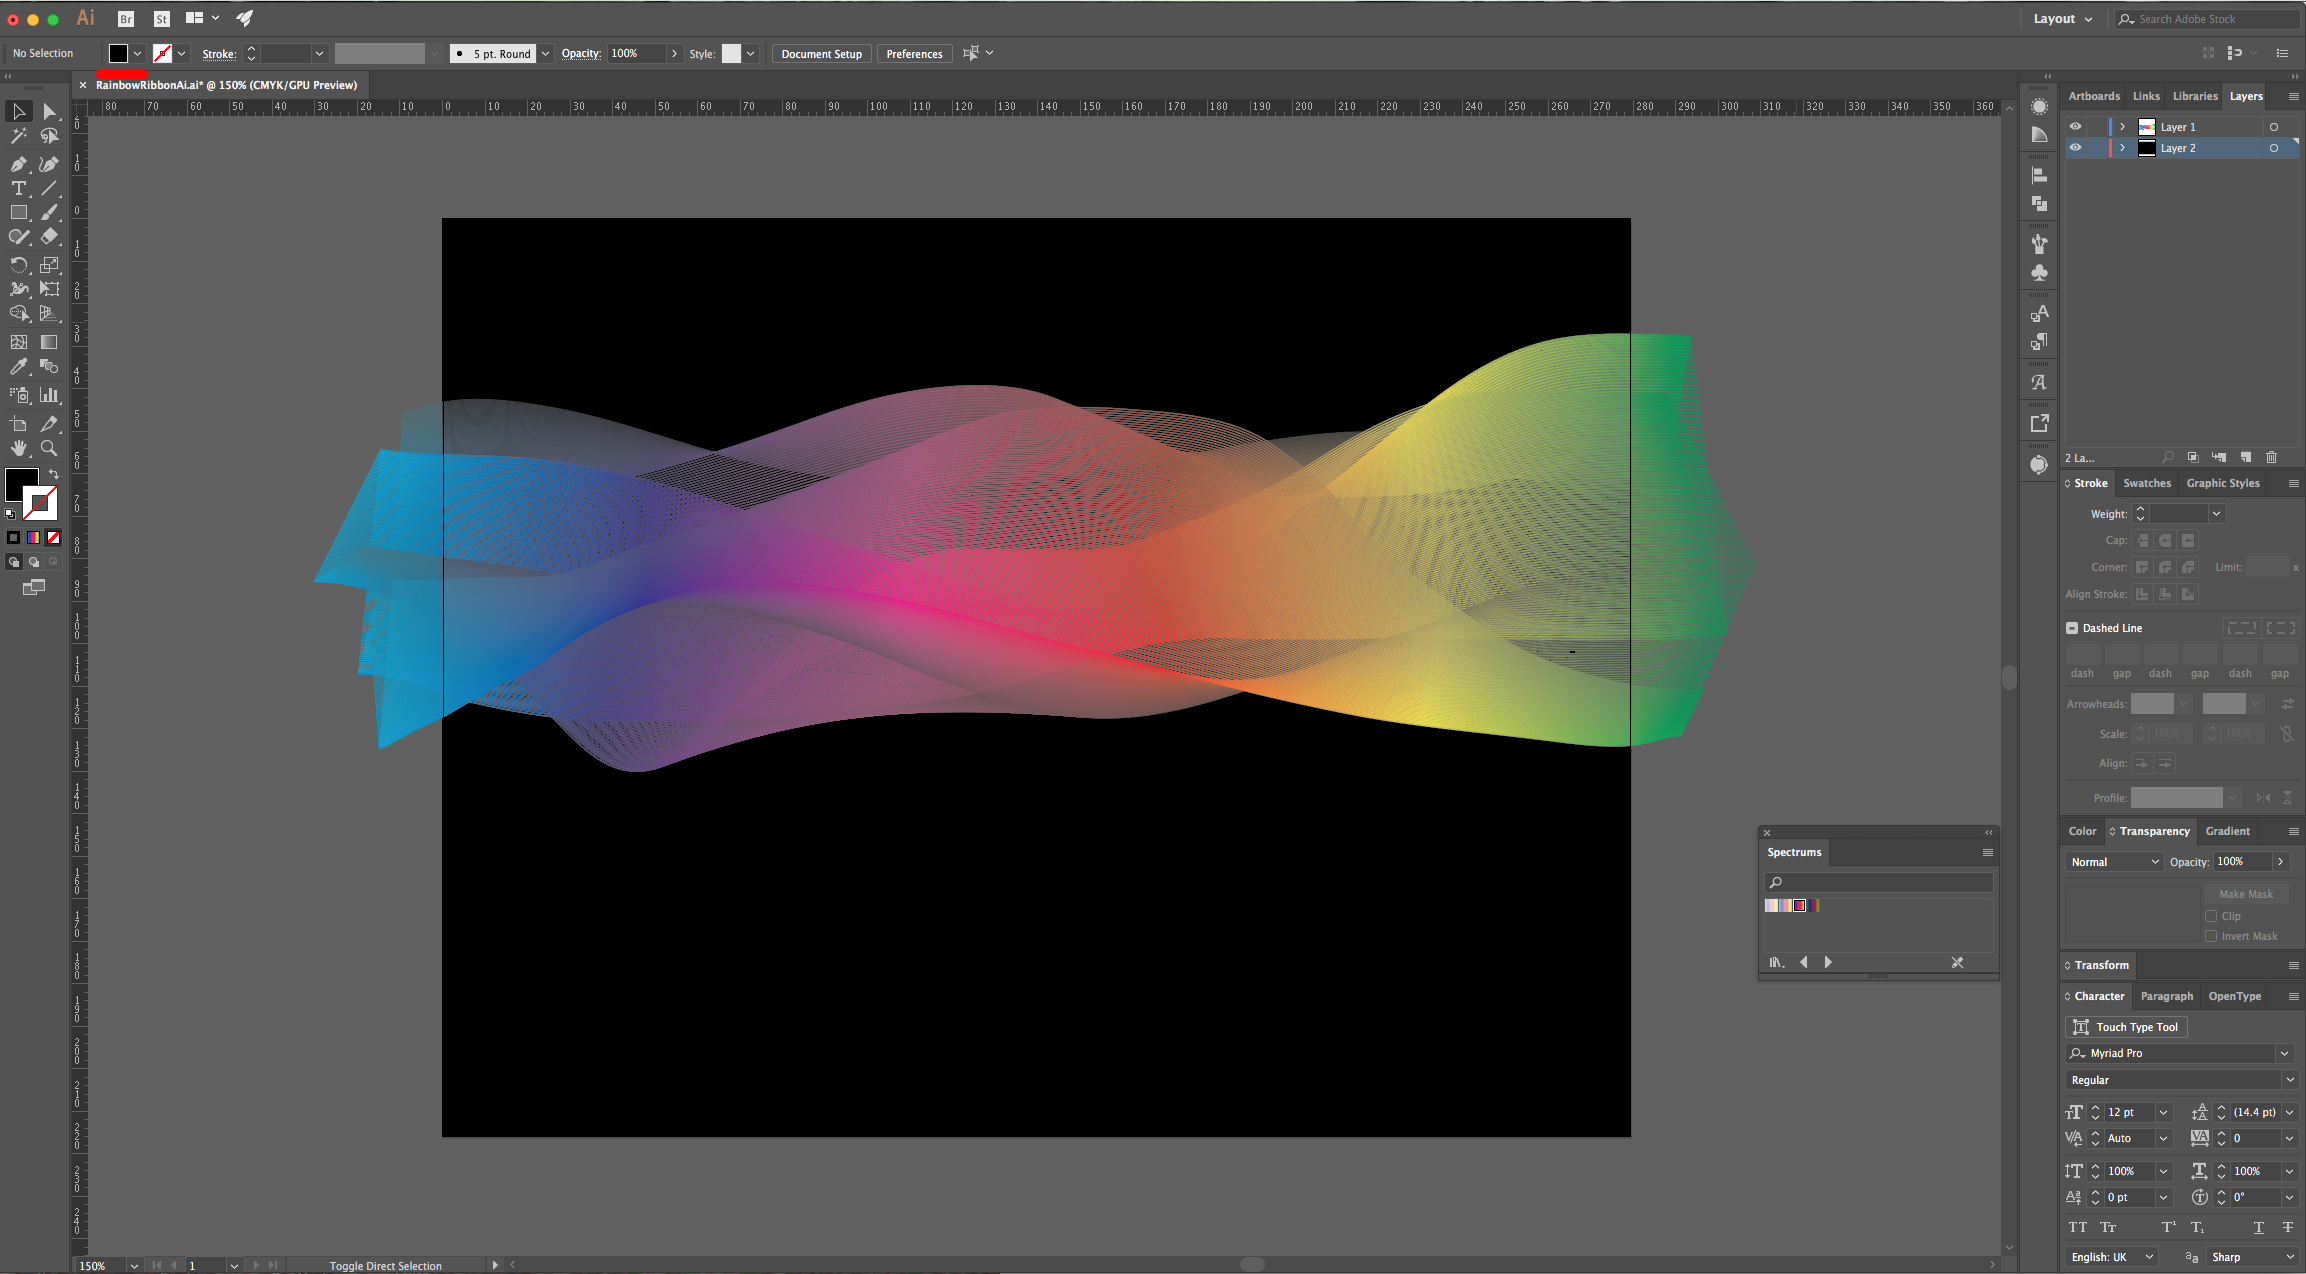
7 - In the “Layers Panel” click on the small “Create New Layer” button at the bottom, drag that layer to place it under your first one and select the “Rectangle Tool” (M) with Black as “Fill” color and cover all your canvas with a black rectangle.
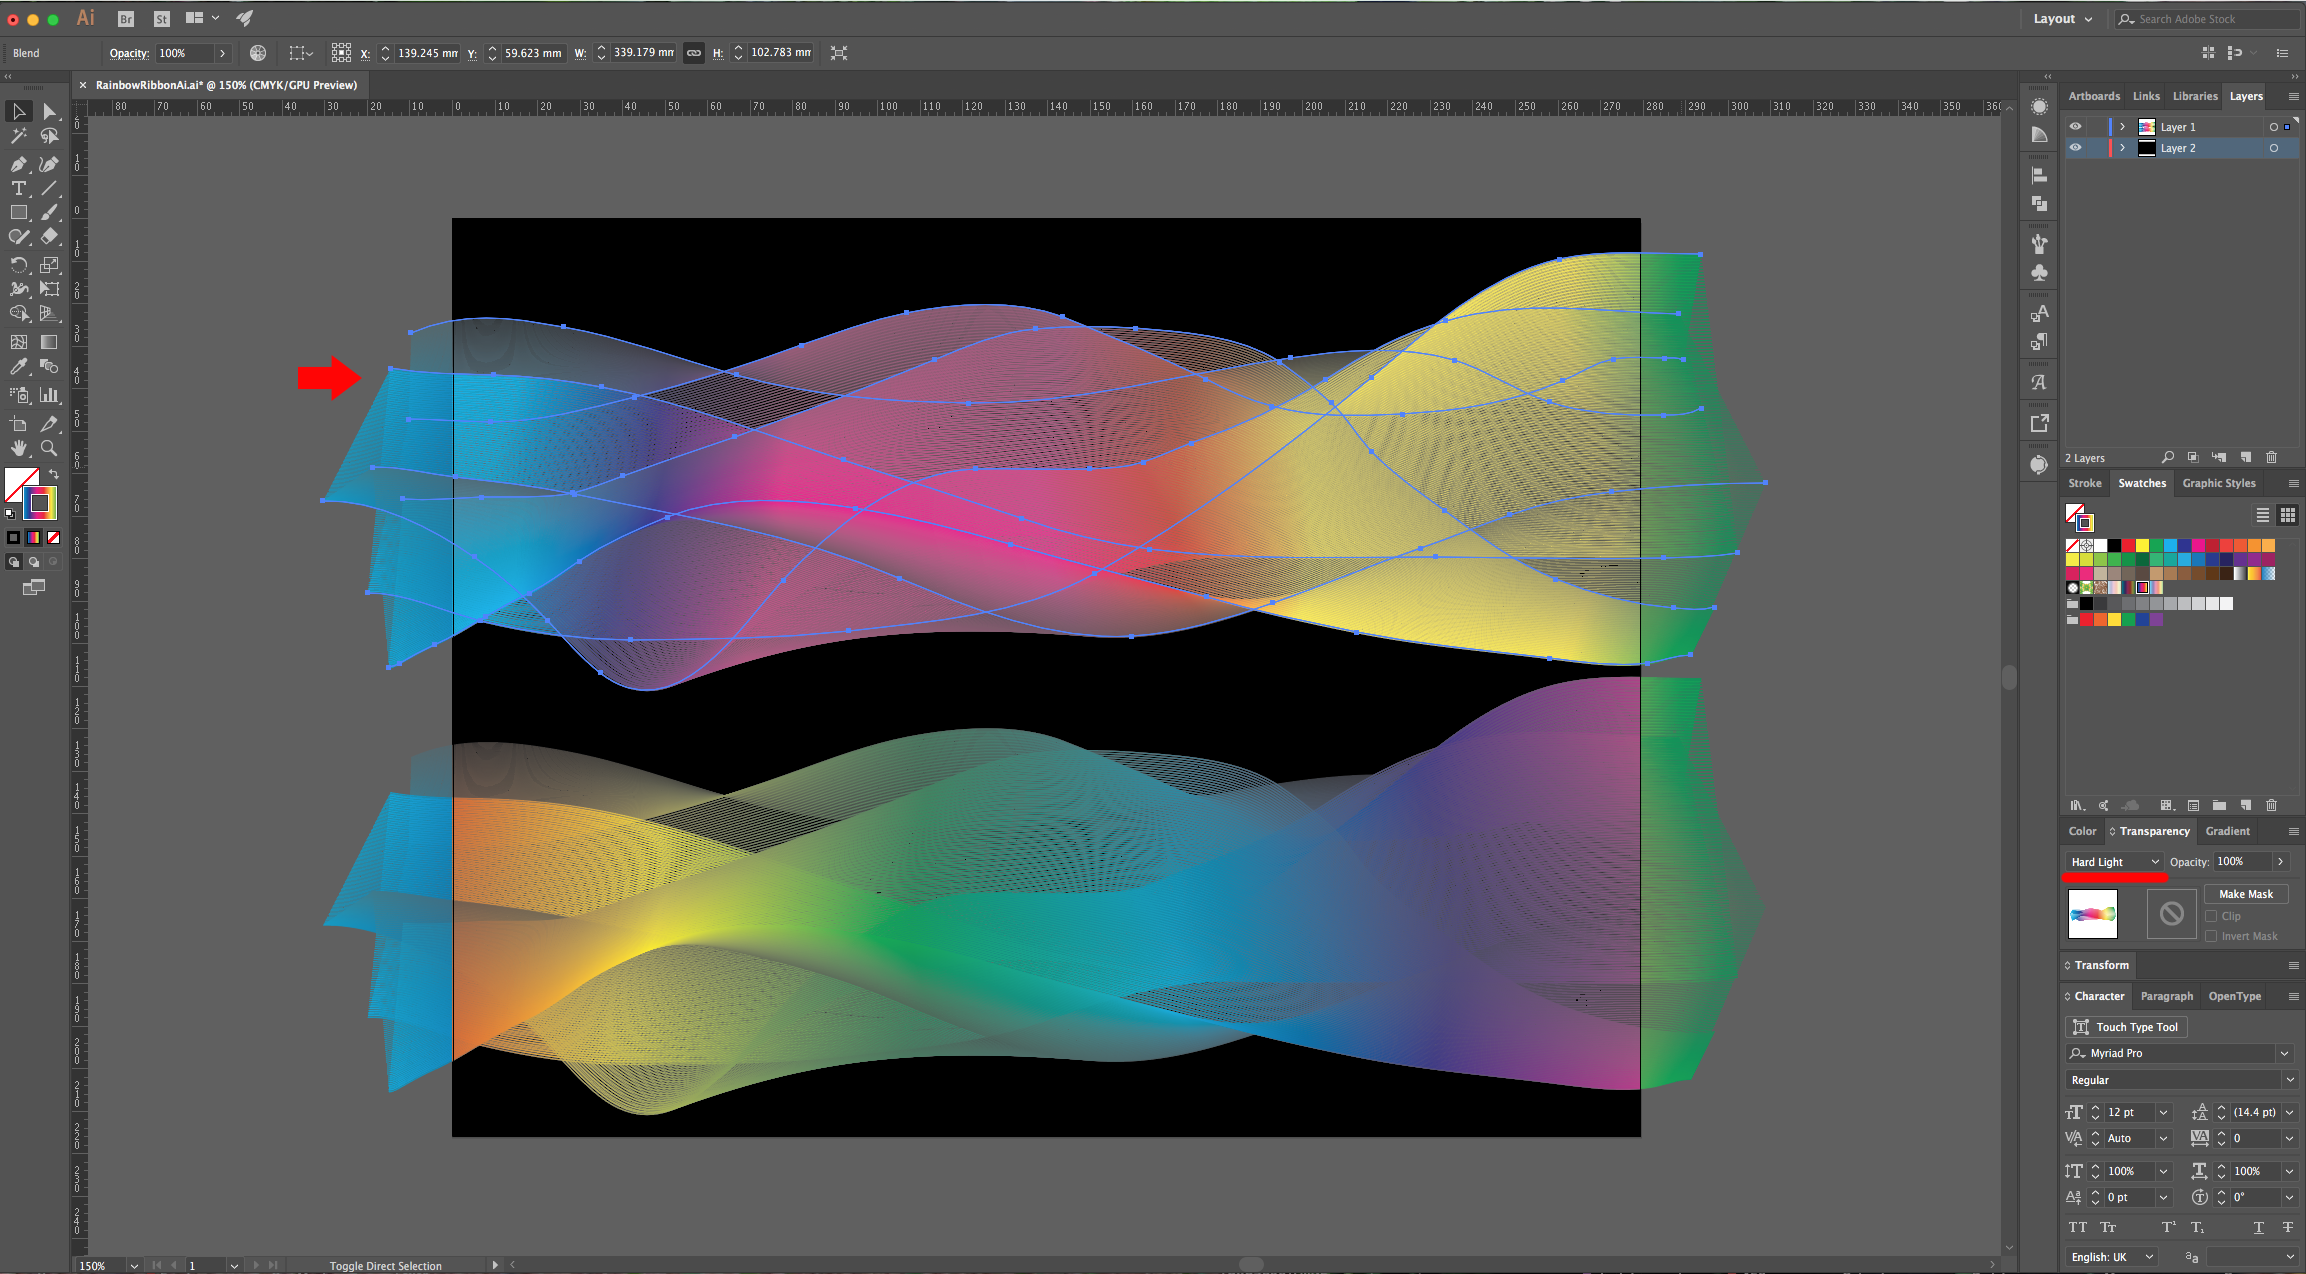
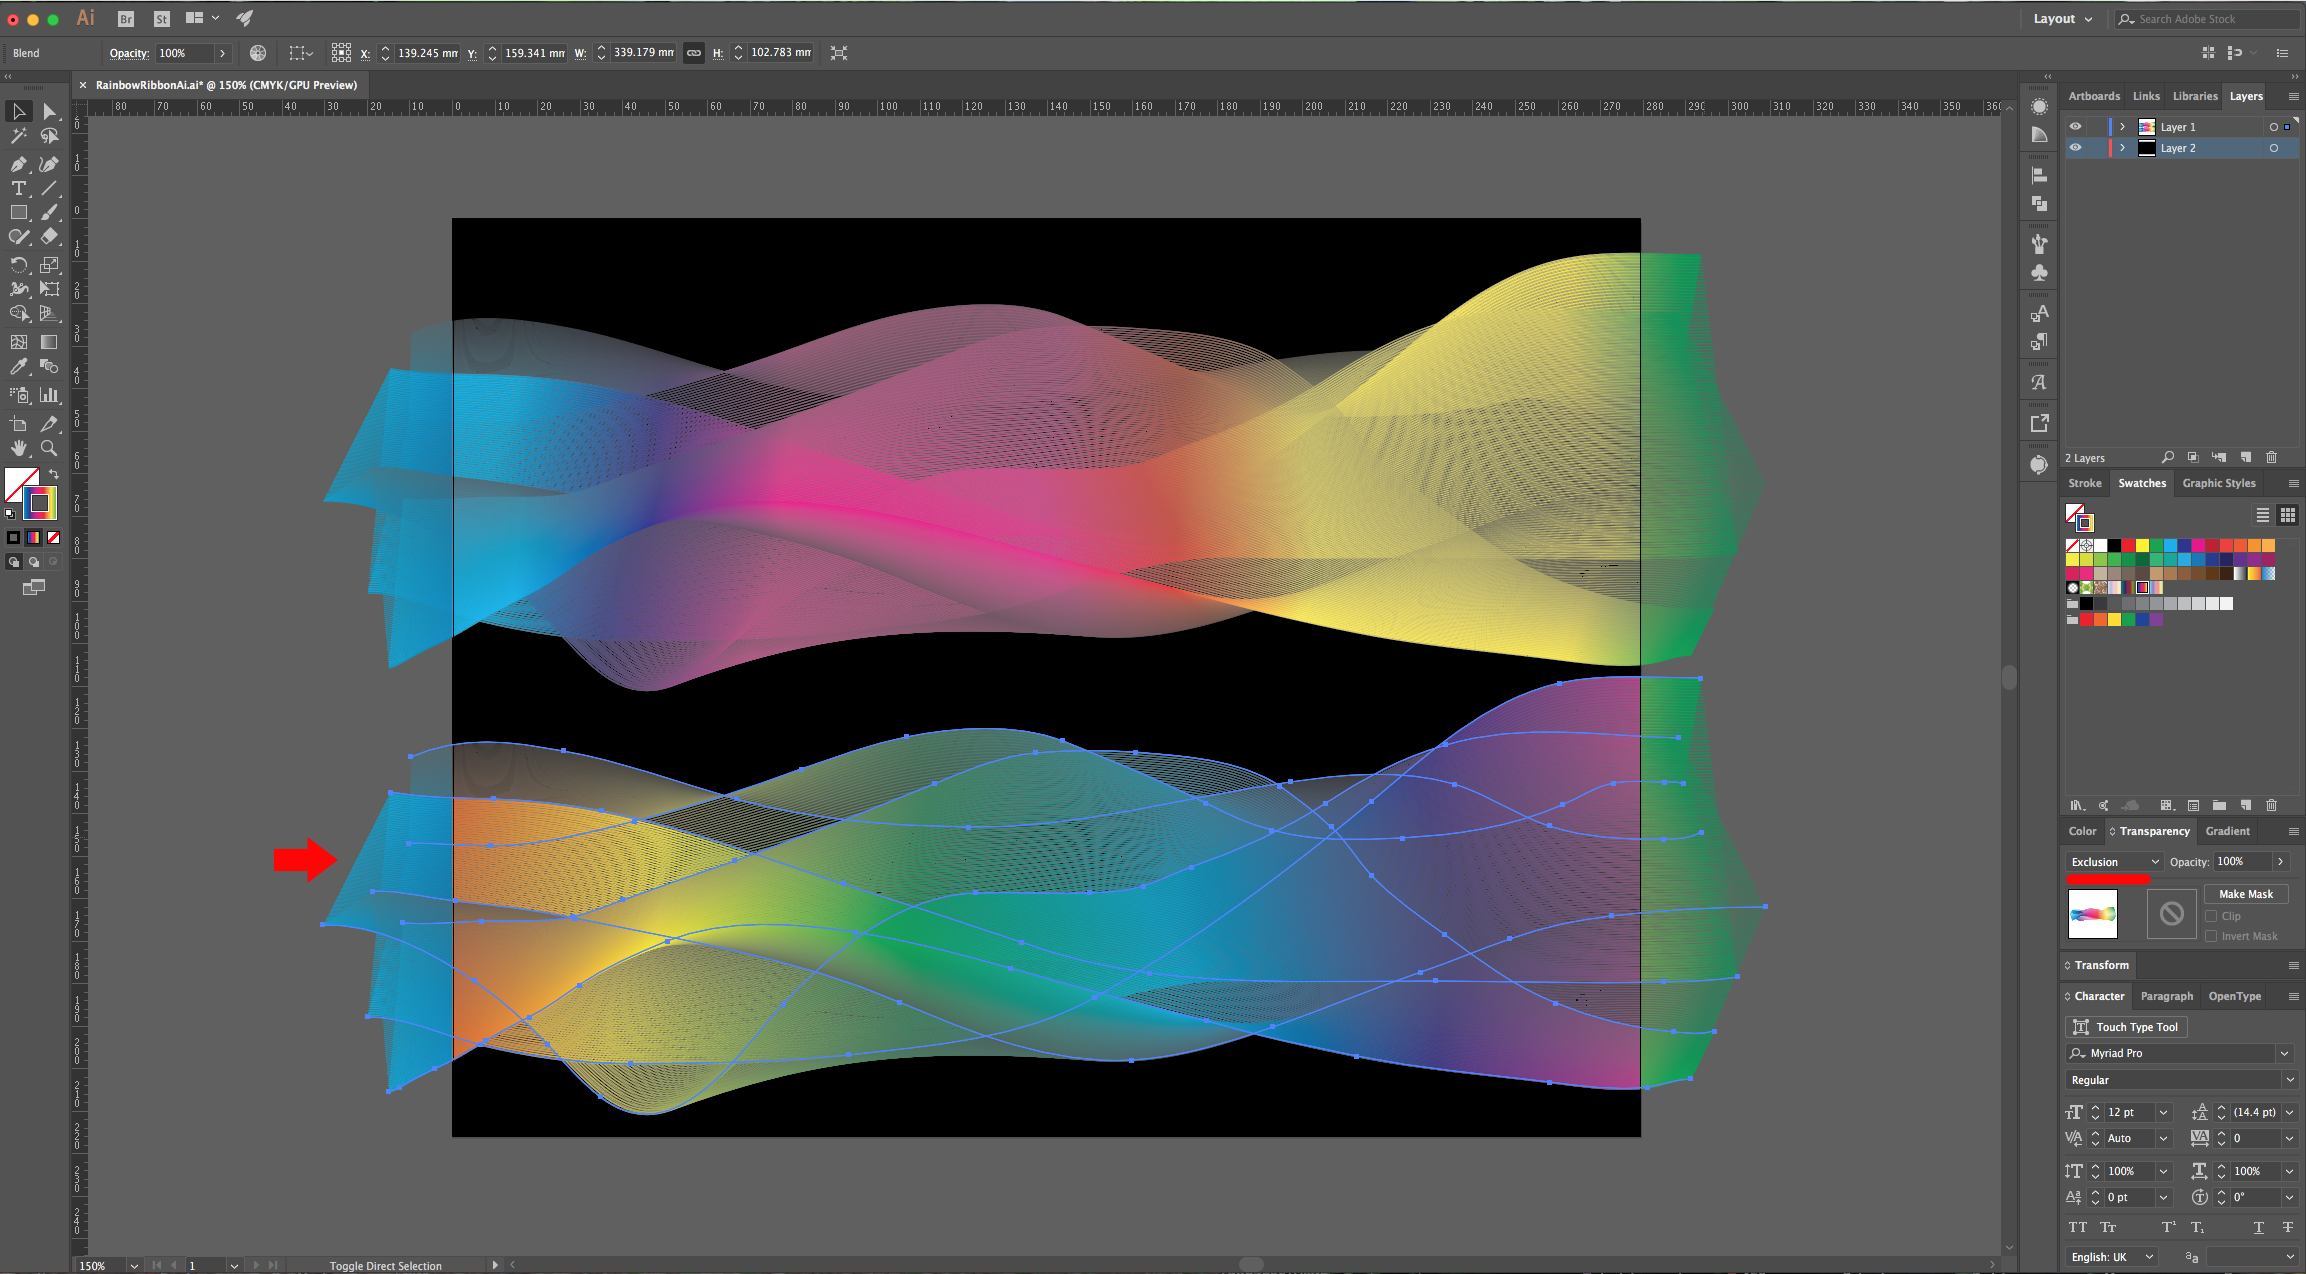
8 - You can duplicate your “Ribbon” by holding the “Alt/Option” key while dragging it down. Then, try changing the “Blending Mode” in the “Transparency Panel”. We used “Hard Light” in the first one to make the color pop a bit more and “Exclusion” in the second to get a different color combination.
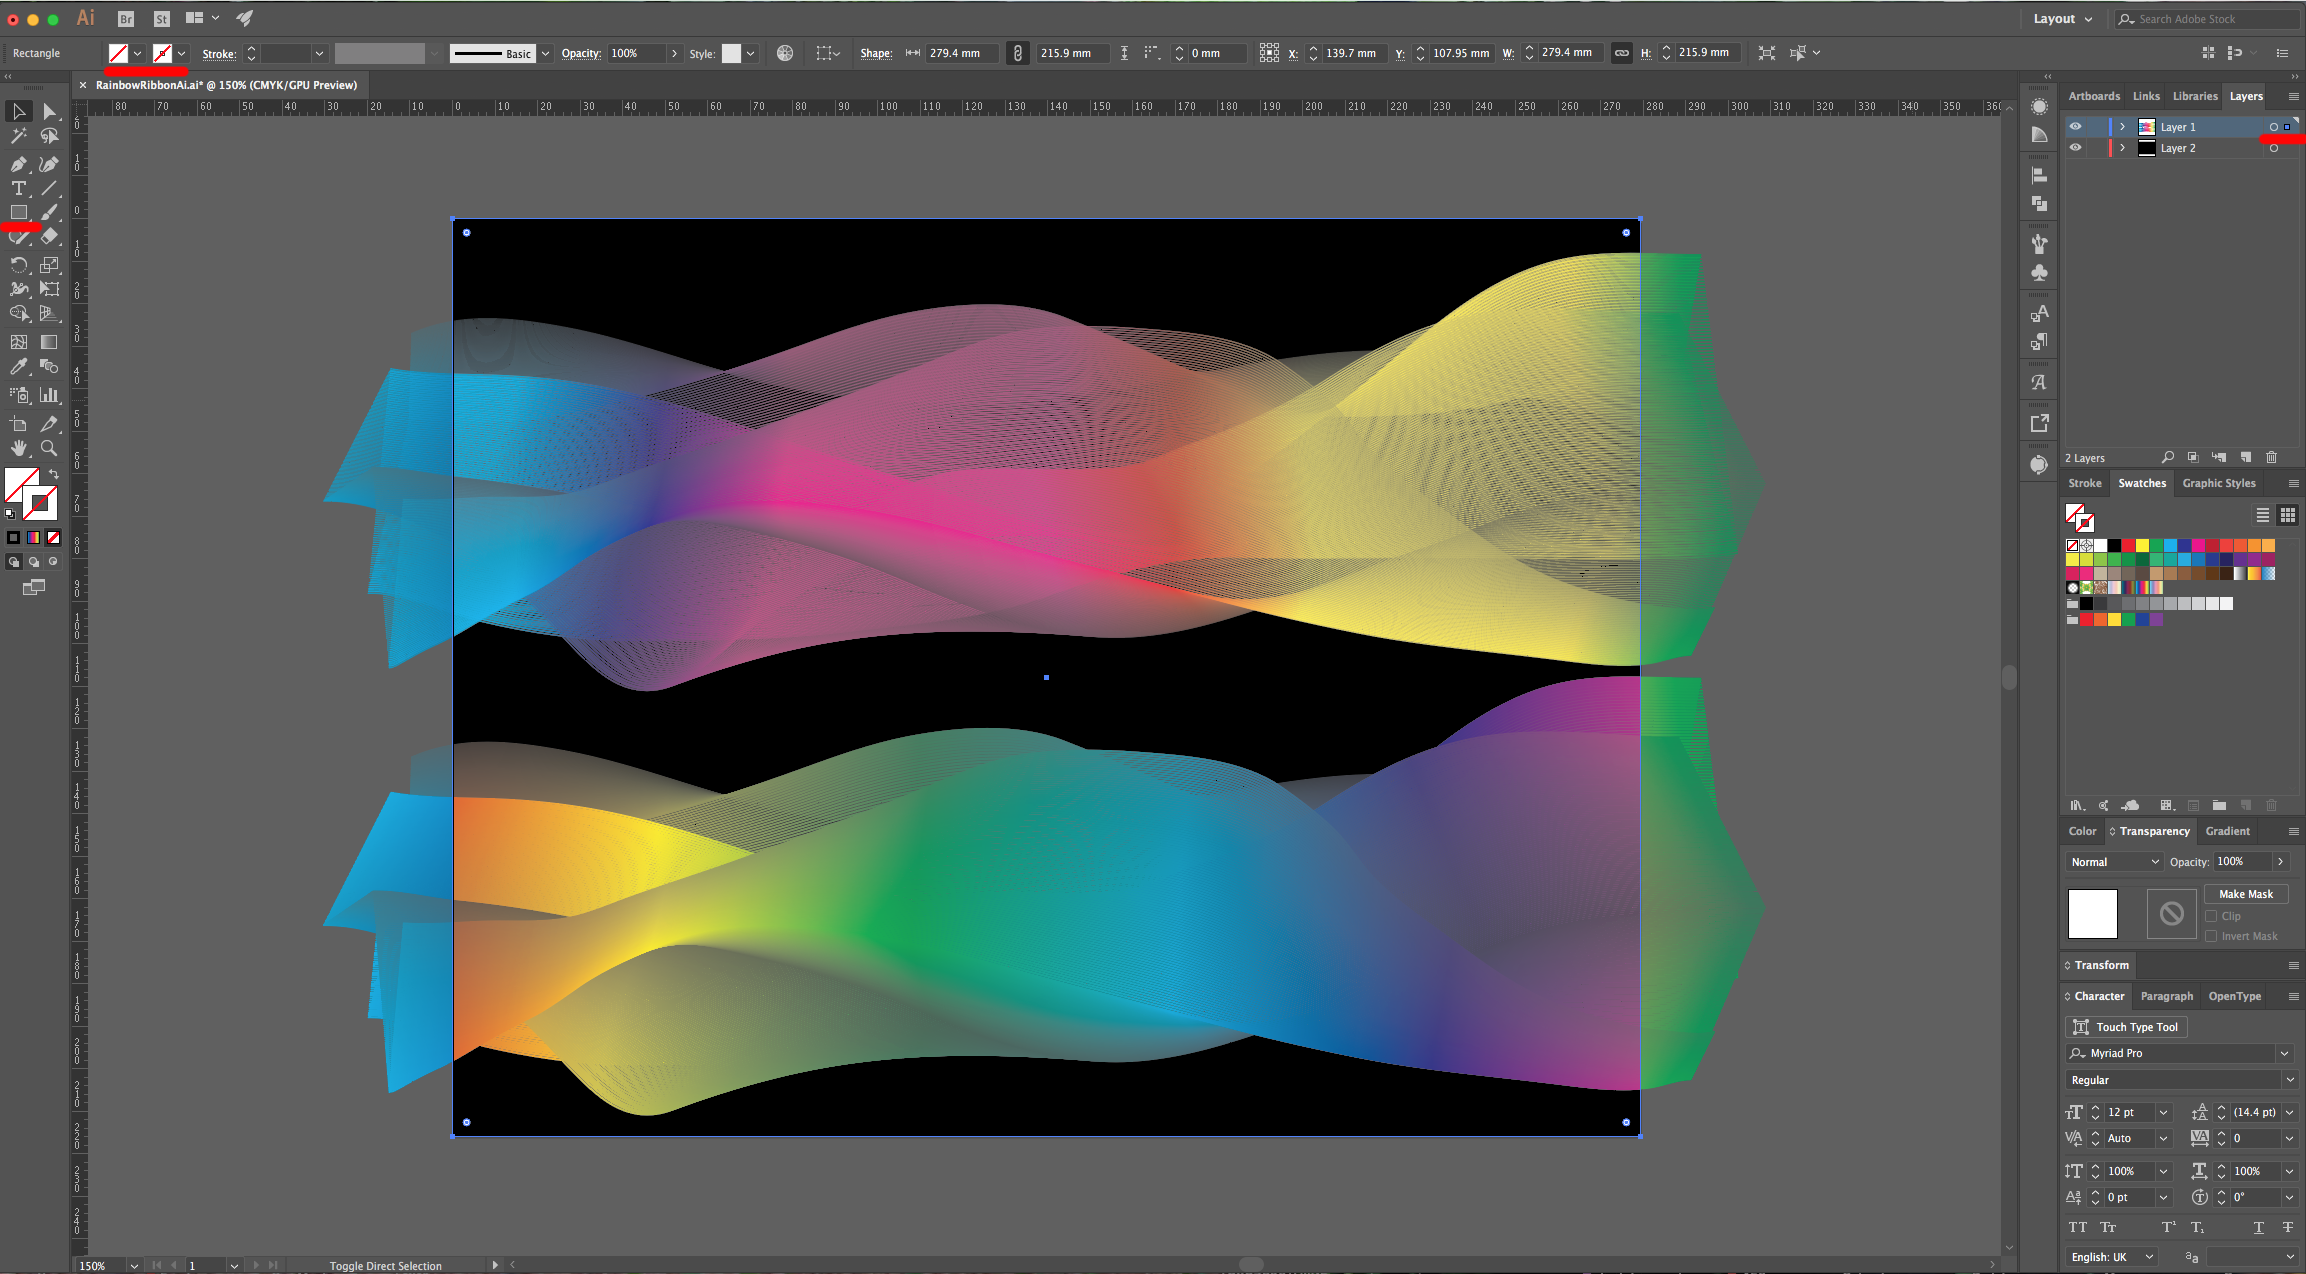
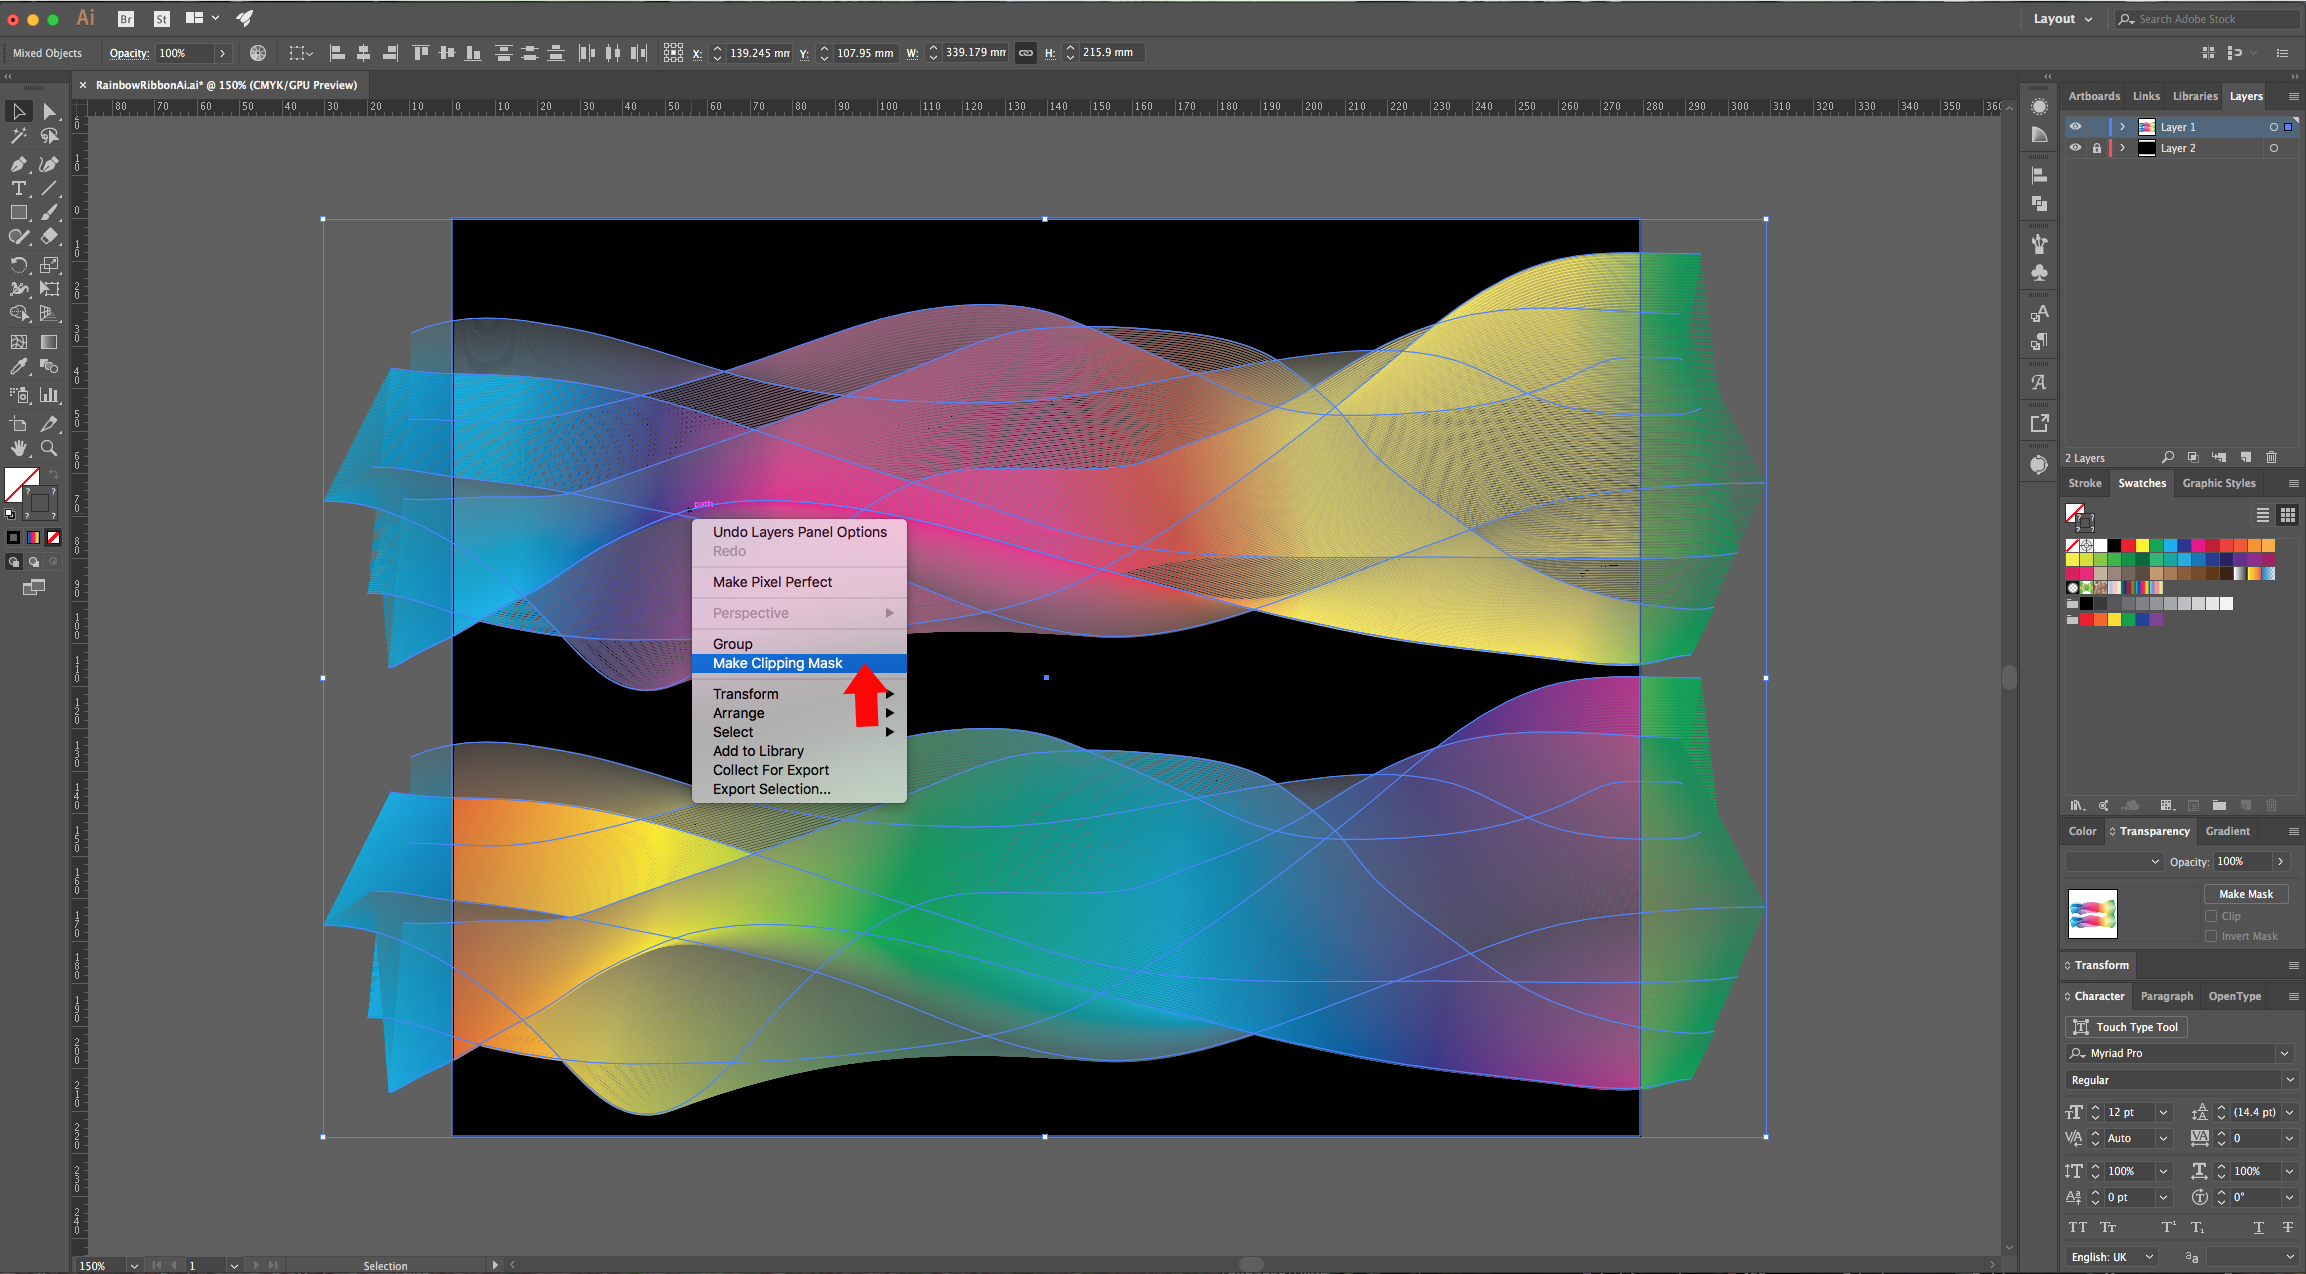
9 - To crop the “Ribbons”, create a new rectangle with no “Fill” and “Stroke” on top of your paths, lock the bottom Layer by clicking to the left of its Thumbnail and bring out the small “Padlock”. Then, select everything on the top layer, right-click on top your selection and choose “Make Clipping Mask”.
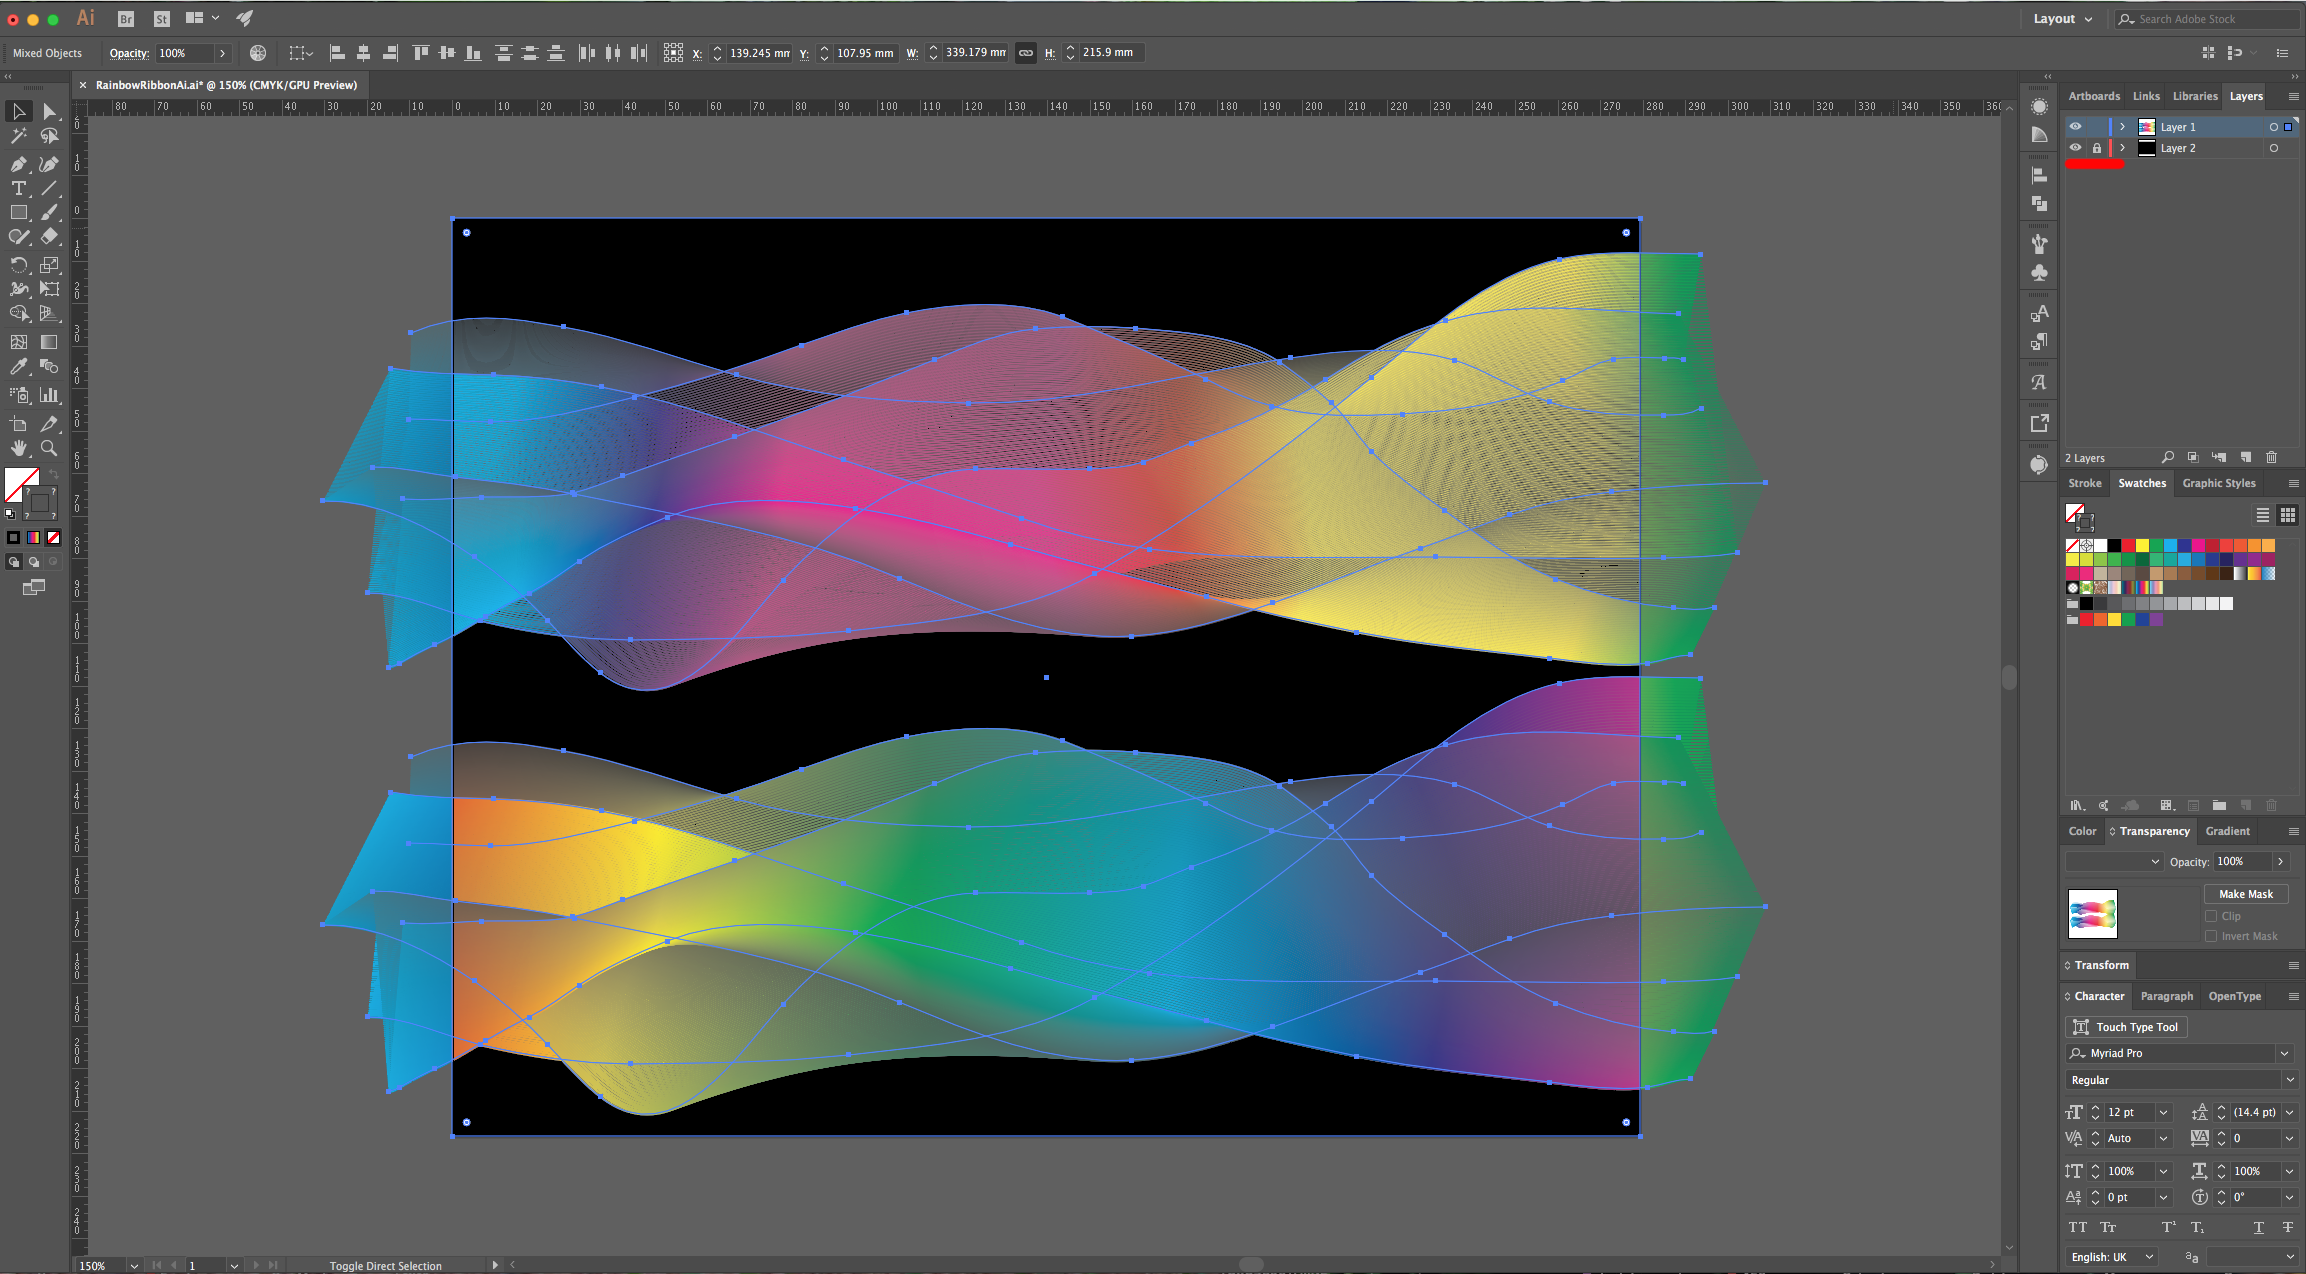
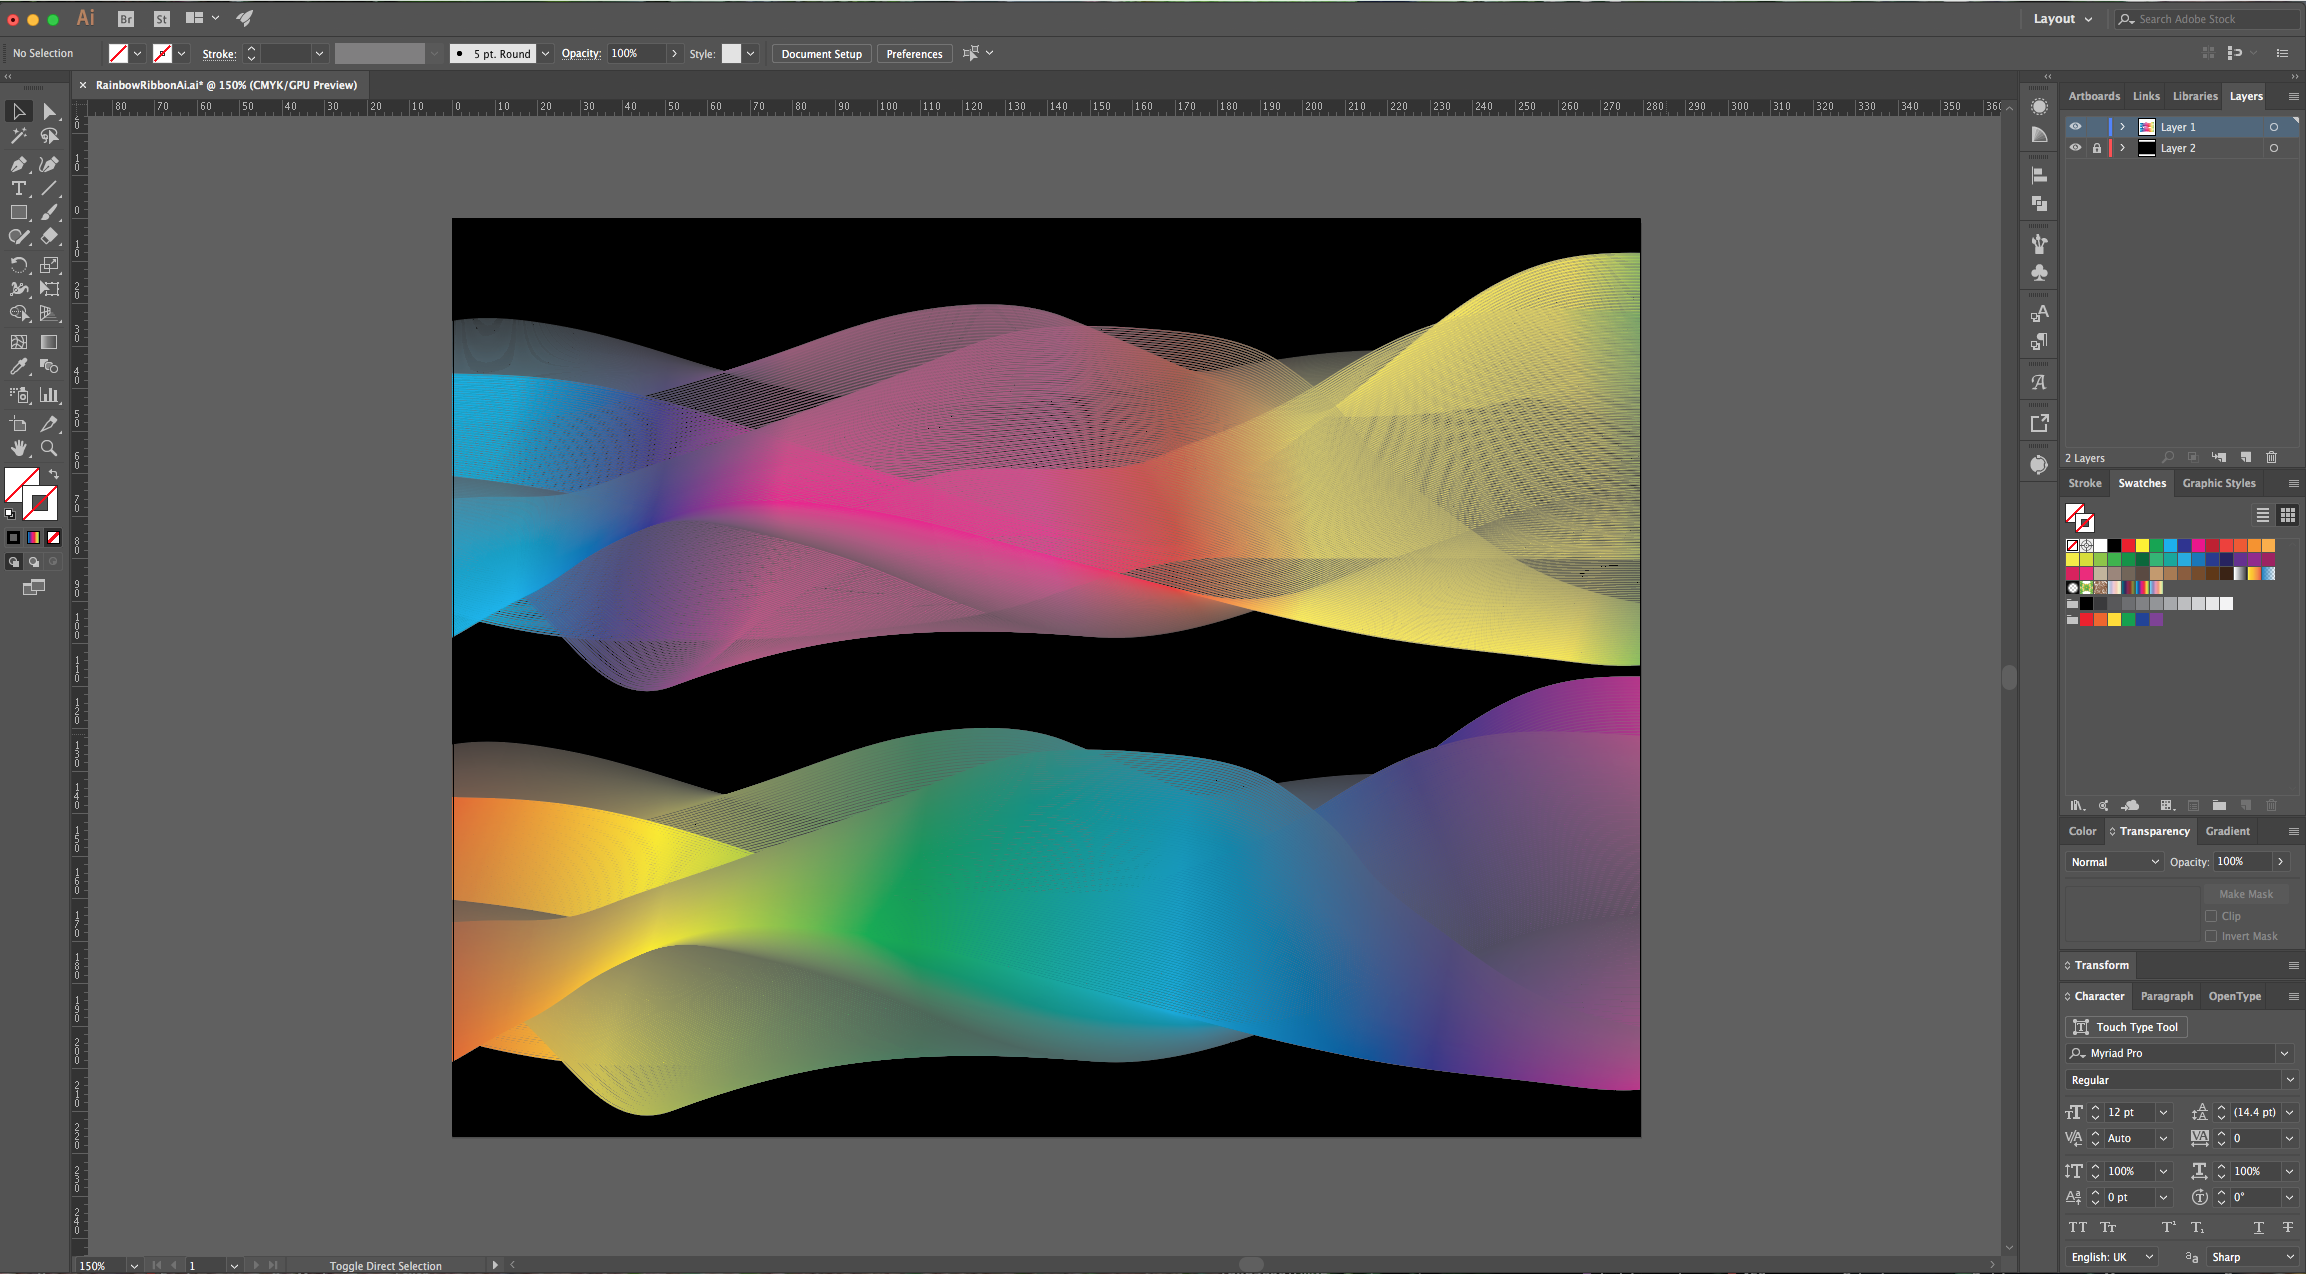
10 - Your “Artwork” should look similar to this.
by @lornacane
6 Related Illustrator Tutorials
In this tutorial, you will learn how to fill text with a gradient in Adobe Illustrator. This can be a really effective way to lift your designs and give them a new dimension!Step 1 - Create Your TextStart by selecting the Type tool (T). Click anywhere on your artboard and ...
In this tutorial you are going to learn the quick and easy way to make a ribbon banner in Illustrator, I am then going to show you the settings you can change to create an arched and a wavy flag banner too.Step 1 - Draw a rectangleFirstly, you need to ...
1 - In Illustrator, create a “New Document”.2 - Select the “Rectangle Tool” (M) and draw a rectangle covering the entire document. Choose a “Gradient” as “Fill” and no “Stroke”.3 - In the “Gradient” Panel make your gradient “Linear” at a 90° Angle and fill it with the colors of your choice (...
Wavy line patterns can easily be created with some basic shapes in Illustrator. These designs work well as seamless patterns for backgrounds or wallpaper. They can also be used for projects such as mugs, cushion covers and so much more. Up next, we will show you how to make a ...
In this tutorial, we will be creating a transparent gradient. We also have a guide on how to fill text with a gradient if you’re interested. You can apply this to images, vector drawings and also grouped objects. Adding gradients to your designs and illustrations can add depth. You ...
In this tutorial we will be creating a pastel gradient background in Adobe Illustrator. To select our colors we will be using a pastel color palette. Creating gradients in this way gives you full flexibility to create your preferred color blends. It allows you to add and remove colors to ...

 All your Font Needs


