
Digital editing in the Silhouette font creator
In this step by step tutorial, learn how to digitally edit your font in Silhouette Font Creator.
Digitally editing your fonts is quite easy with Silhouette Studio's Digital Font Creation. It's essential to note that this feature is only available in the Business Edition. The process follows after uploading your handwritten font to Silhouette Studio via the creator sheet. In this tutorial we will show you how to digitally edit your font in Silhouette Font Creator.
Work with your uploaded hand drawn font
Before you can digitally edit your font you will need to have initially used the Font Creator. This is where you use the provided sheet to write in your font or doodles. You can find more information on how to do this with our tutorial on using the font creator in Silhouette Studio. For this tutorial we have already uploaded our sheet.
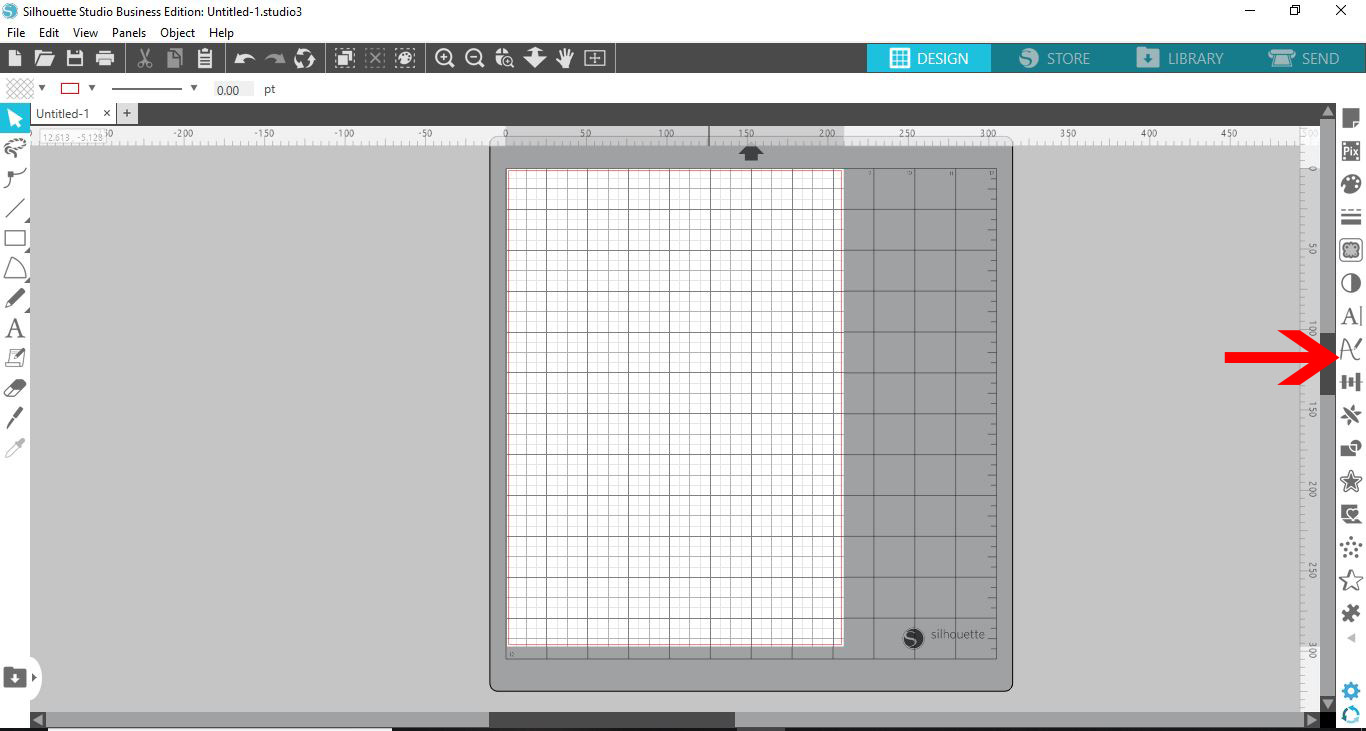
Step 1 - Open the Font Creation Panel
Once you have opened Silhouette Studio, go to the right side panel. You will see a cursive letter A with a pencil icon. Click on this to open the Font Creation Panel.
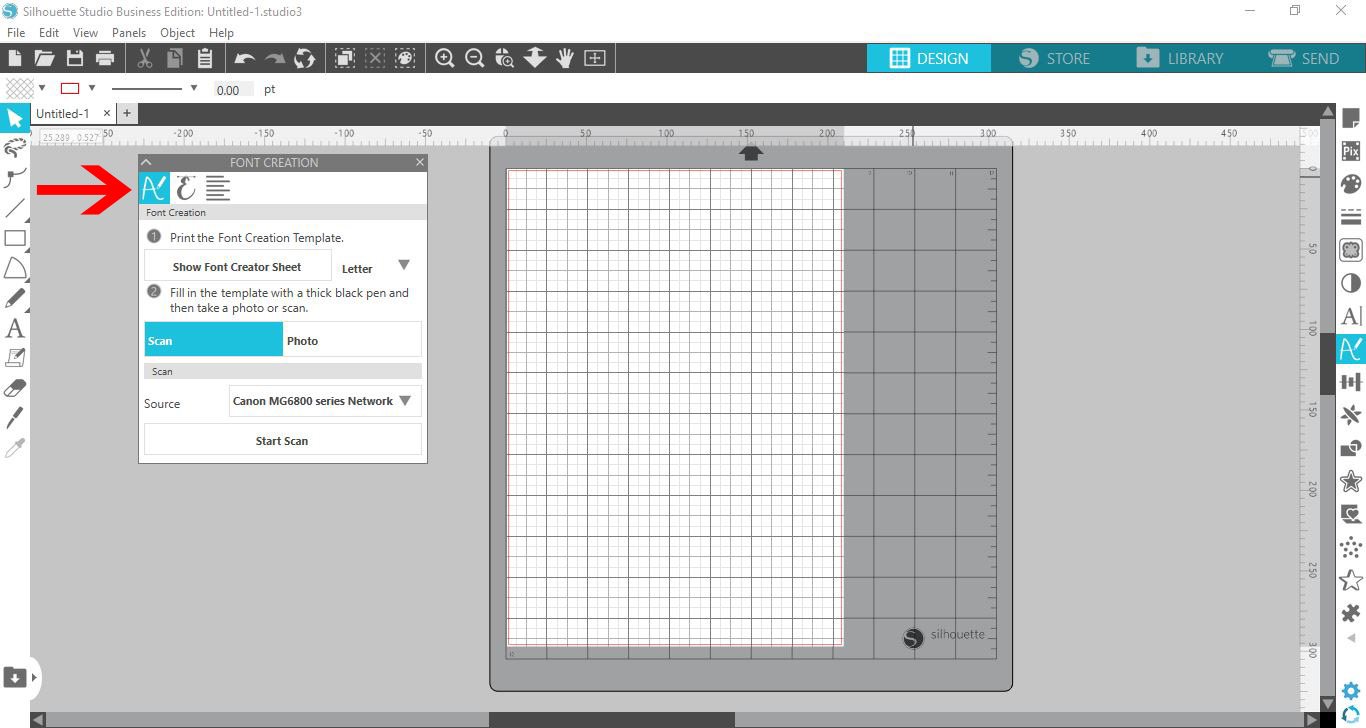
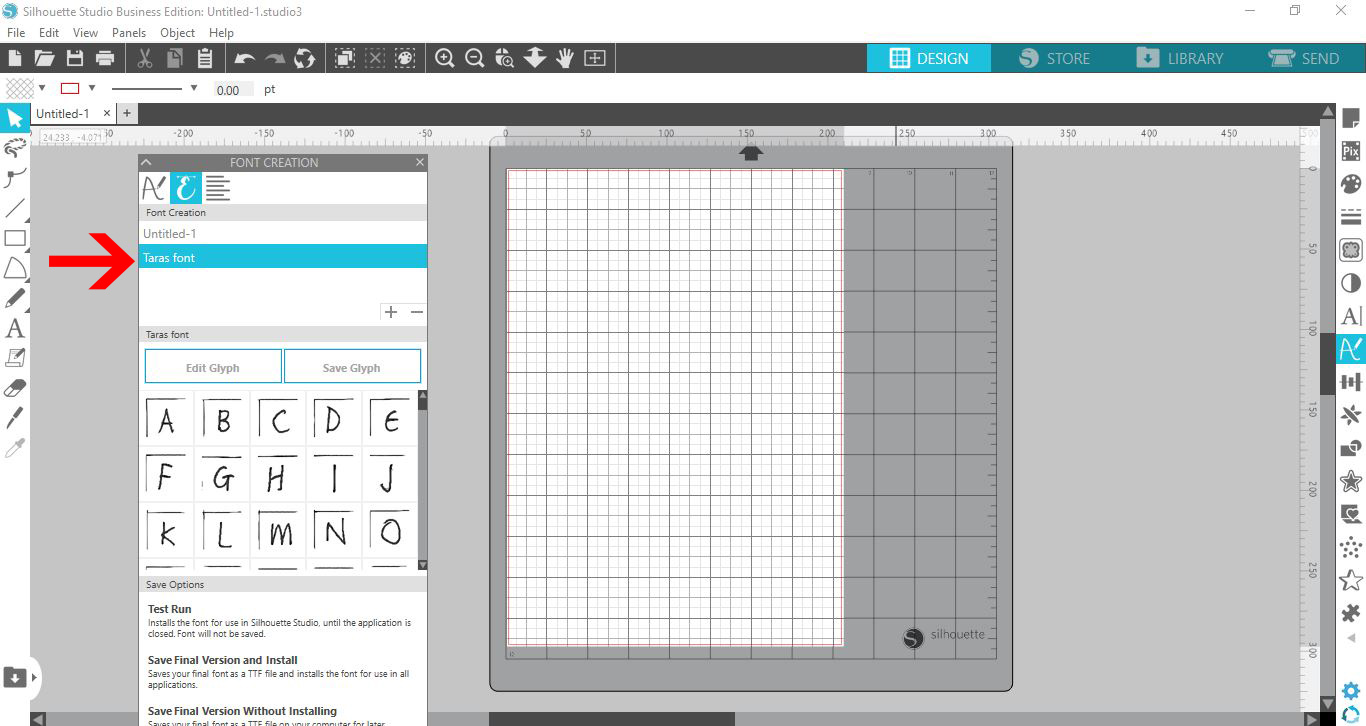
With the panel open, click on the second option called Digital Font Creation. This looks a bit like a cursive E letter. Under this option, select the font you have created and uploaded.
Step 2 - Digitally edit your font creation
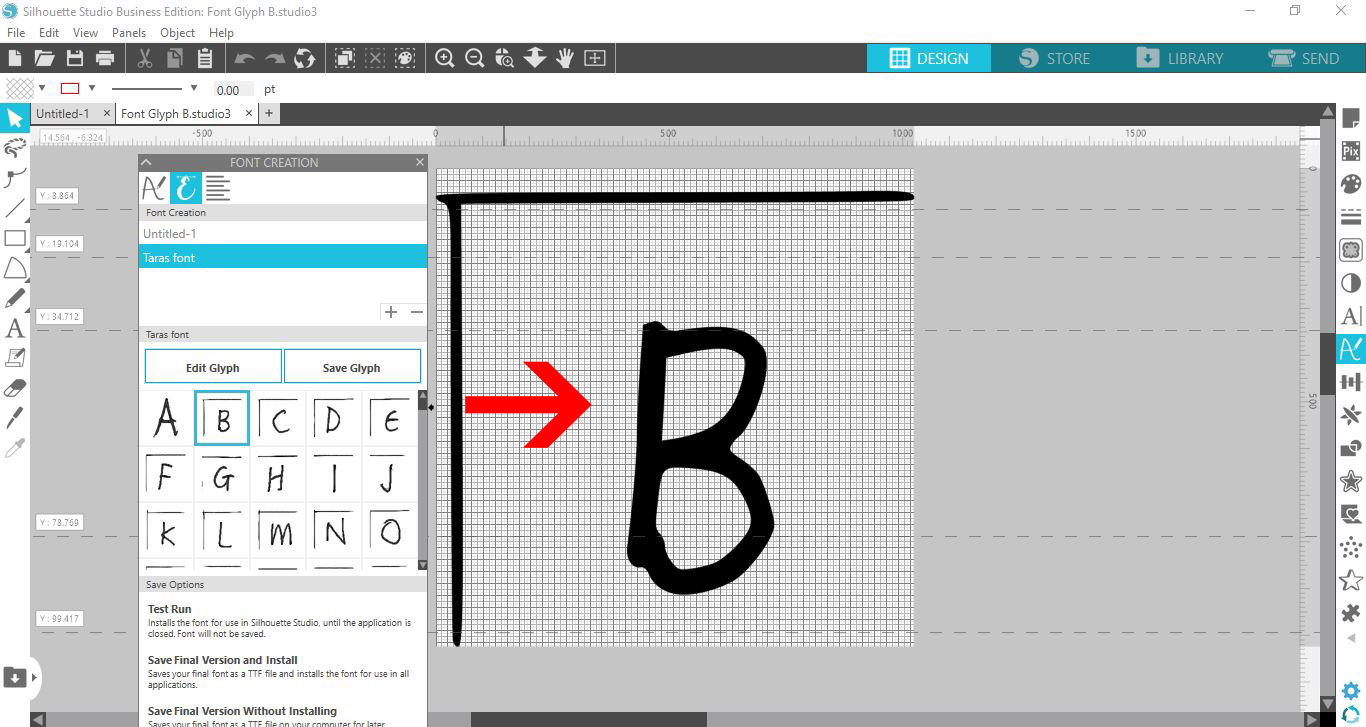
We can now start with editing our hand drawn font. Edit the letter by selecting itthen clicking on Edit Glyph.
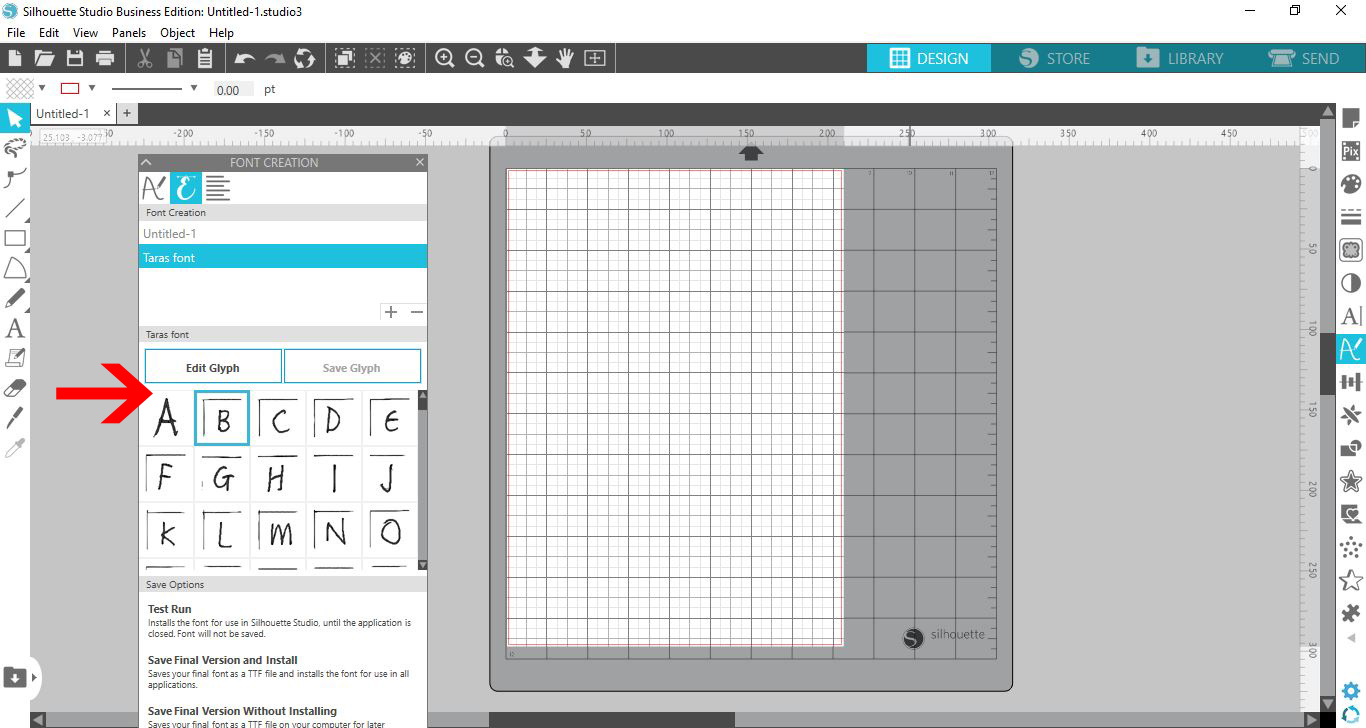
The letter will appear in the edit screen with guidelines.
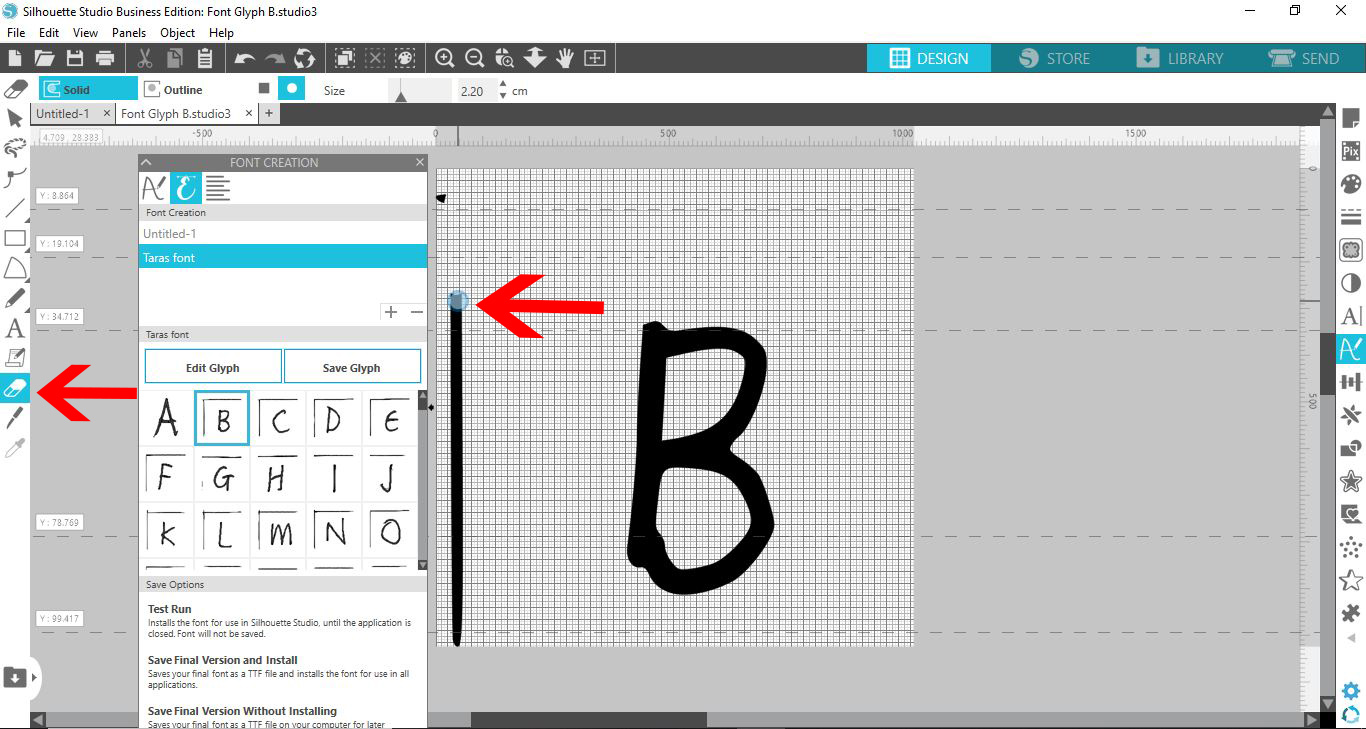
Some unwanted elements were uploaded along with the letters. These can easily be erased using the Erase Tool. On the left side panel select the Erase tool. Next remove parts of the letter that you do not need.
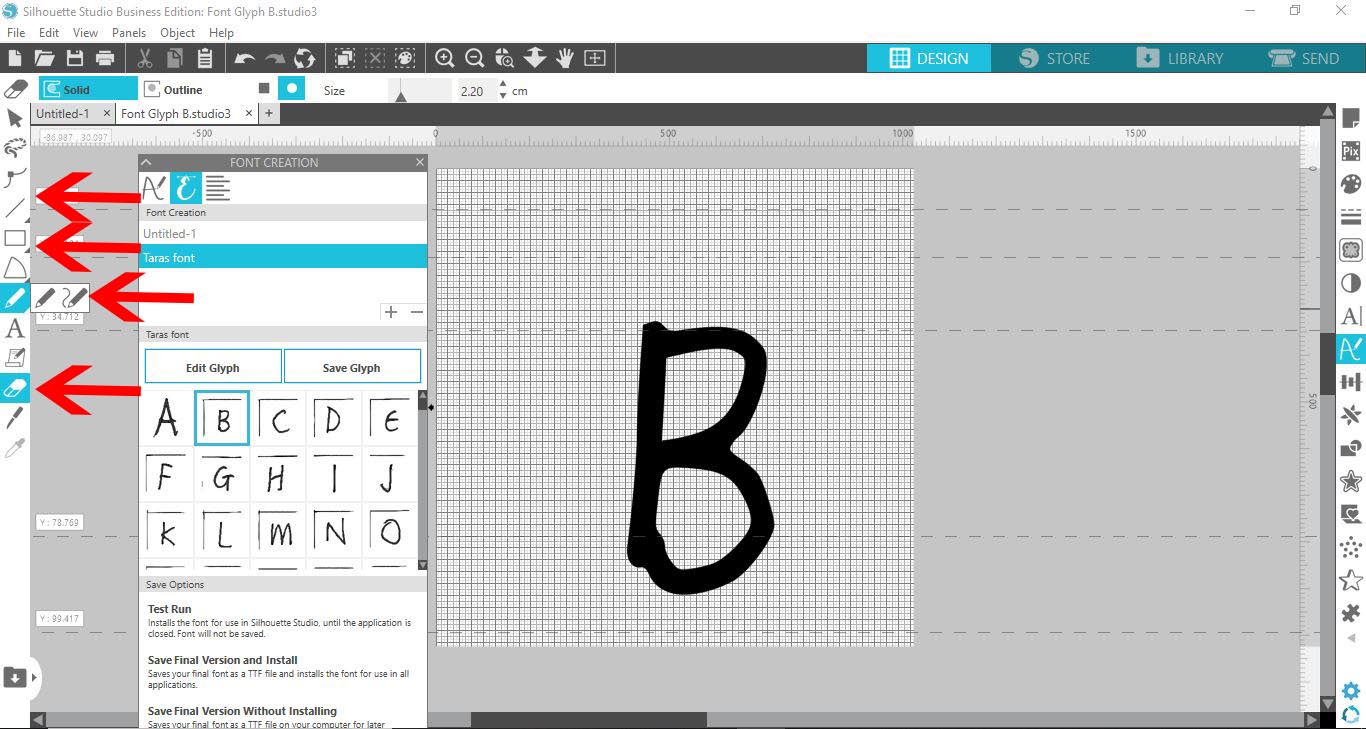
You have a number of editing tools you can use when changing your letters. These arethe Eraser, Drawing, Shape and Line tools. Each tool can be used to adjust the design of the letter to what you require.
Create your digital font from scratch
You can also create your own digital fonts from scratch. Here you can even use shapes readily available in Silhouette Studio. This is a great option for basic designs that you may want to turn into a doodle font.
Step 1 - Create a new font
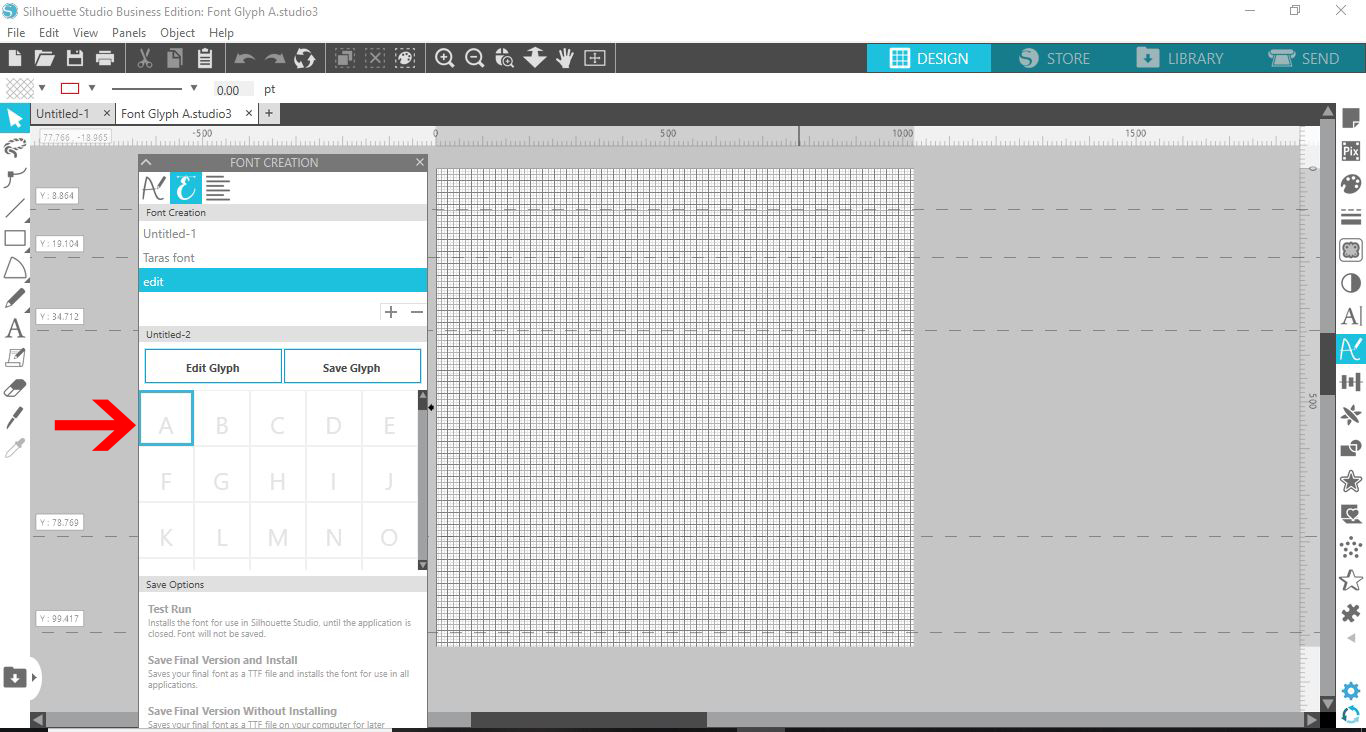
With theFont Creation Panel open, be sure that the Digital Font Creation option is selected. A little lower down and to the right is a plus and minus icon. Click on the plus icon to create a new font. You will see Untitled-2 show in the font title box.
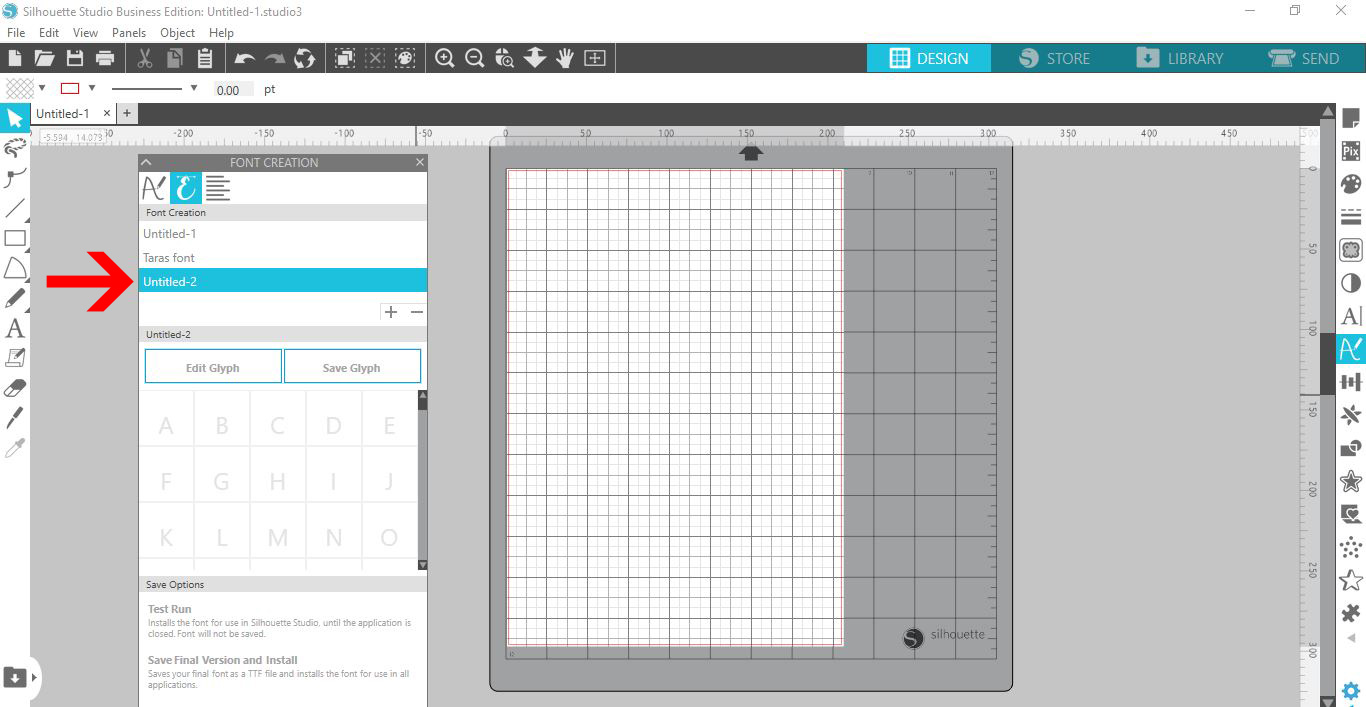
Double clicking on this new font name will allow you to rename it. Once renamed, click on a letter. We chose to start with the letter A. Next, click on the Edit Glyph icon.
Step 2 - Draw out shapes for each font letter
For this part of the tutorial we will use the Draw an Arc tool. There are a selection of preloaded shapes to start with. We can also edit each shape to our liking.
On the left side panel,place your mouse over theDraw an Arc tool. A selection of shapes will show and you can select the one you want. Click on the one you want then draw out the shape in the edit area.
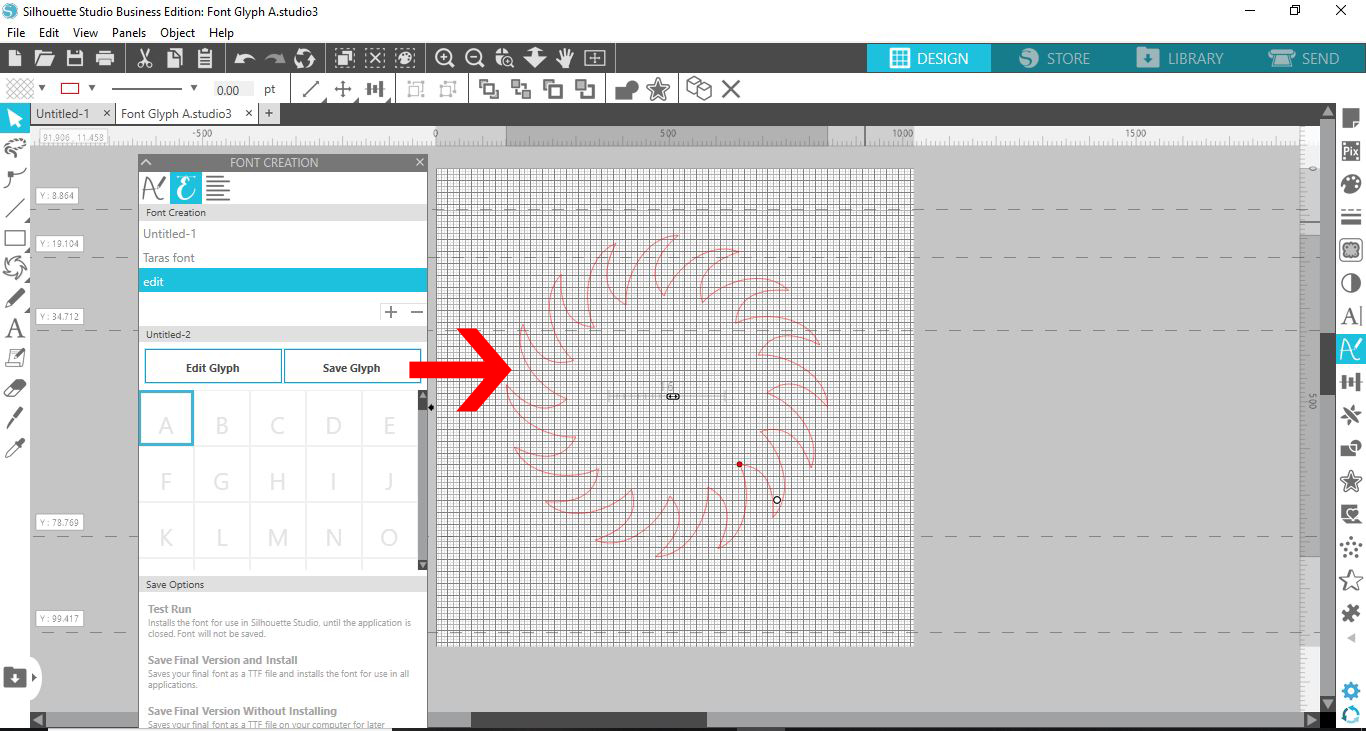
The shape can be edited by adjusting the little red dot. Once you are happy with the letter or shape, click on Save Glyph.
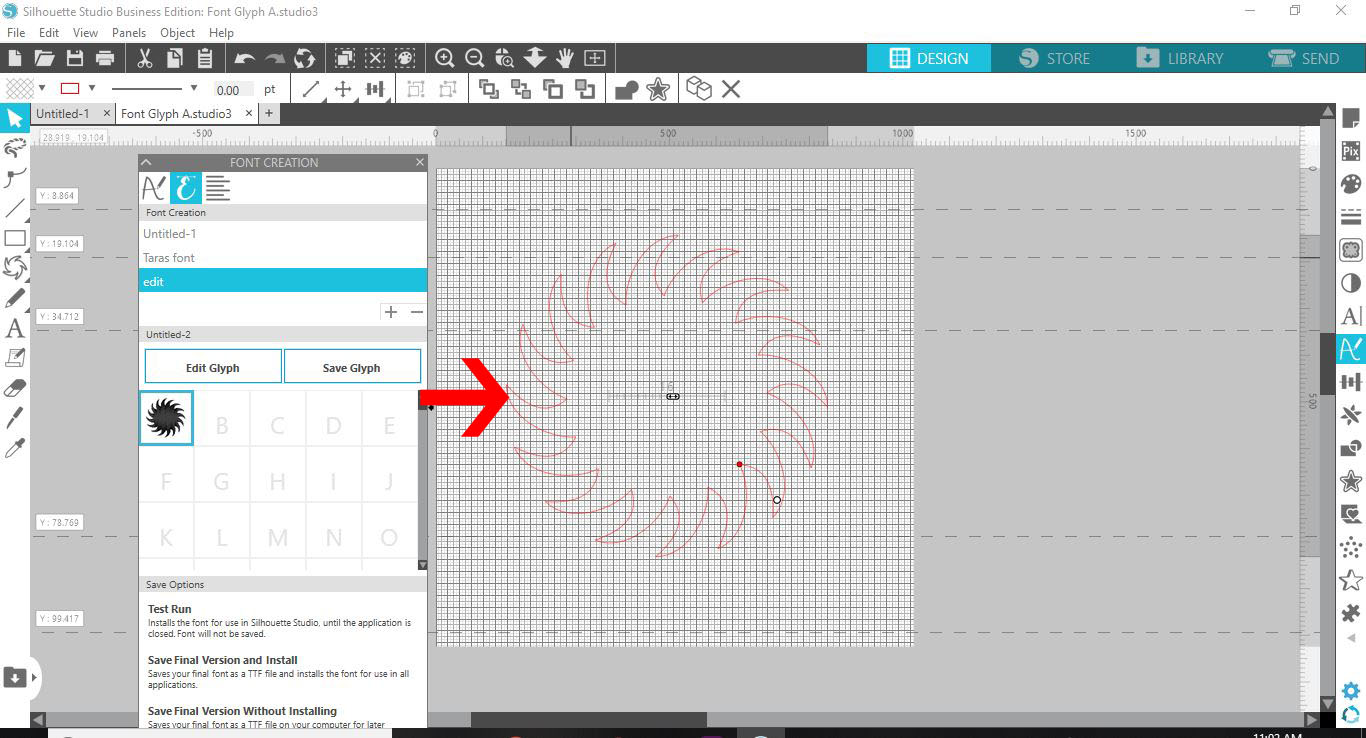
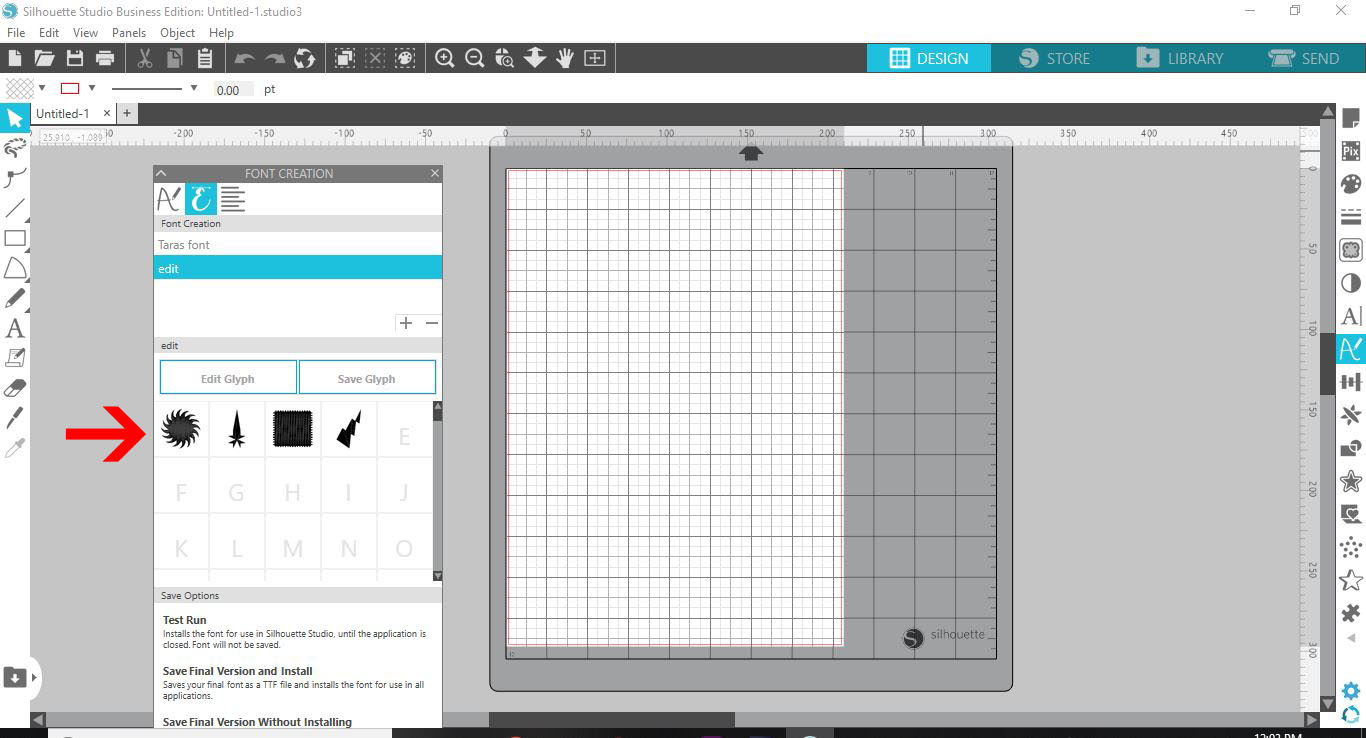
Select the next letter, click on Edit Glyph and repeat the steps for editing each letter.Make sure you save each glyph after adding and editing it.
Step 3 - Test run and save your newly created font
Once done you can click on Test Run. This will add the font to your font library and allow you to test it out. It will, however, not save the font if you exit the software.
To save the font you can choose to Save Final version and Install. This will install the font for all applications.
Or you can select Save Final version without Installing. This will save the font to your computer without installing so that it can be installed at a later stage.
Now that you know how to edit and save your unique font, experiment with more designs. There are so many creative opportunities for your projects using the Font Creation panel.
If you enjoyed creating fonts in this tutorial, be sure to follow our other tutorials such as making and editing shapes, using flexi shapesand using the eraser tool in Silhouette Studio.


