
Foil Quill Tip Size Differences Using Silhouette Studio
The Foil Quill range of tips gives the Silhouette user many great foiling options. Whether there are fine details or bold designs, you can add a foiled accent to cards, stickers and even acrylic. In this tutorial we will show you the differences between Foil Quill size tips using Silhouette Studio.
The foil quill comes in 3 different tip sizes. Fine, Medium and Thick (or Bold). We will be using straight lines, text and sketch fill so show the differences.
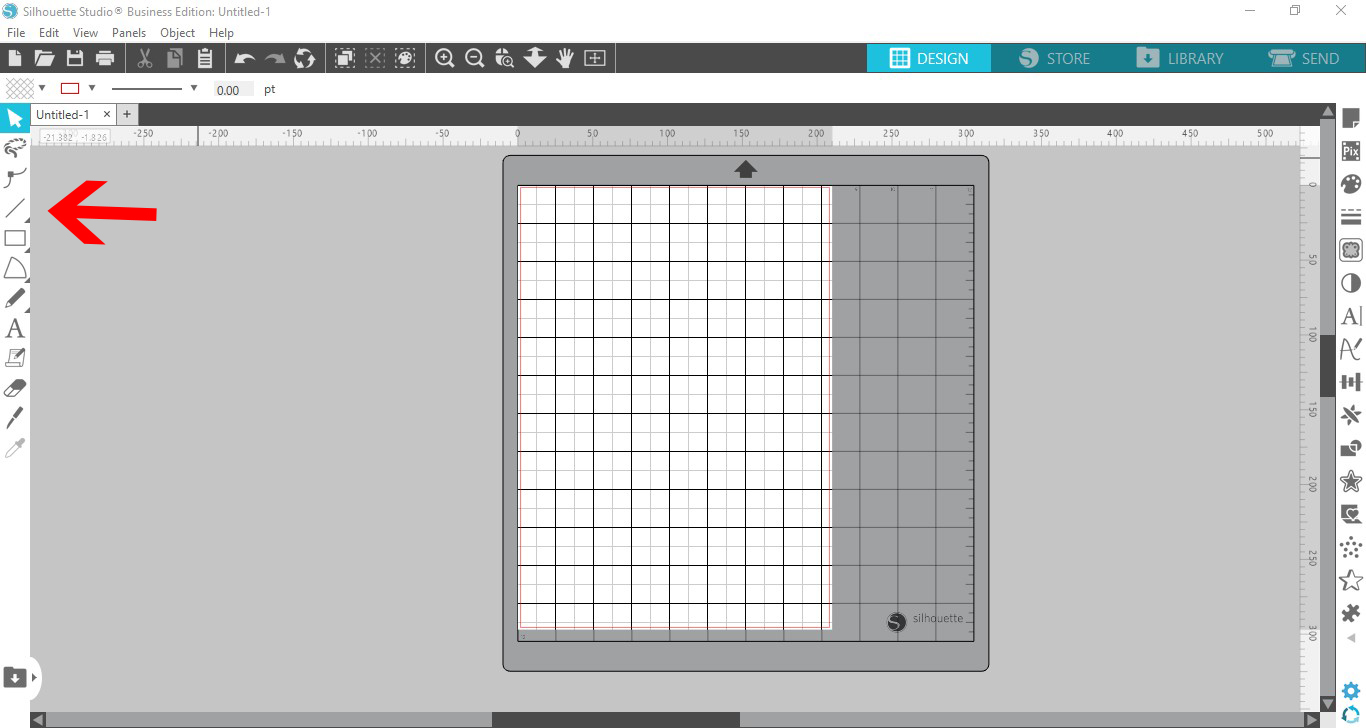
Open Silhouette Studio and then click on the Line tool located on the left side panel.
On your canvas, click + drag your mouse to draw out three lines.
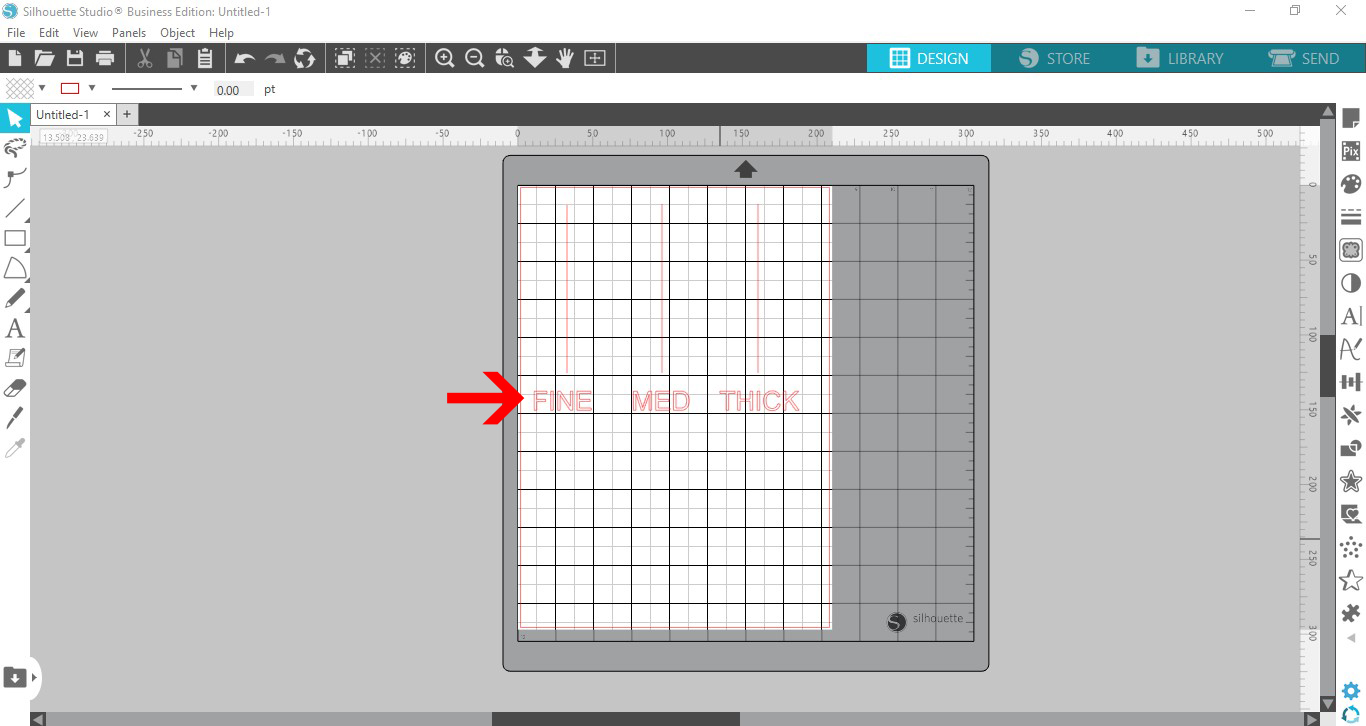
Next, click on the Text tool (shown as letter A) on the left hand side. Click anywhere on the canvas and then type in your text. Here we typed in 'Fine', 'Med' and 'Thick' to represent the Foil Quill tips.
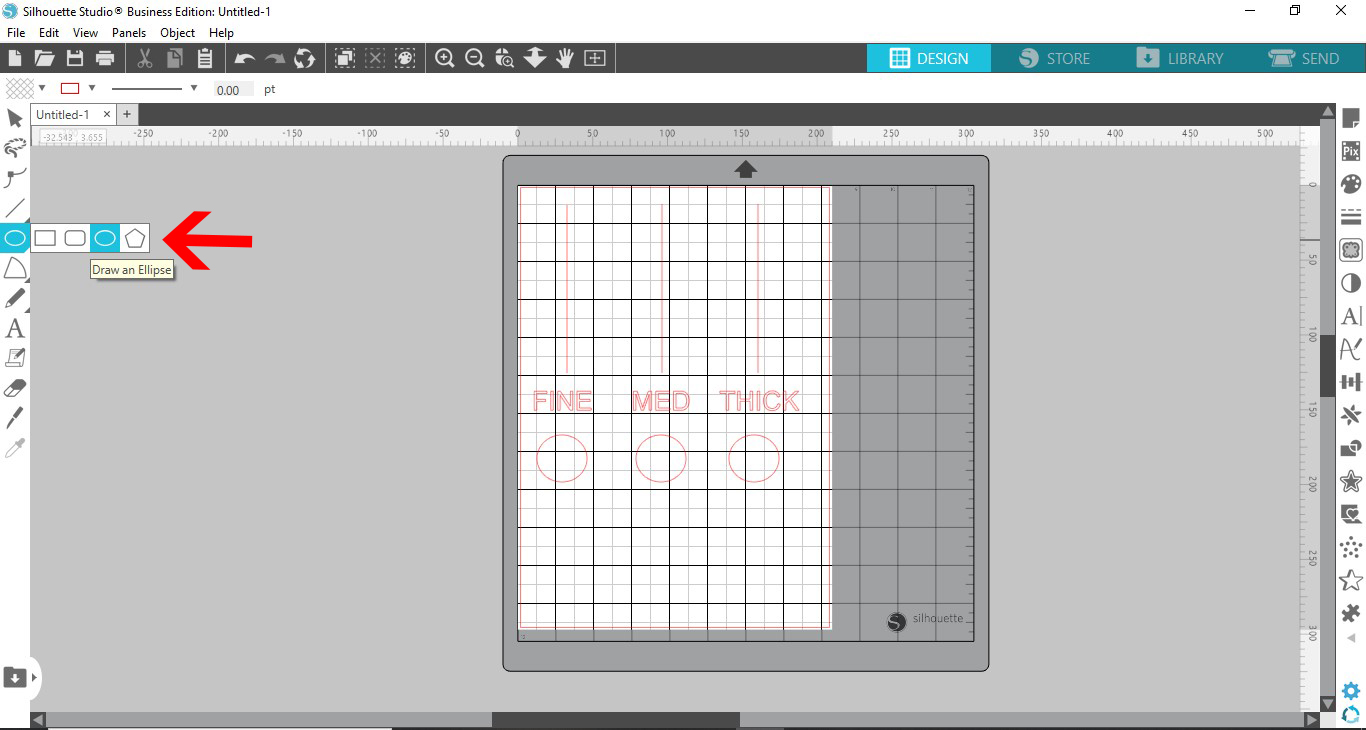
On the left side panel hover your mouse over the Drawing Tools. This will open the drawing options. Click on Draw an Ellipse and hold Shift while clicking + dragging to create a circle. Holding Shift will give you a perfectly round circle. Create three circles and place each one under the text.
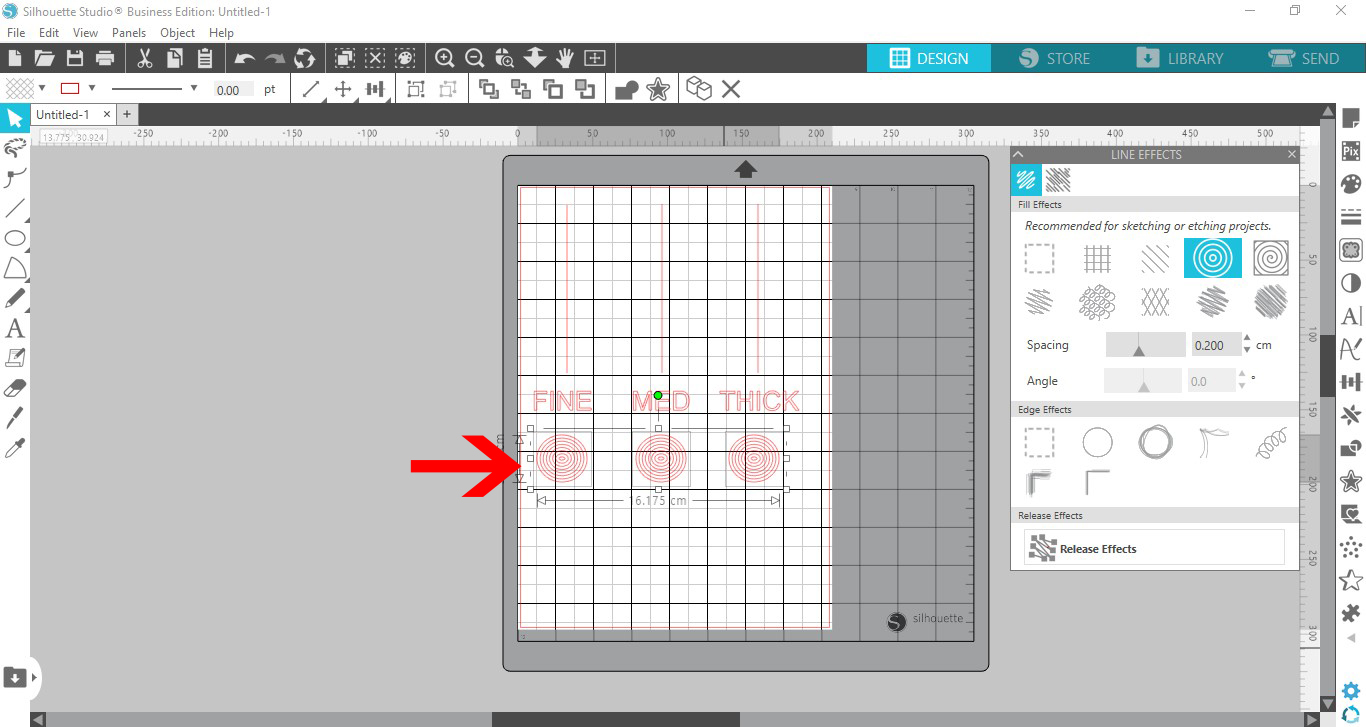
The option to sketch fill in Silhouette Studio is located under the Line Effects Tool. There are quite a few fill options available if you are using Designer Edition and up. The Line Effects tool is also available in the Standard Edition but with limited options. However, you can still follow along as we will be using the same options available in all editions.
On the right hand side panel click on the Line Effects Panel. We will be using the Concentric Effect as this is a basic sketch fill.
I have applied the basic sketch fill to all of the circles. You can adjust the spacing and angle but for this tutorial we will keep the settings as is.
To keep the foiling separate I have given each group a different color. This helps to keep everything organized when working with different foil colors and elements. The settings were created as follows: Speed 5, Force 4 and Pass 1
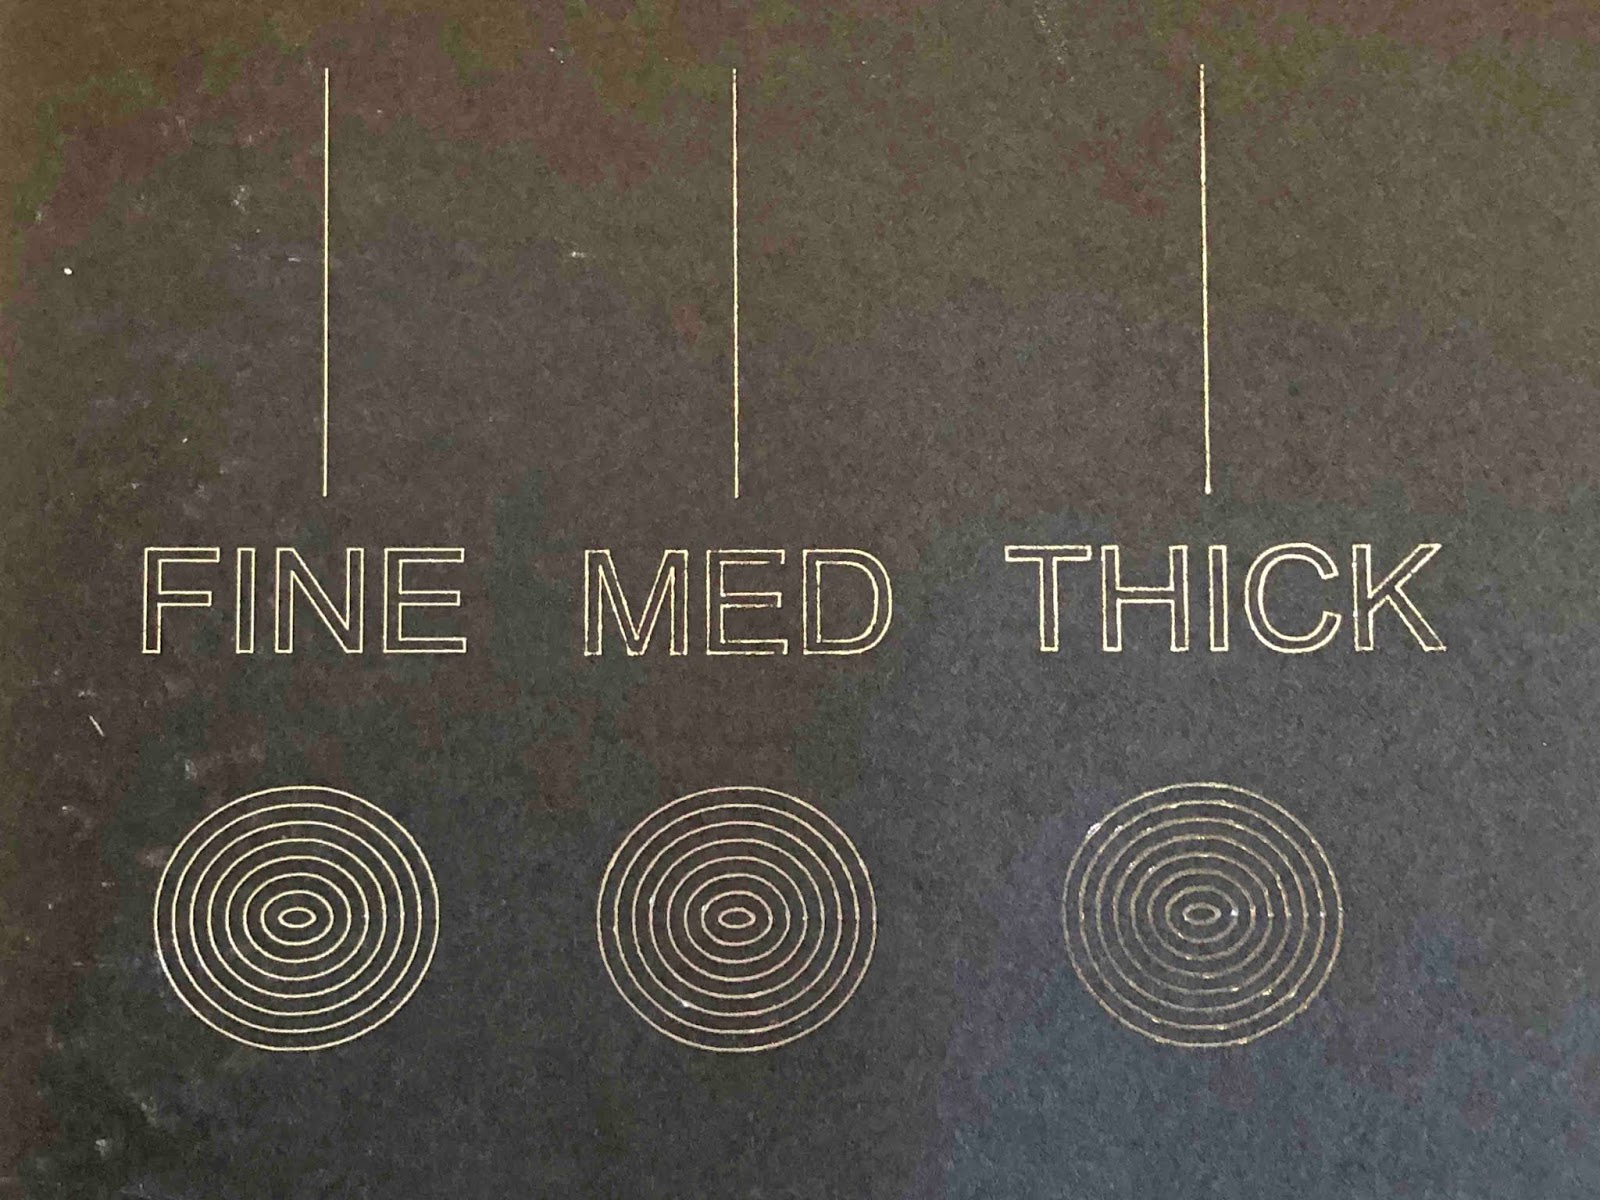
In the image below you can see the difference on standard card stock. There doesn't appear to be much difference between the three tips. However, this is dependent on the project you are working with.
The Fine tip worked best here for the finer details while the Thick tip was less effective. The Thick (also known as Bold) tip works best for thicker, bolder lines and designs. The Medium tip could almost be seen as the one for in between projects. The type of media (such as cardstock, leatherette, acrylic) as well as the thickness of the material will determine the end result.
A slow speed and slow force will give better results as it will give time for the heat to activate the foil and transfer.
Step 1 - Set up the canvas and design
The foil quill comes in 3 different tip sizes. Fine, Medium and Thick (or Bold). We will be using straight lines, text and sketch fill so show the differences.
Open Silhouette Studio and then click on the Line tool located on the left side panel.
On your canvas, click + drag your mouse to draw out three lines.

Next, click on the Text tool (shown as letter A) on the left hand side. Click anywhere on the canvas and then type in your text. Here we typed in 'Fine', 'Med' and 'Thick' to represent the Foil Quill tips.
On the left side panel hover your mouse over the Drawing Tools. This will open the drawing options. Click on Draw an Ellipse and hold Shift while clicking + dragging to create a circle. Holding Shift will give you a perfectly round circle. Create three circles and place each one under the text.
Step 2 - Use the Line Effects Option for a sketch fill
The option to sketch fill in Silhouette Studio is located under the Line Effects Tool. There are quite a few fill options available if you are using Designer Edition and up. The Line Effects tool is also available in the Standard Edition but with limited options. However, you can still follow along as we will be using the same options available in all editions.
On the right hand side panel click on the Line Effects Panel. We will be using the Concentric Effect as this is a basic sketch fill.

I have applied the basic sketch fill to all of the circles. You can adjust the spacing and angle but for this tutorial we will keep the settings as is.
Step 3 - Adjust the settings and Send to Foil
To keep the foiling separate I have given each group a different color. This helps to keep everything organized when working with different foil colors and elements. The settings were created as follows: Speed 5, Force 4 and Pass 1

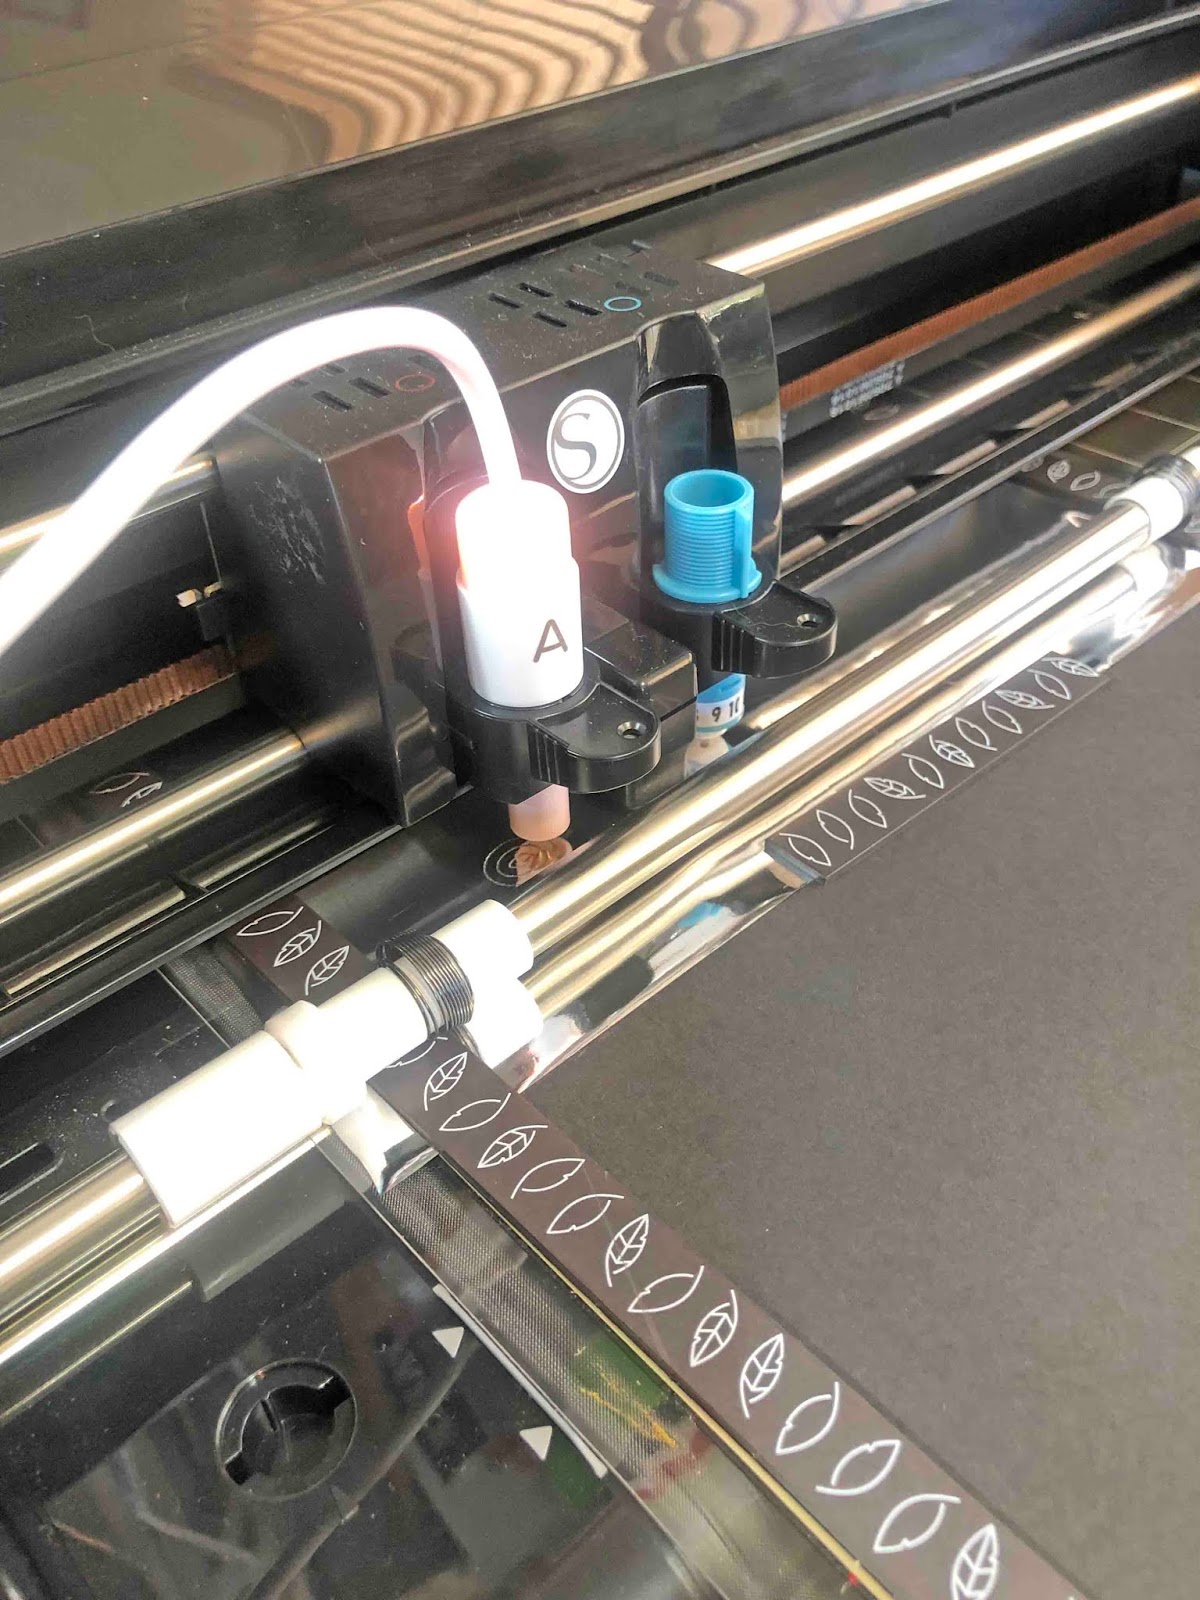
For the first Foil example we used the Fine tip. Be sure to tape down your foil securely along the edges. We then carried on to use the Medium and Thick Foil Quill tips.
In the image below you can see the difference on standard card stock. There doesn't appear to be much difference between the three tips. However, this is dependent on the project you are working with.
The Fine tip worked best here for the finer details while the Thick tip was less effective. The Thick (also known as Bold) tip works best for thicker, bolder lines and designs. The Medium tip could almost be seen as the one for in between projects. The type of media (such as cardstock, leatherette, acrylic) as well as the thickness of the material will determine the end result.
A slow speed and slow force will give better results as it will give time for the heat to activate the foil and transfer.
The Foil Quill tips are great for adding that finished touch to various projects. If you enjoyed learning about the Foil Quill we have more excellent tutorials like how to foil vinyl, how use different foil colors and how to use an SVG file with Foil Quill in Silhouette Studio.


