
How to Make an Awareness Ribbon in Illustrator
In this tutorial you will learn how make an awareness Ribbon in Illustrator. We will be using the Pen tool and Shape Builder Tool in these easy steps. Did you know there are more than 1,000 causes represented by different colored ribbons? After completing this tutorial, your ribbon can be used in various awareness projects.
Let us begin by opening Illustrator and creating your New Document.
We will be using the pen tool to draw the one side of the ribbon. Check out our tutorial on how to use the Pen Tool to help you get started. To activate the pen tool, click P on the keyboard or select it from your left toolbar.
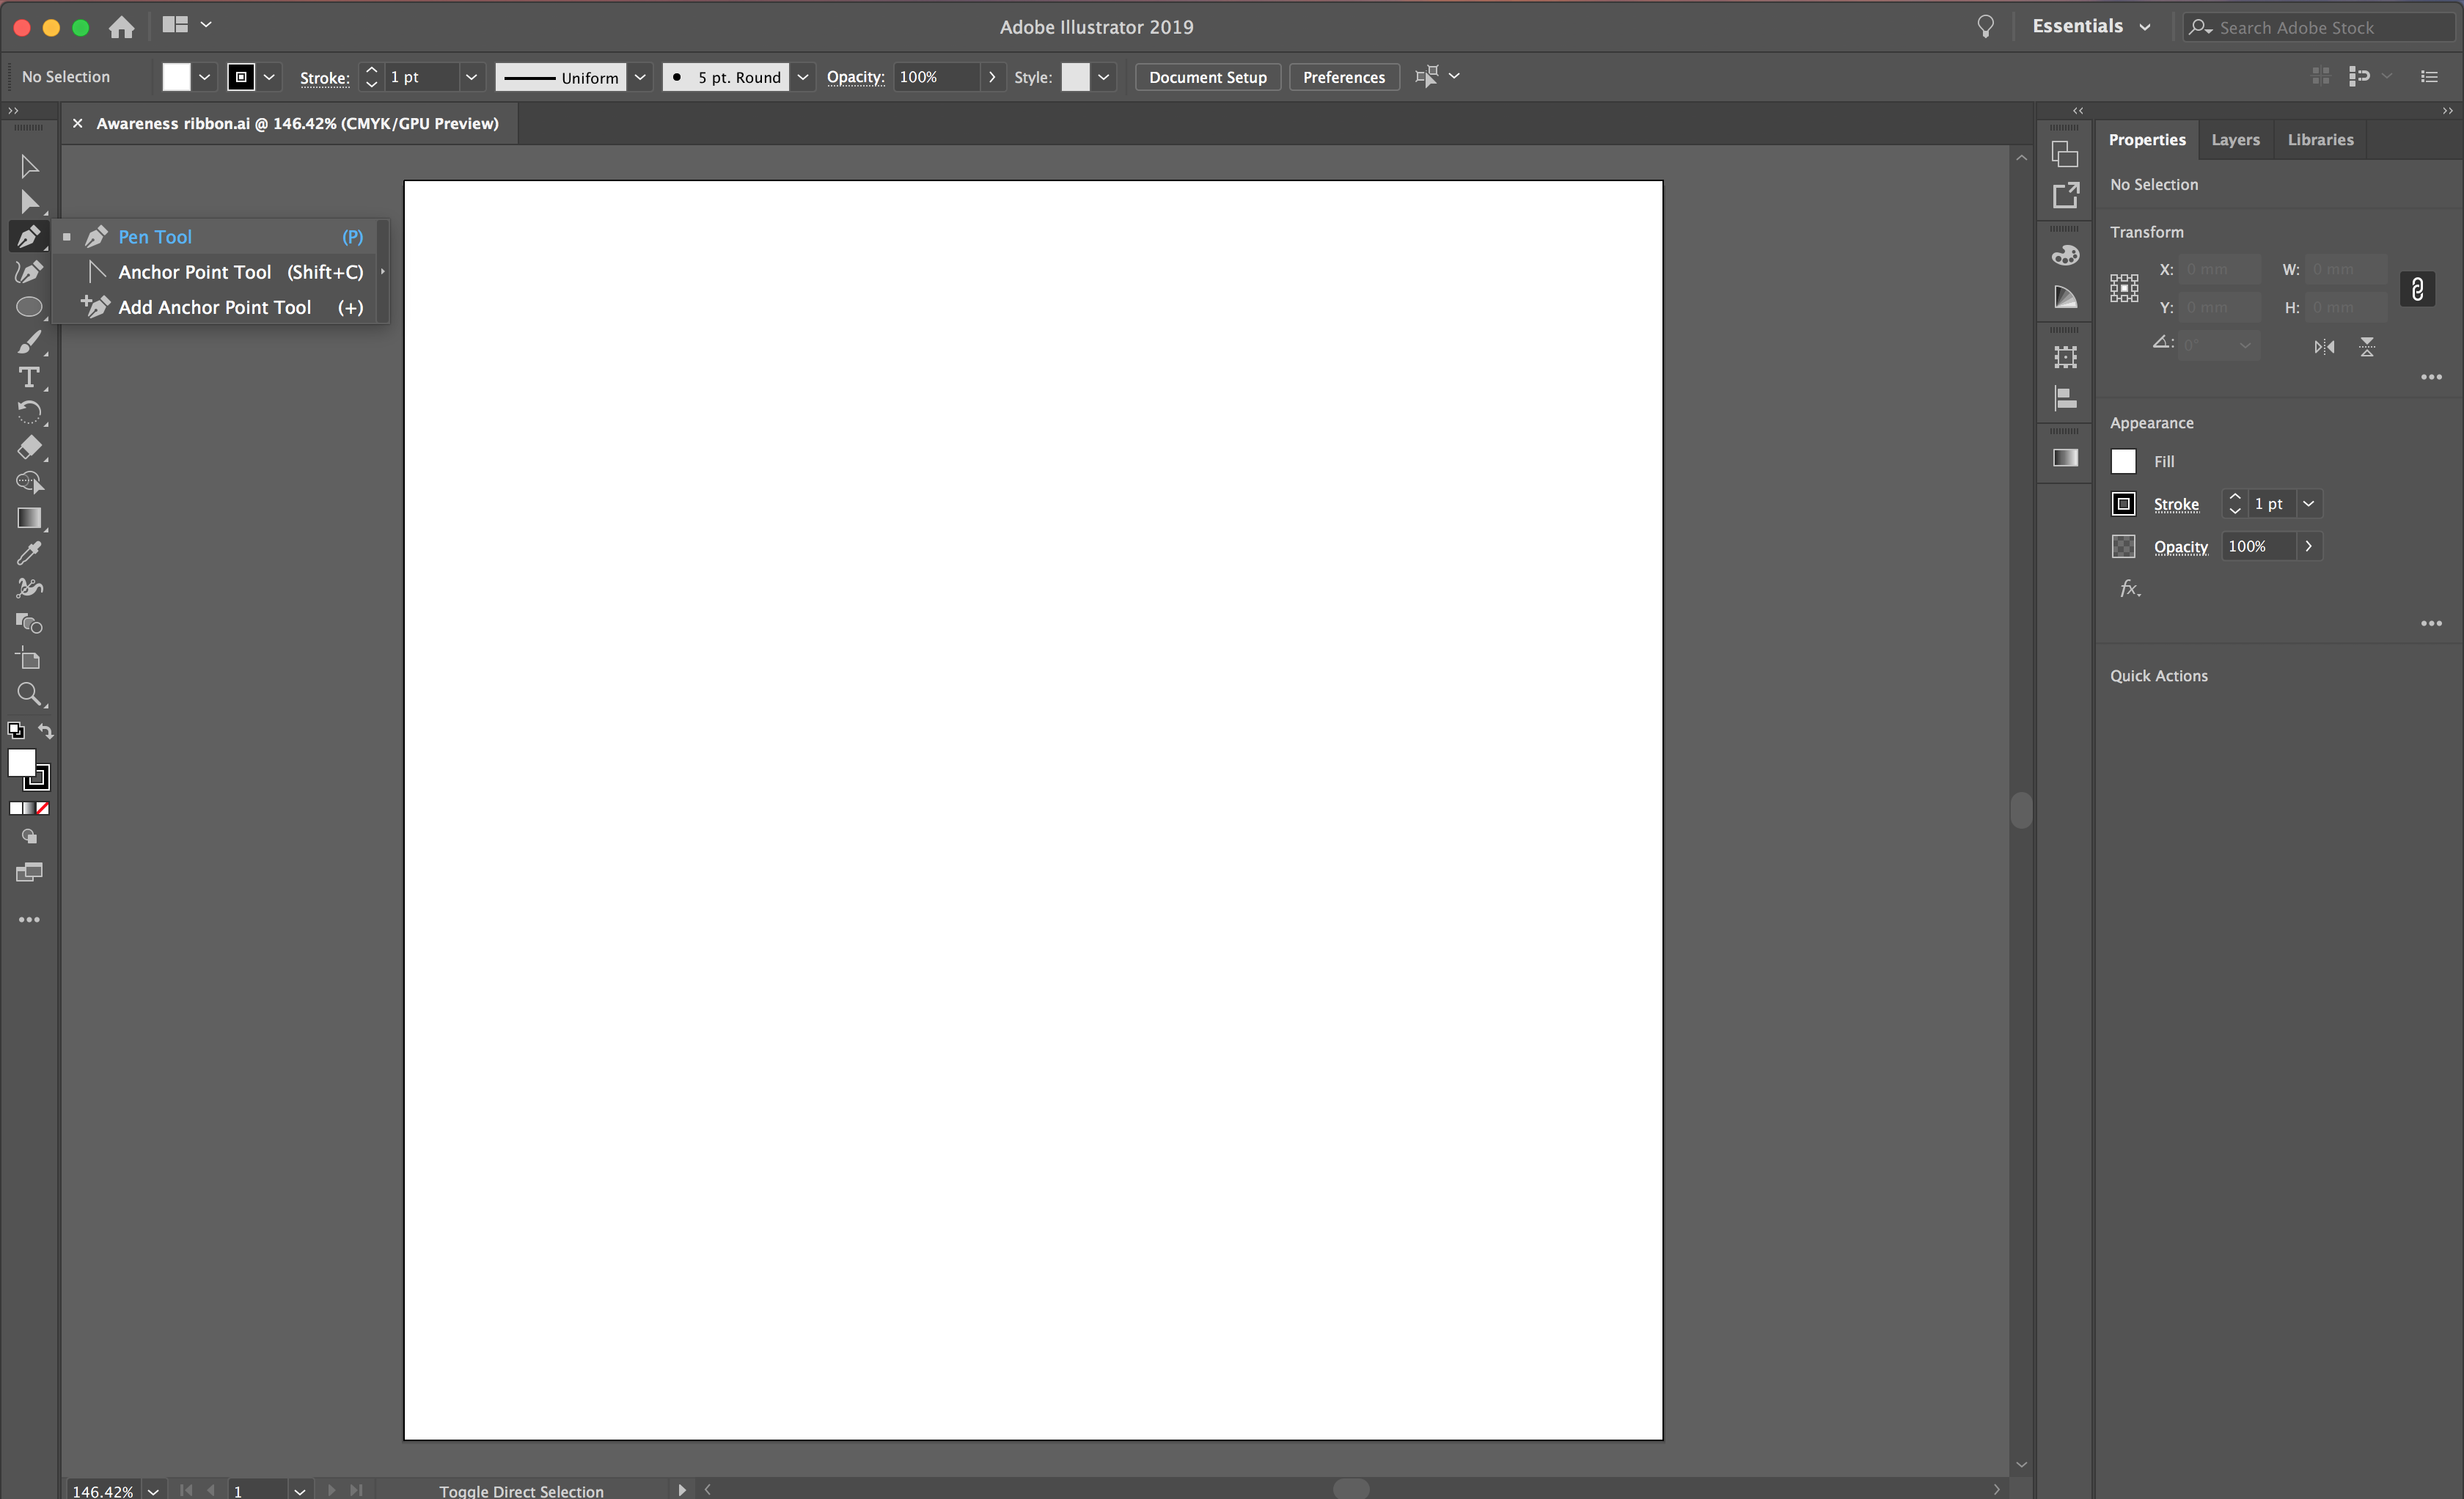
Click your first point near the top section of your artboard, then click your second point below and to the right of your first.
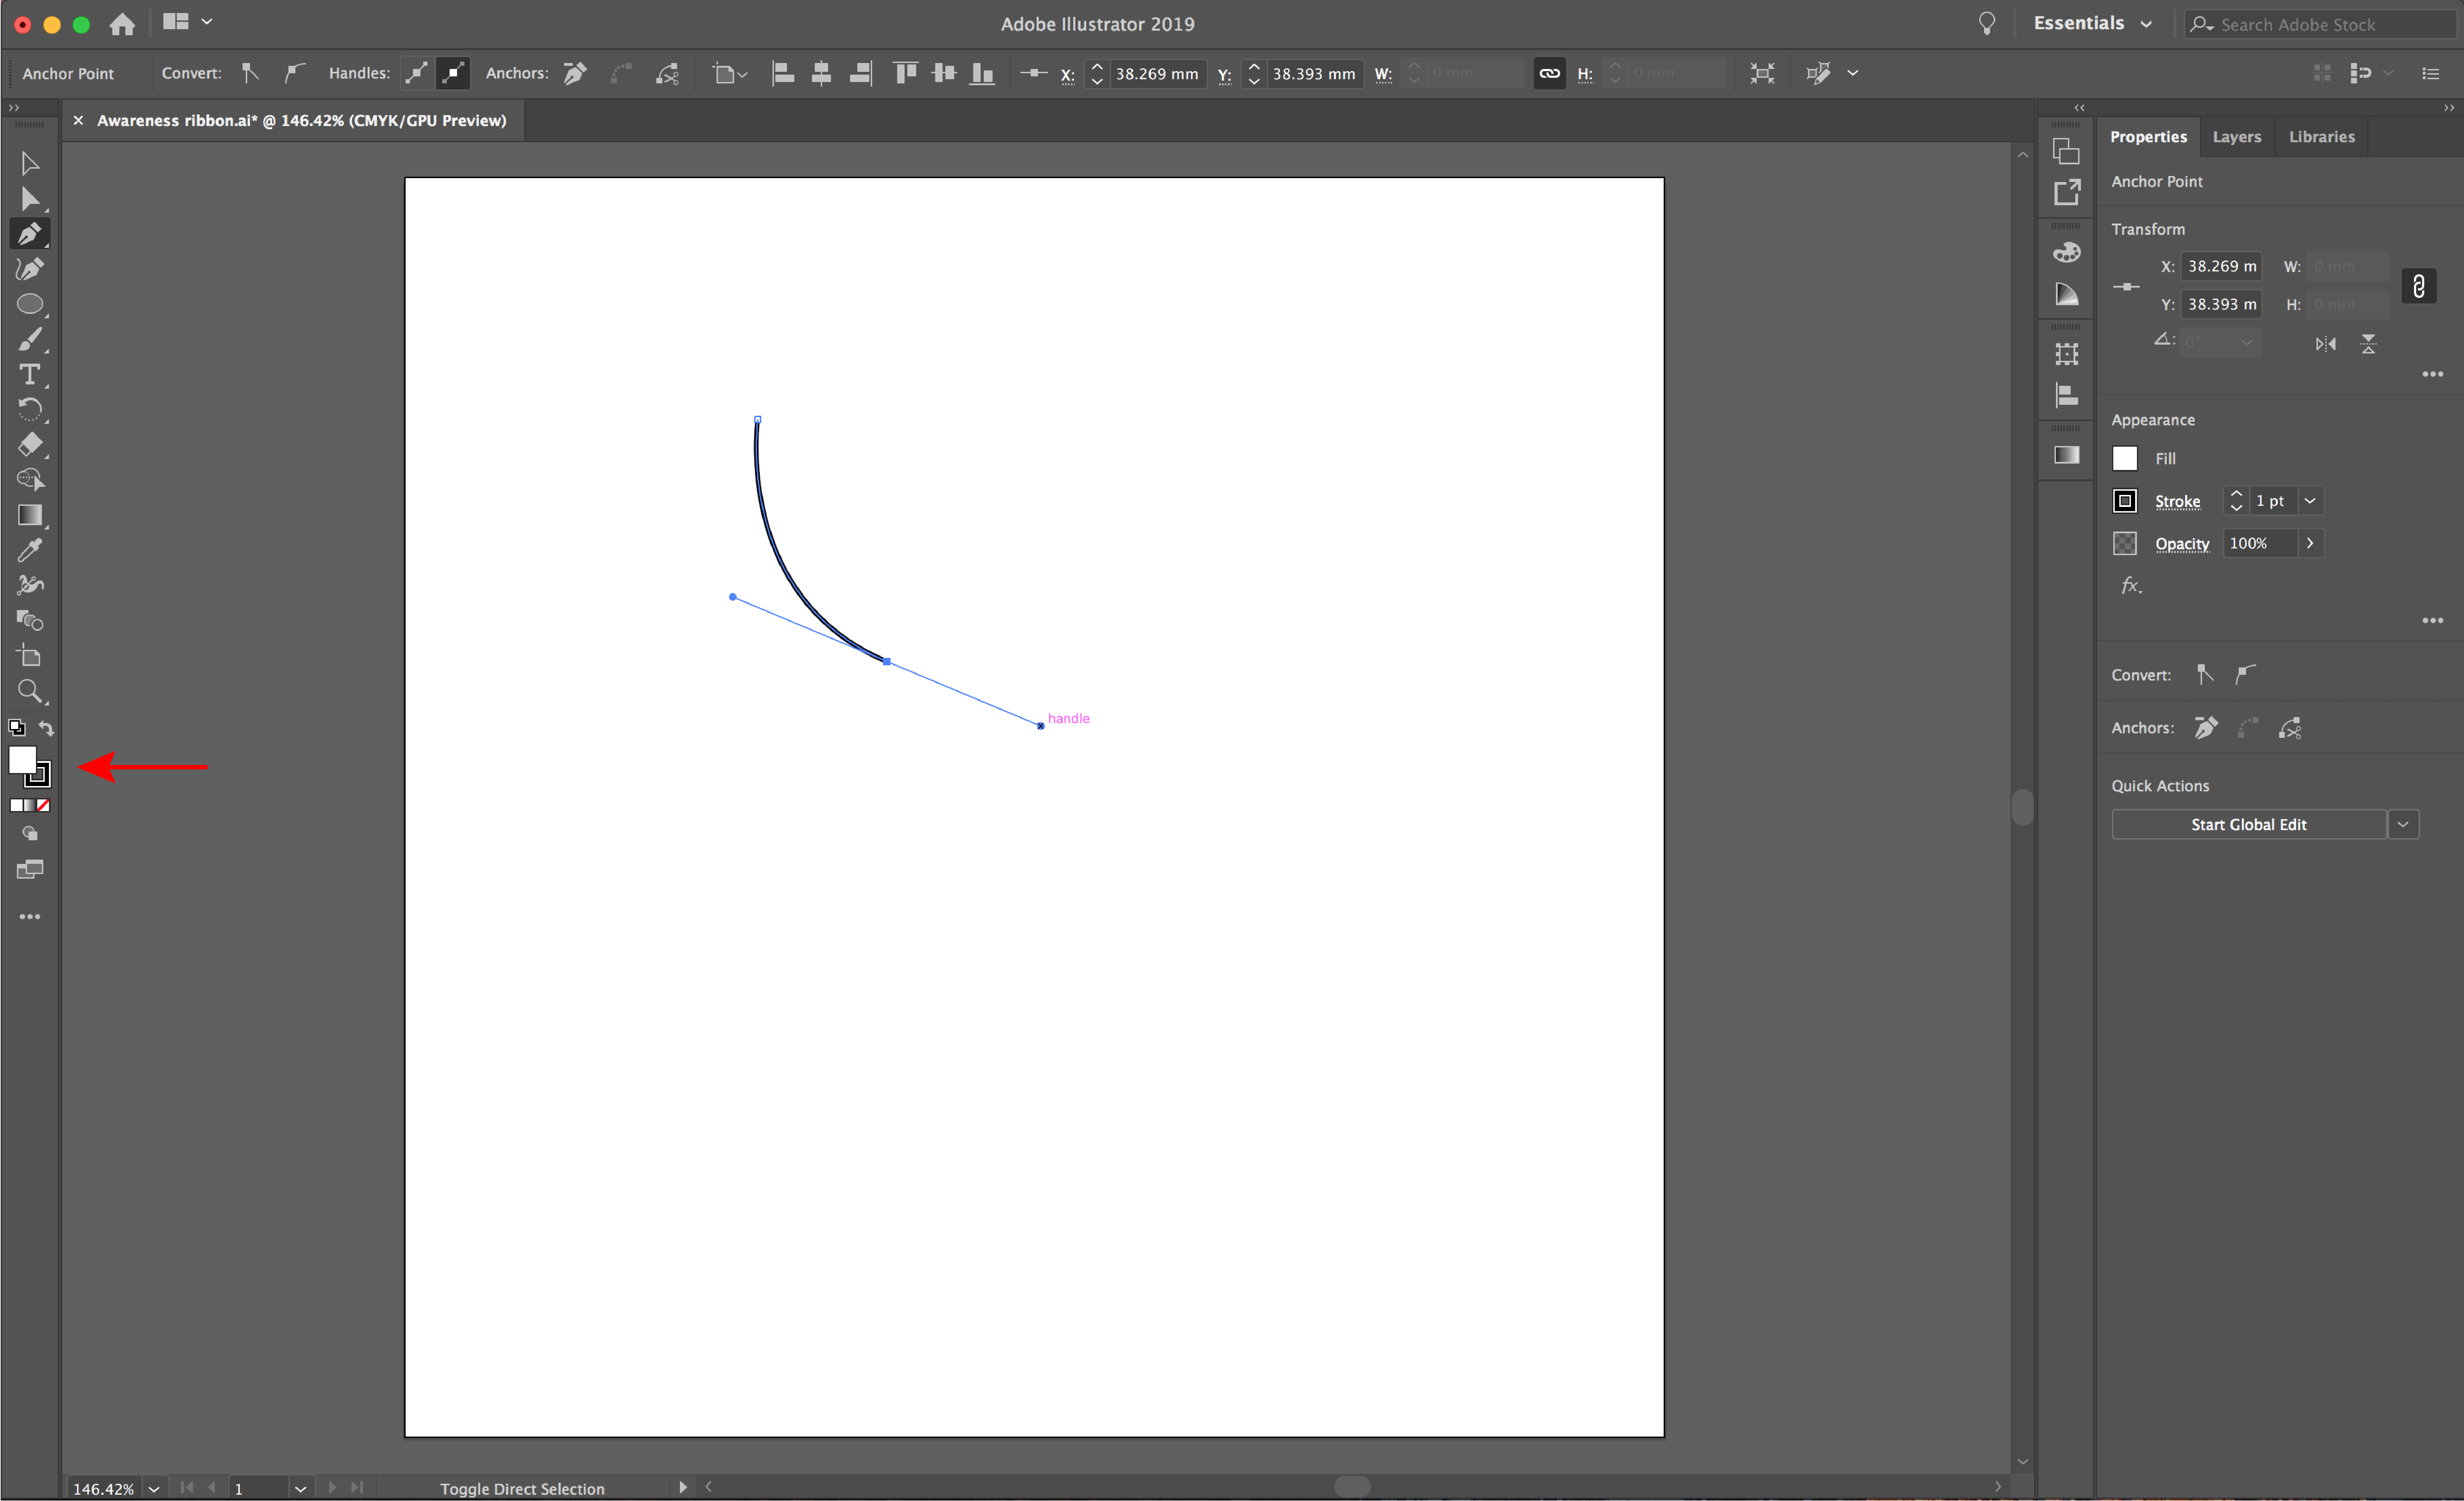
Next, drag until you achieve your desired curve. See the image below for a visual. Click the Selection Tool (black arrow). Remove the white fill from your shape by clicking the red line icon with your white fill selected.
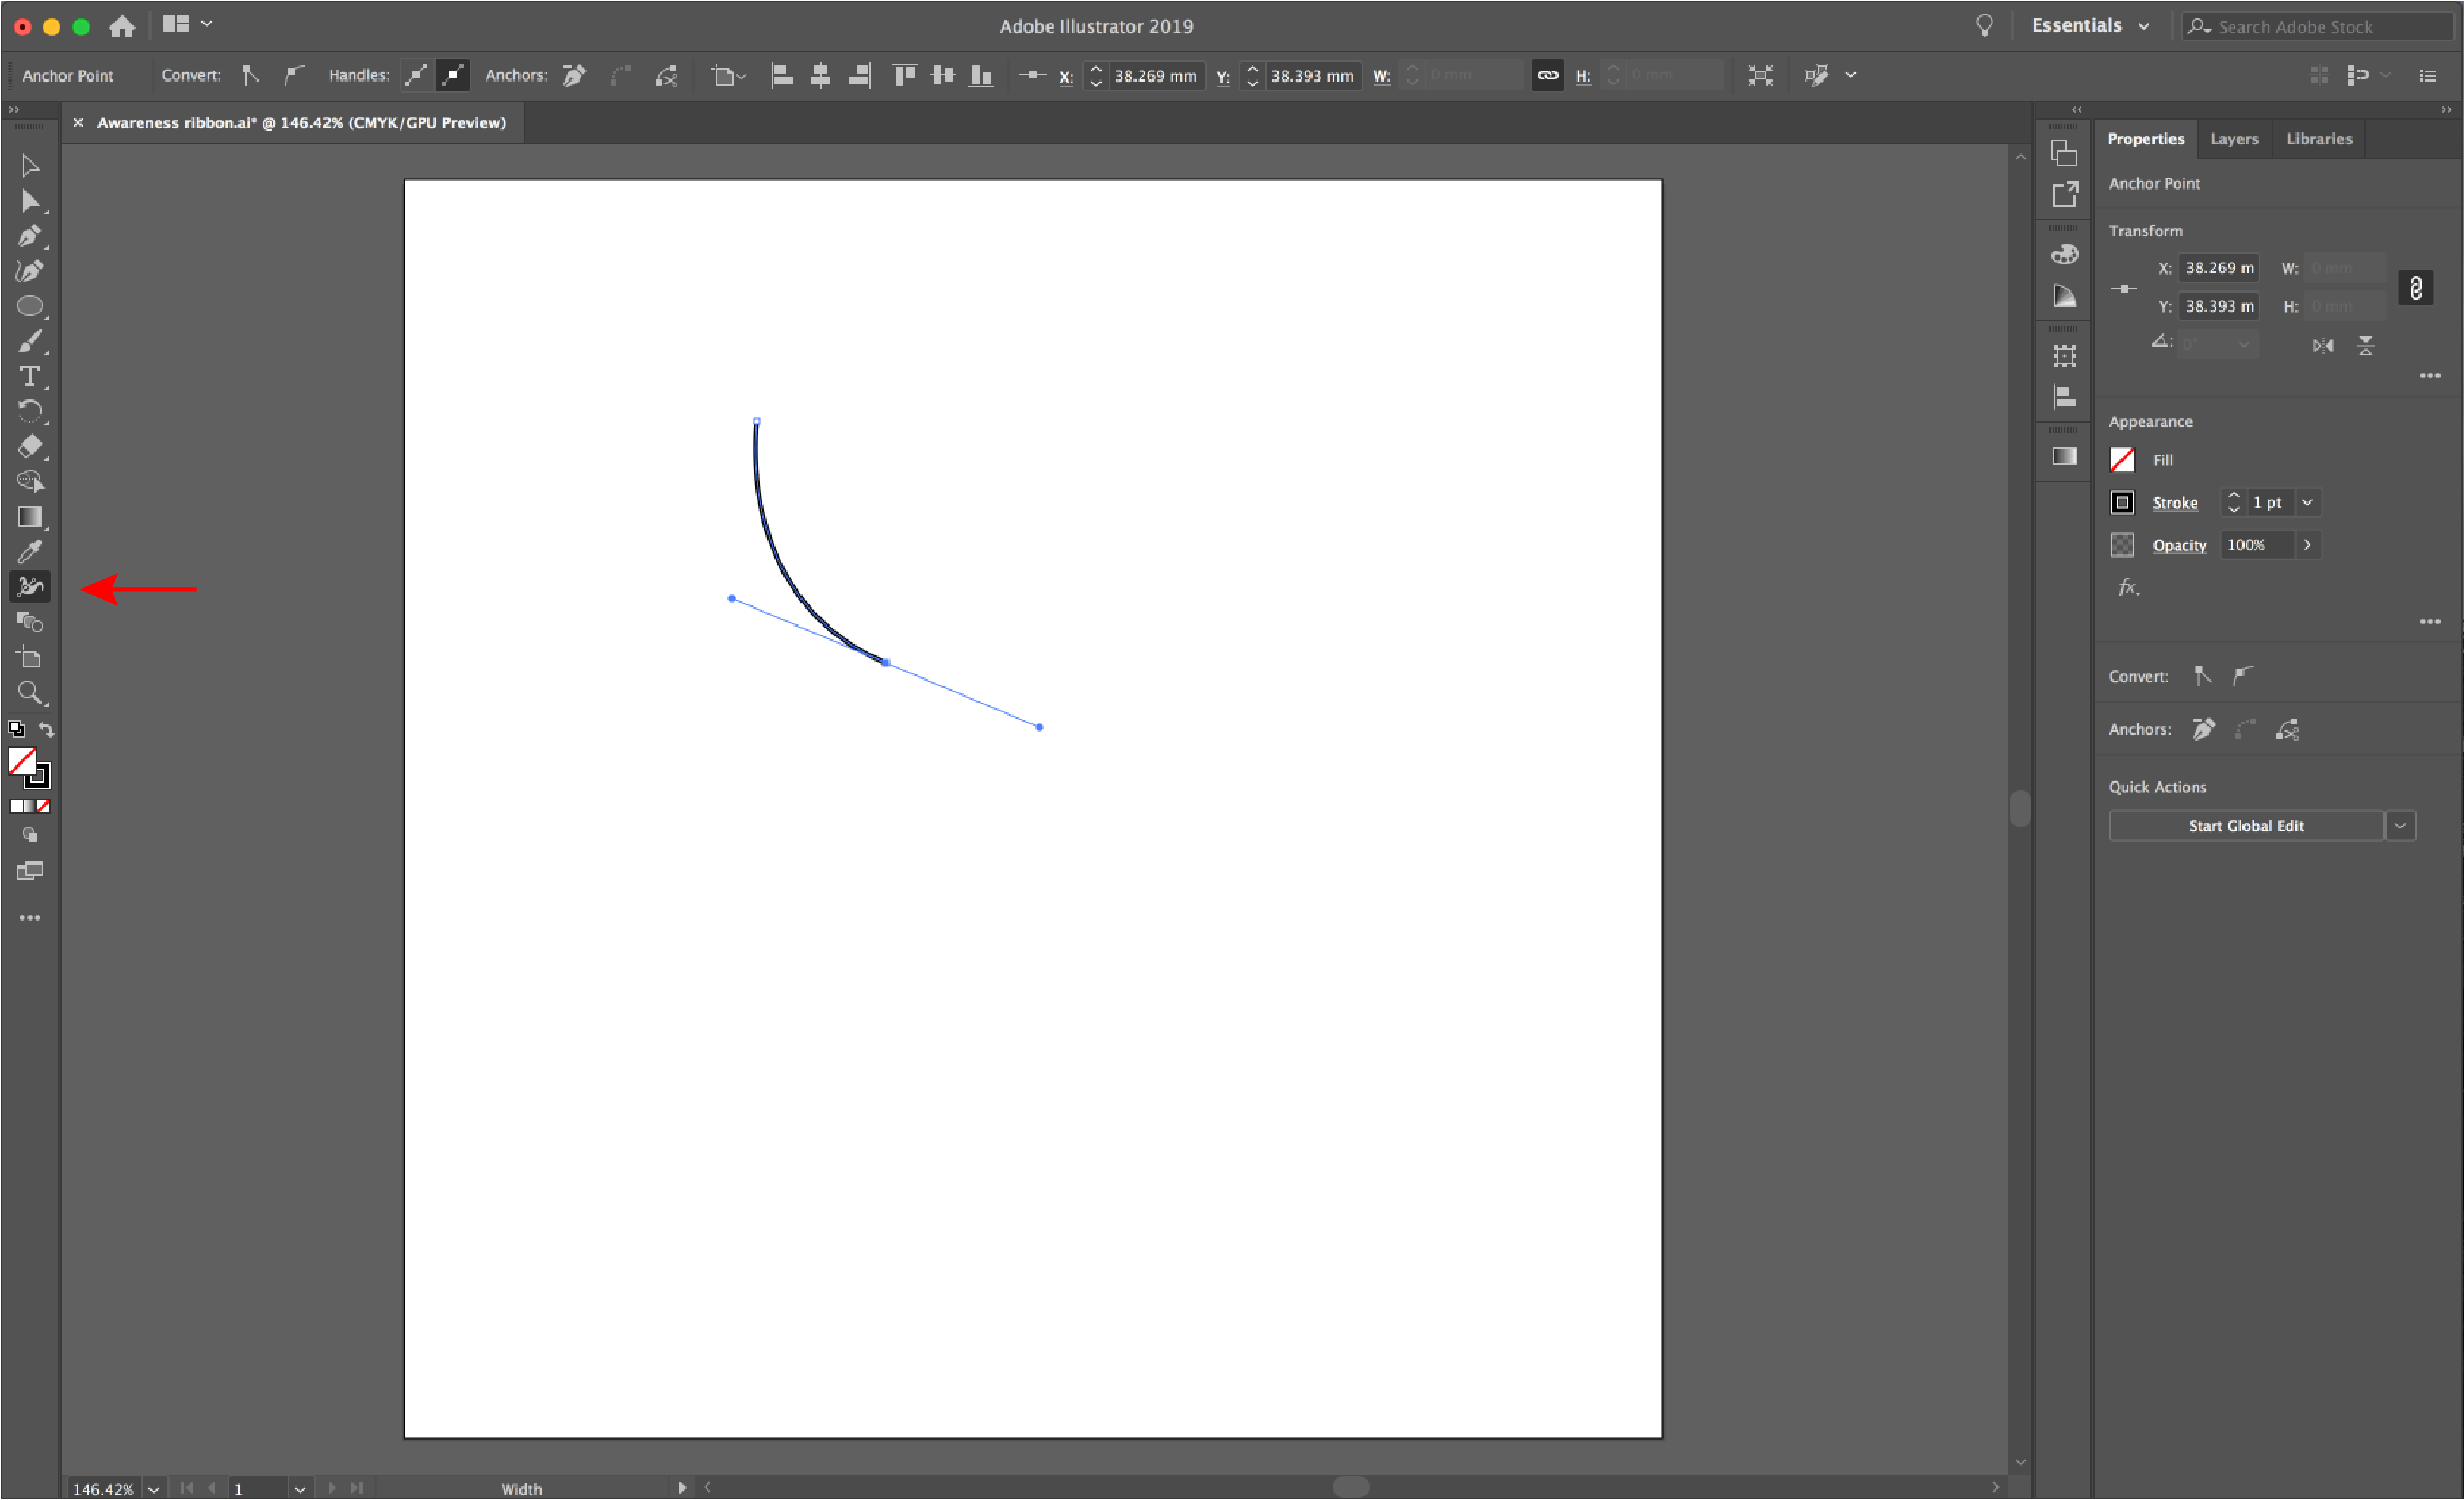
The width tool will be used to create the wide ribbon end. Duplicate then reflect your shape for the other side of your ribbon. Select the Width tool from your left toolbar. From your bottom point, draw out until you achieve your desired thickness.
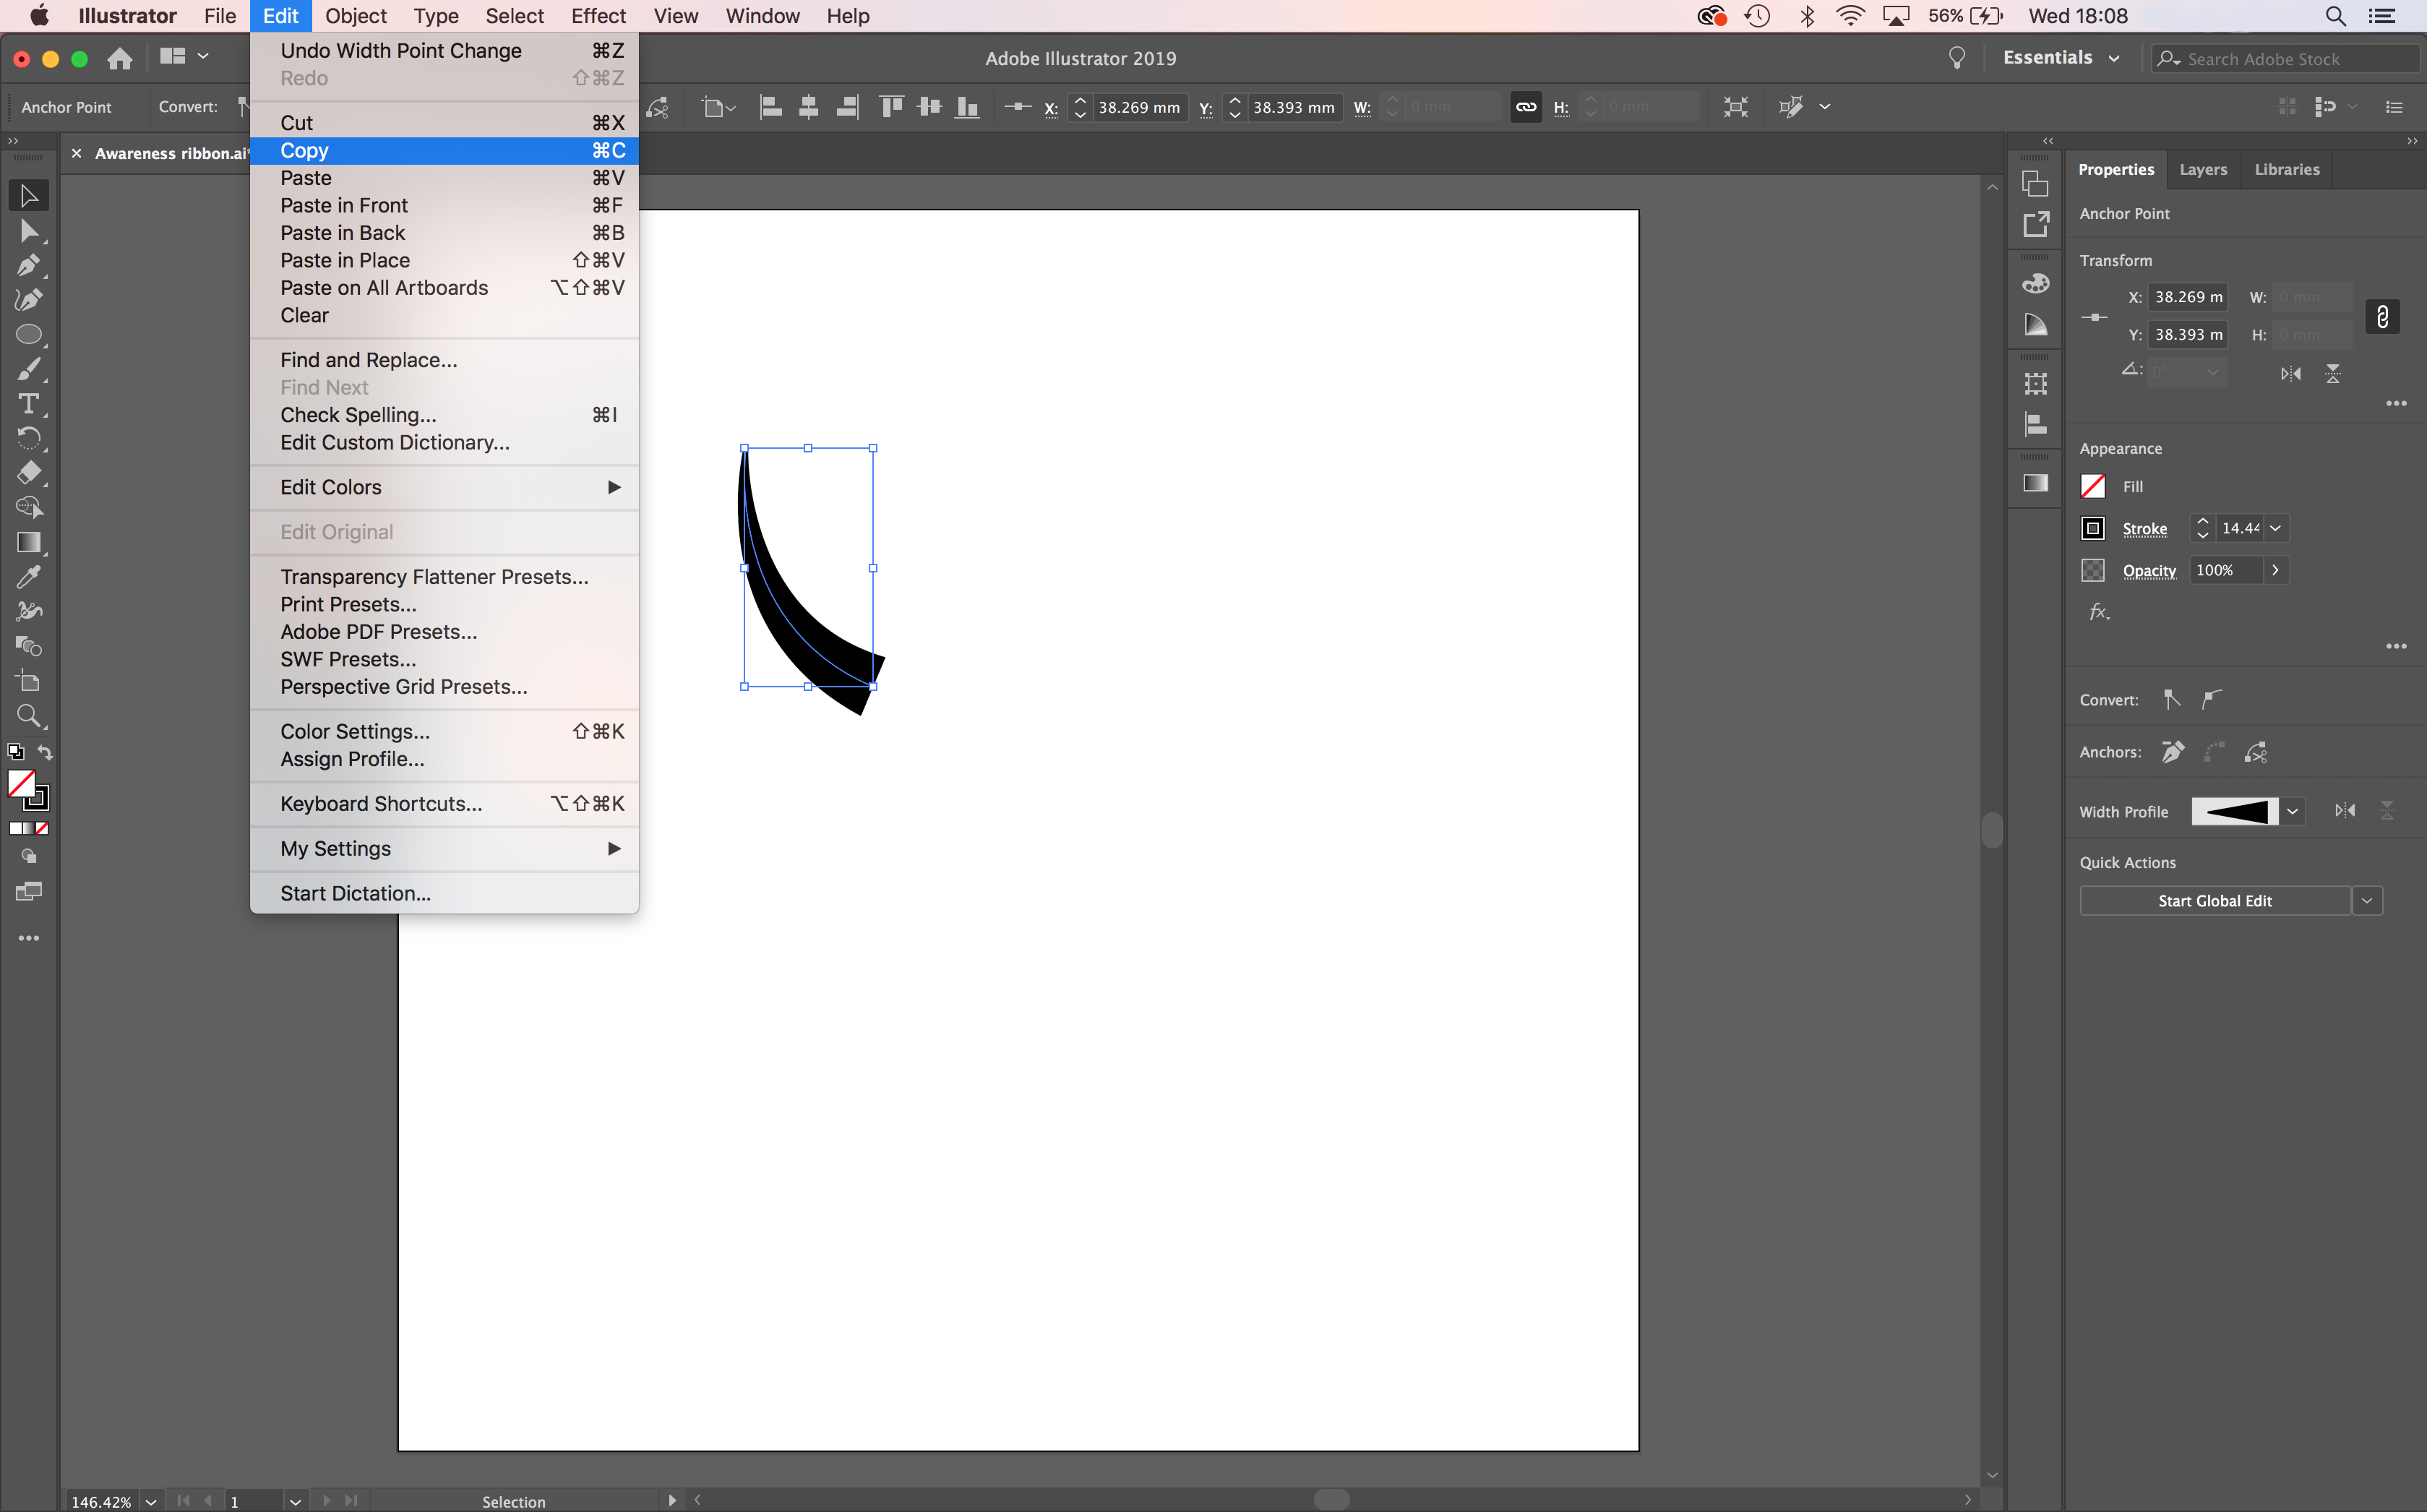
Select your line with the Selection Tool and select Edit > Copy, then Edit > Paste.
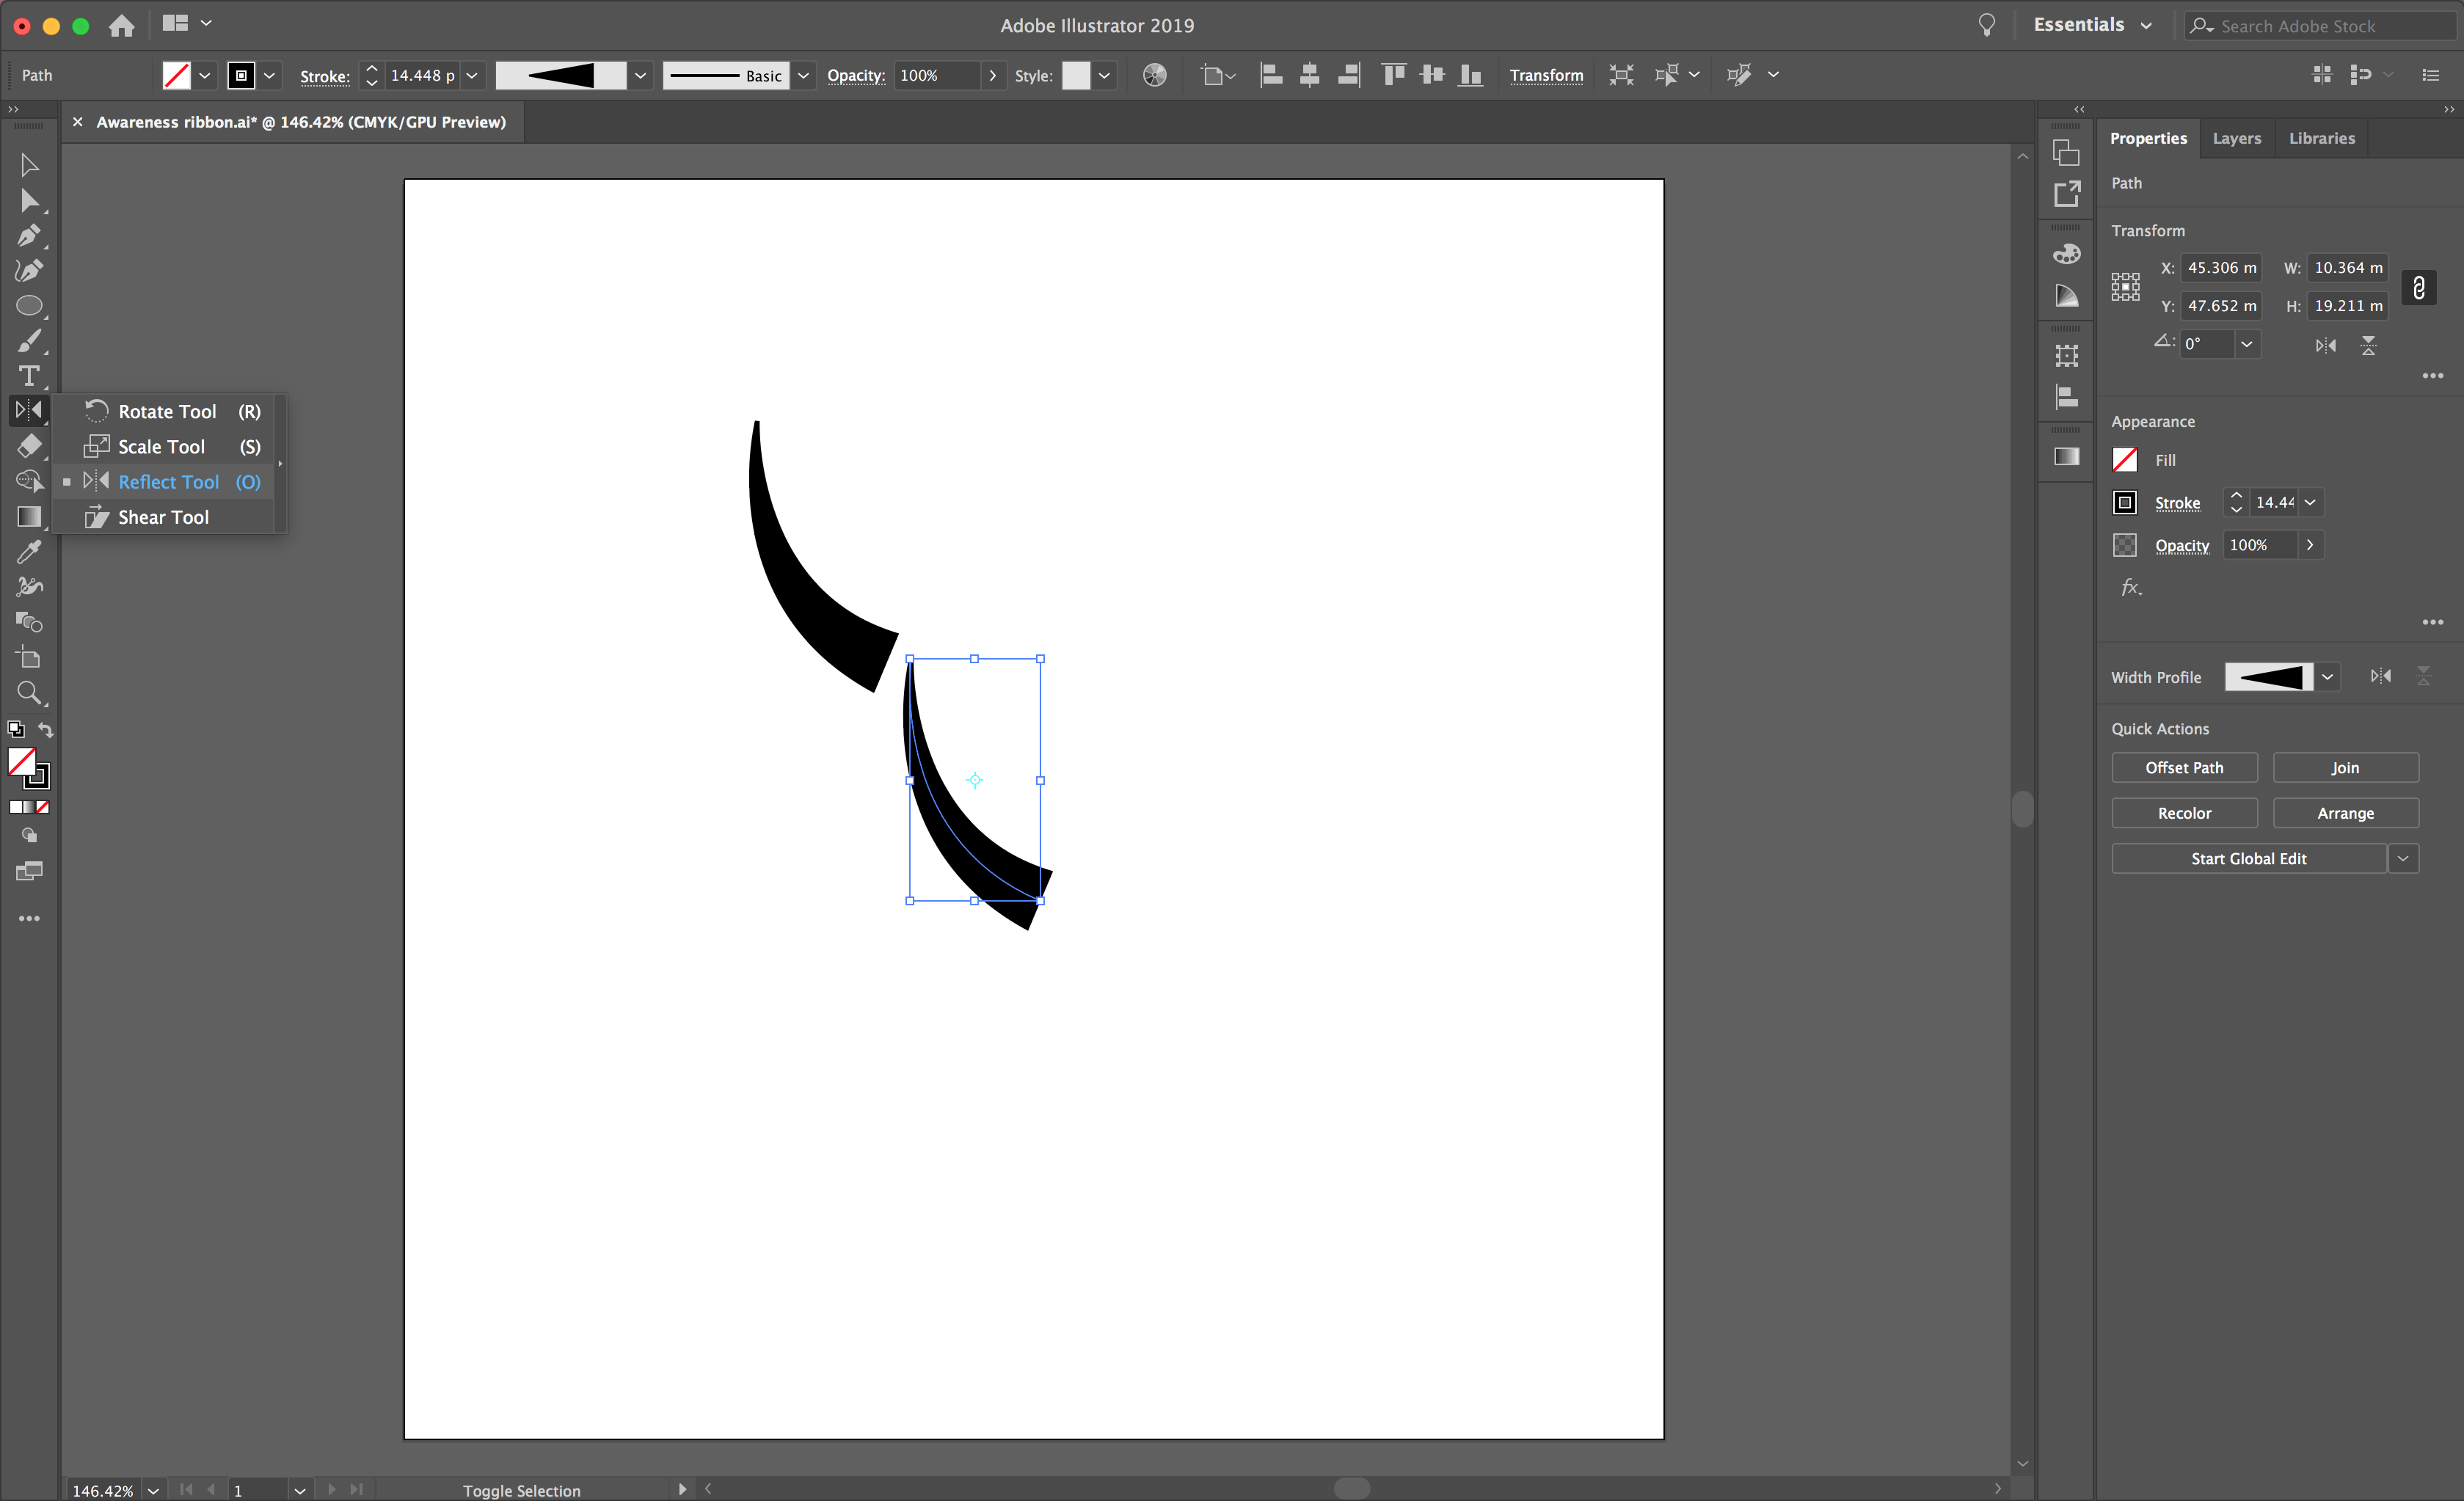
Select your new line, then click the Reflect Tool from your left toolbar. Now, hover your cursor over your shape and hold Option on your keyboard. You will see a small minus symbol appear. Then left click to bring up the reflect options menu.
To achieve the ribbon shape, reflect your shape vertically and select OK in the menu.

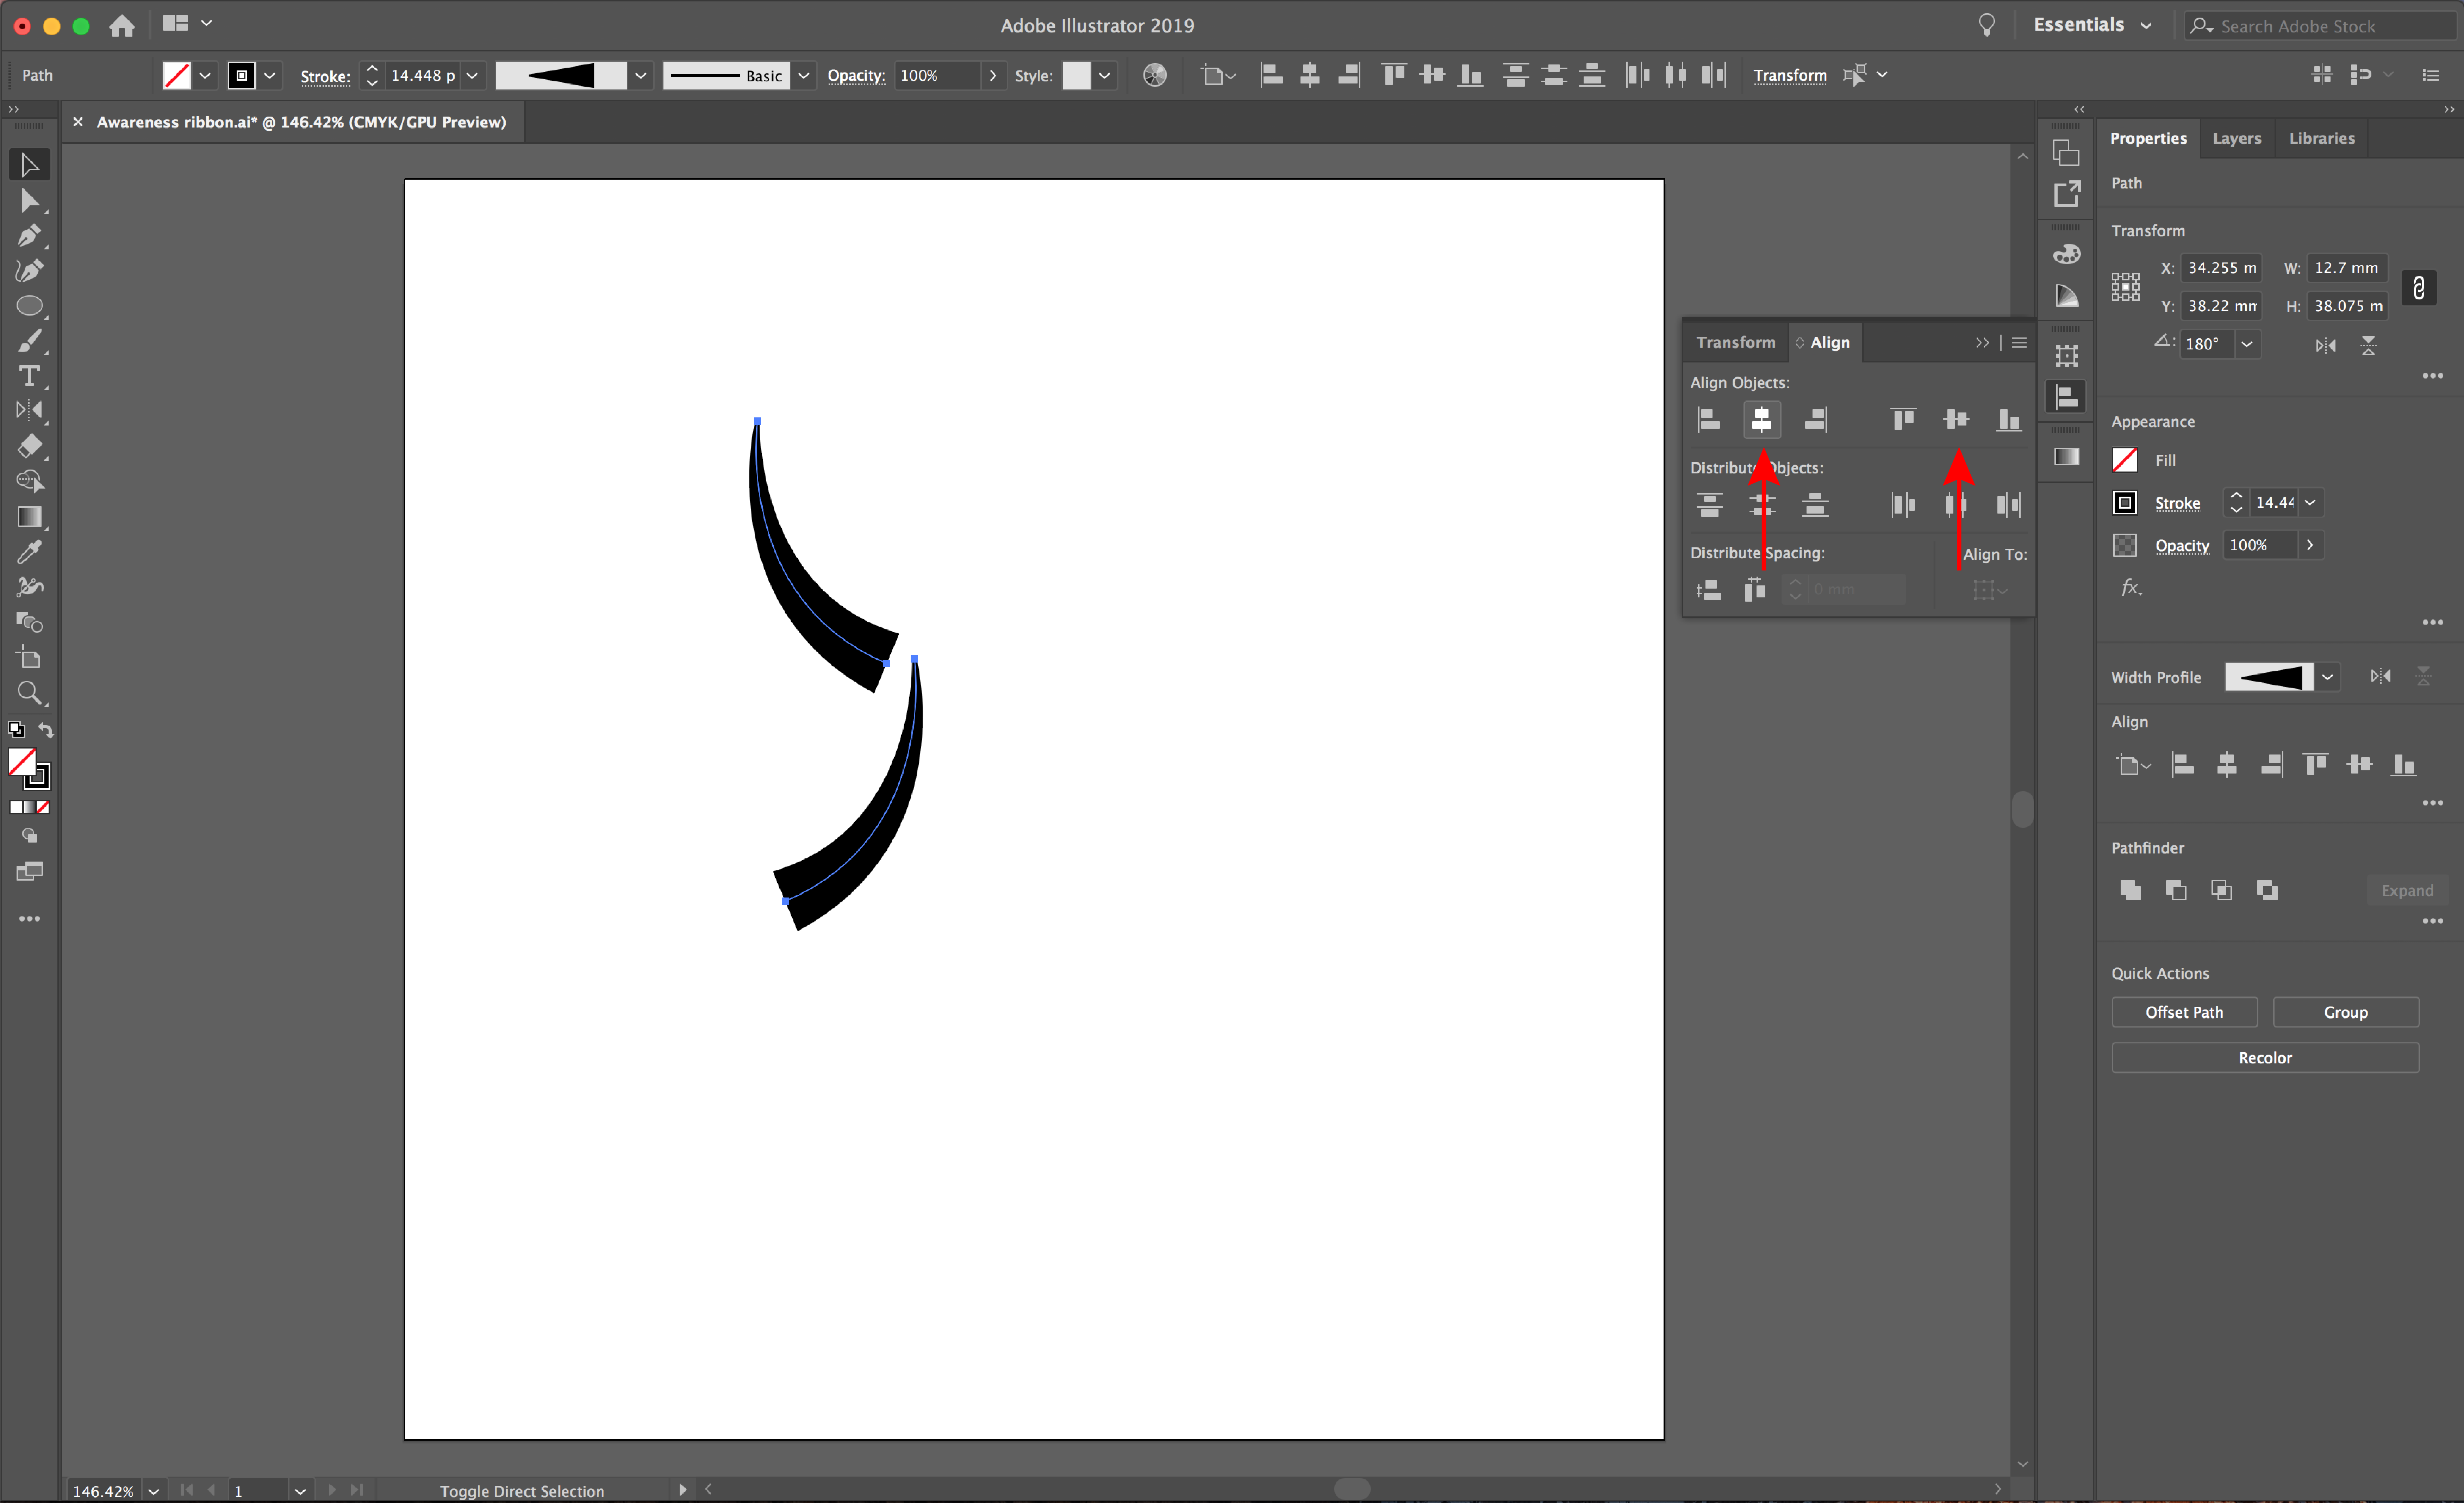
When you have your two shapes, highlight them both and locate your Align menu by selecting Window > Align.
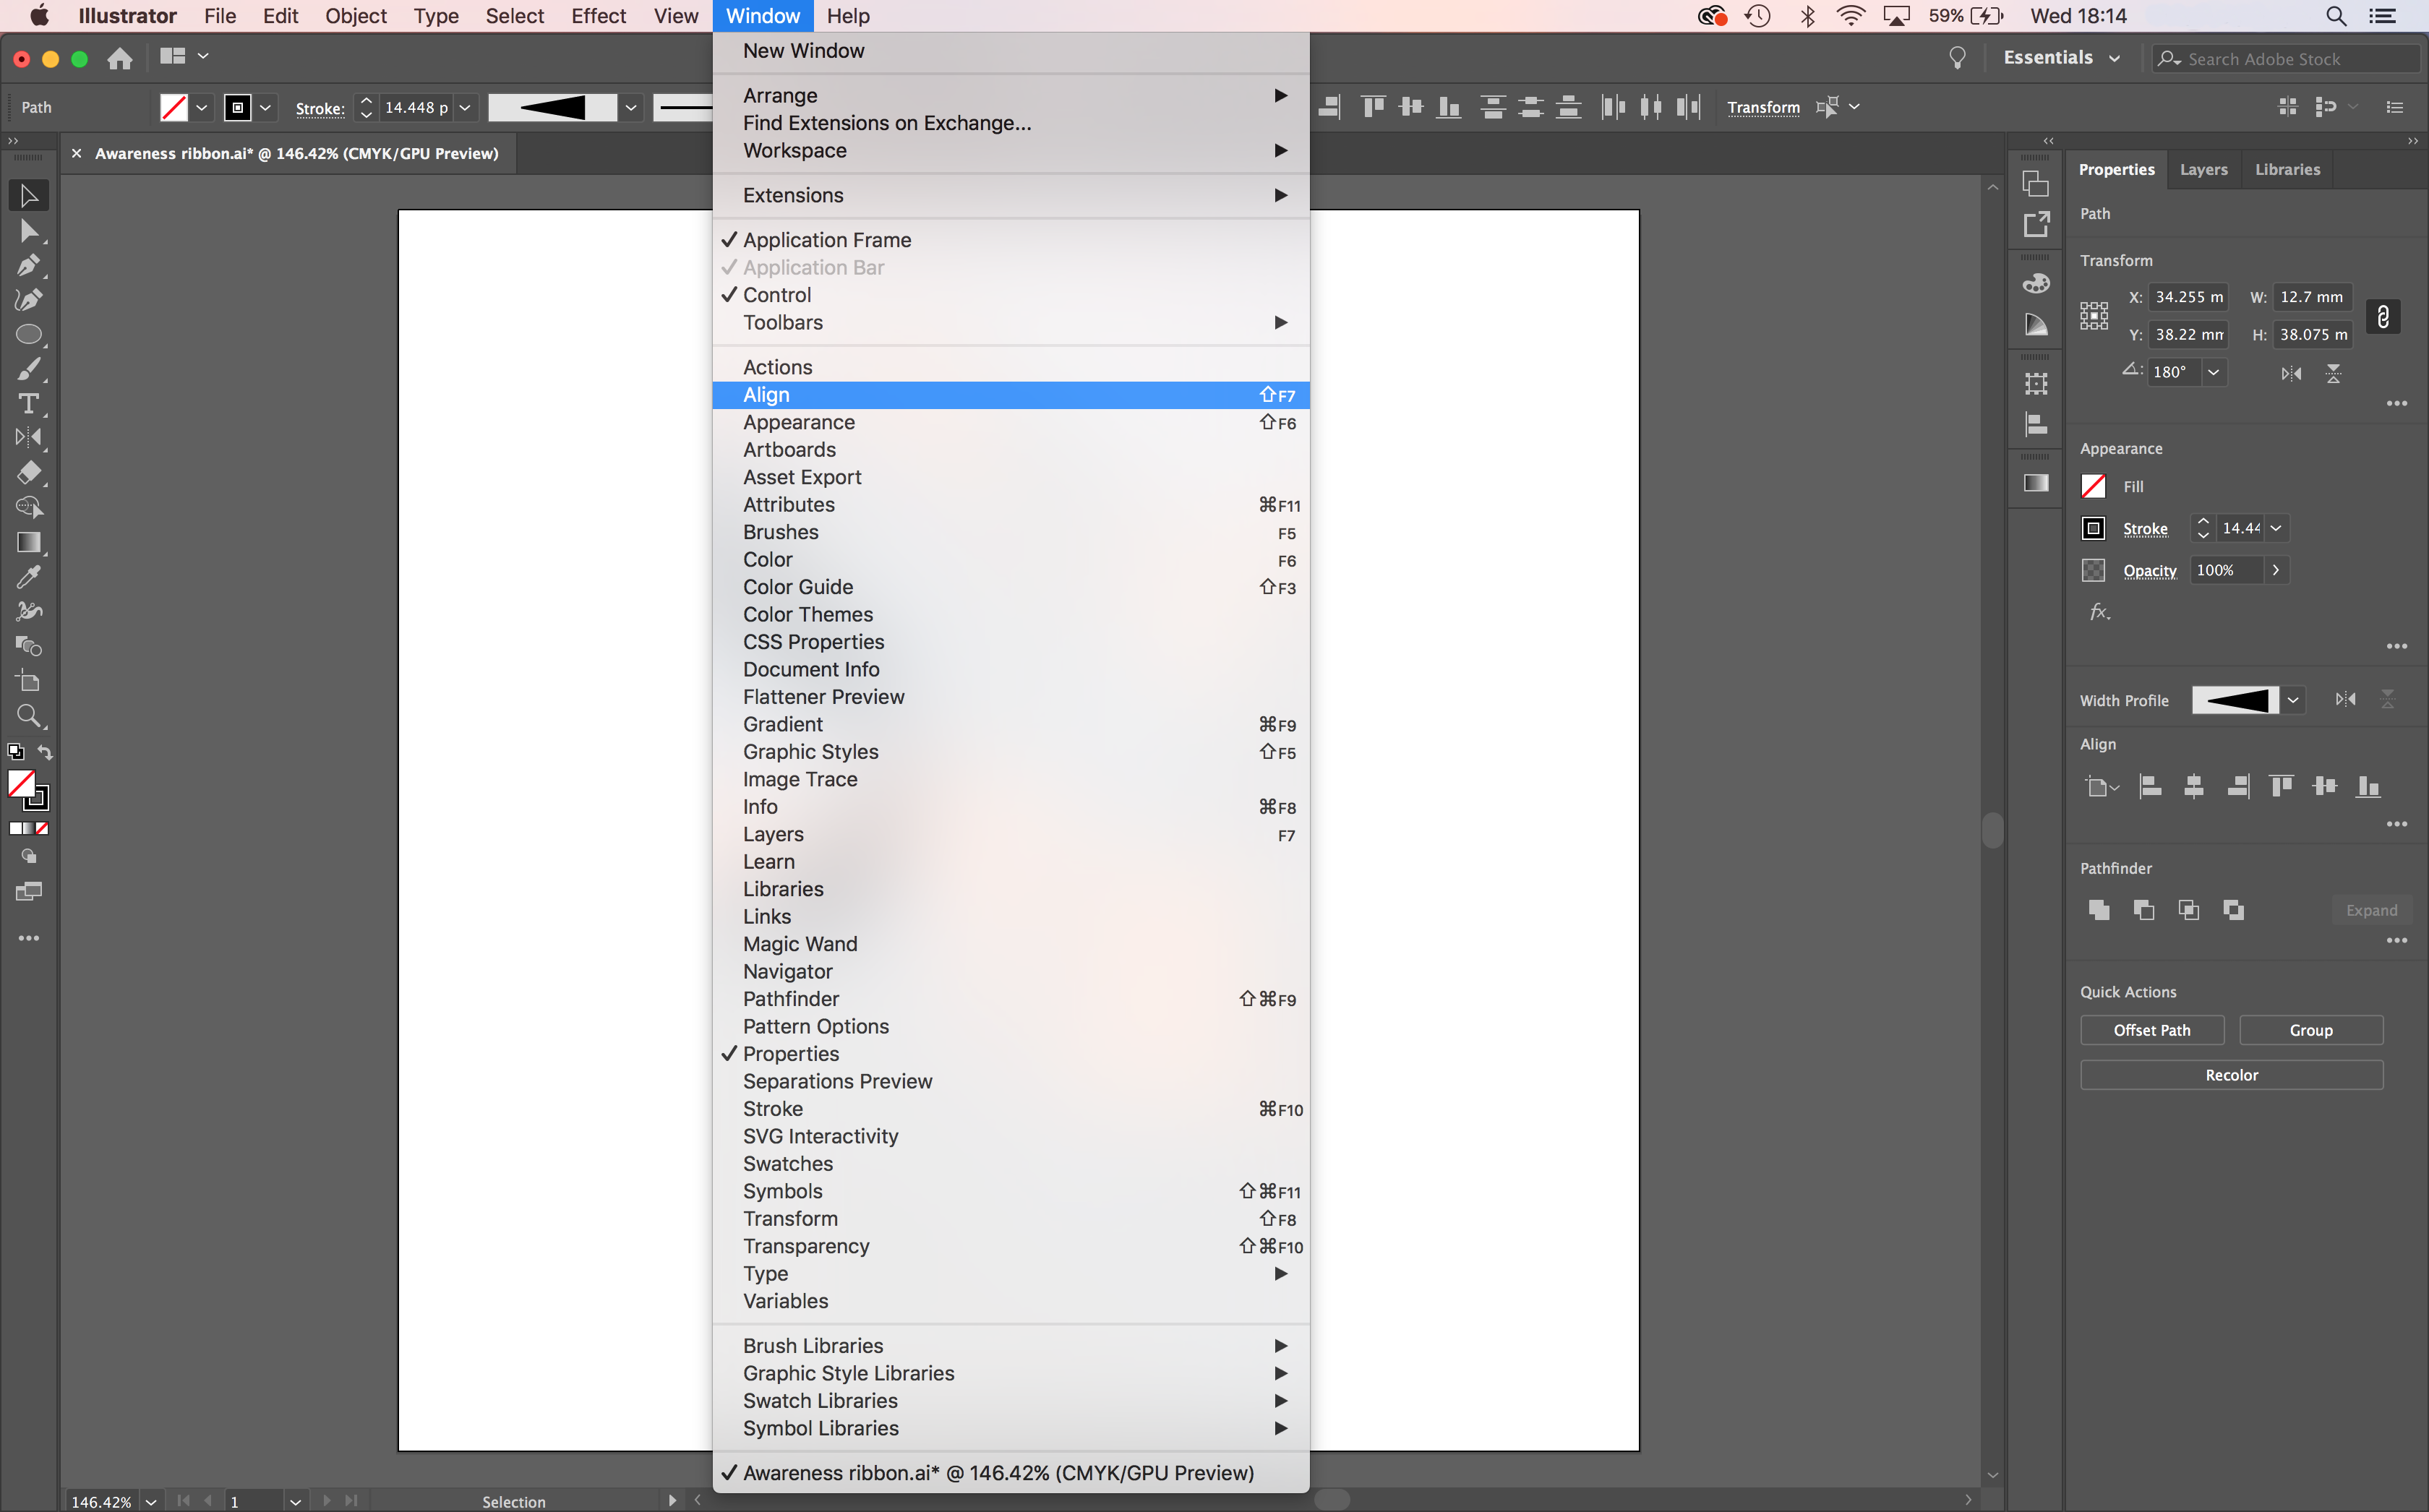
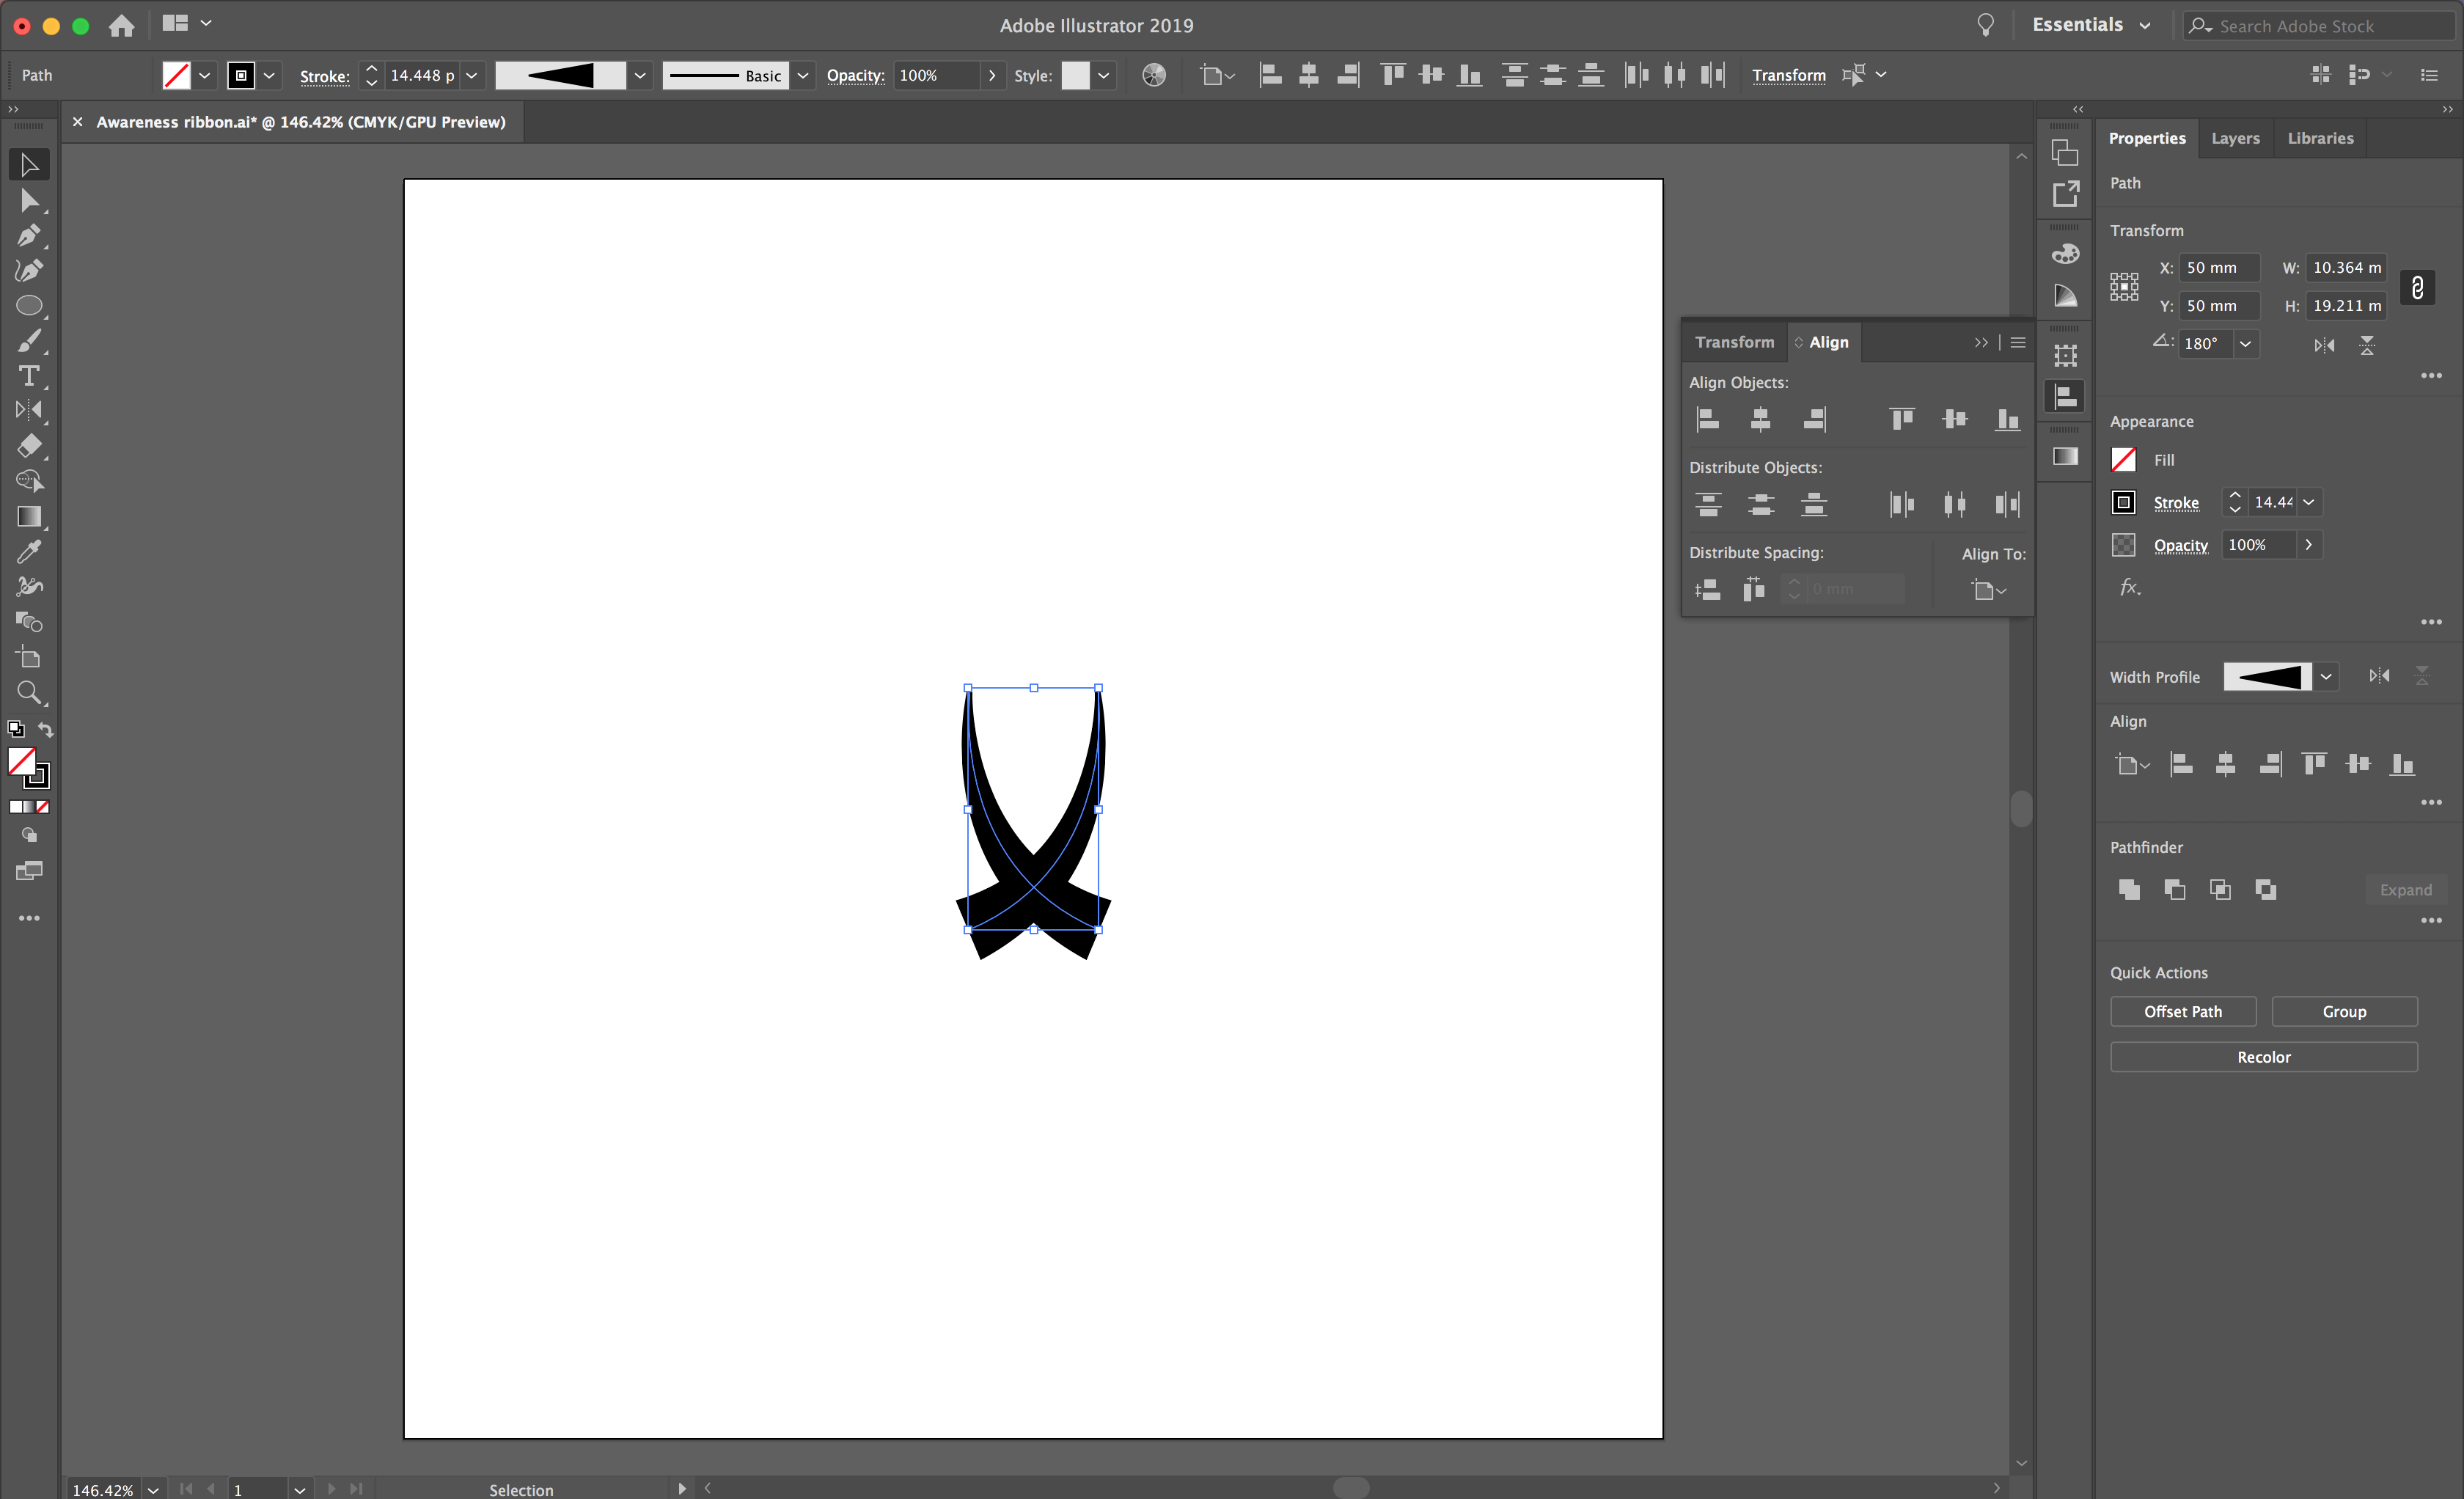
Then select the Horizontal and Vertical button to align your shapes together.
If you need to change your shape height or width, select both lines with the Selection Tool. Use the square points on the box to achieve your desired shape. Alternatively, hold shift to make your shape larger on your artboard.
When you are happy with your shape, select the Ellipse Tool. Create a circle that meets the two top points of the ribbon and select the lowest point of the circle.
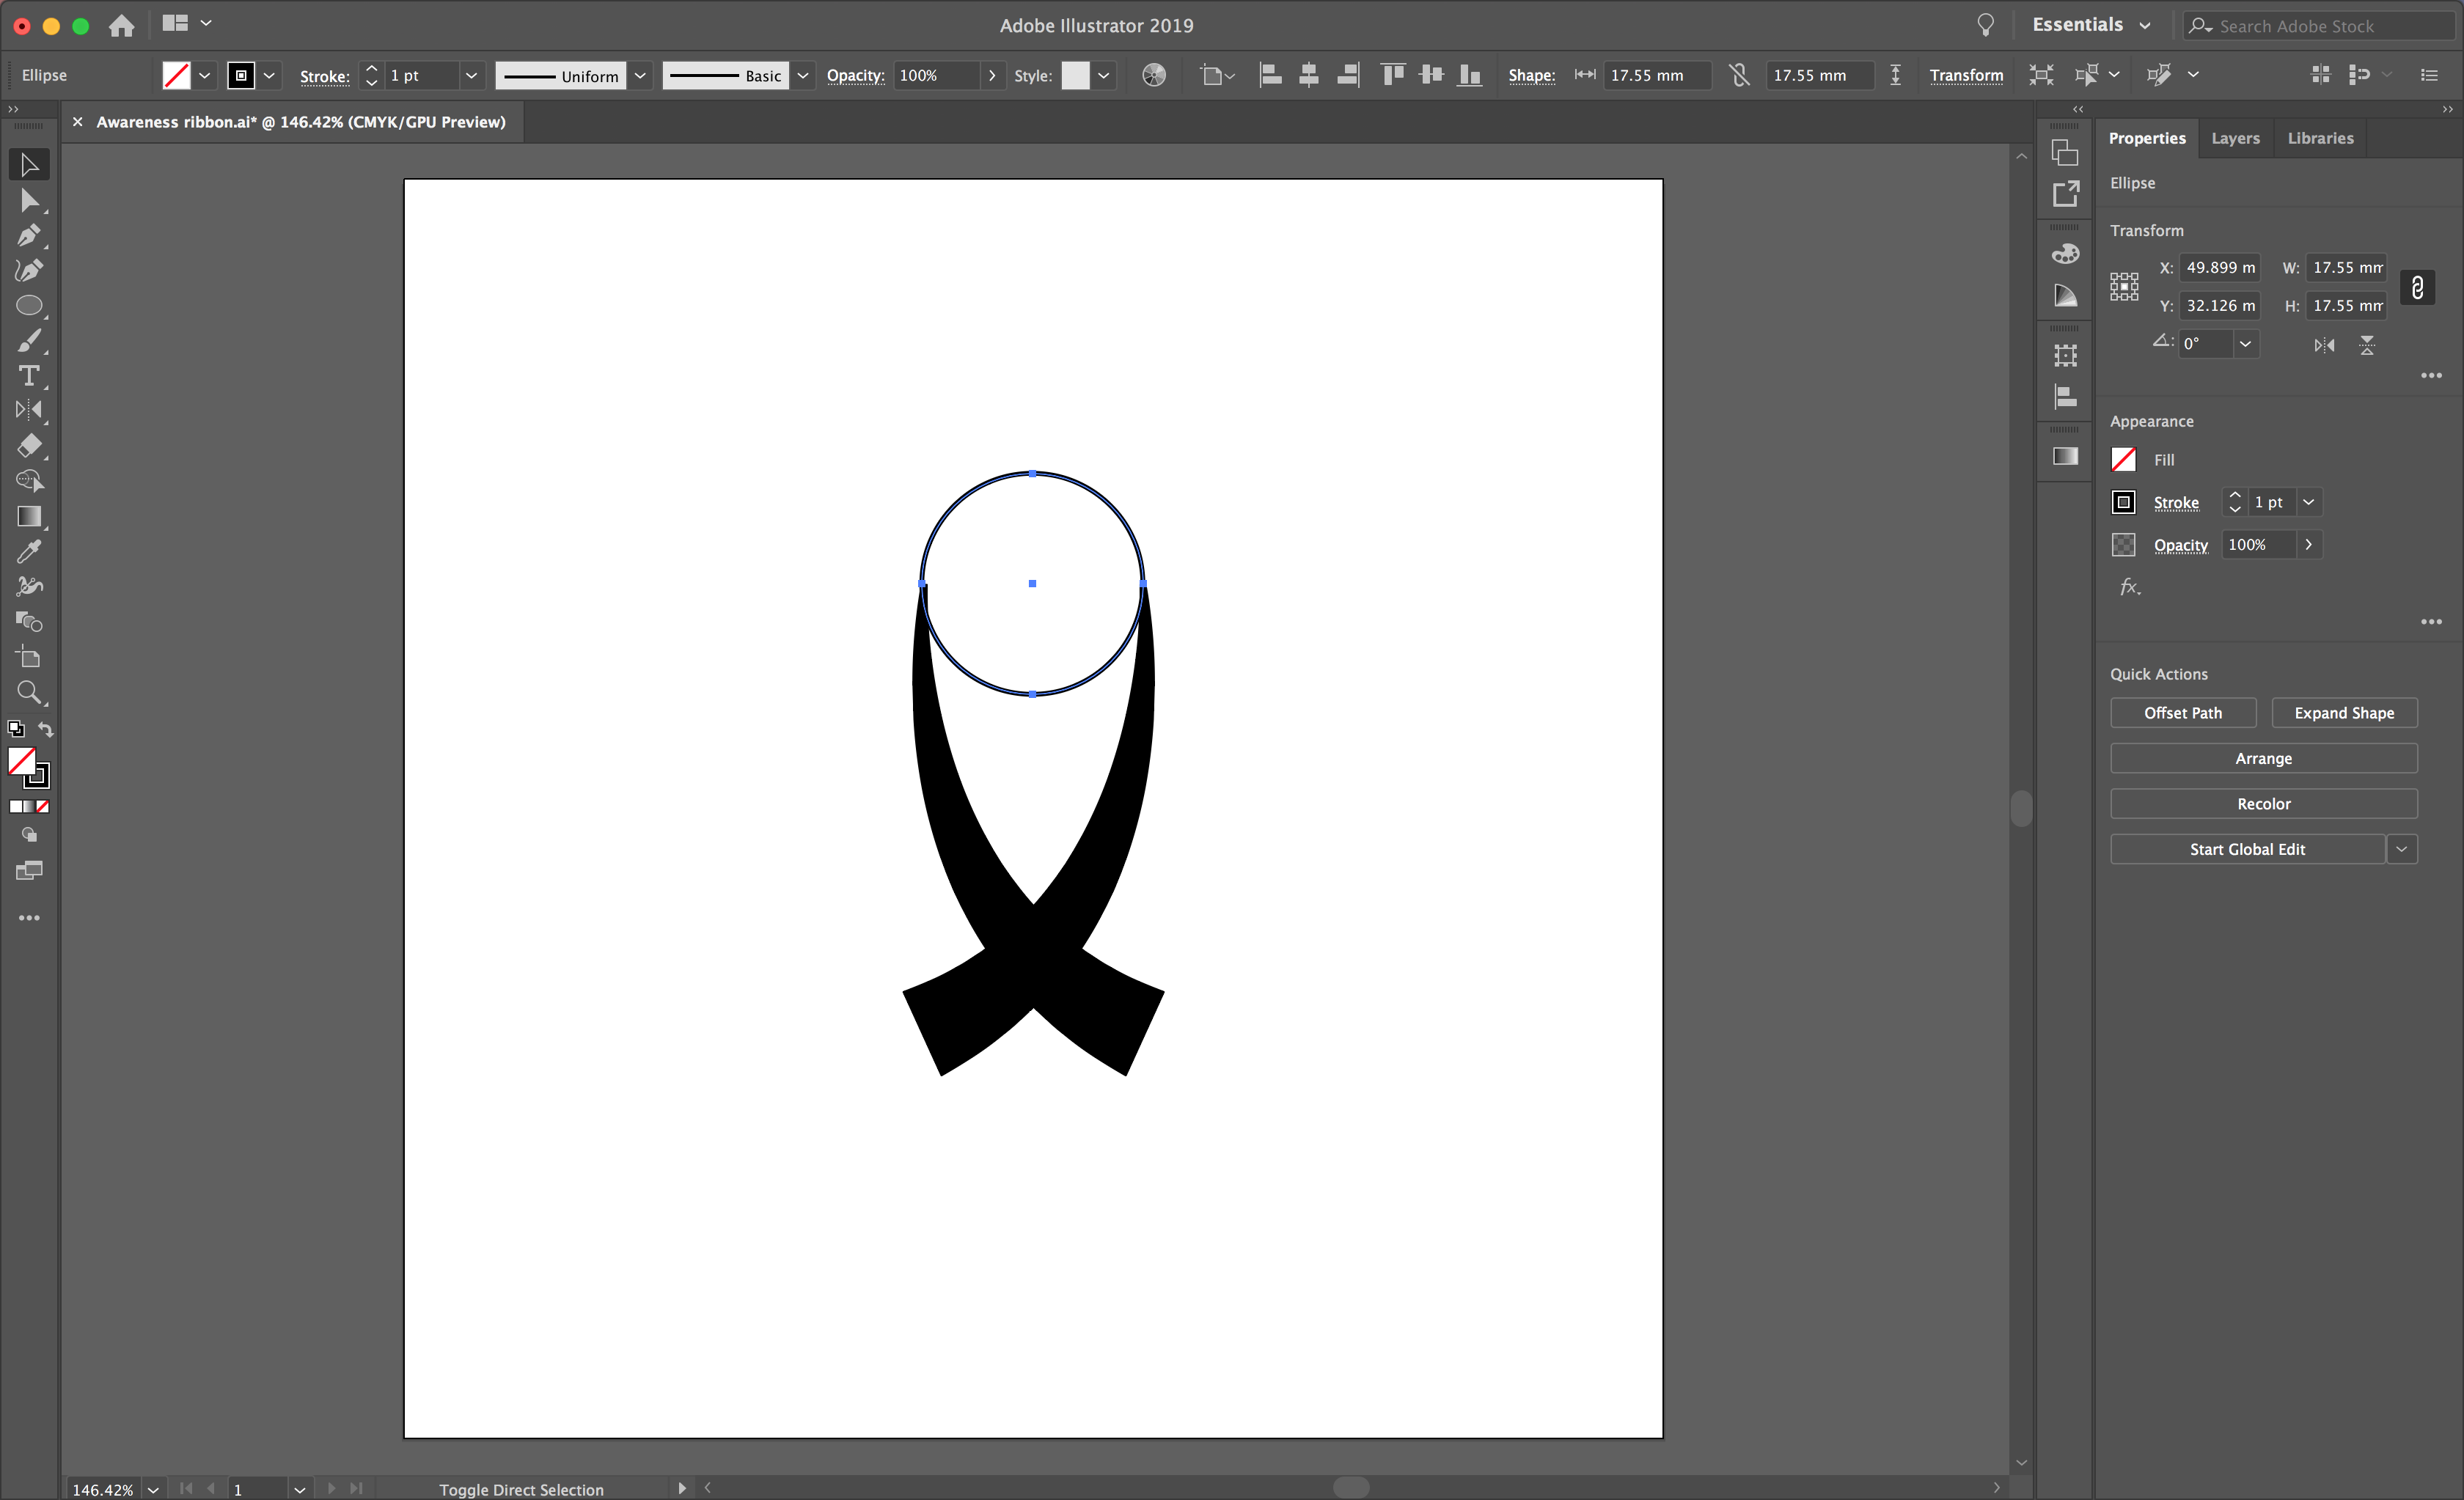
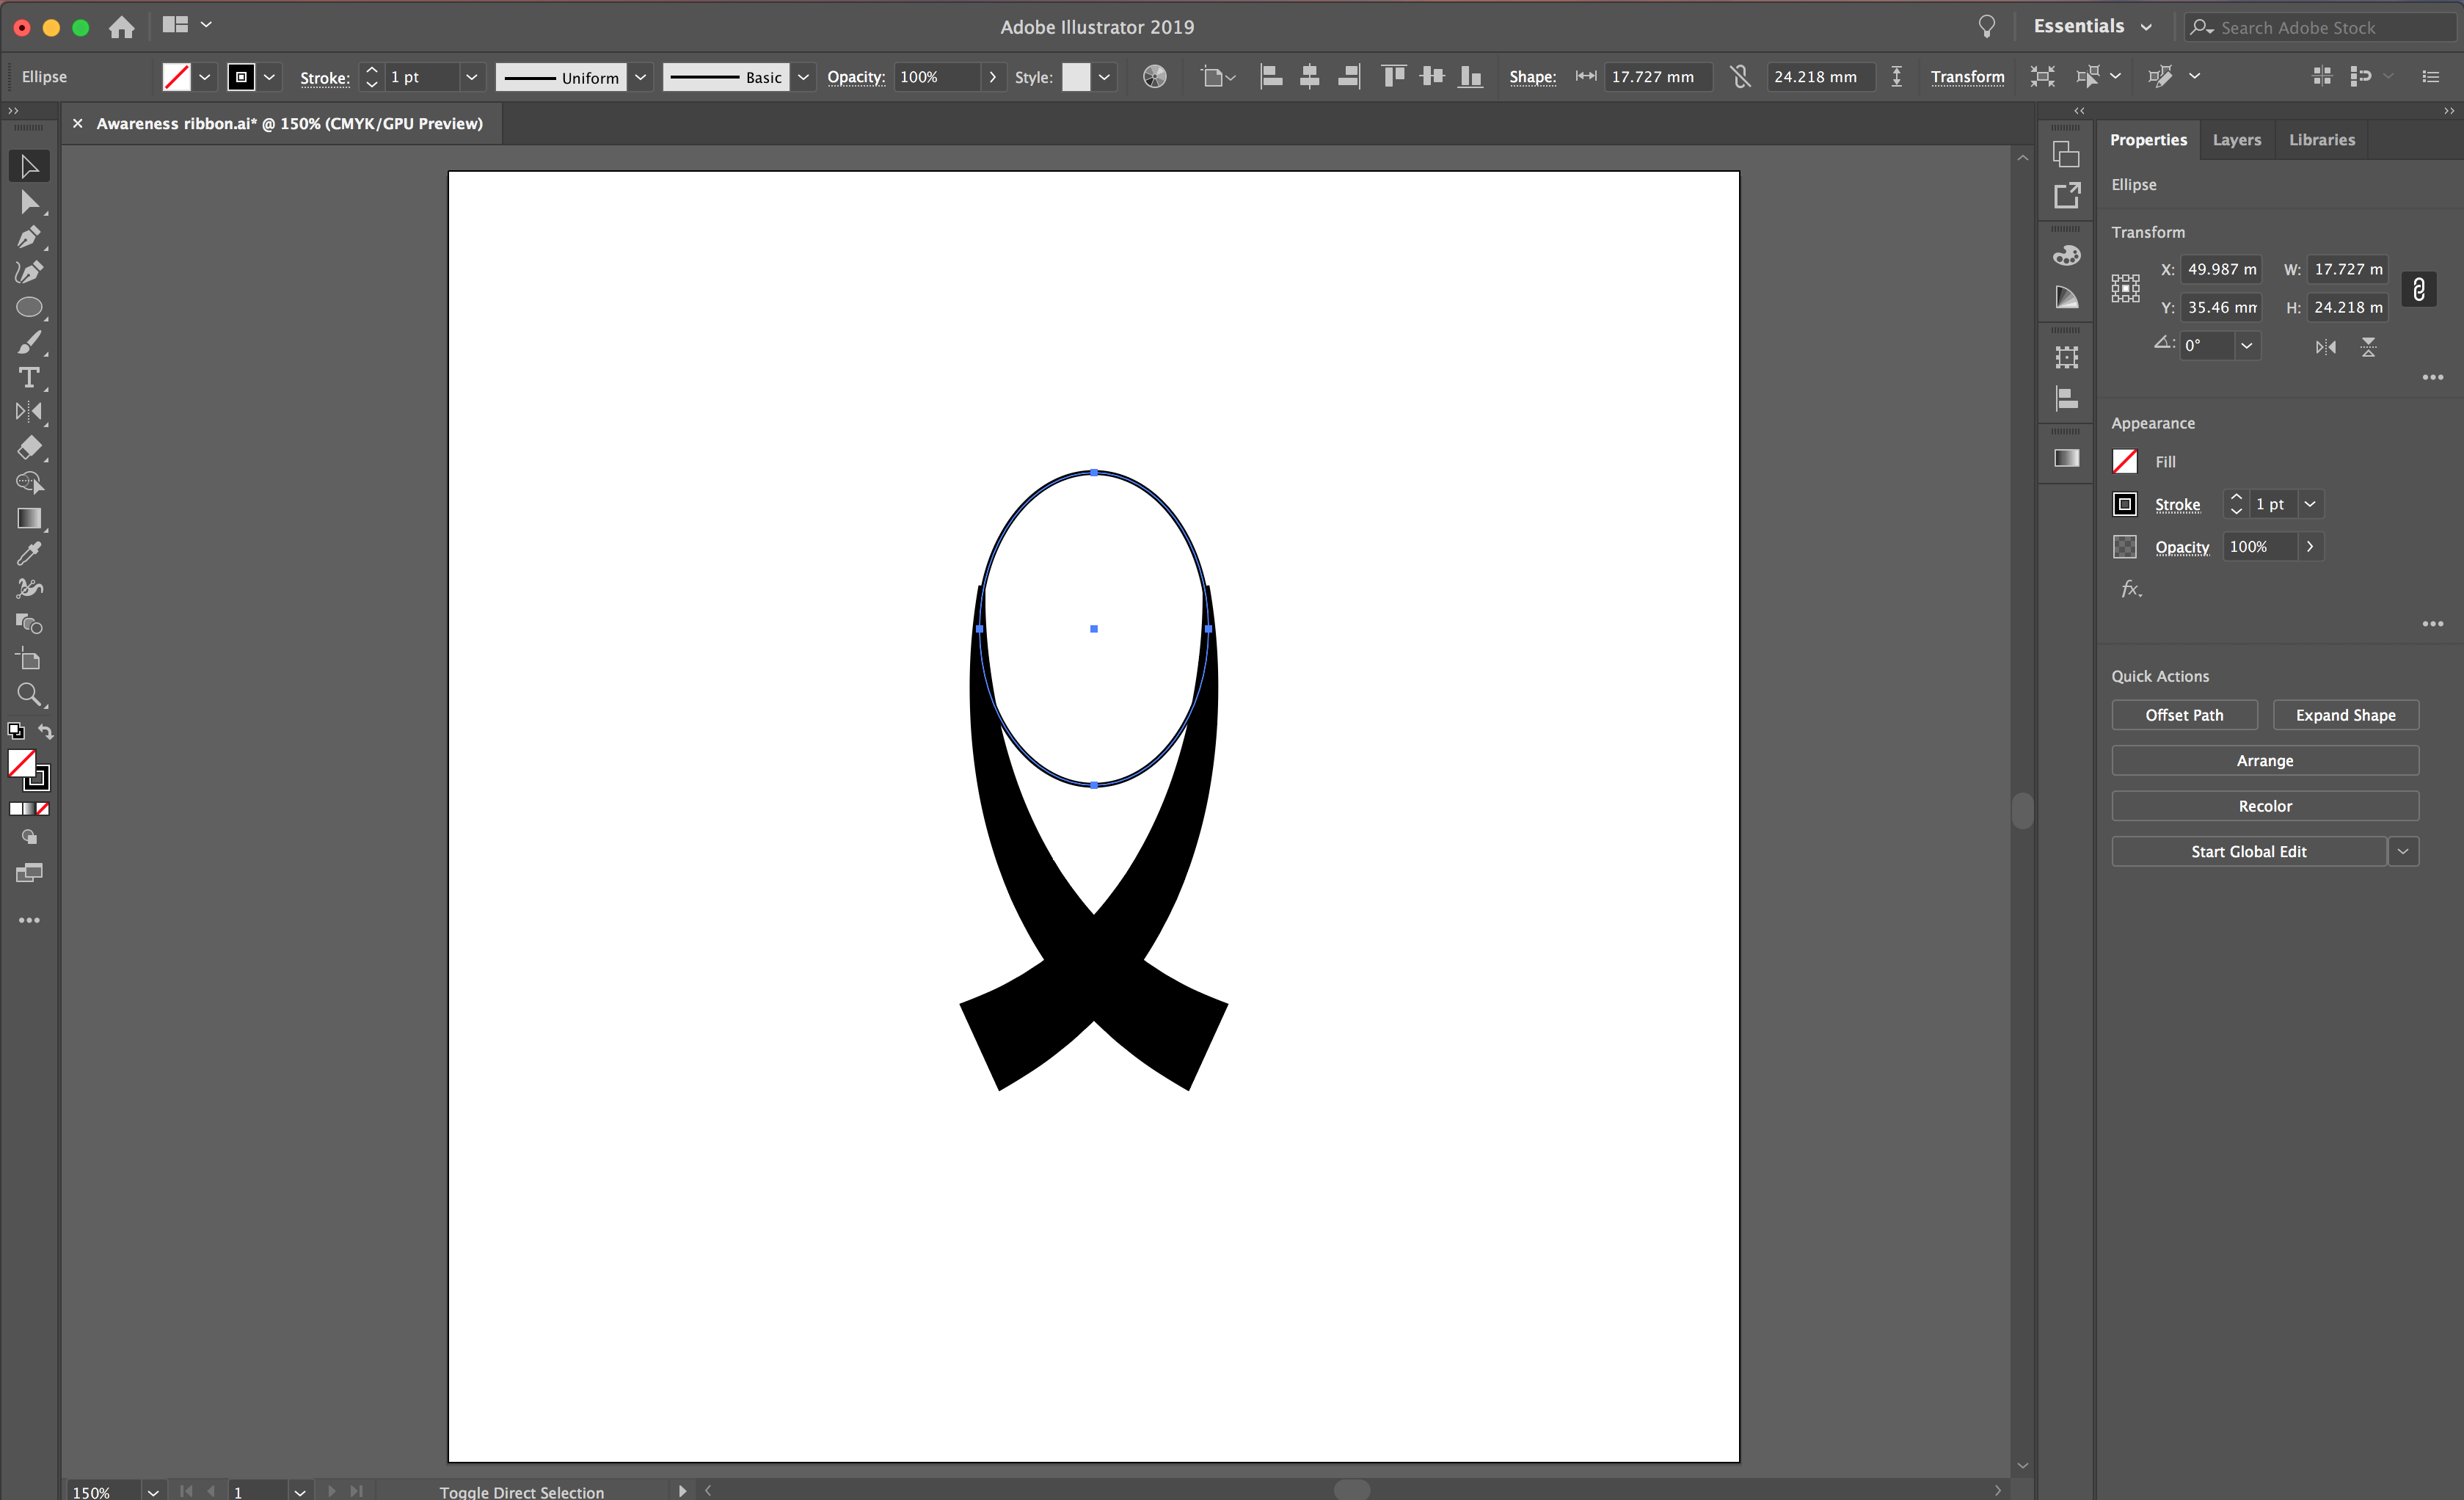
Pull this point down to get the right arch shape to complete the top of the ribbon. See the image below for a visual of what this should look like.
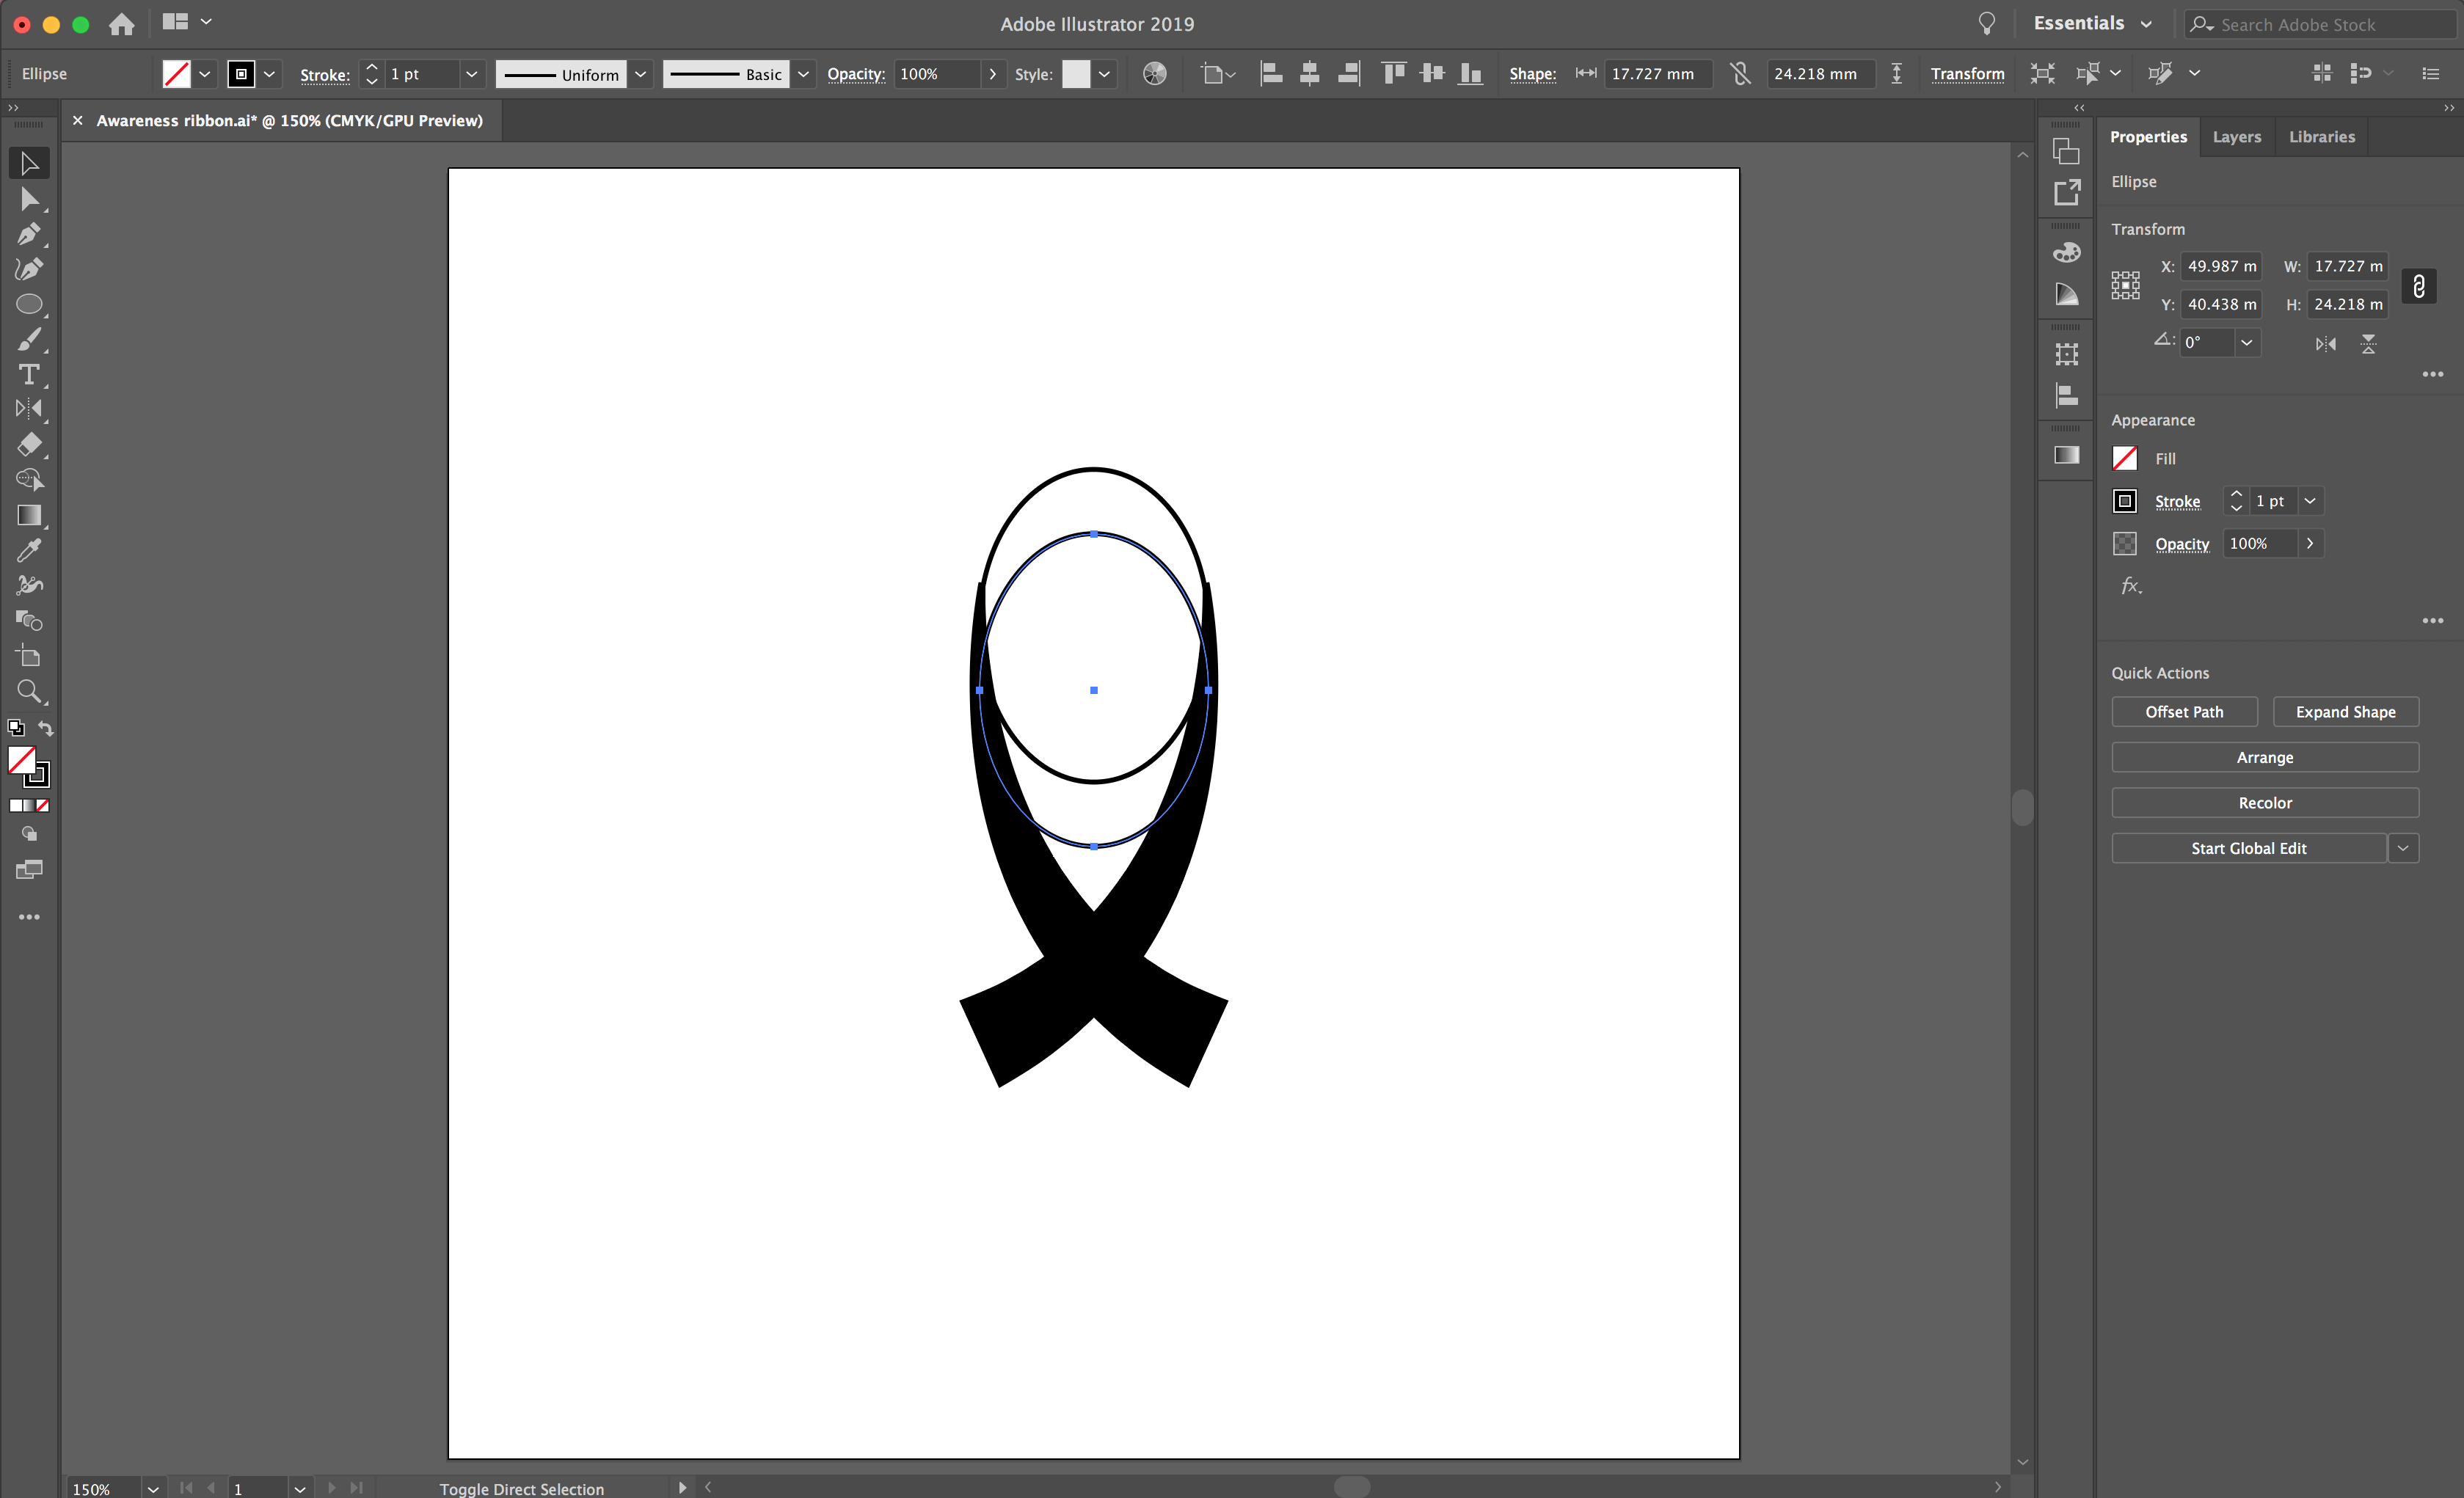
Duplicate the oval by selecting it and holding Shift + Option. This will create a copy of your oval in alignment to your original. Pull the shape down until you have created your desired thickness.
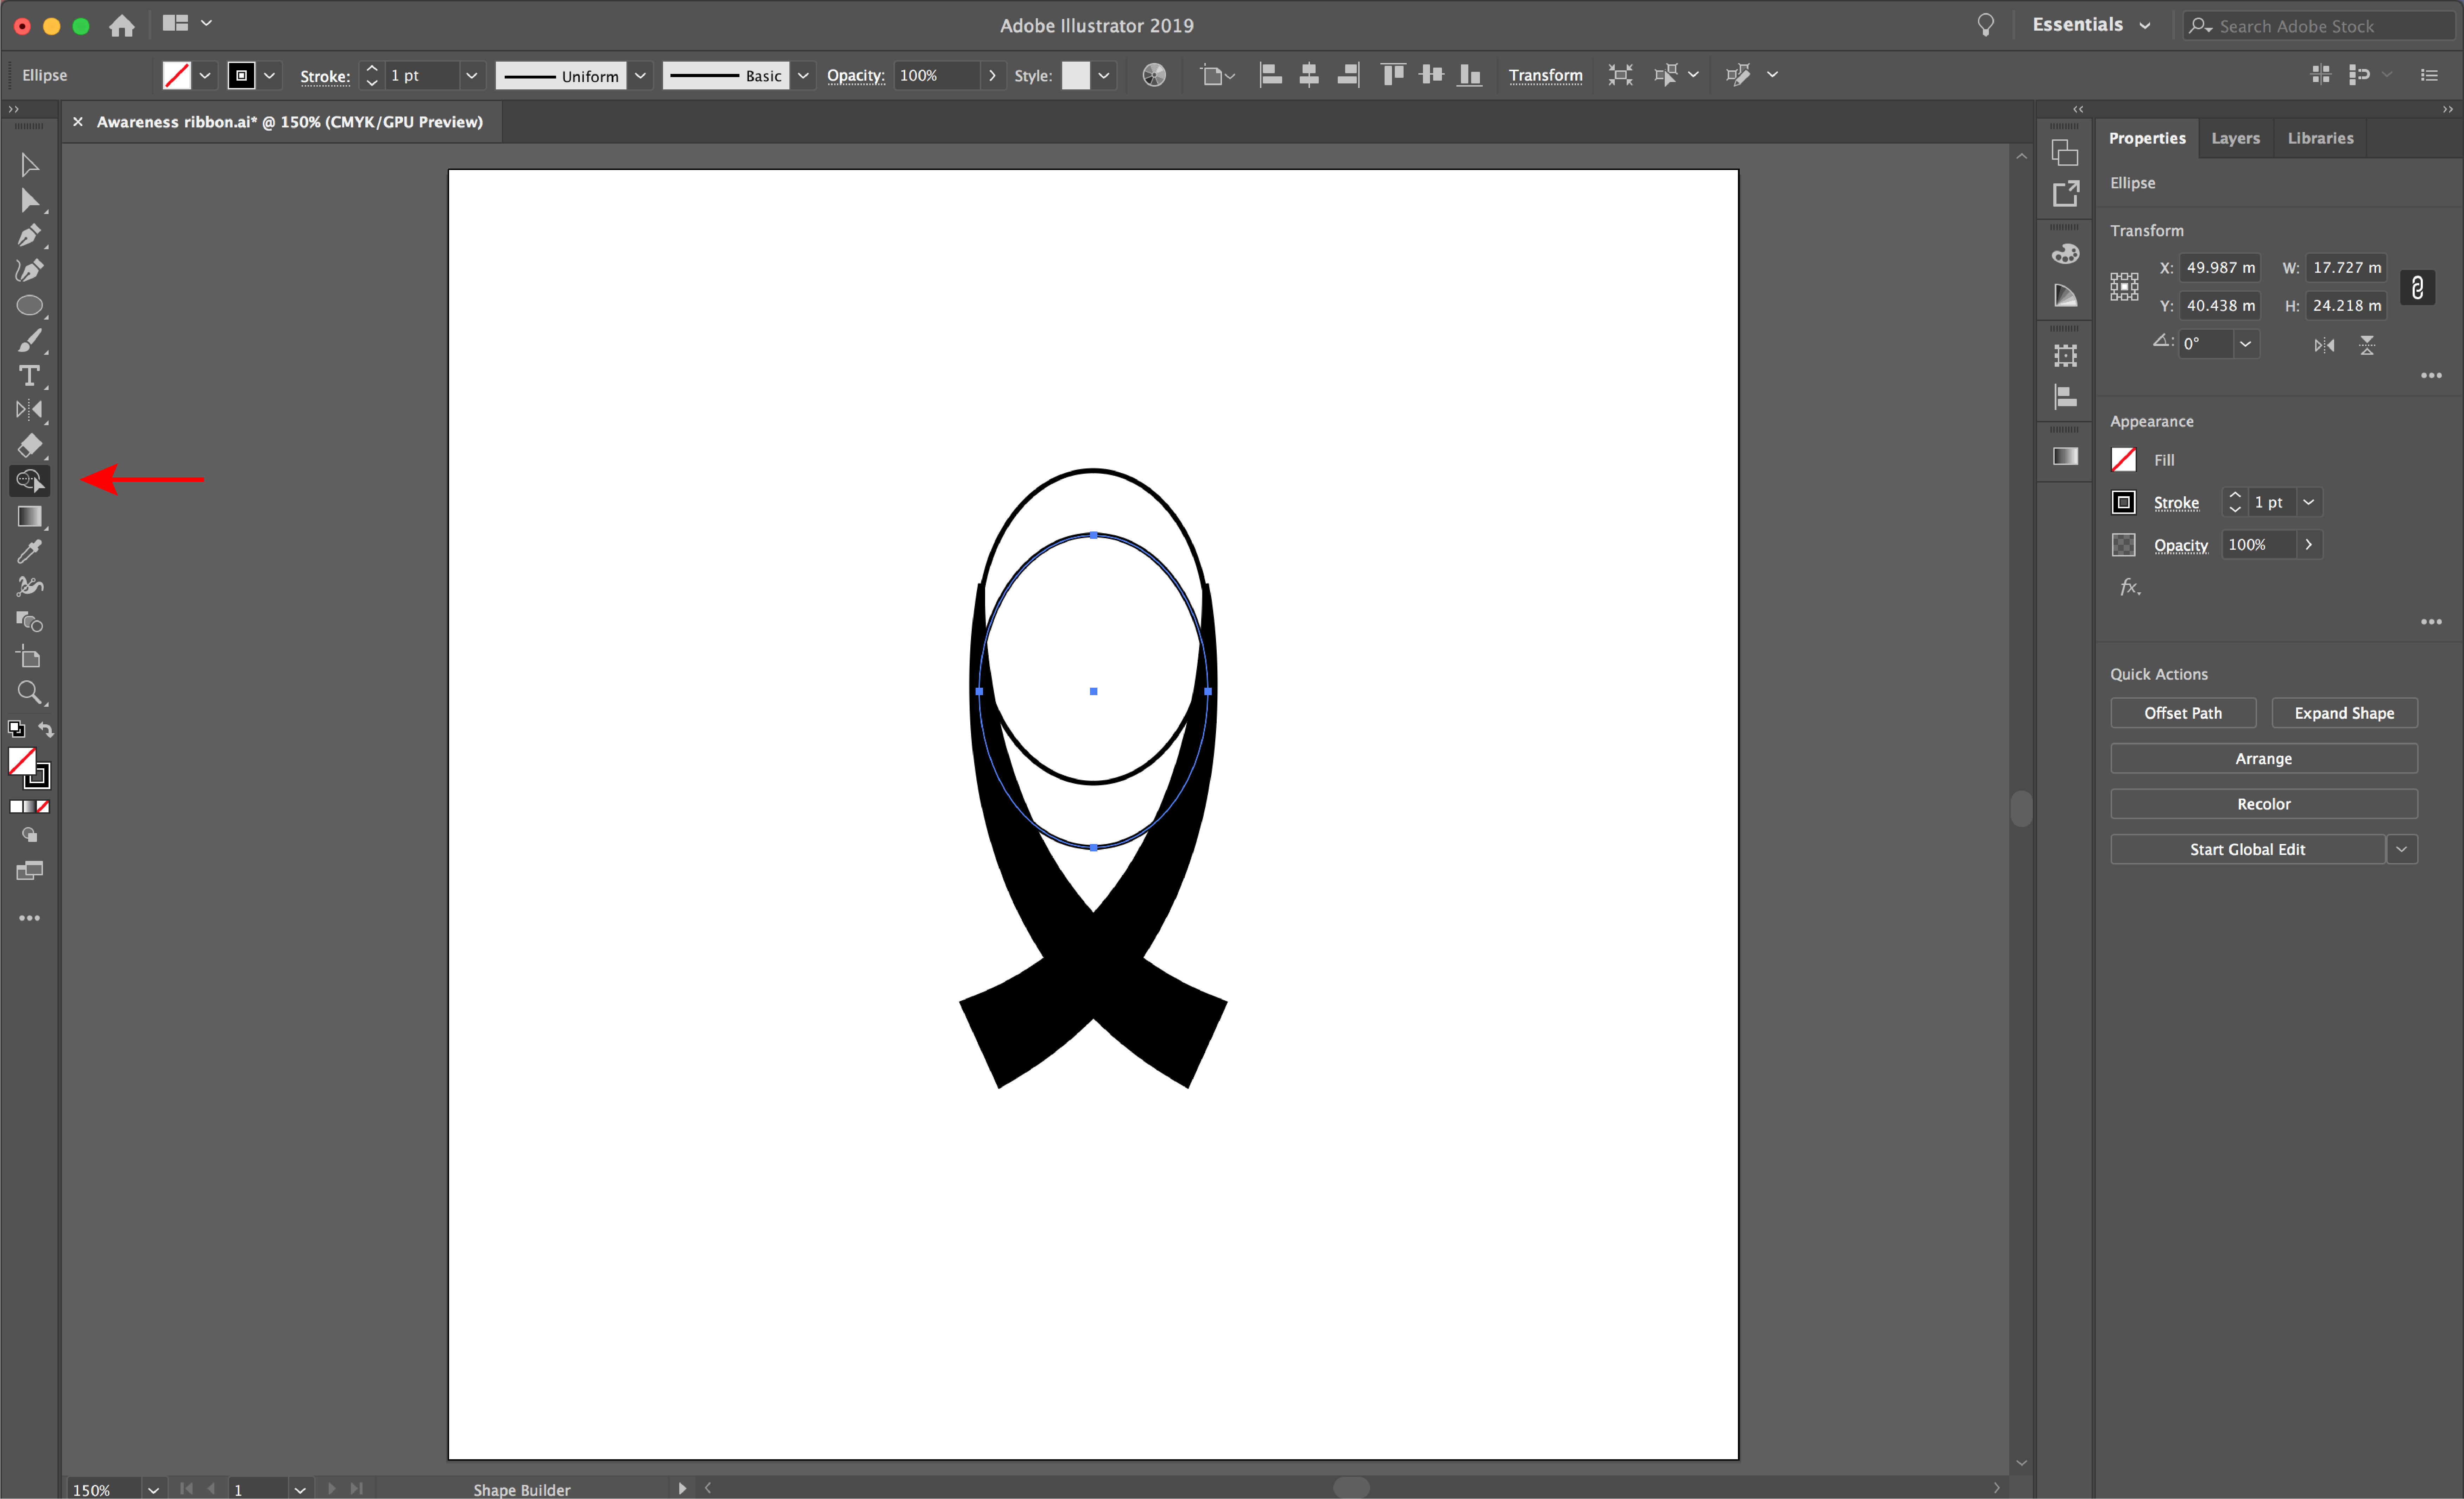
Highlight all of your shapes and select your Shape Builder Tool from your left toolbar. Hold down Option and hover over the line you would like to delete. It will appear red and you will have a minus symbol next to your cursor. Click to remove your unwanted lines between your shapes.
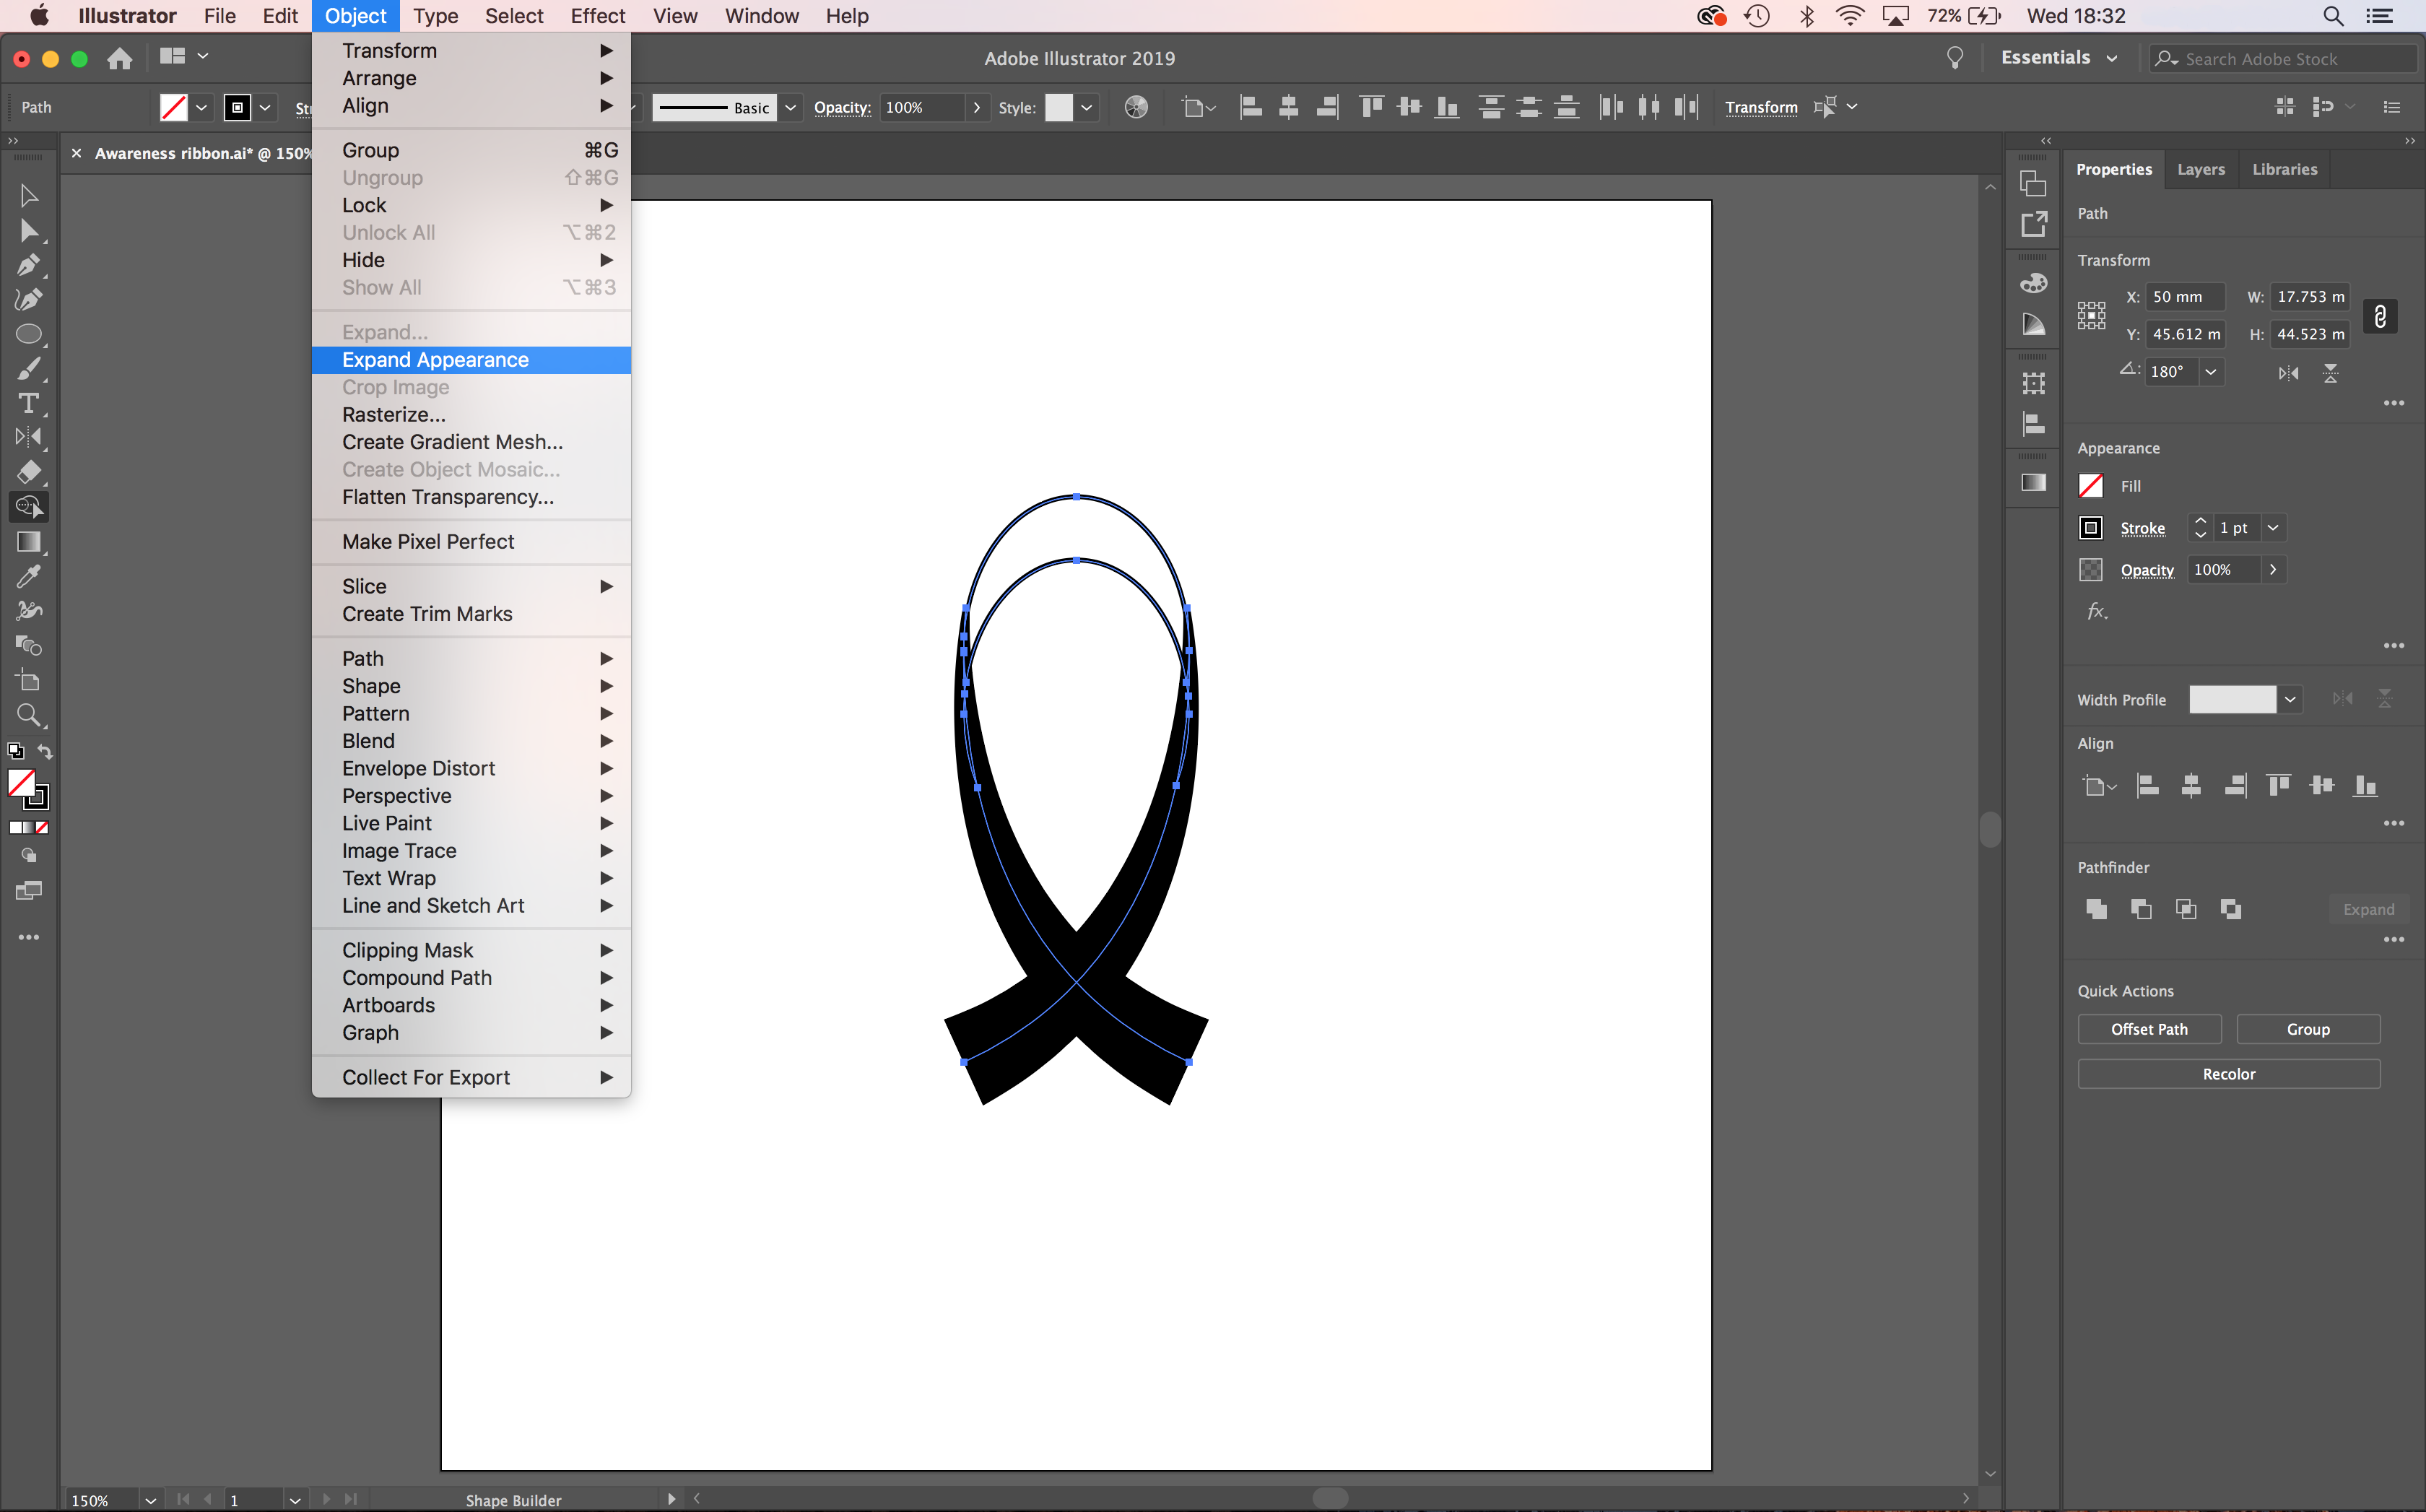
Select your two lower ribbon lines. Next, select Object > Expand Appearance to change the lines to a fill. Then, select your two upper lines and select the Shape Builder tool again.
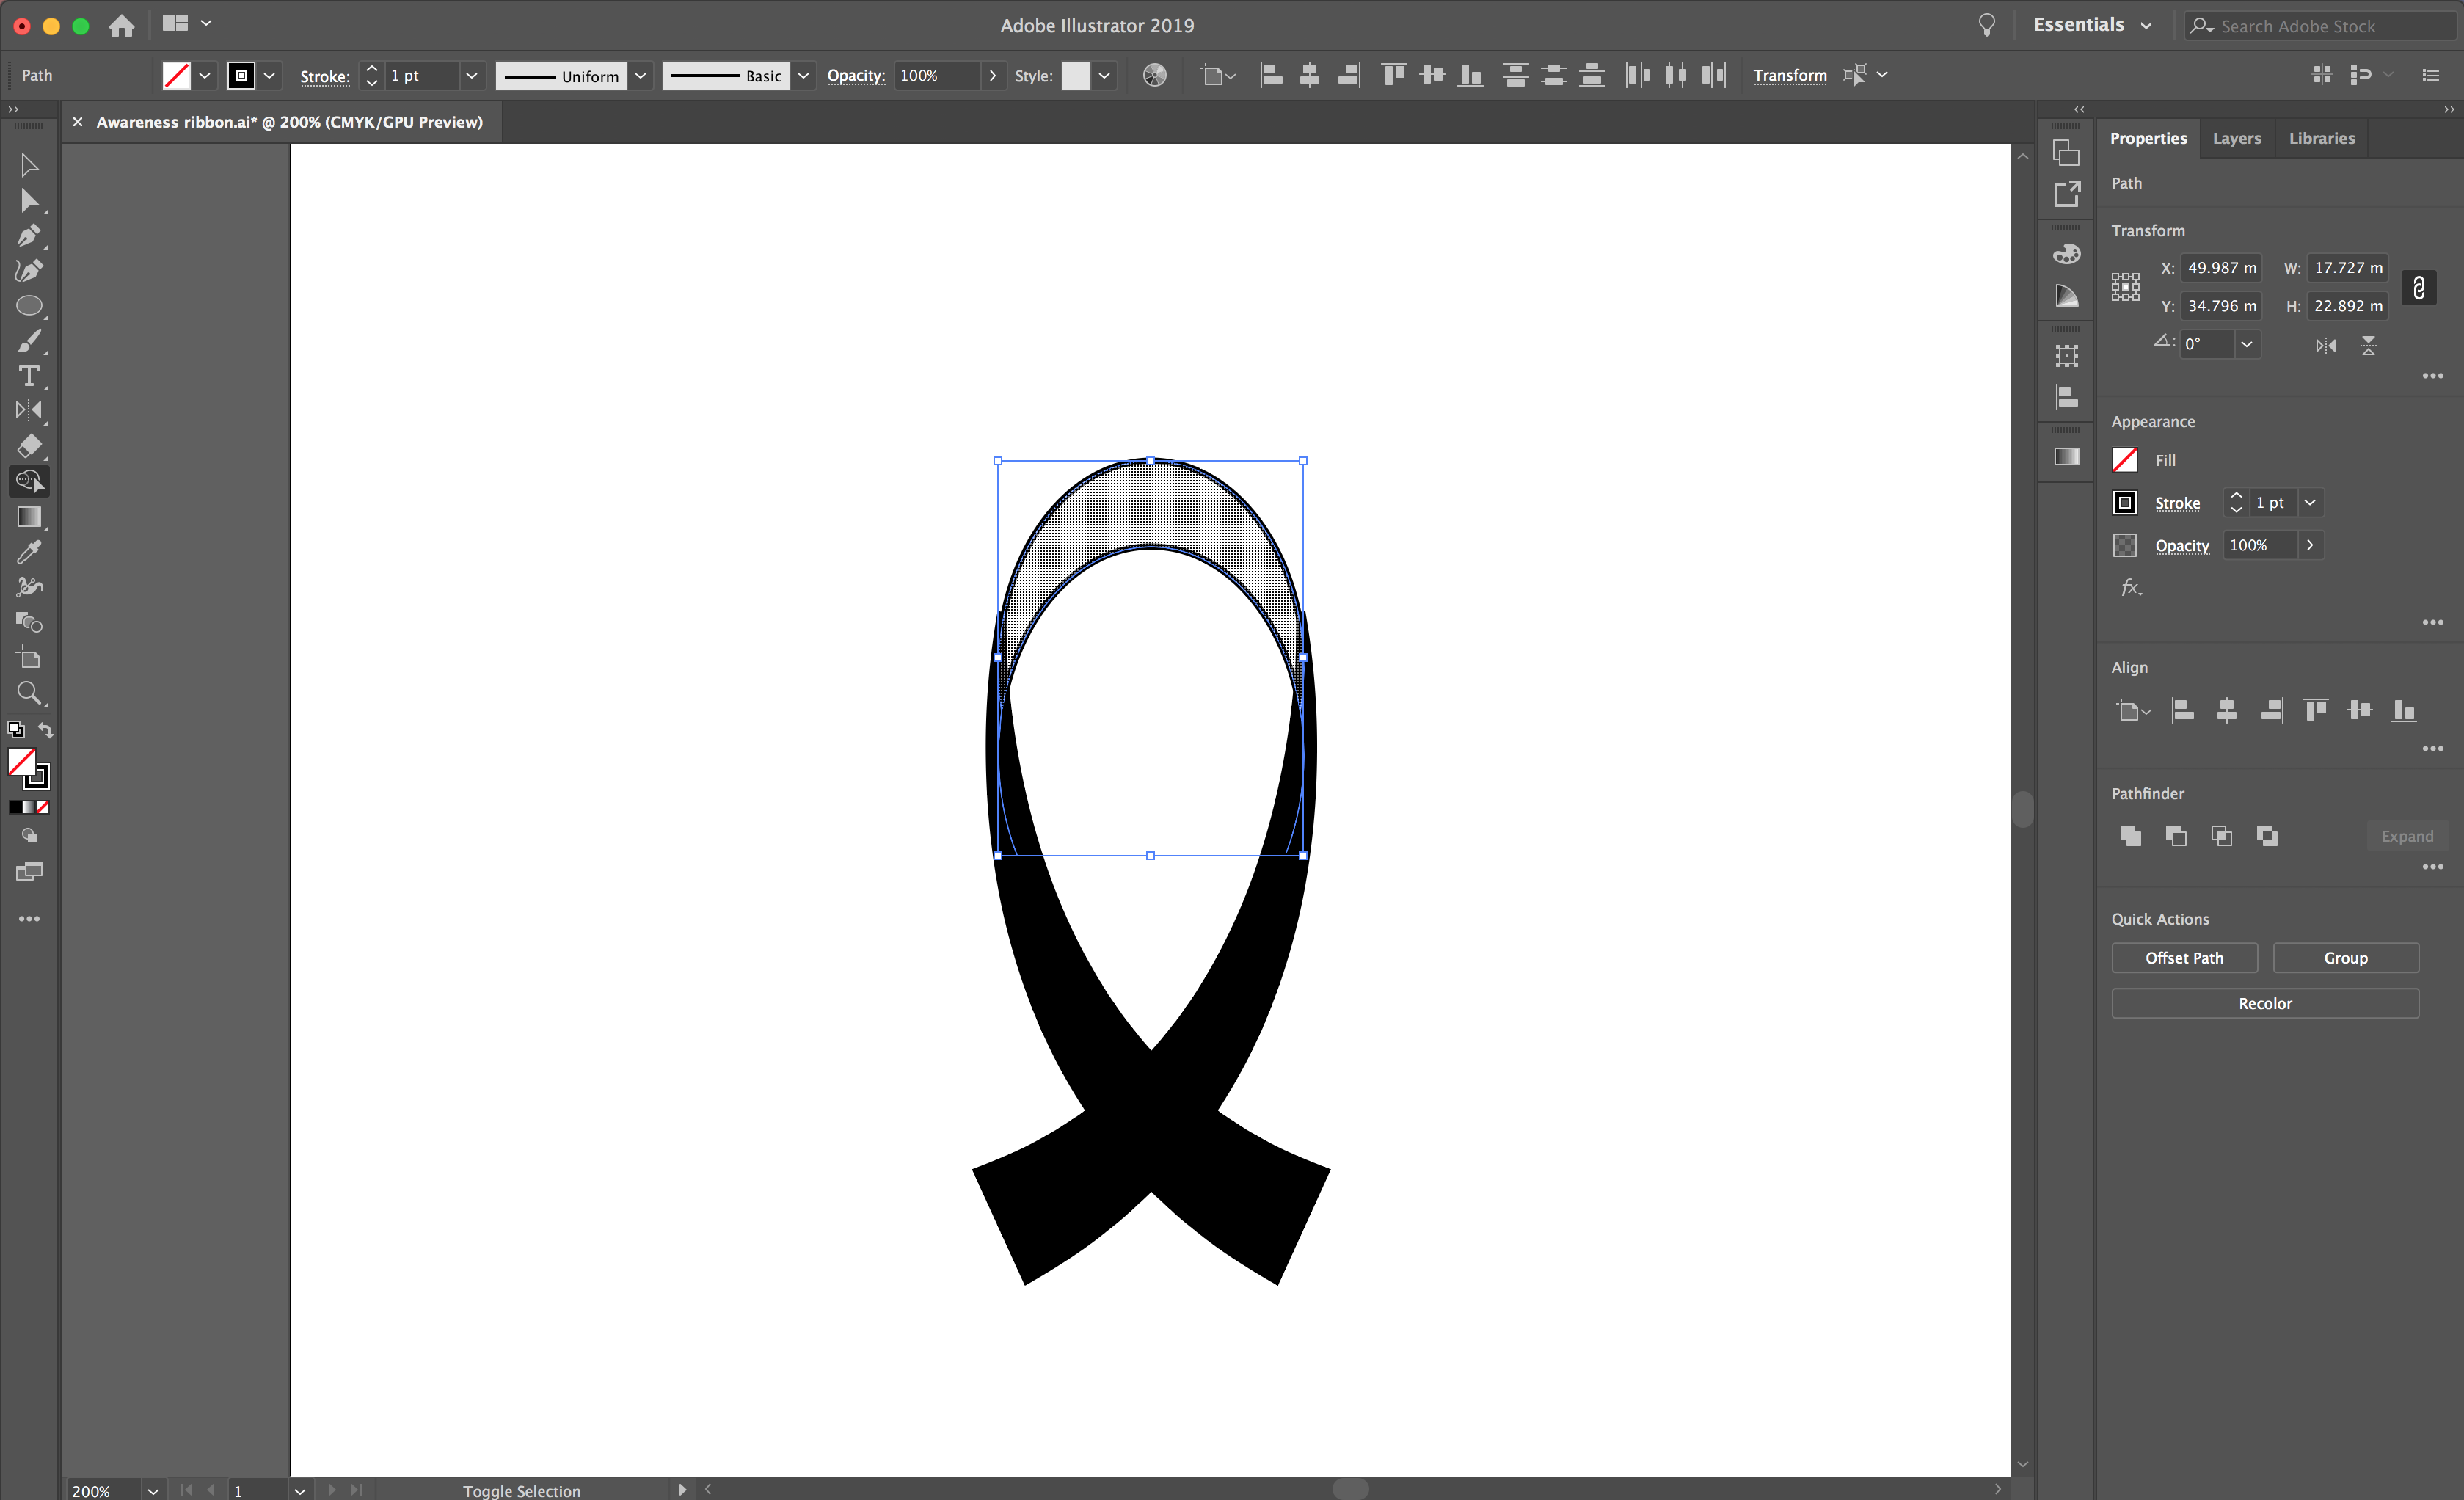
Hover your cursor over the center of the two lines. A mesh pattern will appear and a plus symbol next to your cursor. Left click in this space. Then switch the outline color to a fill, using the arrows next to the fill and stroke icon.
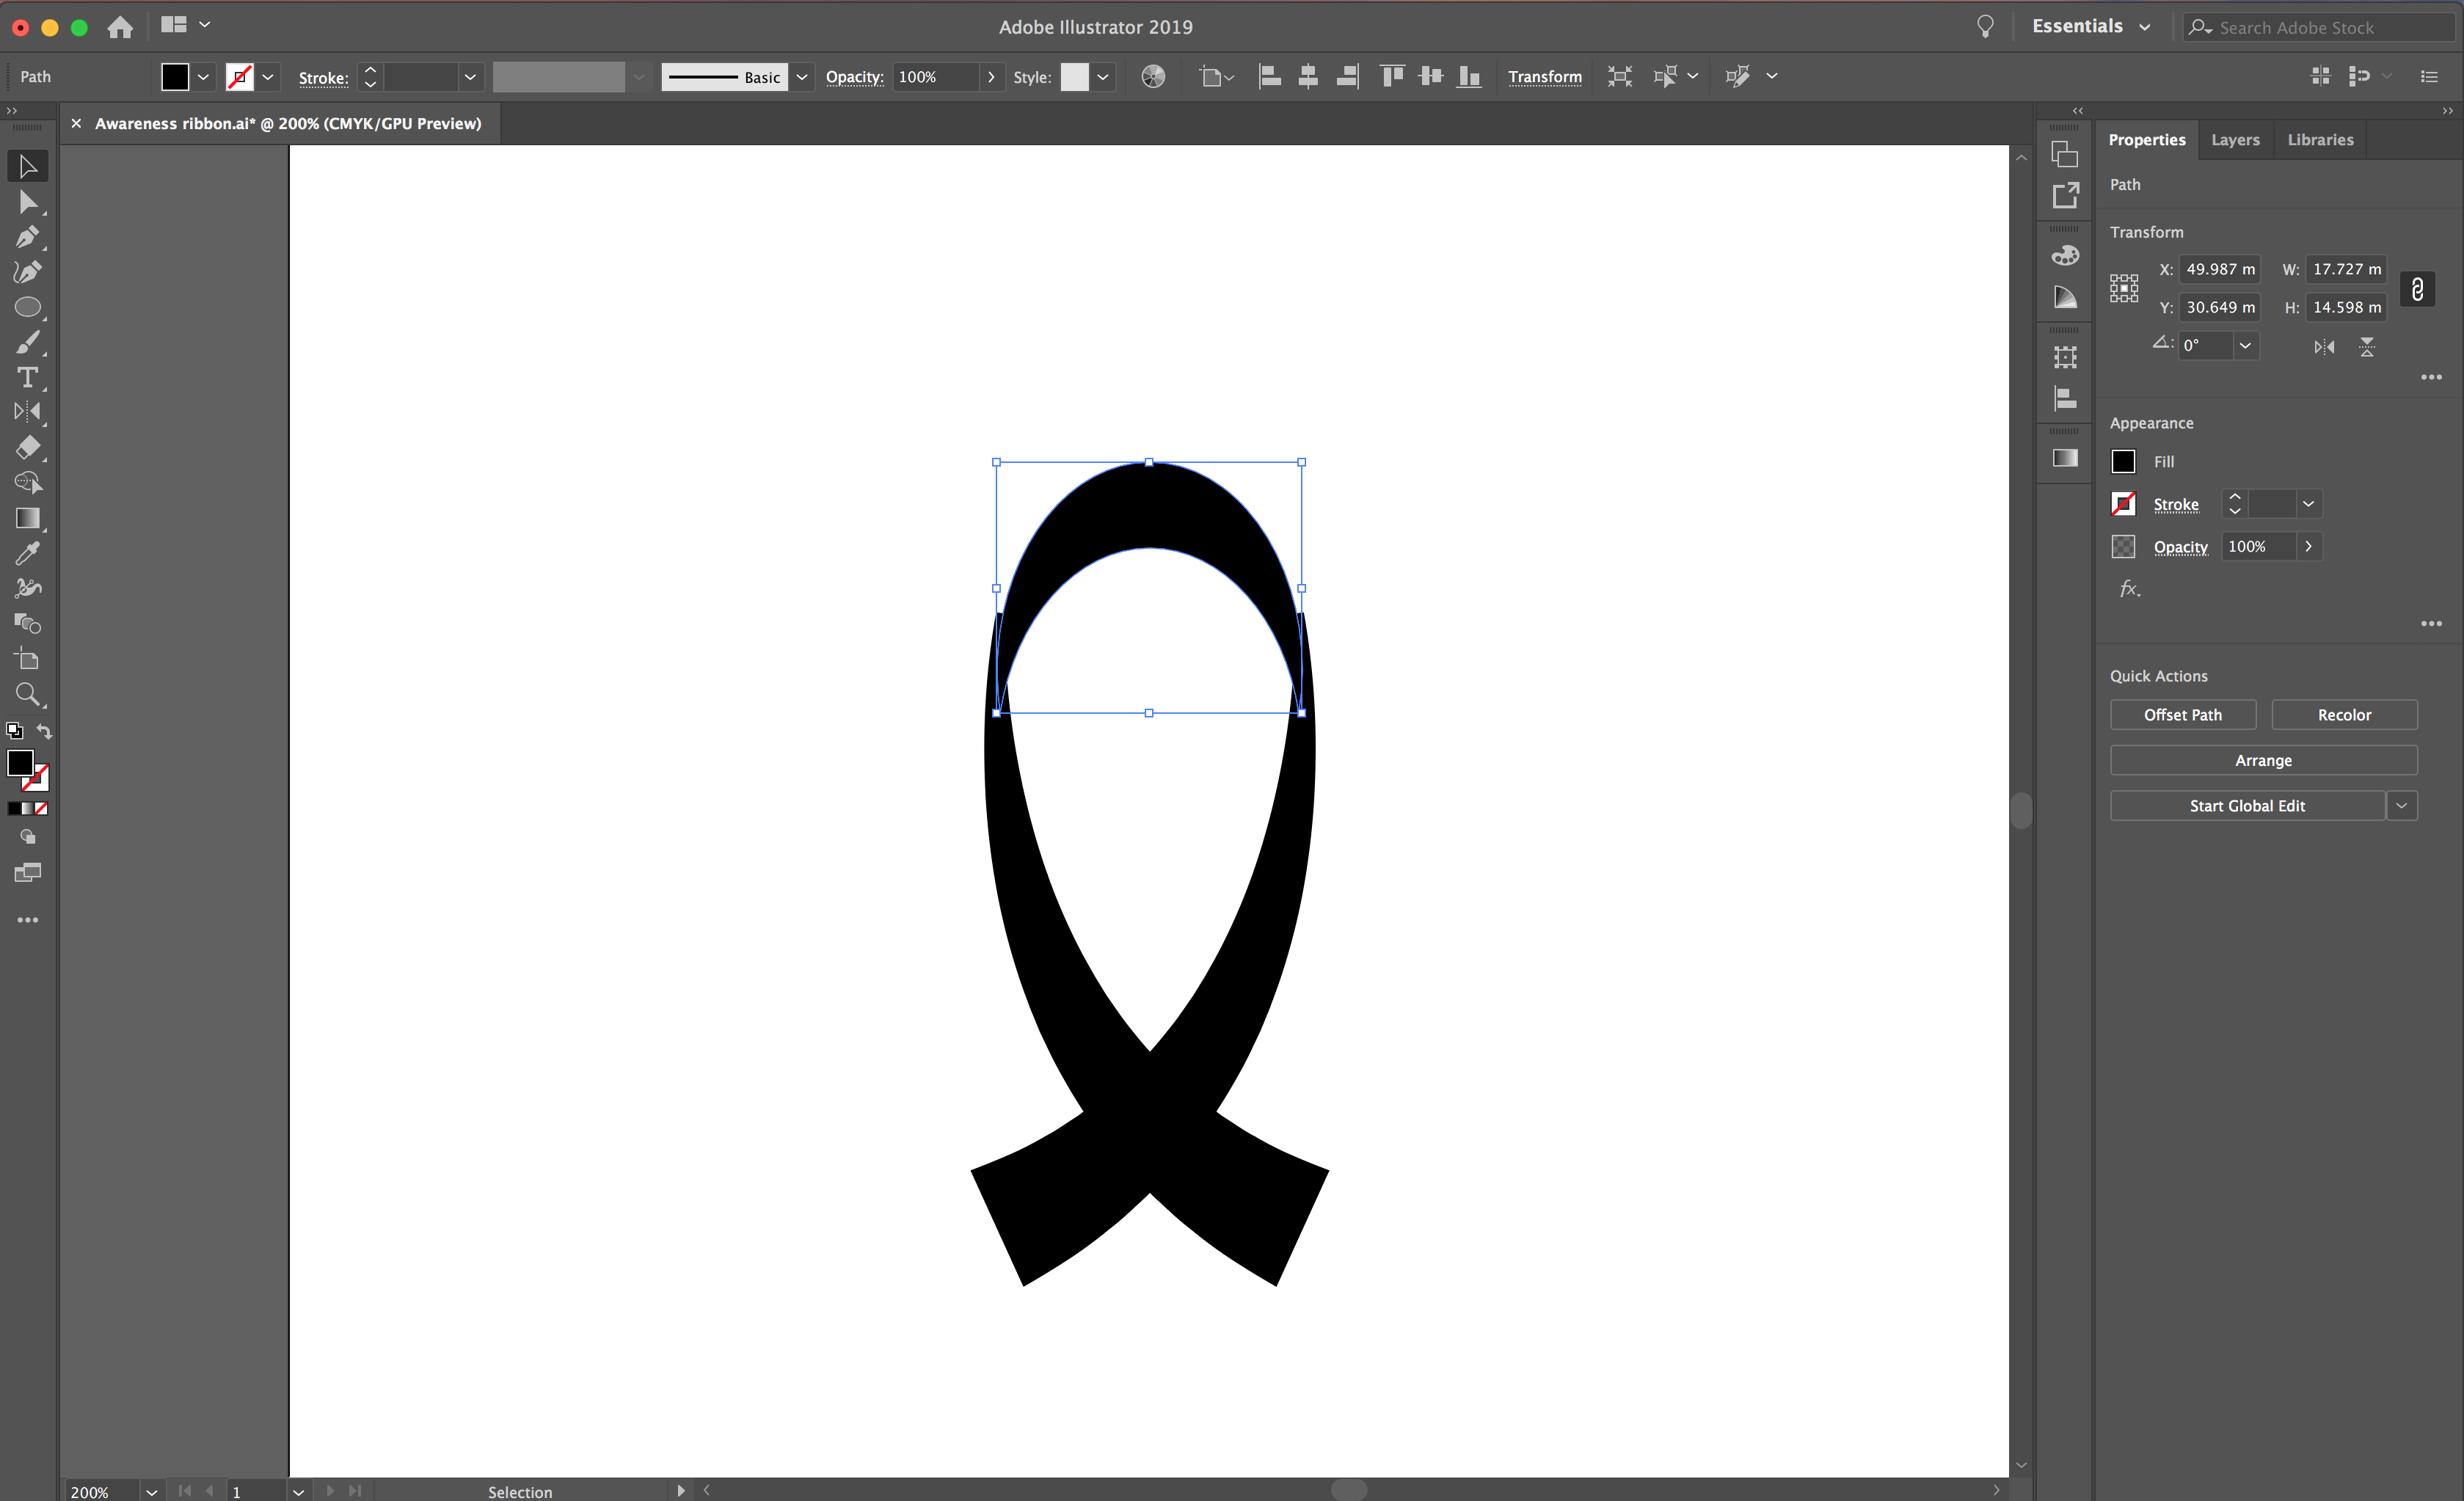
Select your upper shape. Move or change the size of it to create a smooth outline between the upper and lower shapes.
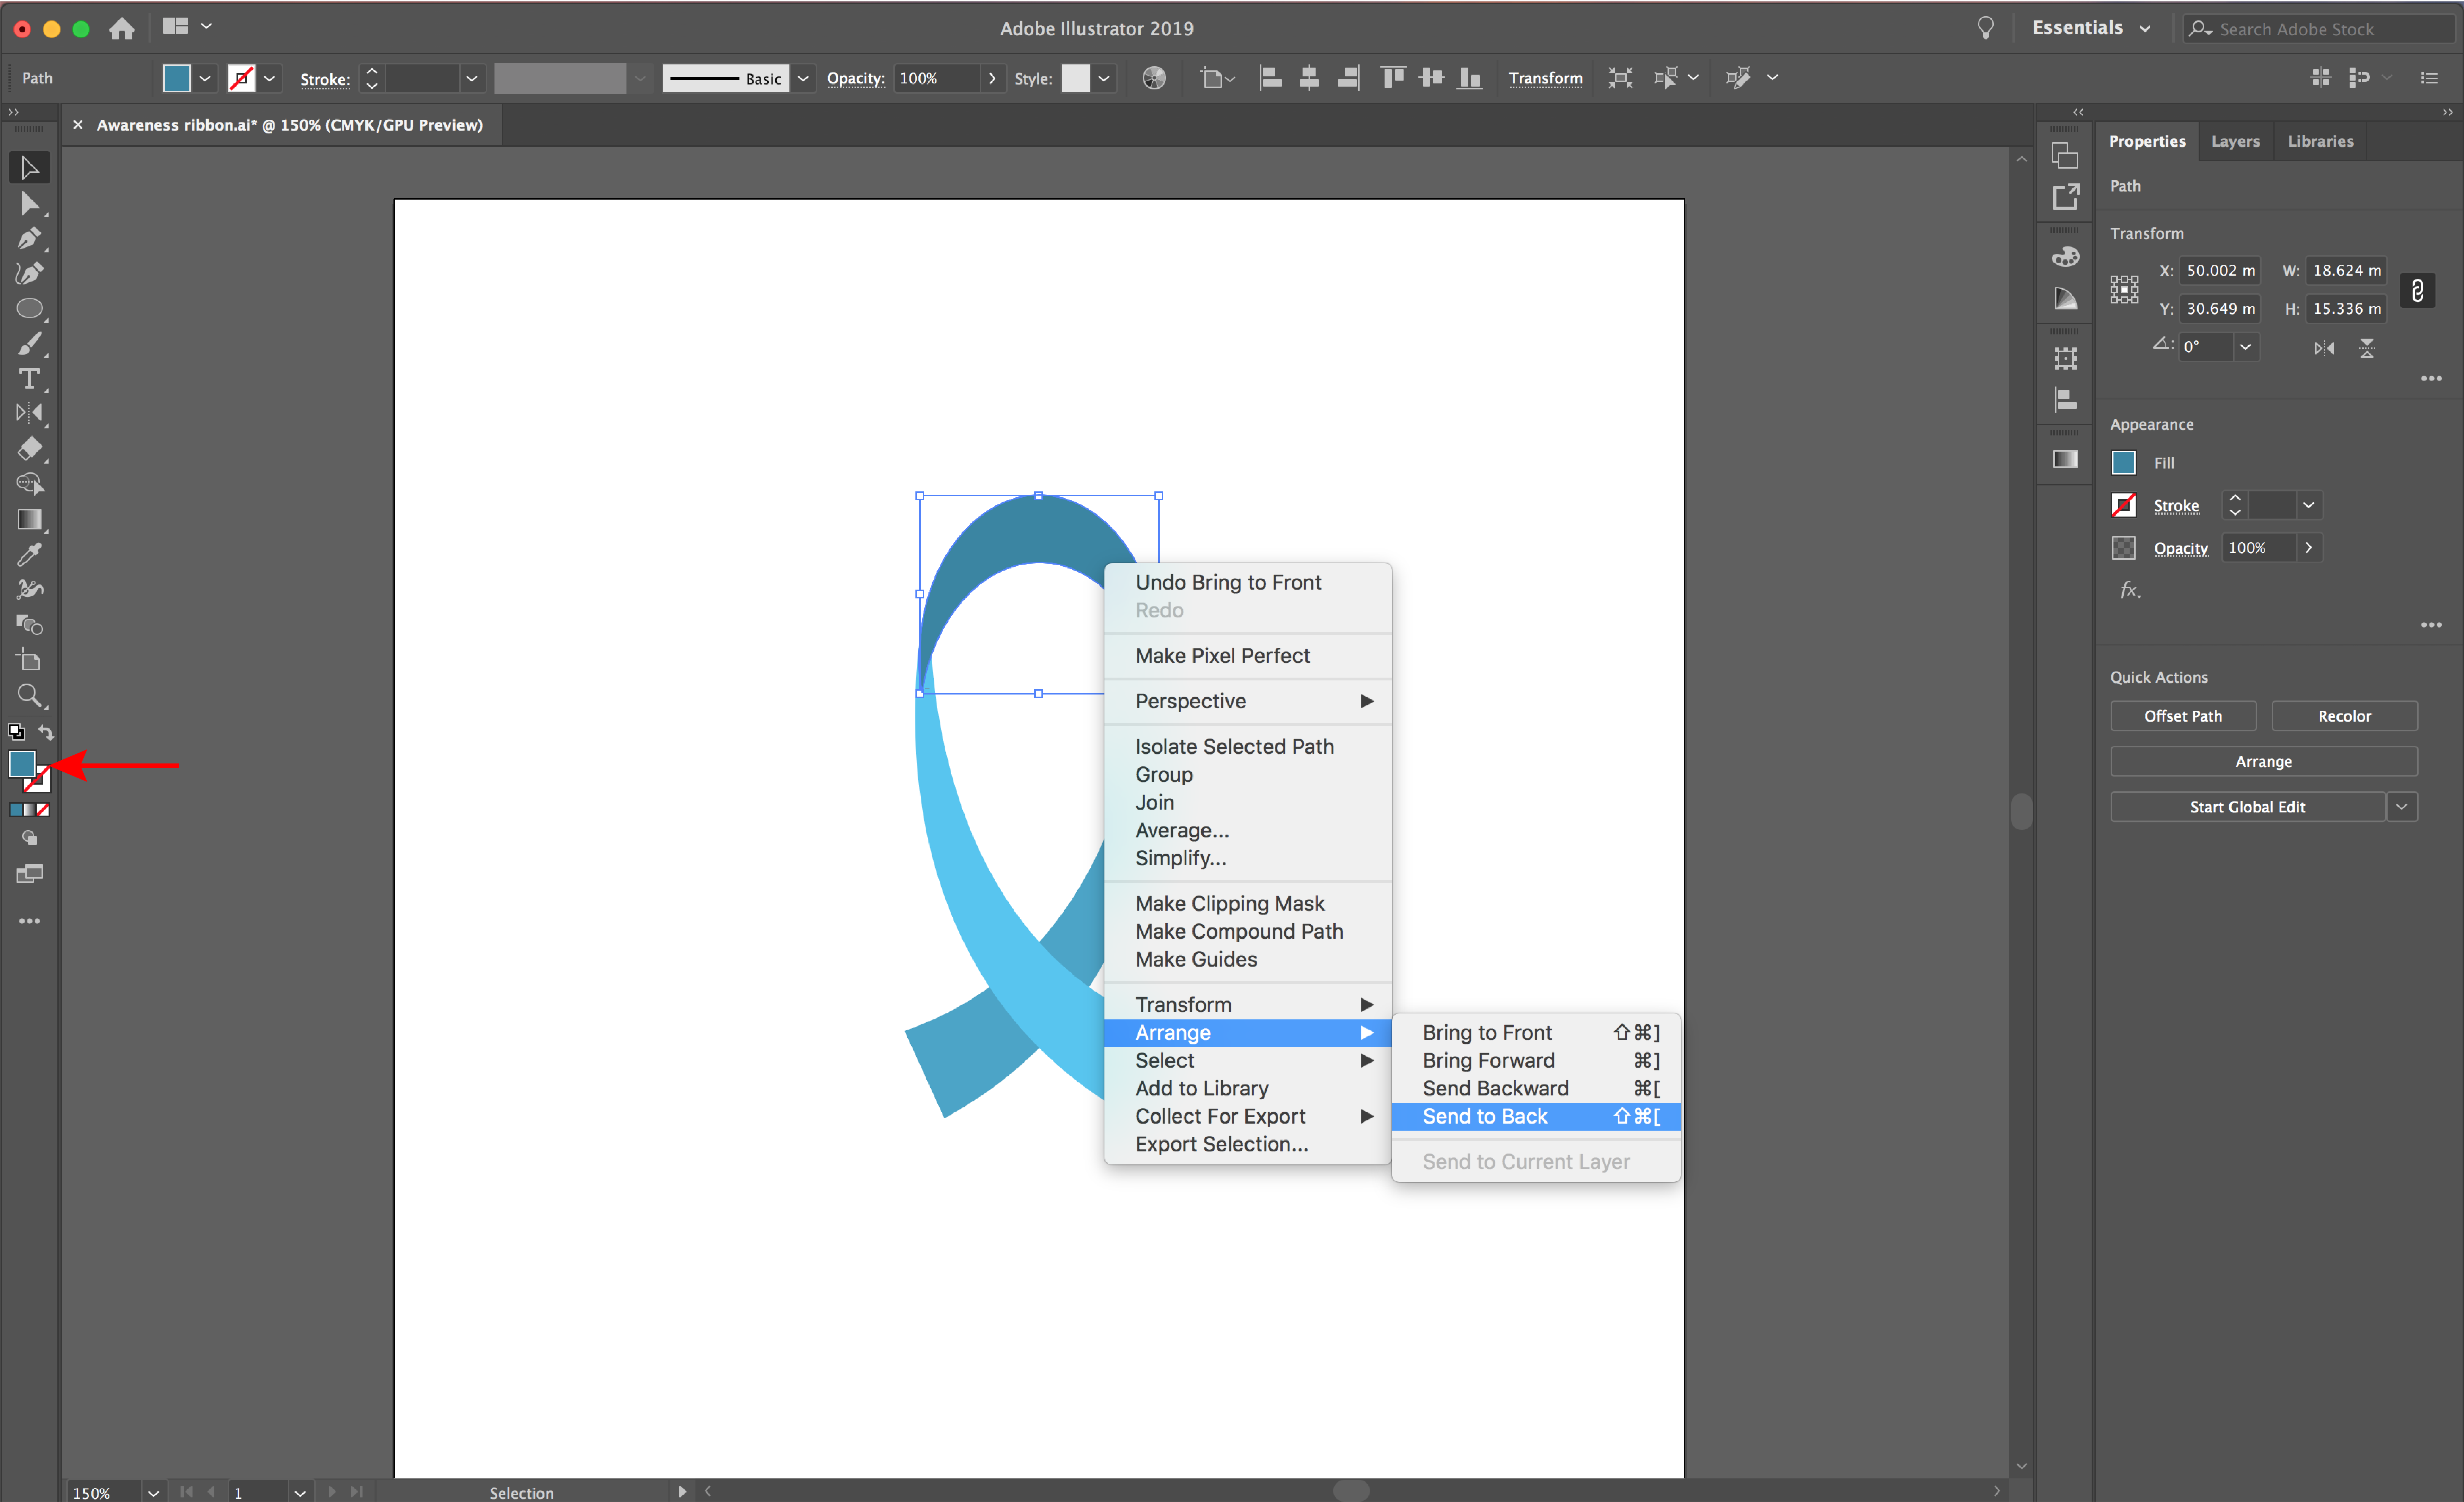
Once you are happy, you can recolor your shapes by double clicking the fill icon. You can also use different tints to show shadows. To arrange your shapes, right click the individual shapes and select Arrange > Send to back or front.
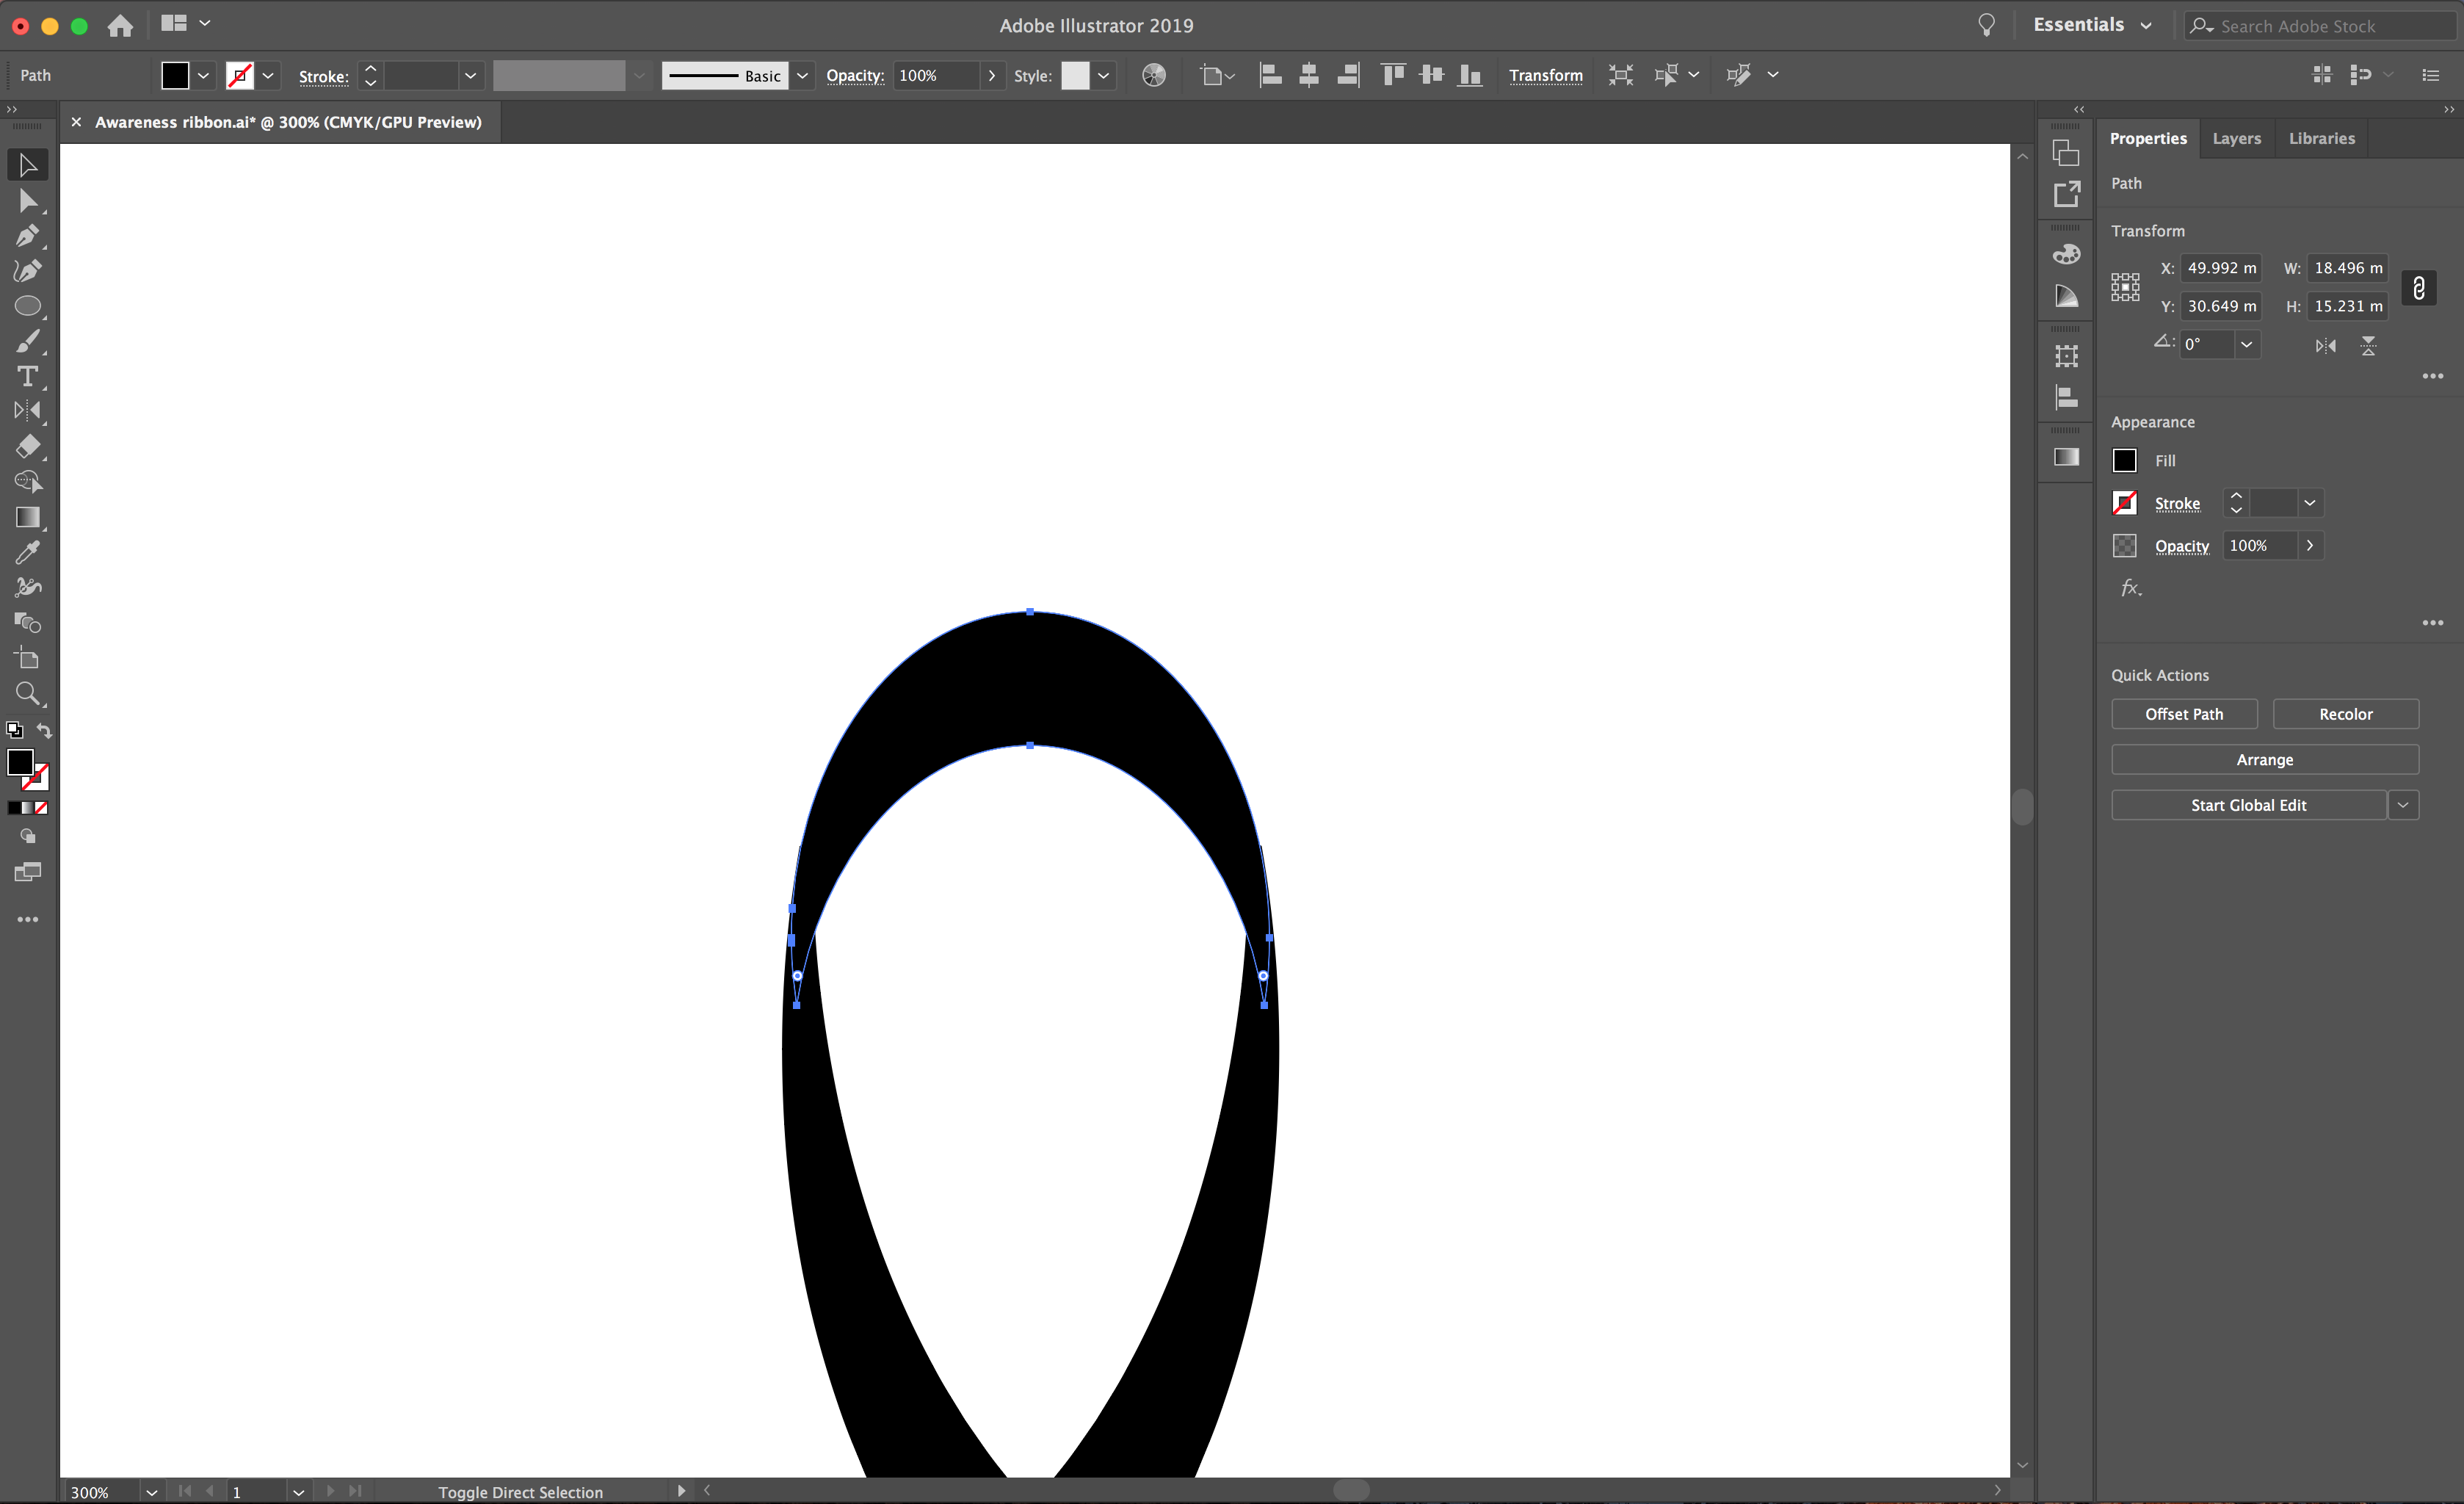
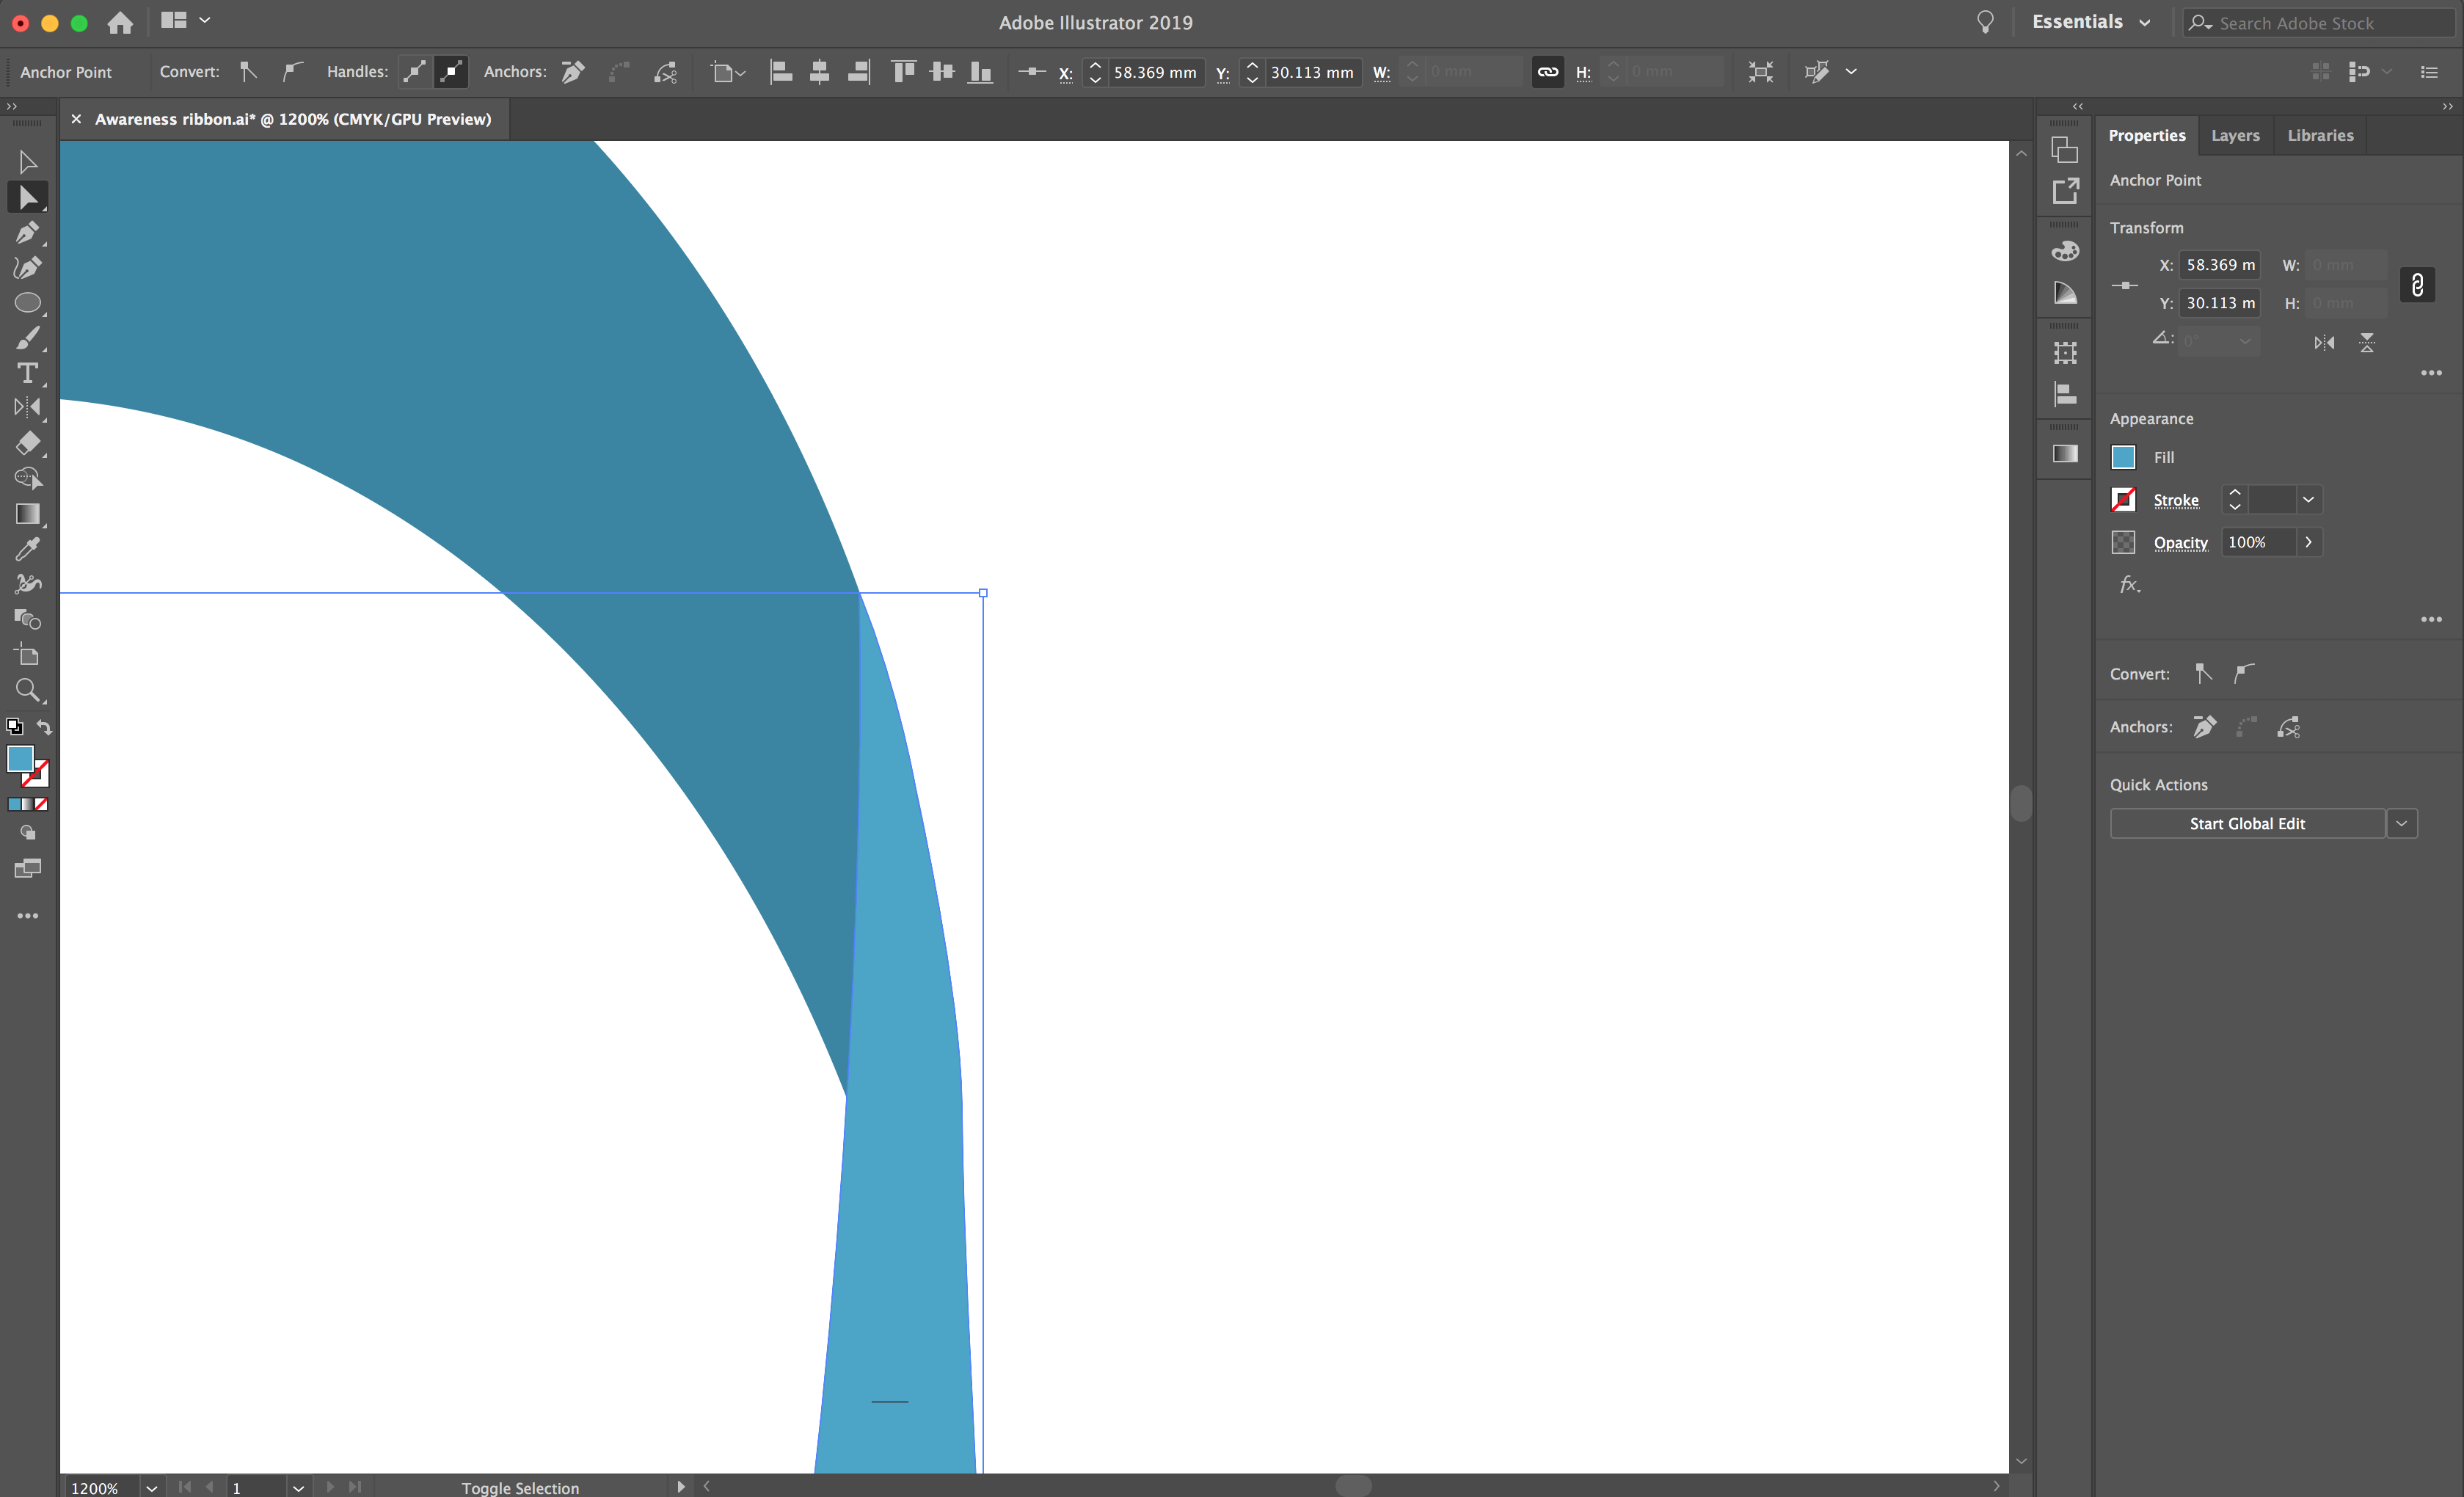
We are just about done. You may want to fine tune the design a bit. Zoom in and use the Direct Selection tool to tweak nodes for a smoother finish.

If you enjoyed this tutorial, we think you would also enjoy how to create SVGs in Illustrator or using the Pathfinder tool.
Let us begin by opening Illustrator and creating your New Document.
Step 1 - Draw one side of the ribbon
We will be using the pen tool to draw the one side of the ribbon. Check out our tutorial on how to use the Pen Tool to help you get started. To activate the pen tool, click P on the keyboard or select it from your left toolbar.
Click your first point near the top section of your artboard, then click your second point below and to the right of your first.
Next, drag until you achieve your desired curve. See the image below for a visual. Click the Selection Tool (black arrow). Remove the white fill from your shape by clicking the red line icon with your white fill selected.
Step 2 - Use the width tool then reflect the shape
The width tool will be used to create the wide ribbon end. Duplicate then reflect your shape for the other side of your ribbon. Select the Width tool from your left toolbar. From your bottom point, draw out until you achieve your desired thickness.
Select your line with the Selection Tool and select Edit > Copy, then Edit > Paste.
Select your new line, then click the Reflect Tool from your left toolbar. Now, hover your cursor over your shape and hold Option on your keyboard. You will see a small minus symbol appear. Then left click to bring up the reflect options menu.
To achieve the ribbon shape, reflect your shape vertically and select OK in the menu.
When you have your two shapes, highlight them both and locate your Align menu by selecting Window > Align.
Then select the Horizontal and Vertical button to align your shapes together.
If you need to change your shape height or width, select both lines with the Selection Tool. Use the square points on the box to achieve your desired shape. Alternatively, hold shift to make your shape larger on your artboard.
Step 3 - Complete the top of the ribbon
When you are happy with your shape, select the Ellipse Tool. Create a circle that meets the two top points of the ribbon and select the lowest point of the circle.
Pull this point down to get the right arch shape to complete the top of the ribbon. See the image below for a visual of what this should look like.
Duplicate the oval by selecting it and holding Shift + Option. This will create a copy of your oval in alignment to your original. Pull the shape down until you have created your desired thickness.
Highlight all of your shapes and select your Shape Builder Tool from your left toolbar. Hold down Option and hover over the line you would like to delete. It will appear red and you will have a minus symbol next to your cursor. Click to remove your unwanted lines between your shapes.
Step 4 - Convert your shapes to fills
Select your two lower ribbon lines. Next, select Object > Expand Appearance to change the lines to a fill. Then, select your two upper lines and select the Shape Builder tool again.
Hover your cursor over the center of the two lines. A mesh pattern will appear and a plus symbol next to your cursor. Left click in this space. Then switch the outline color to a fill, using the arrows next to the fill and stroke icon.
Step 5 - Edit and tidy up your design
Select your upper shape. Move or change the size of it to create a smooth outline between the upper and lower shapes.
Once you are happy, you can recolor your shapes by double clicking the fill icon. You can also use different tints to show shadows. To arrange your shapes, right click the individual shapes and select Arrange > Send to back or front.
We are just about done. You may want to fine tune the design a bit. Zoom in and use the Direct Selection tool to tweak nodes for a smoother finish.
If you enjoyed this tutorial, we think you would also enjoy how to create SVGs in Illustrator or using the Pathfinder tool.


