


By Design Bundles
How to Use Fonts and Glyphs in Microsoft Publisher
In this tutorial we will show you how to use Font Glyphs and swashes in Microsoft Publisher.
Step 1: Open up Publisher
Then create a new document.

Step 2: Draw a Text Box
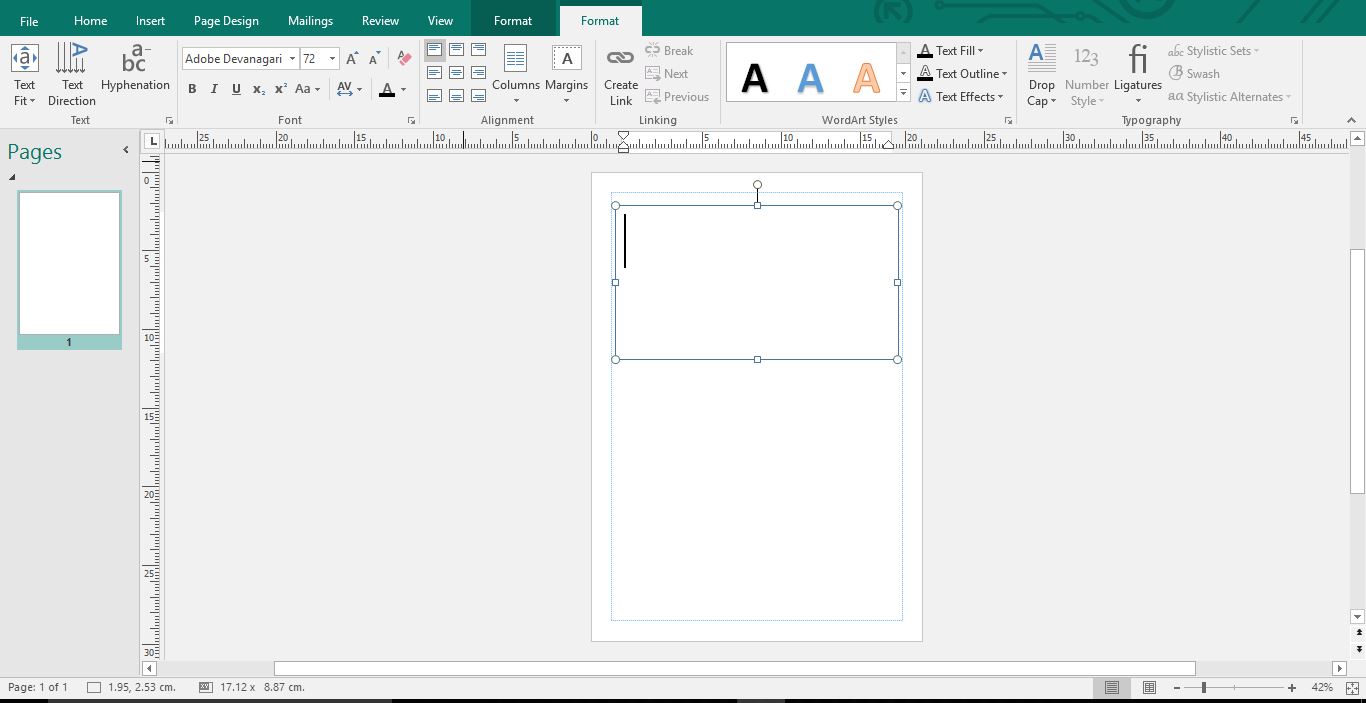
Step 3: Change the Font
Click the drop down and change the font to one you'd like to use.

Step 4: Open Character Map
If you are on a PC open your Character Map.

Select the Font You're Using
Once you have that open, click the drop down arrow and select the font you are using.

Step 5: Change the Character Map View
Make sure that the Advance view is selected (1). Then go to Group by and select Unicode Subrange (2).
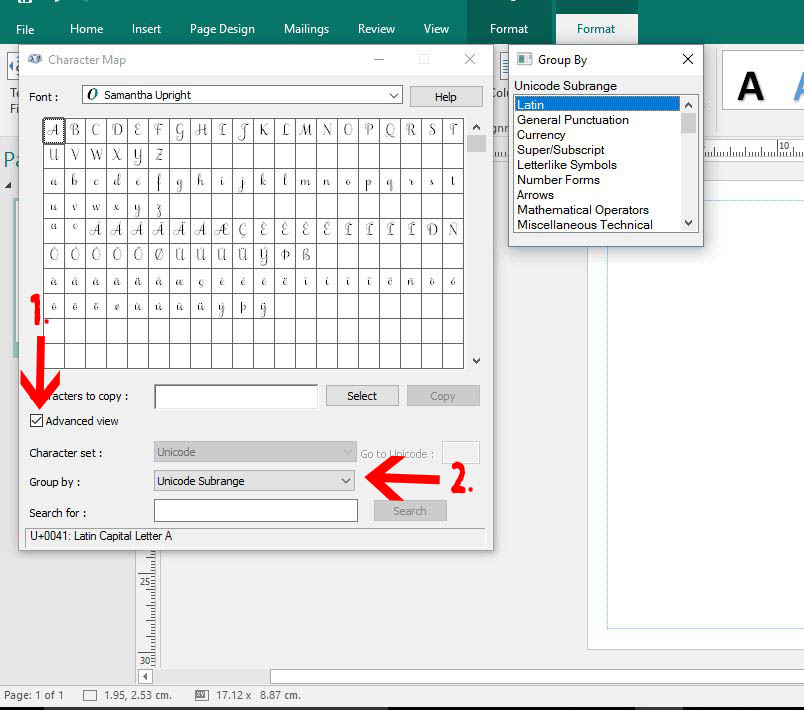
A new window will pop up. Scroll down and and select Private Use Characters.

Step 6: Copy Your Glyphs
Your glyphs will now appear. Select the glyph you would like (1). Then click on the Select icon (2) to make it appear in the Characters to copy section. Finally click on the copy icon (or Ctrl+C).

Step 7: Paste Your Glyphs
Click back to your workspace. Then click Ctrl+ V to paste in your Glyph. You can now continue to type your text.
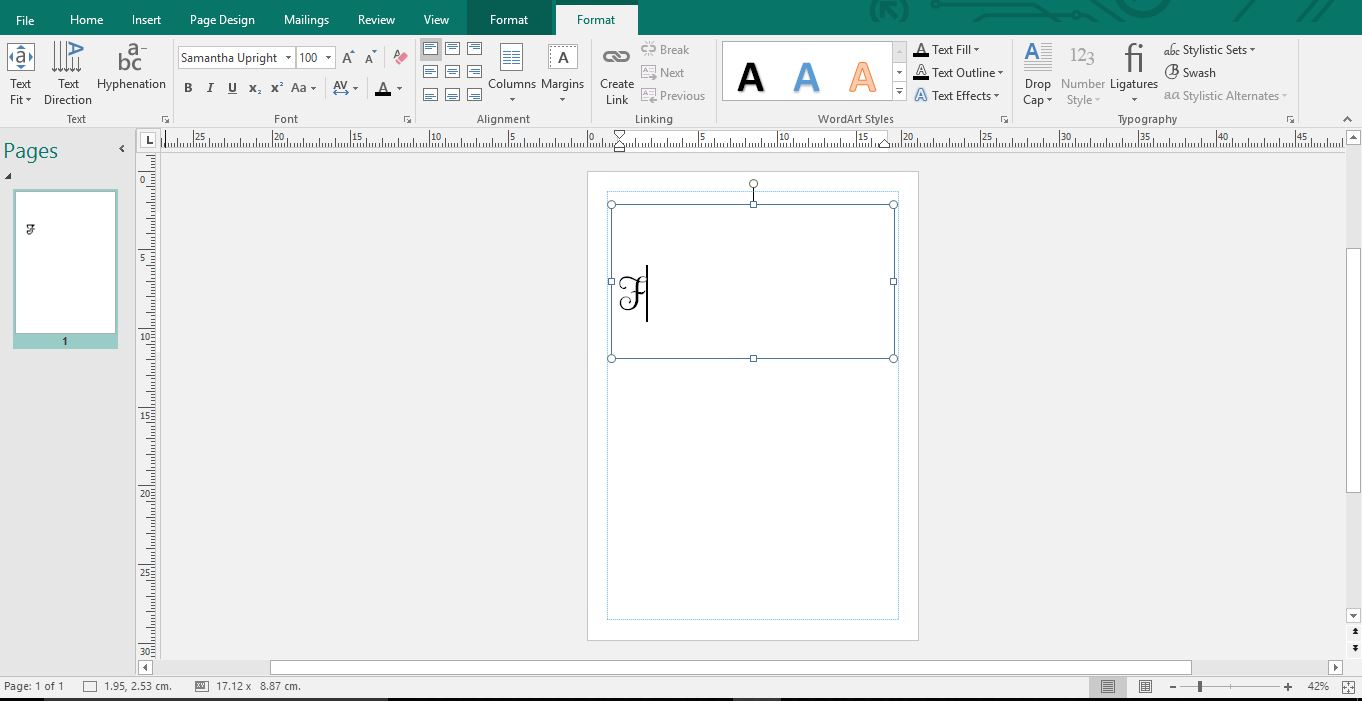
Continue to add your text. If you need another Glyph repeat the above steps.


