
Vector Mountains Background in Illustrator
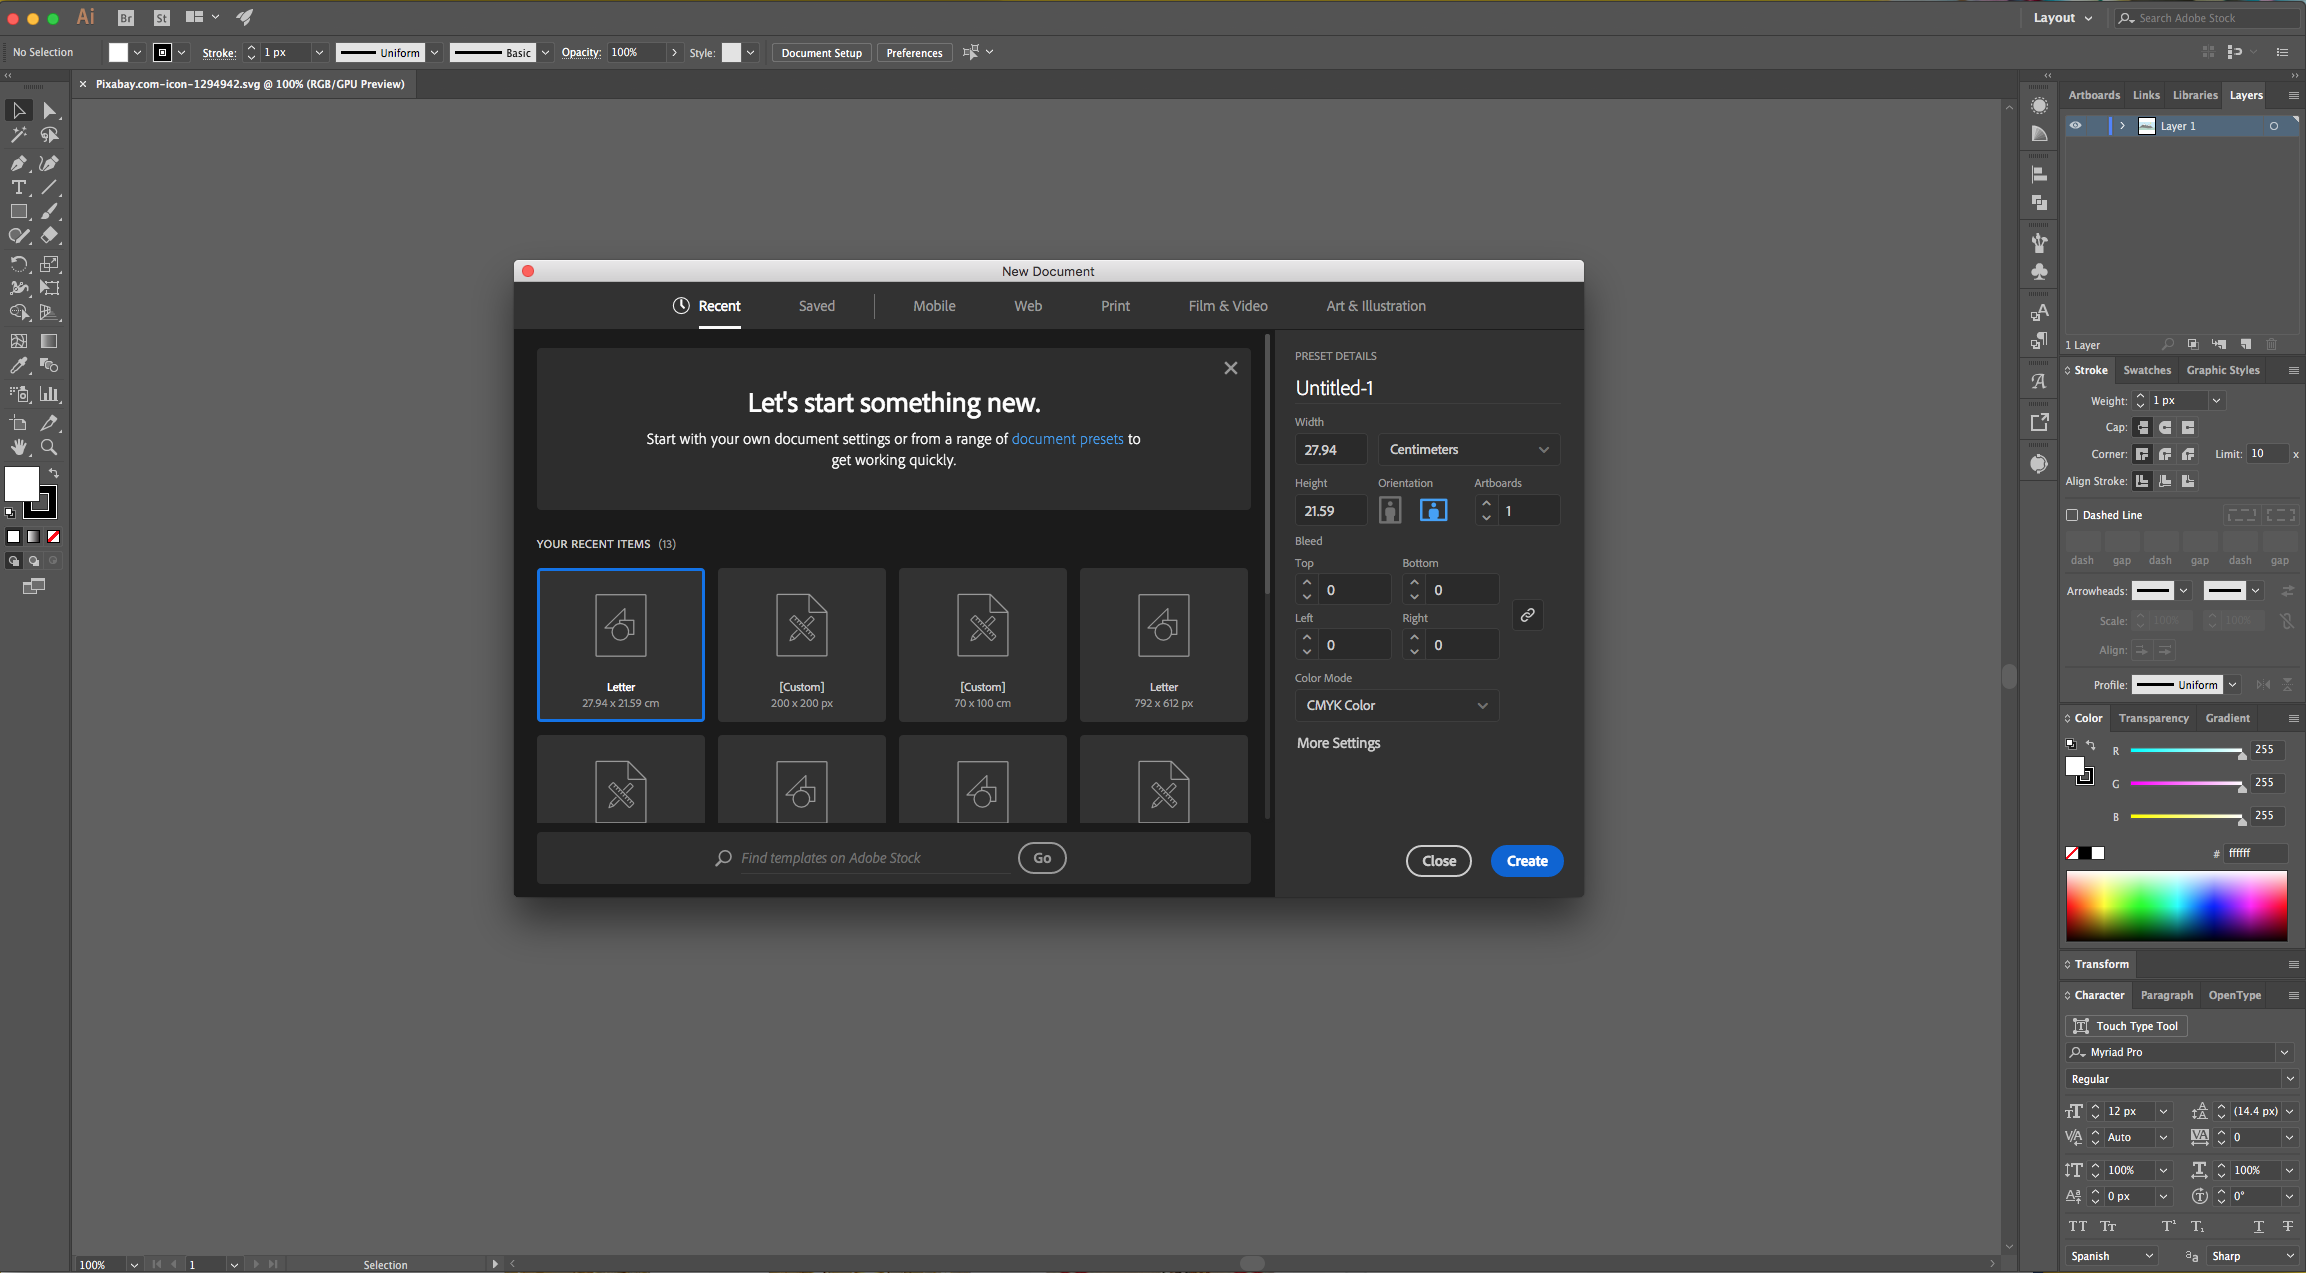
1 - In Illustrator, create a “New Document”.
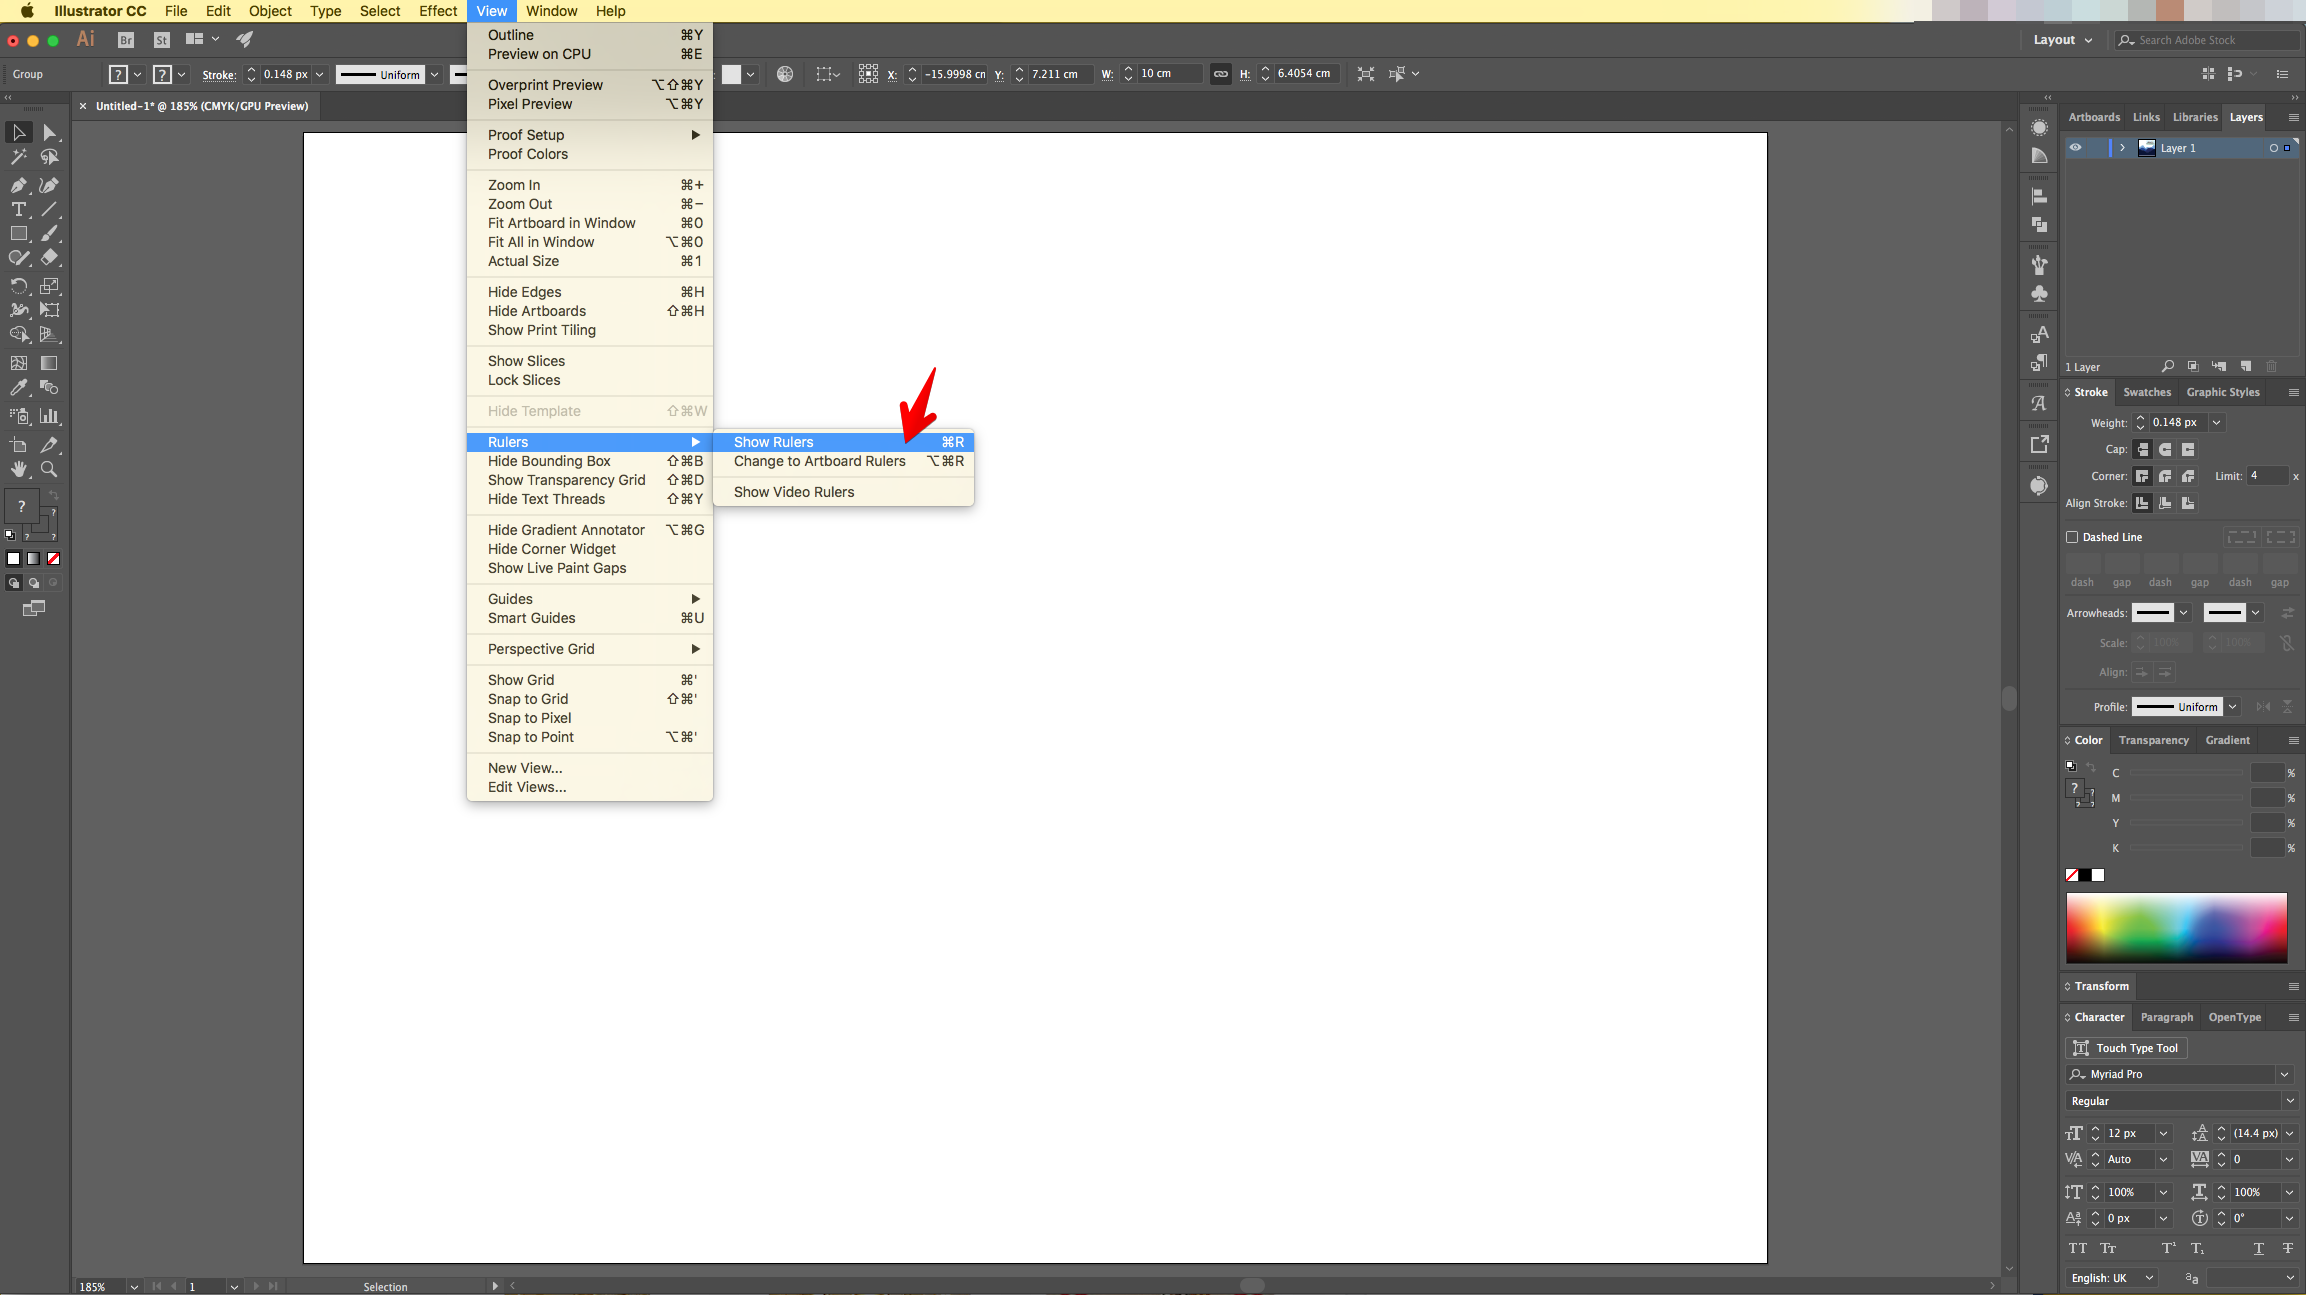
2 - Go to View > Rulers > Show Rulers (Command/Control + R).
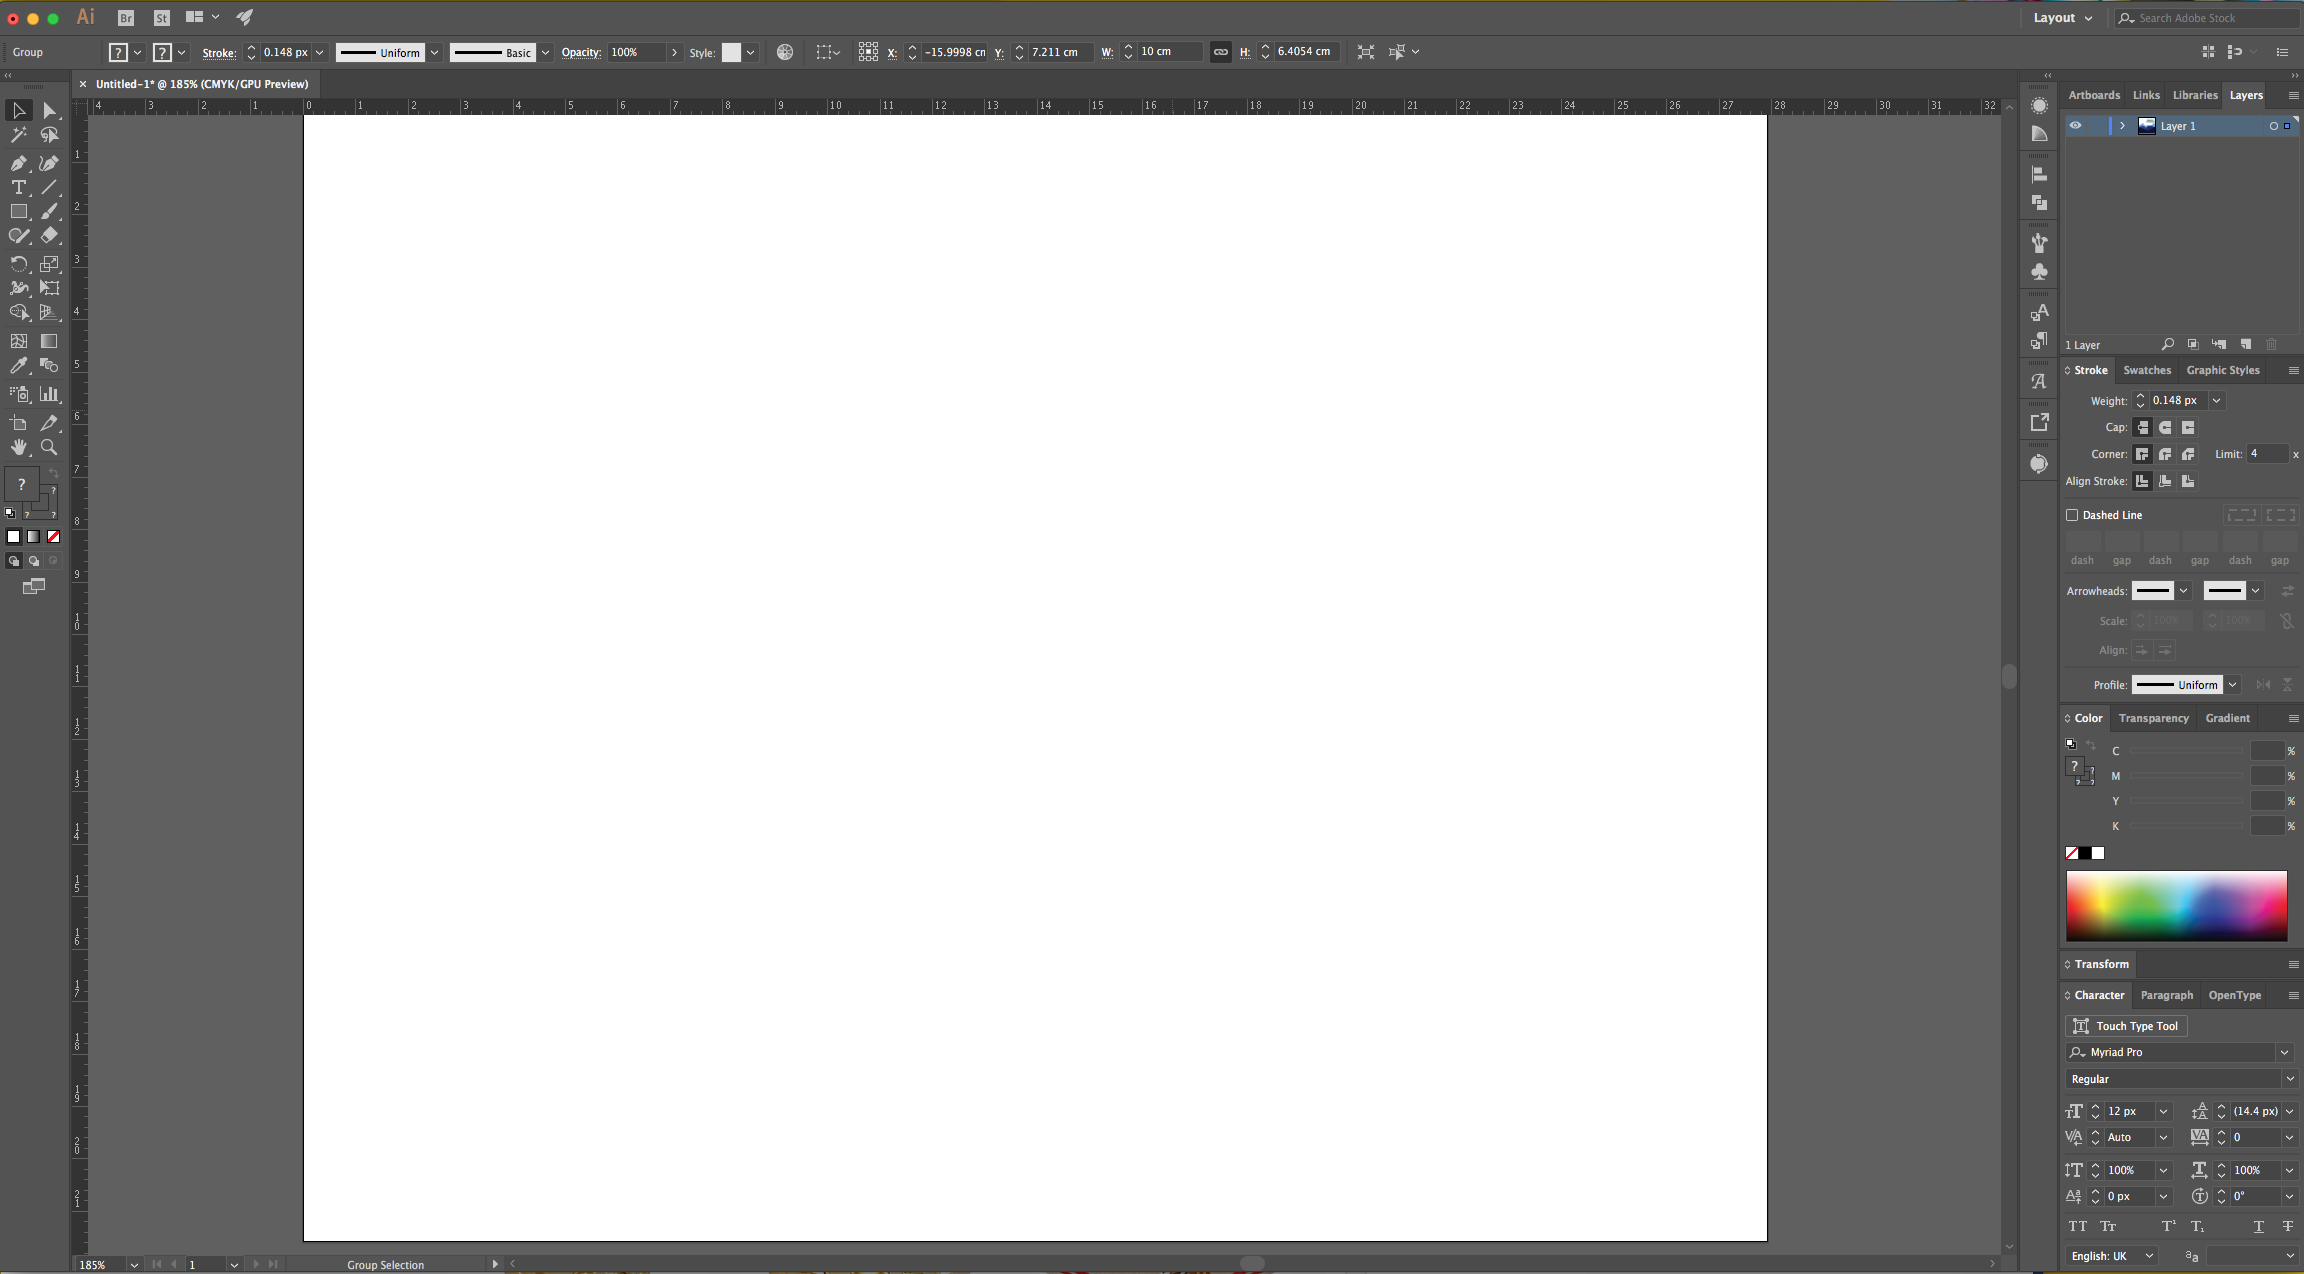
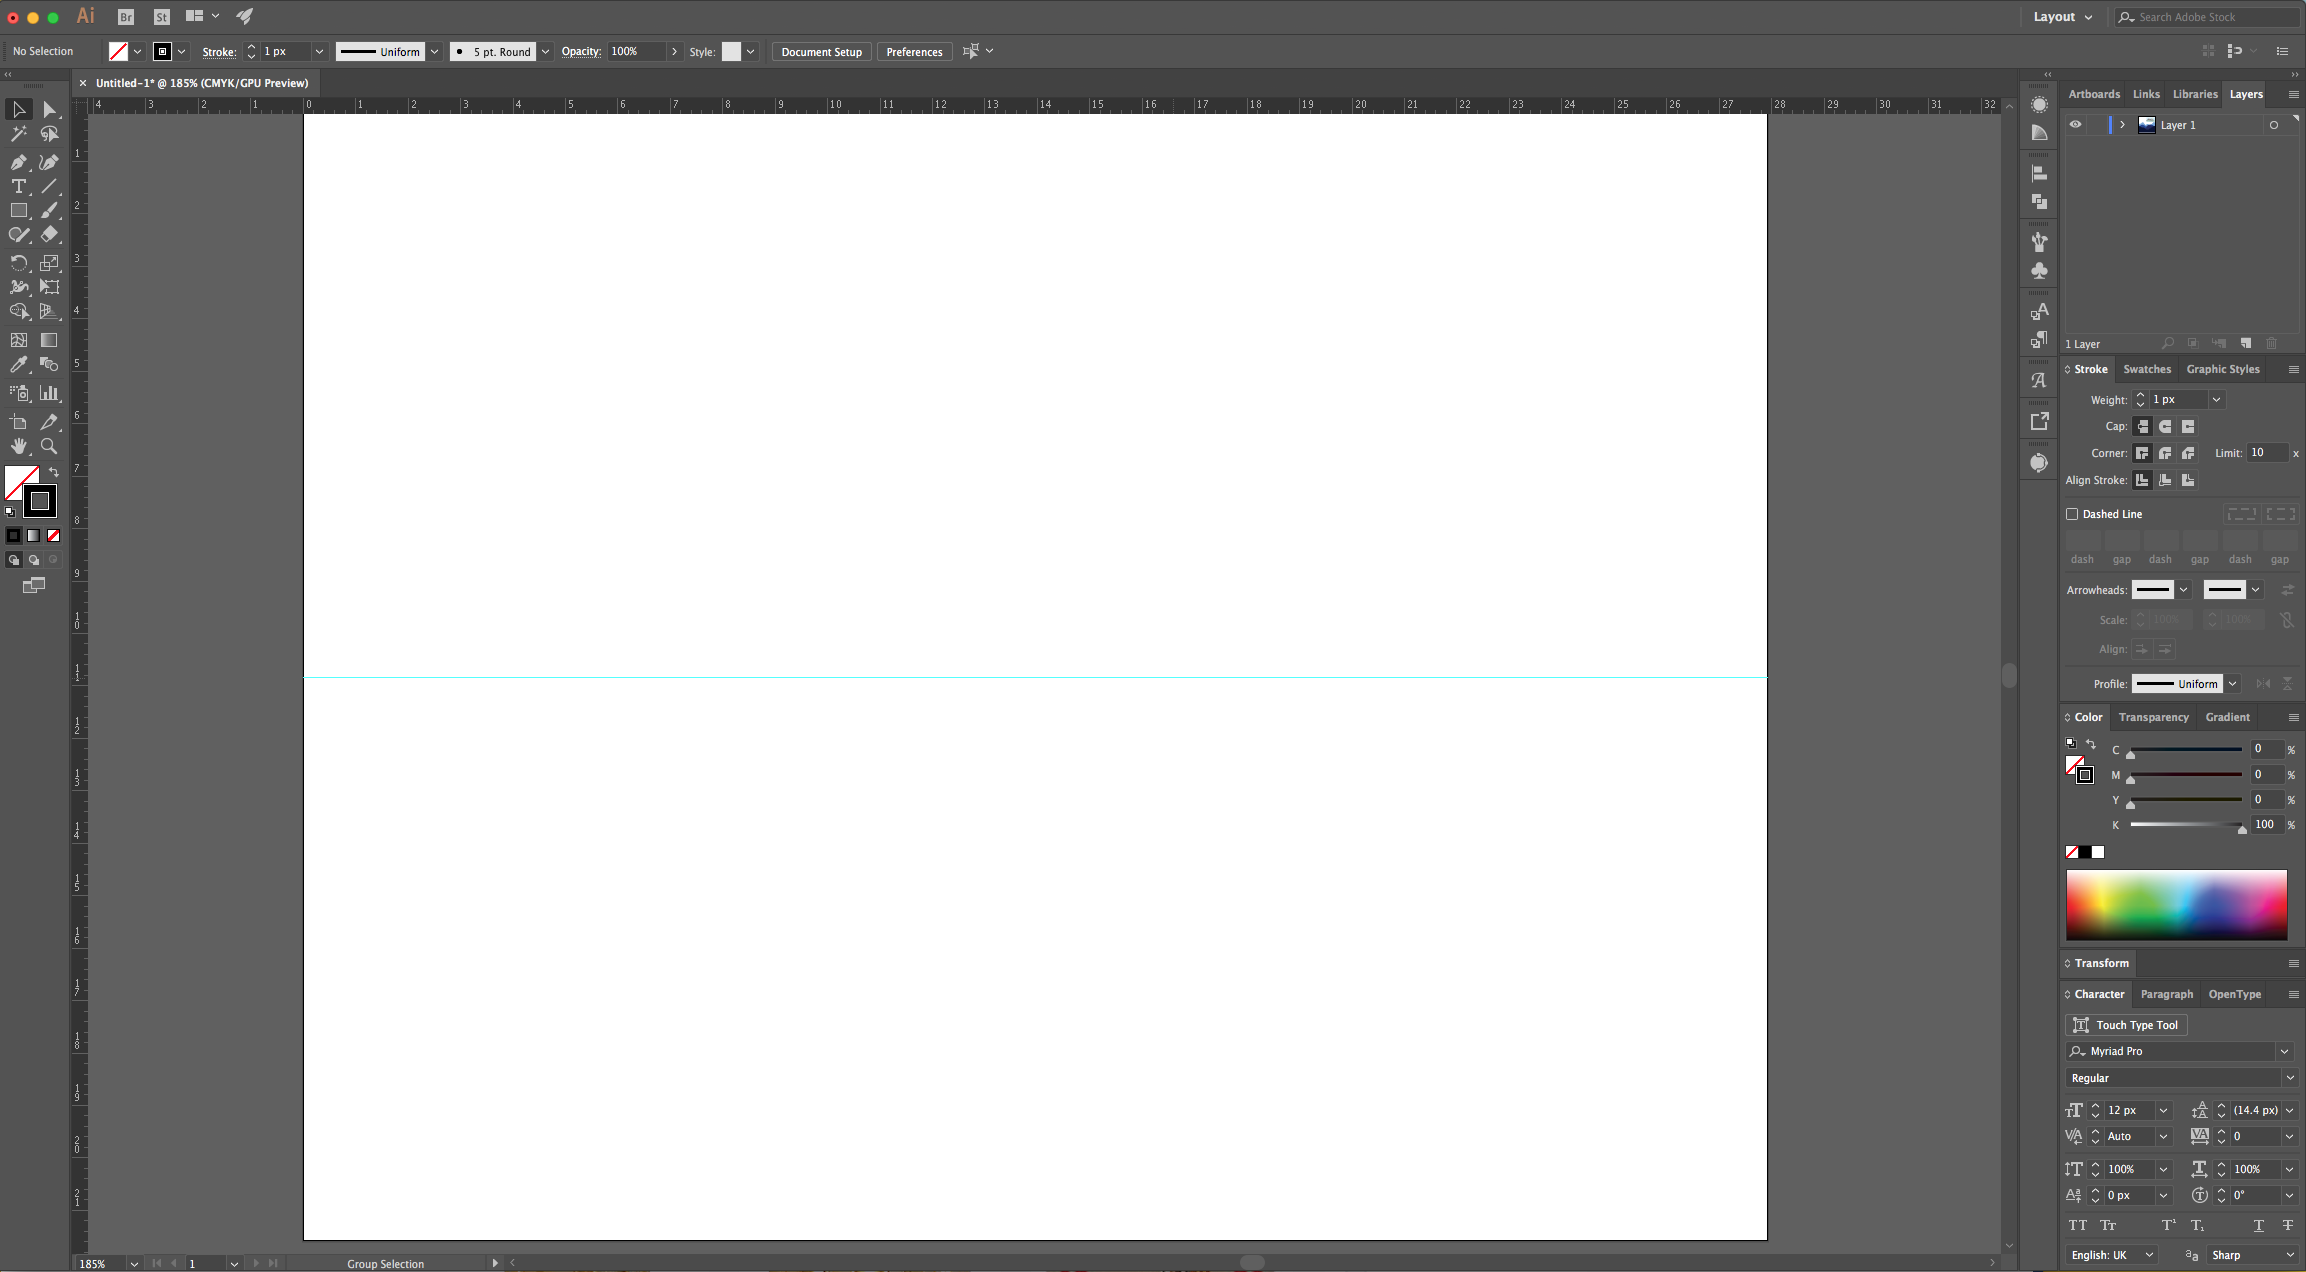
3 - Click and drag down from the Top Ruler to the Center of the document to create a “Guide” roughly in the middle of it to mark the “Horizon”.
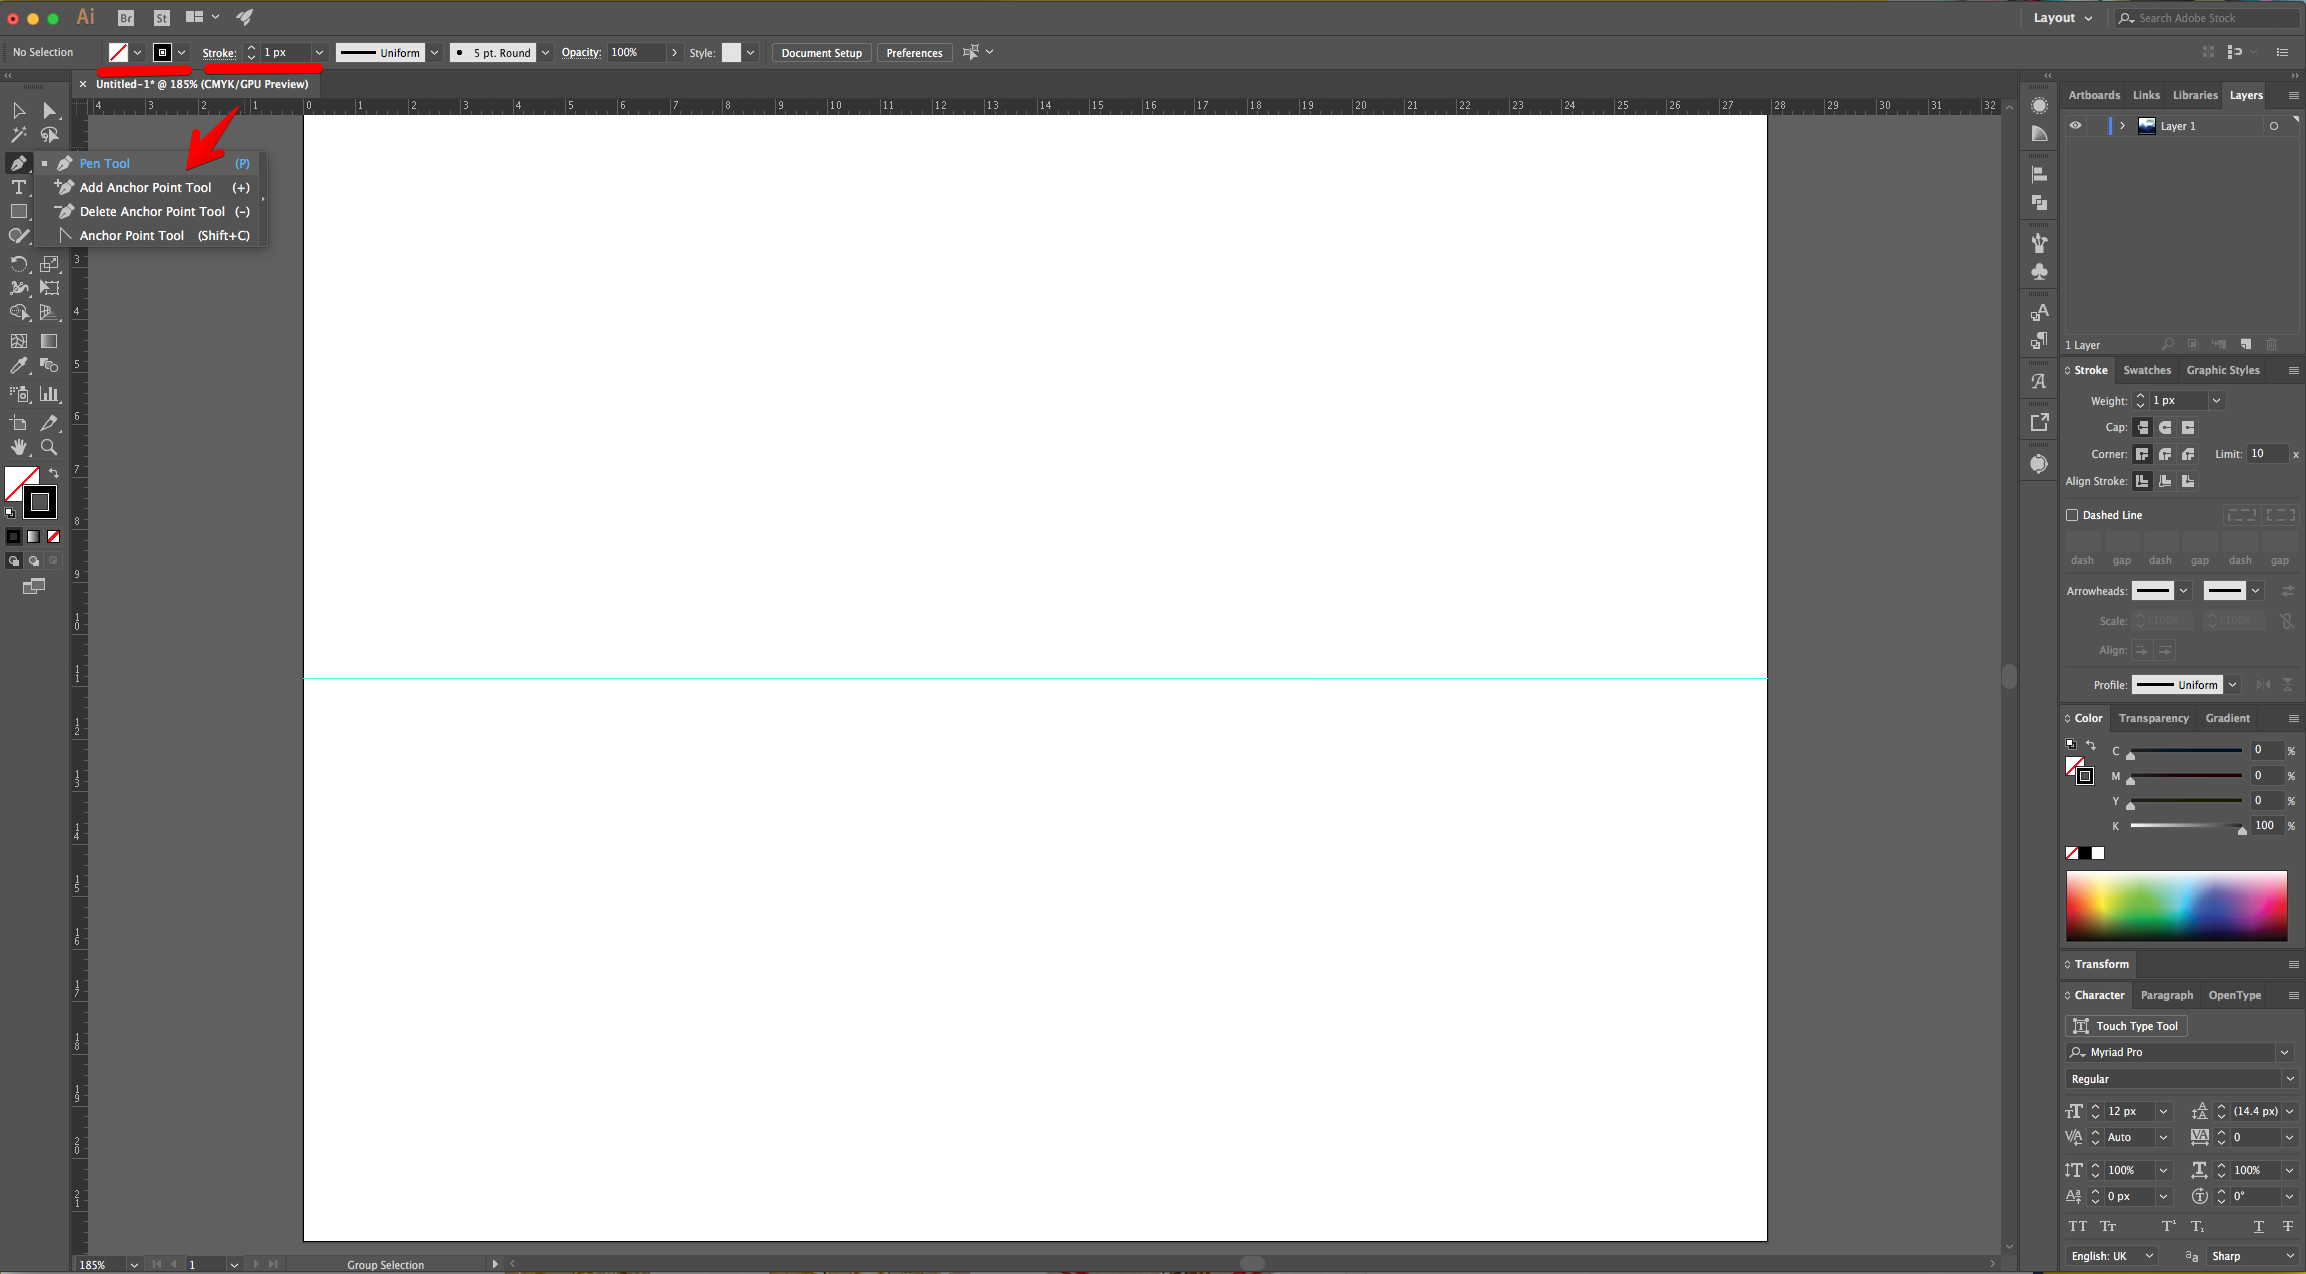
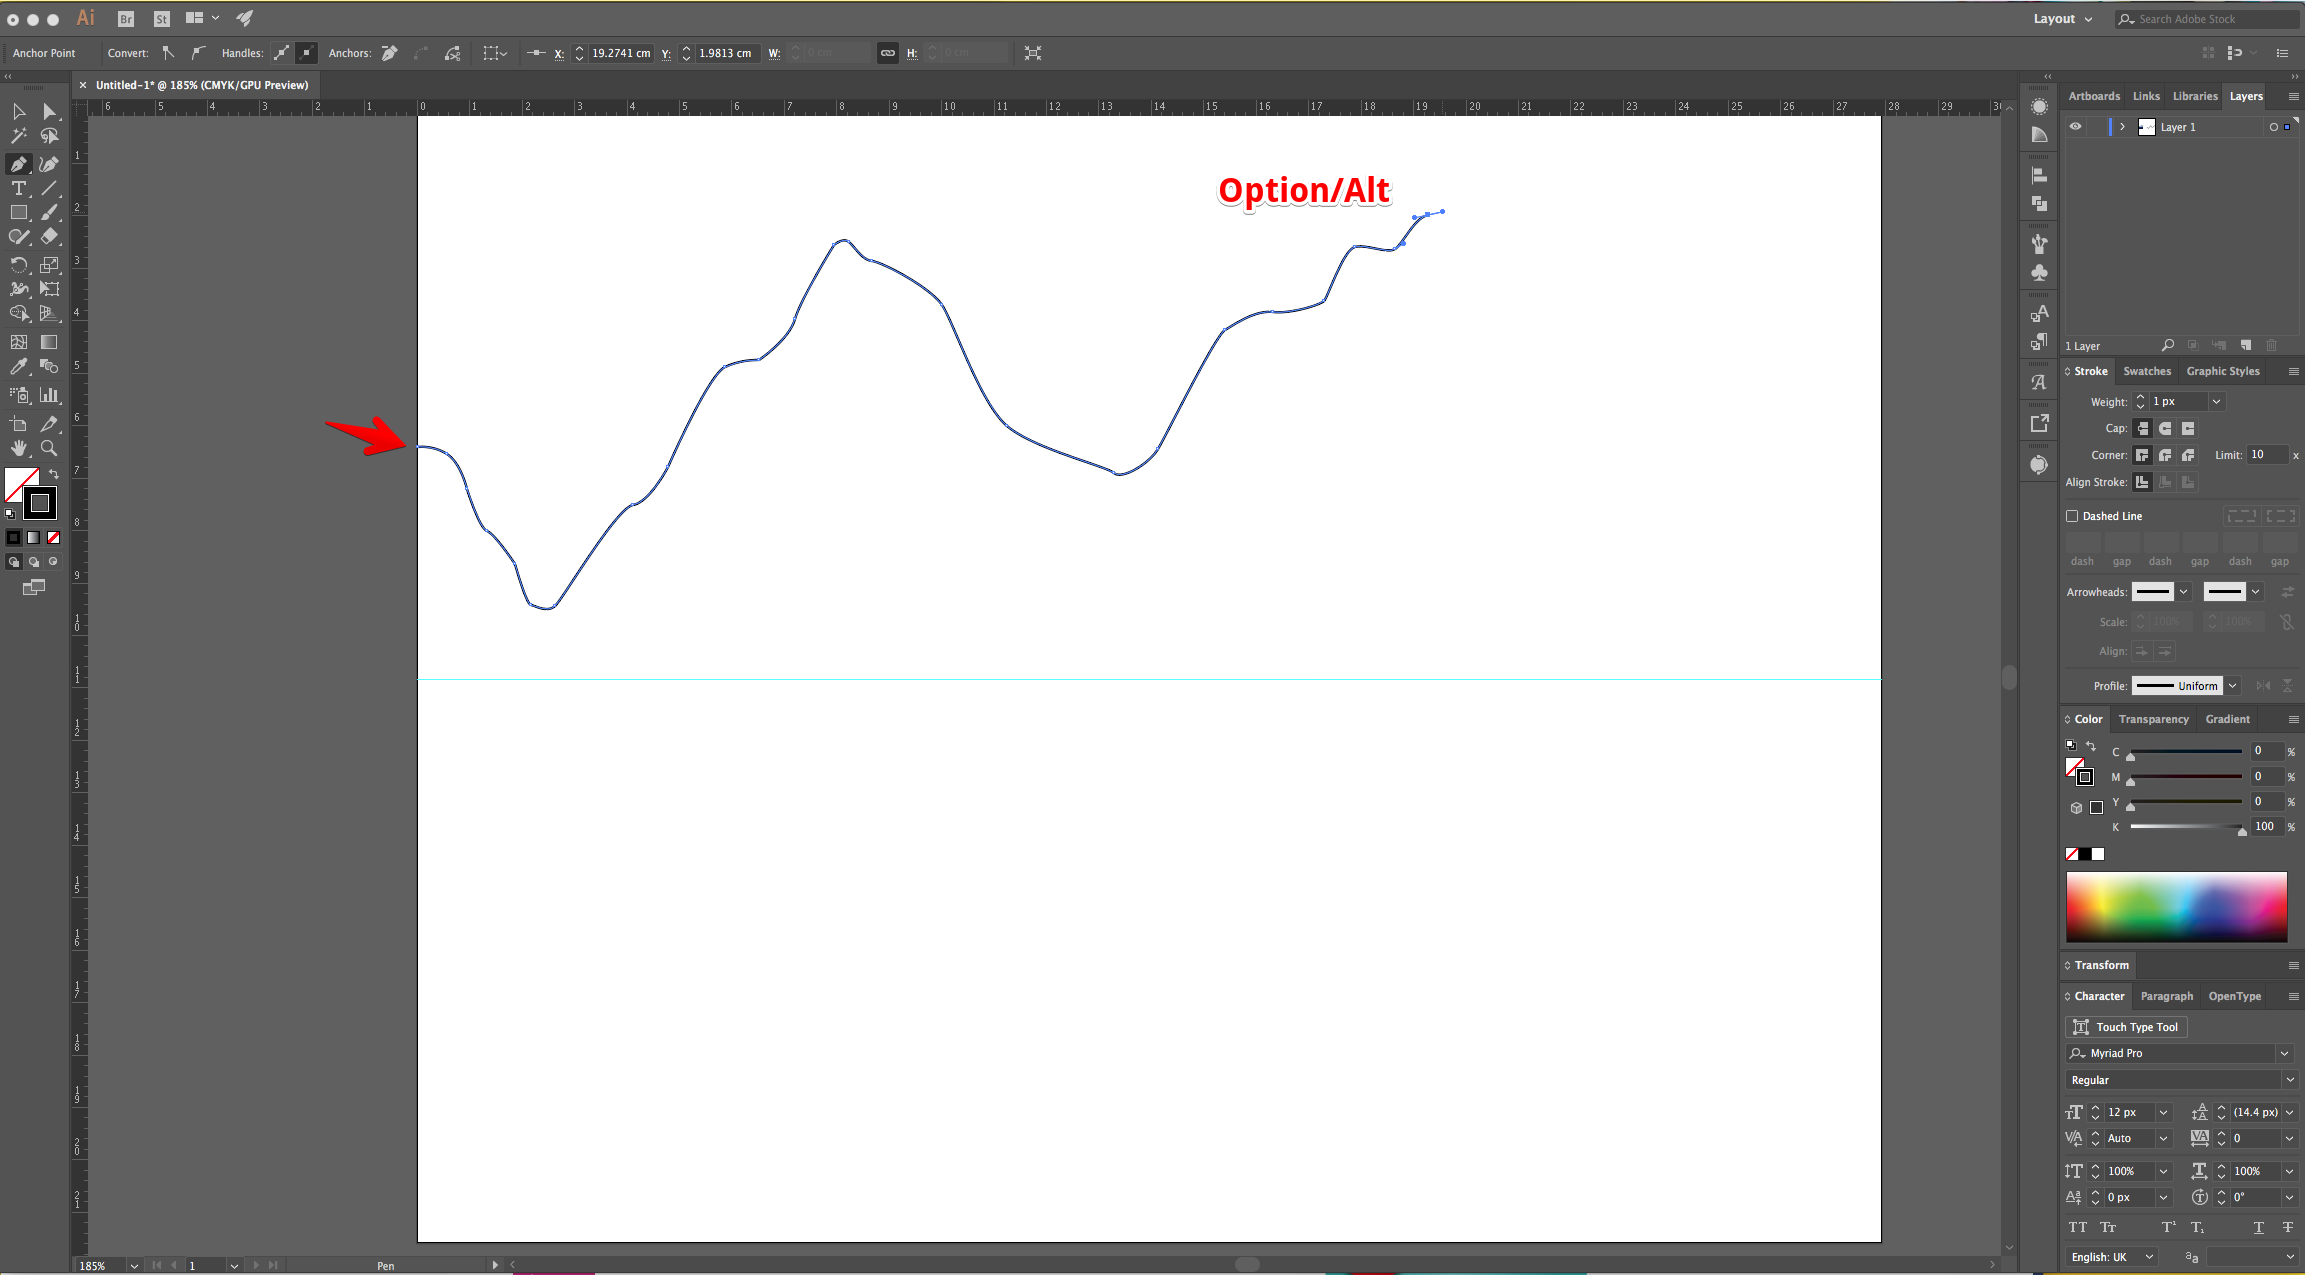
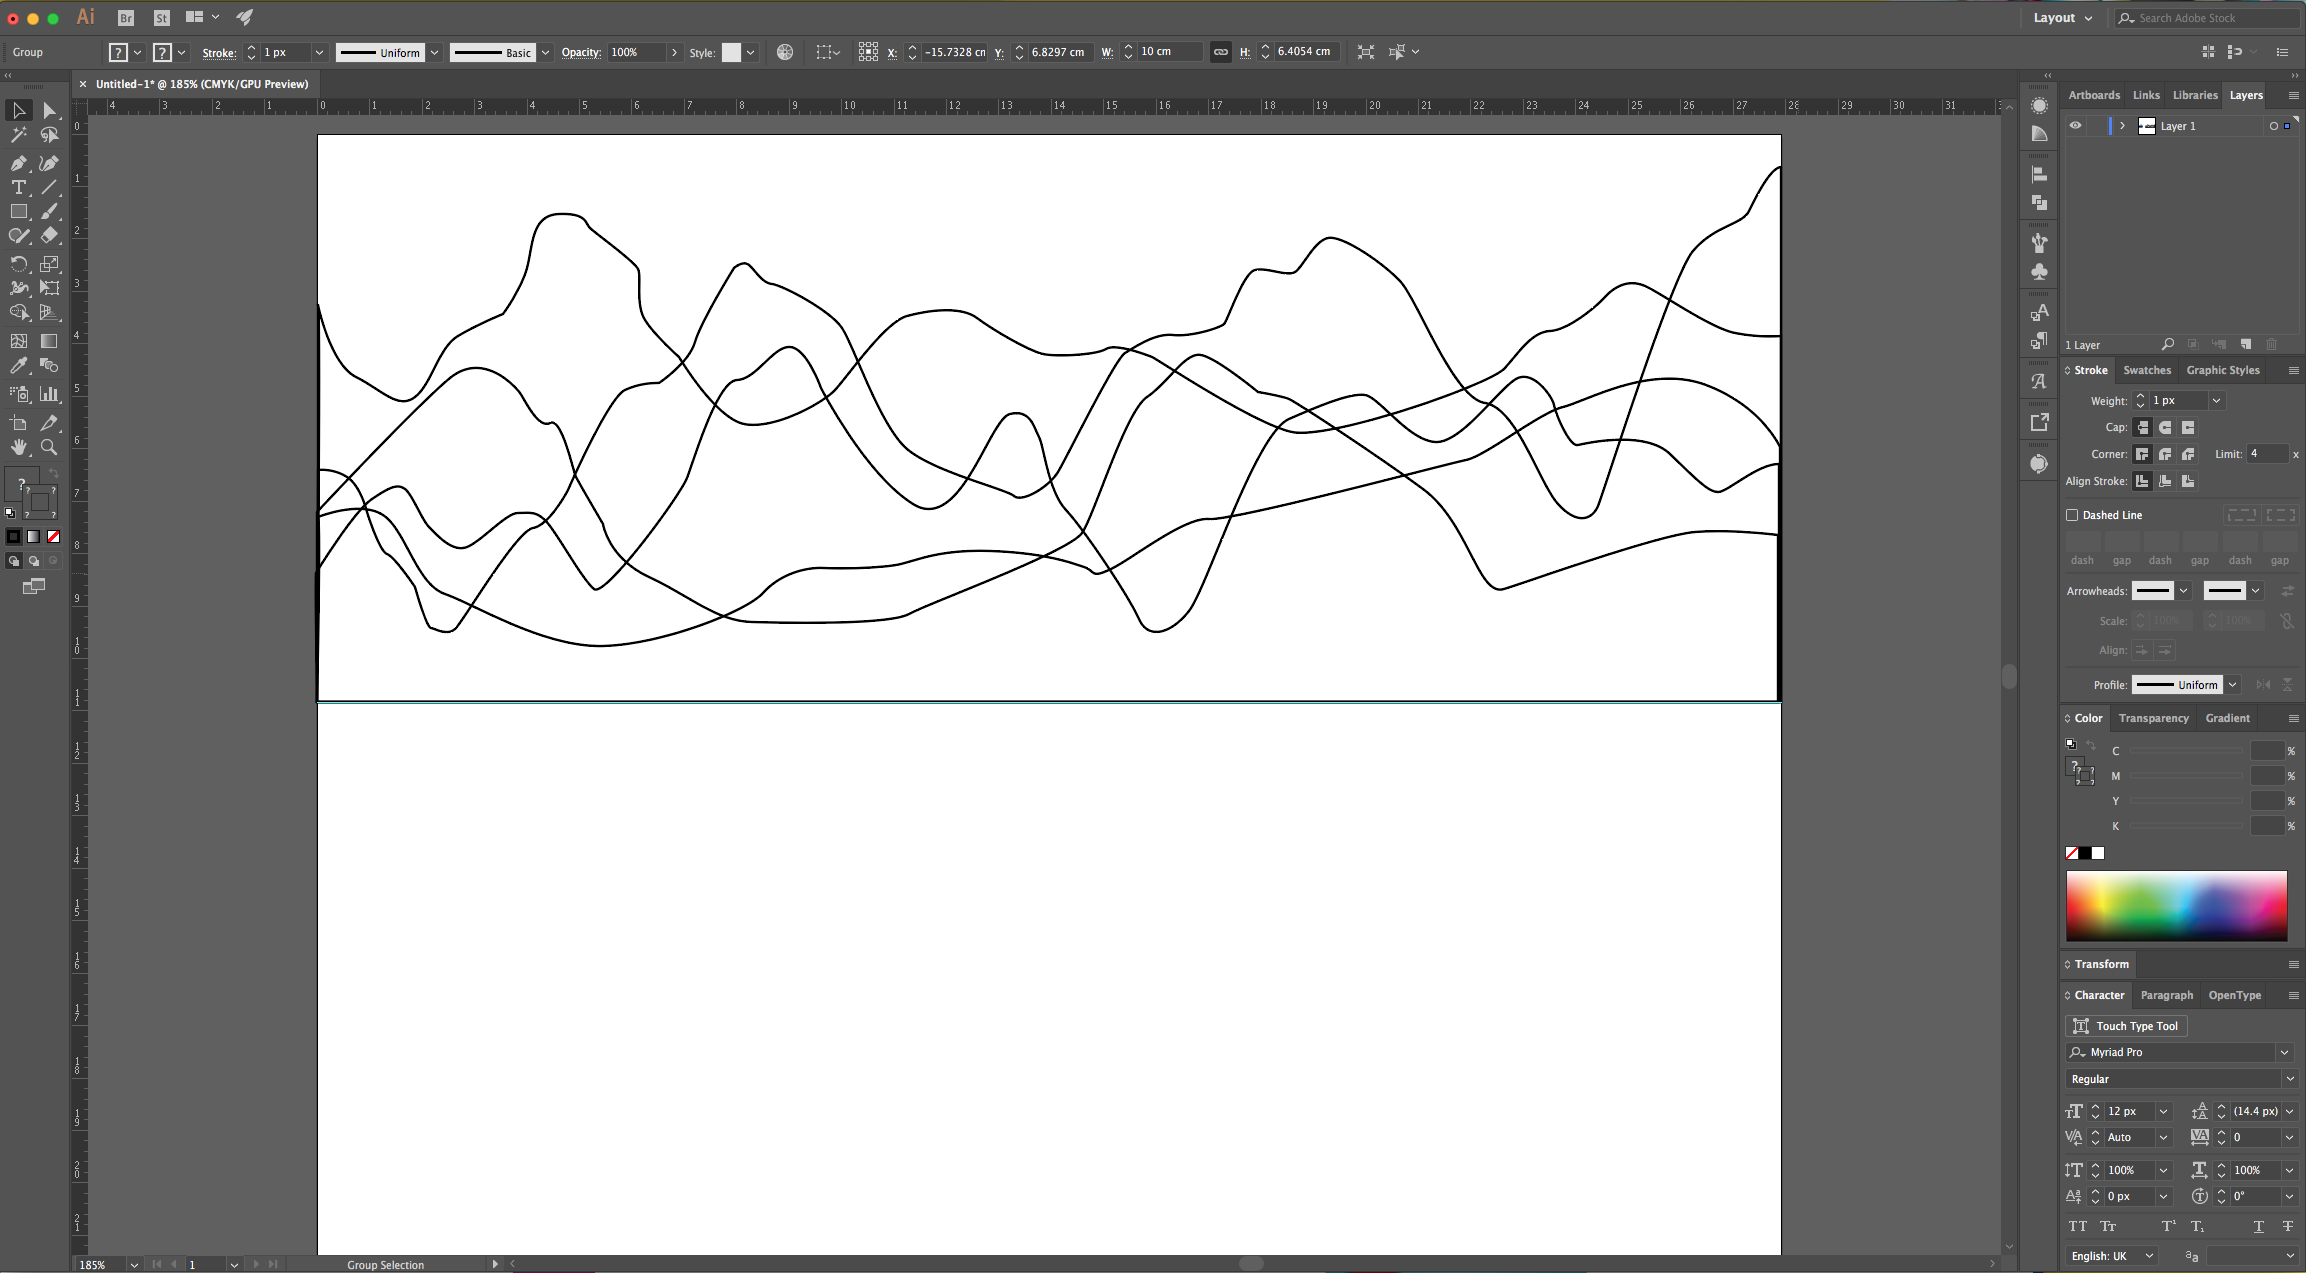
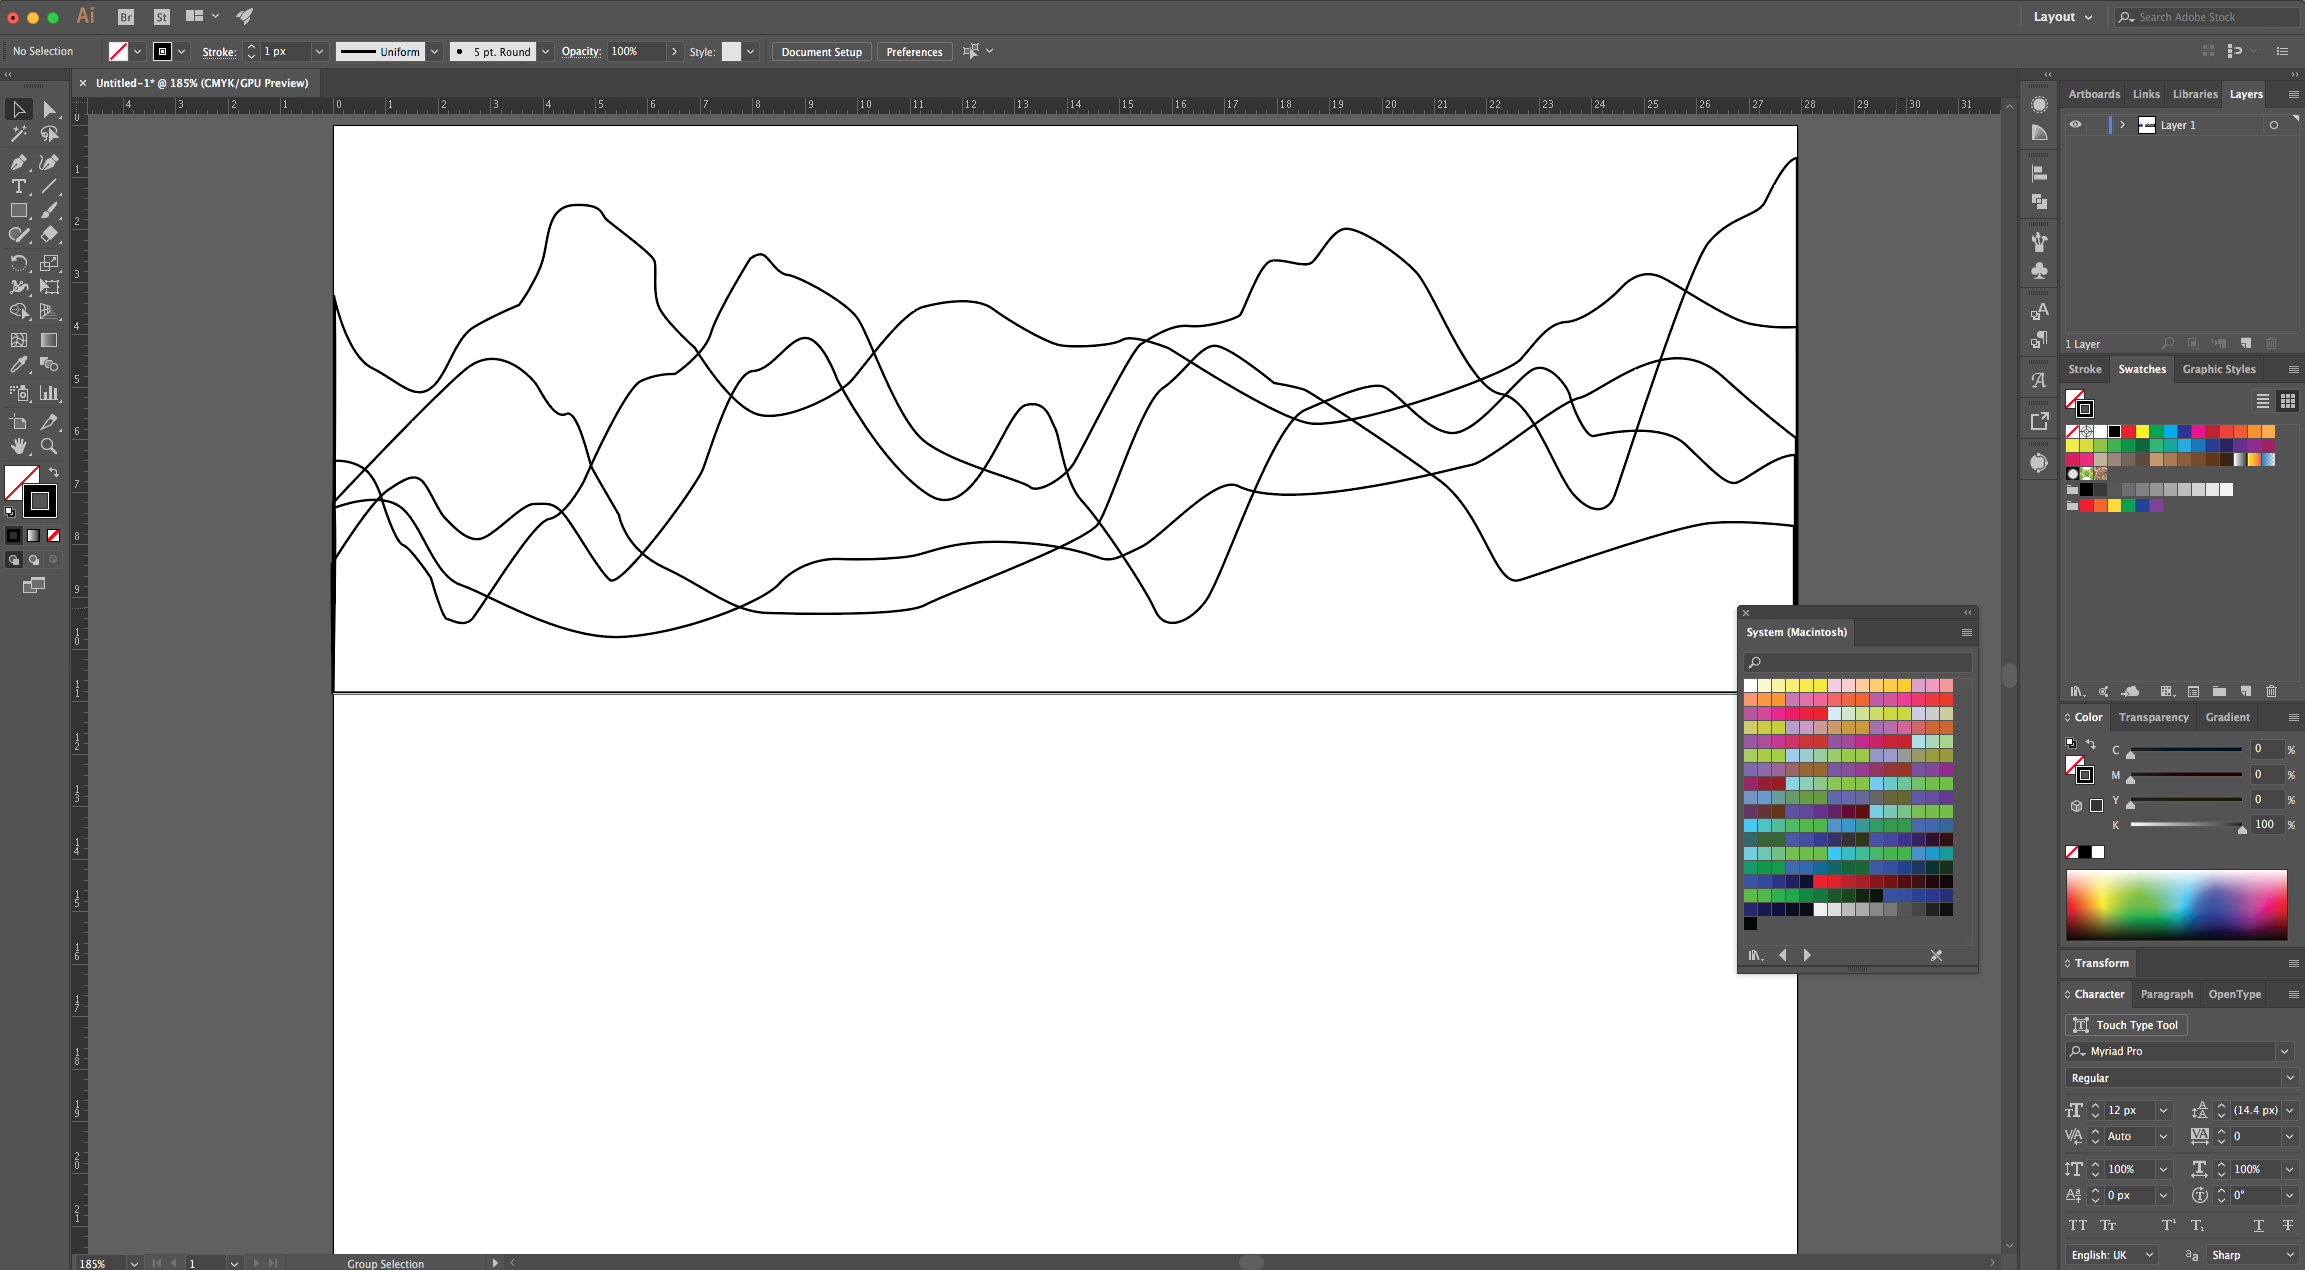
4 - Select the “Pen Tool” (P), choose Black as “Stroke” color and start drawing the outline of the Mountains from one side of the “Document”. You can to click the “Option/Alt” key if you want your angles to be straight after making a “Curve”. Finish up by “closing” the Path where you started.
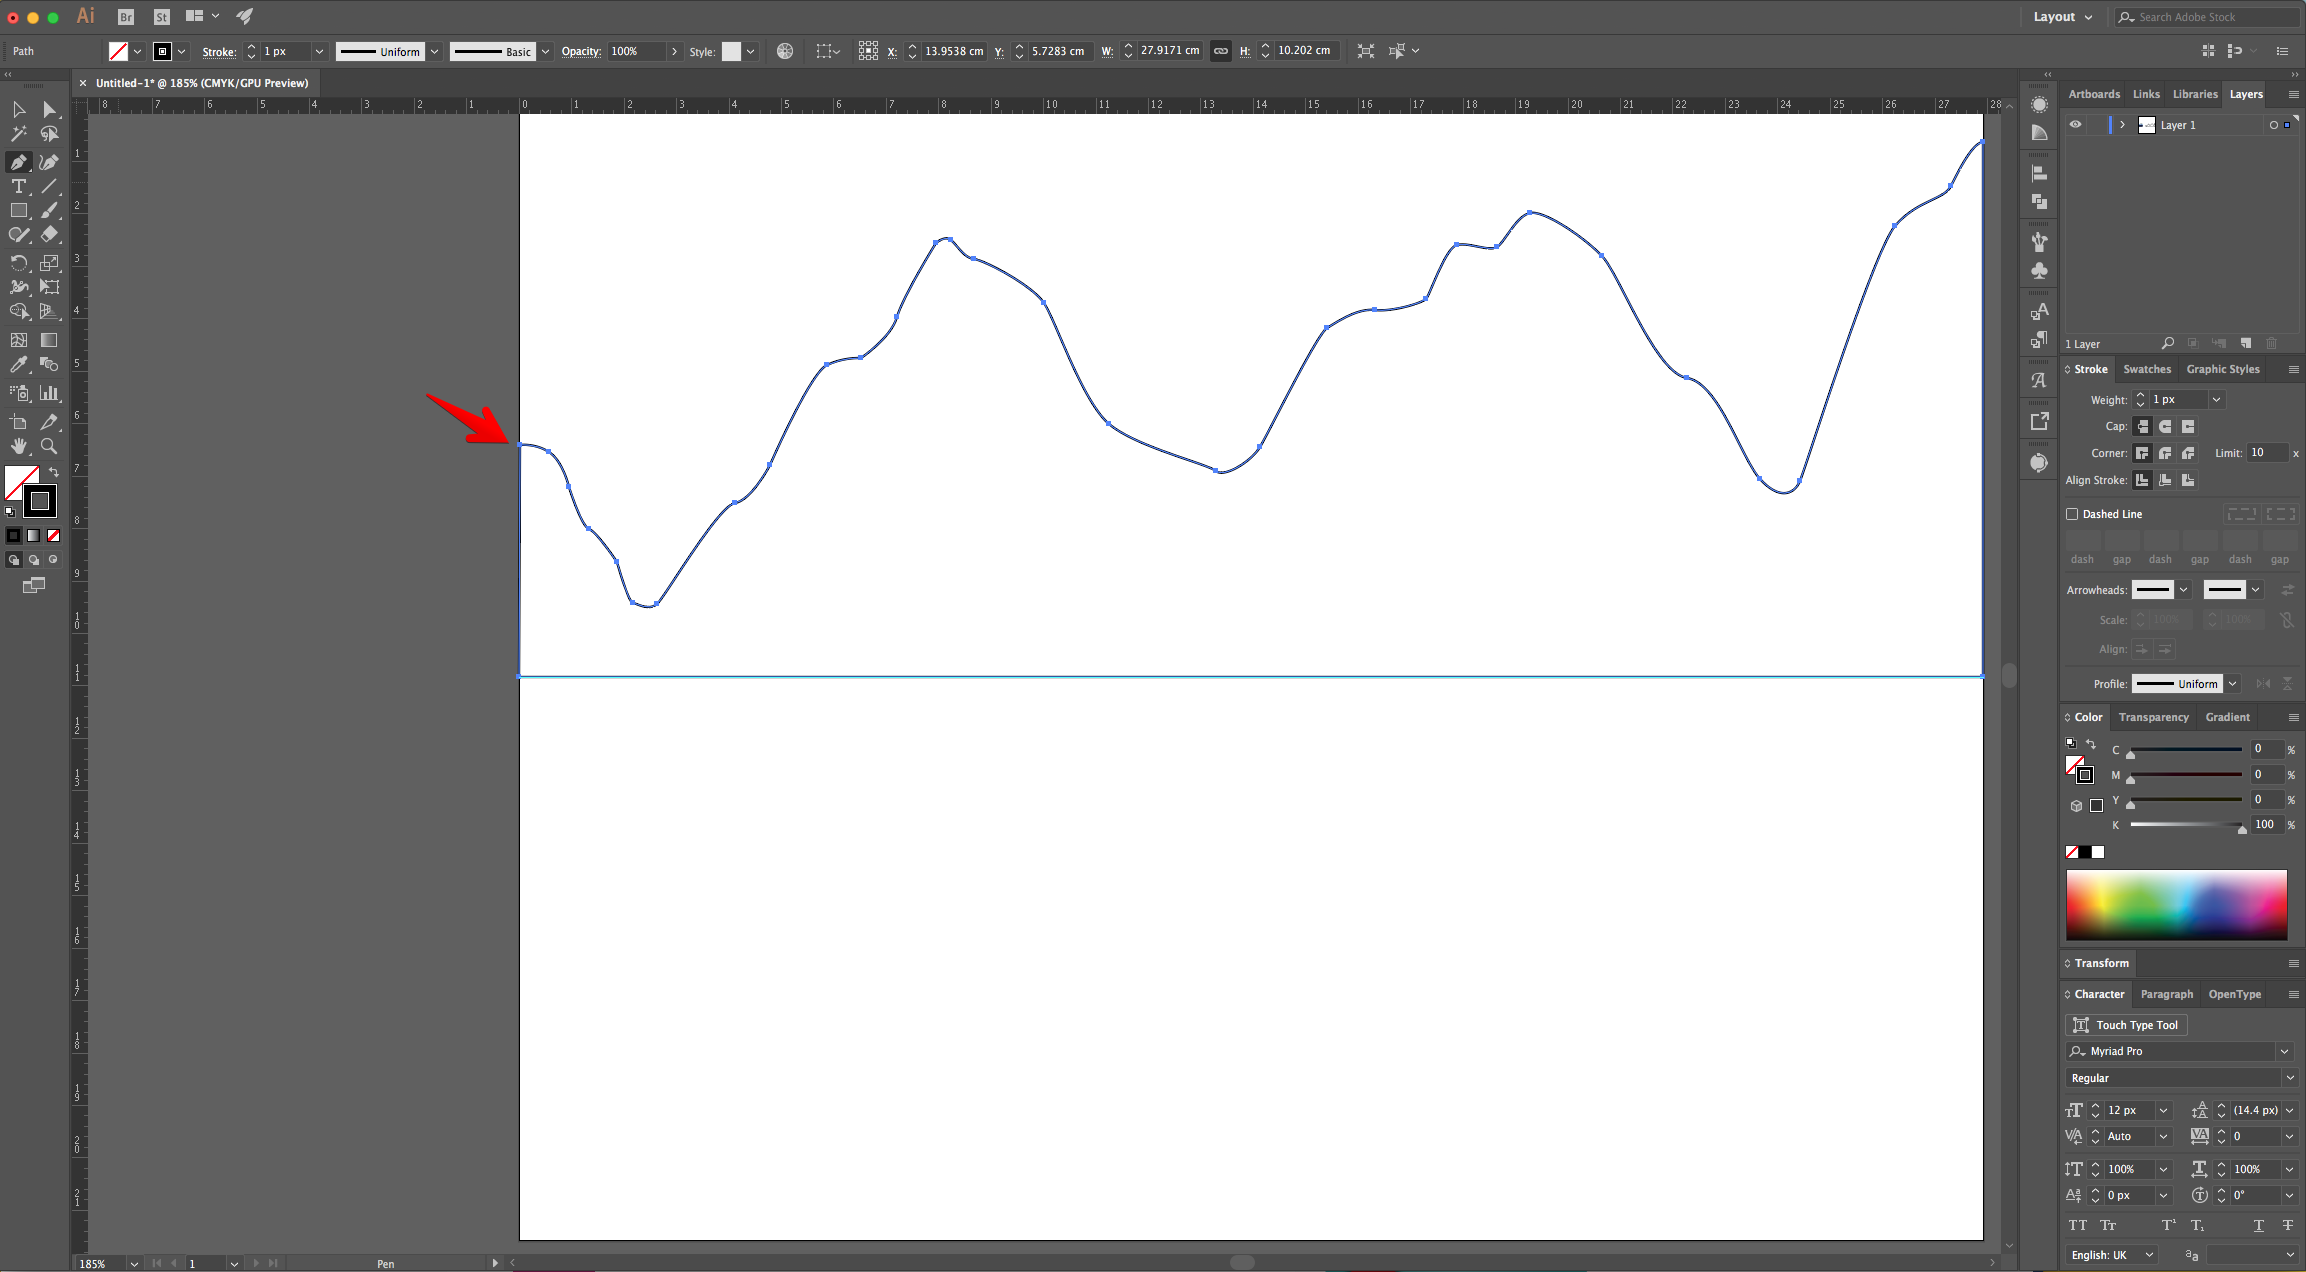
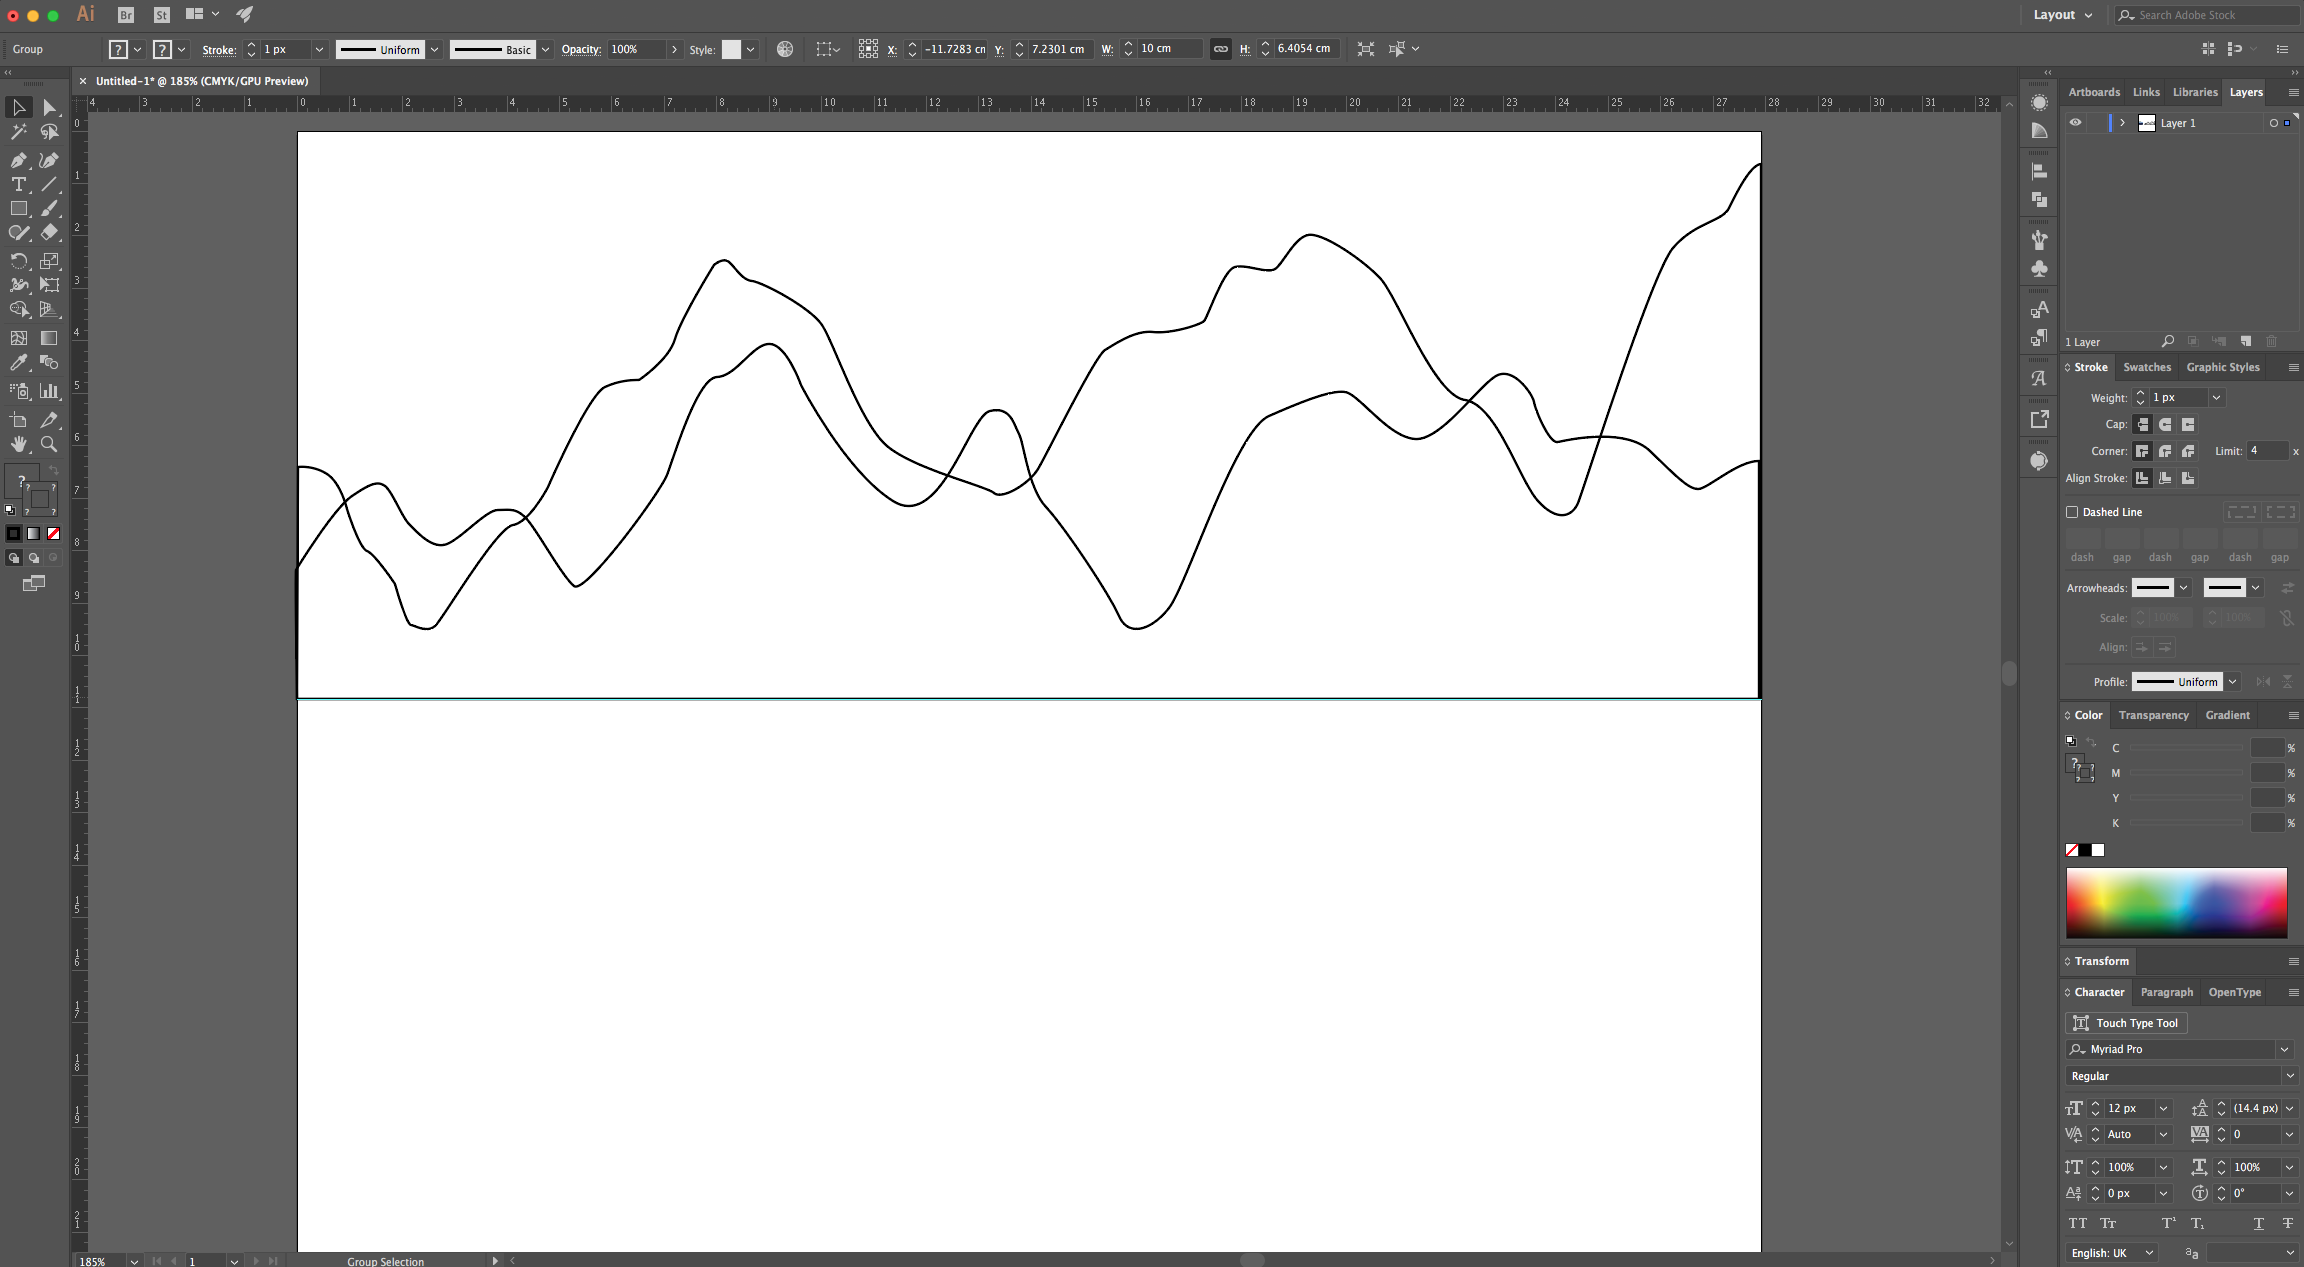
5 - Create another set of “Mountains” with different shapes. Repeat as many times as you want. The idea is to create depth.
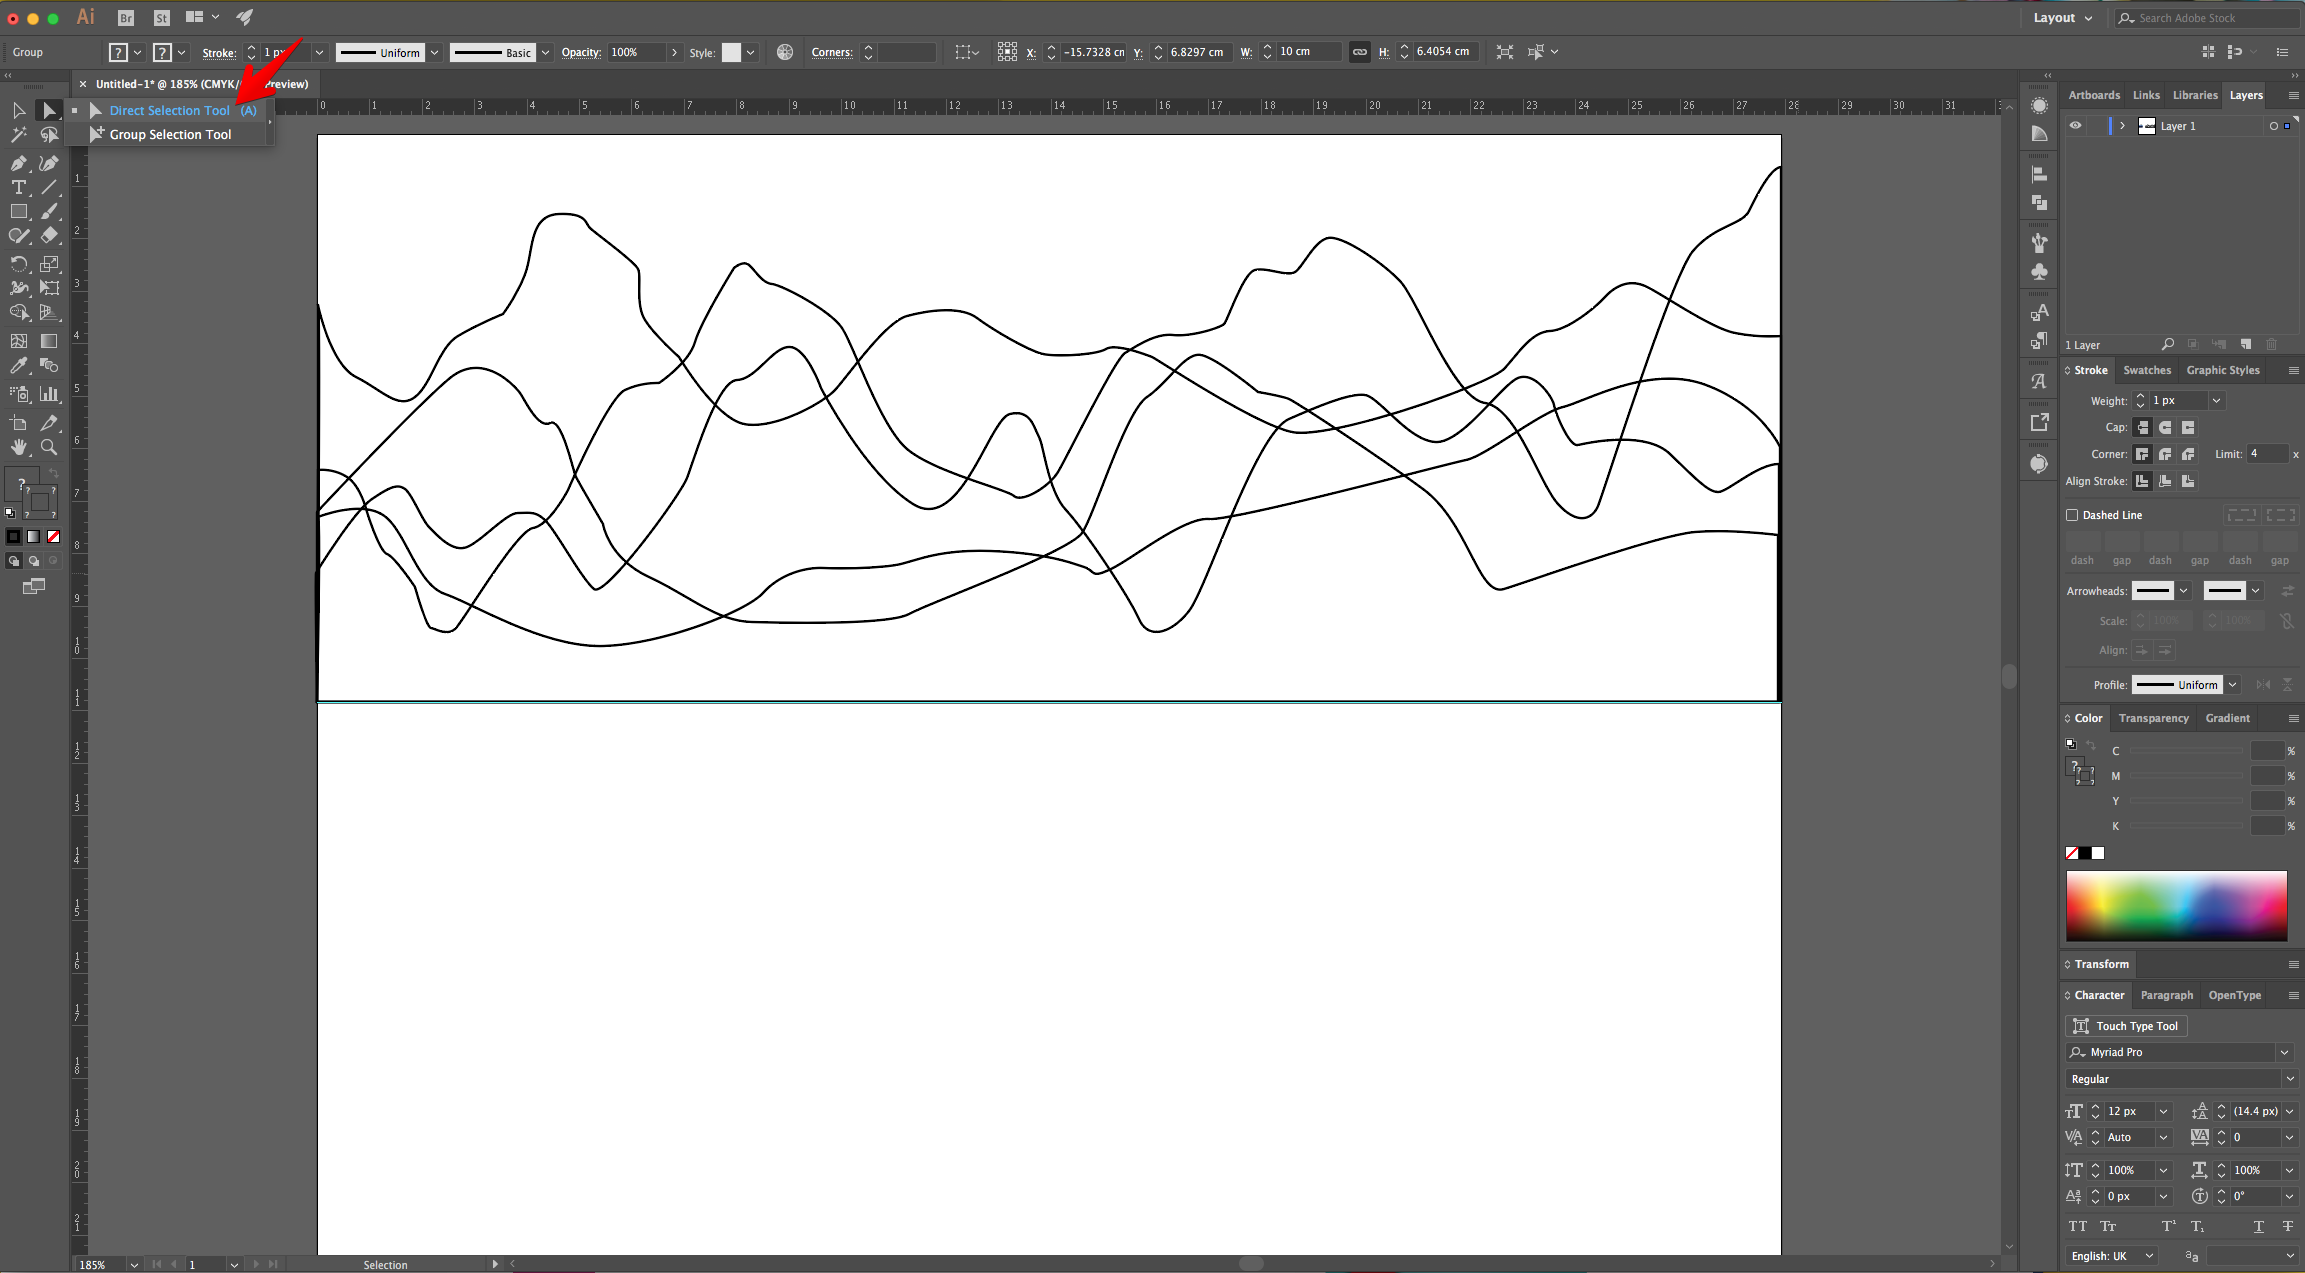
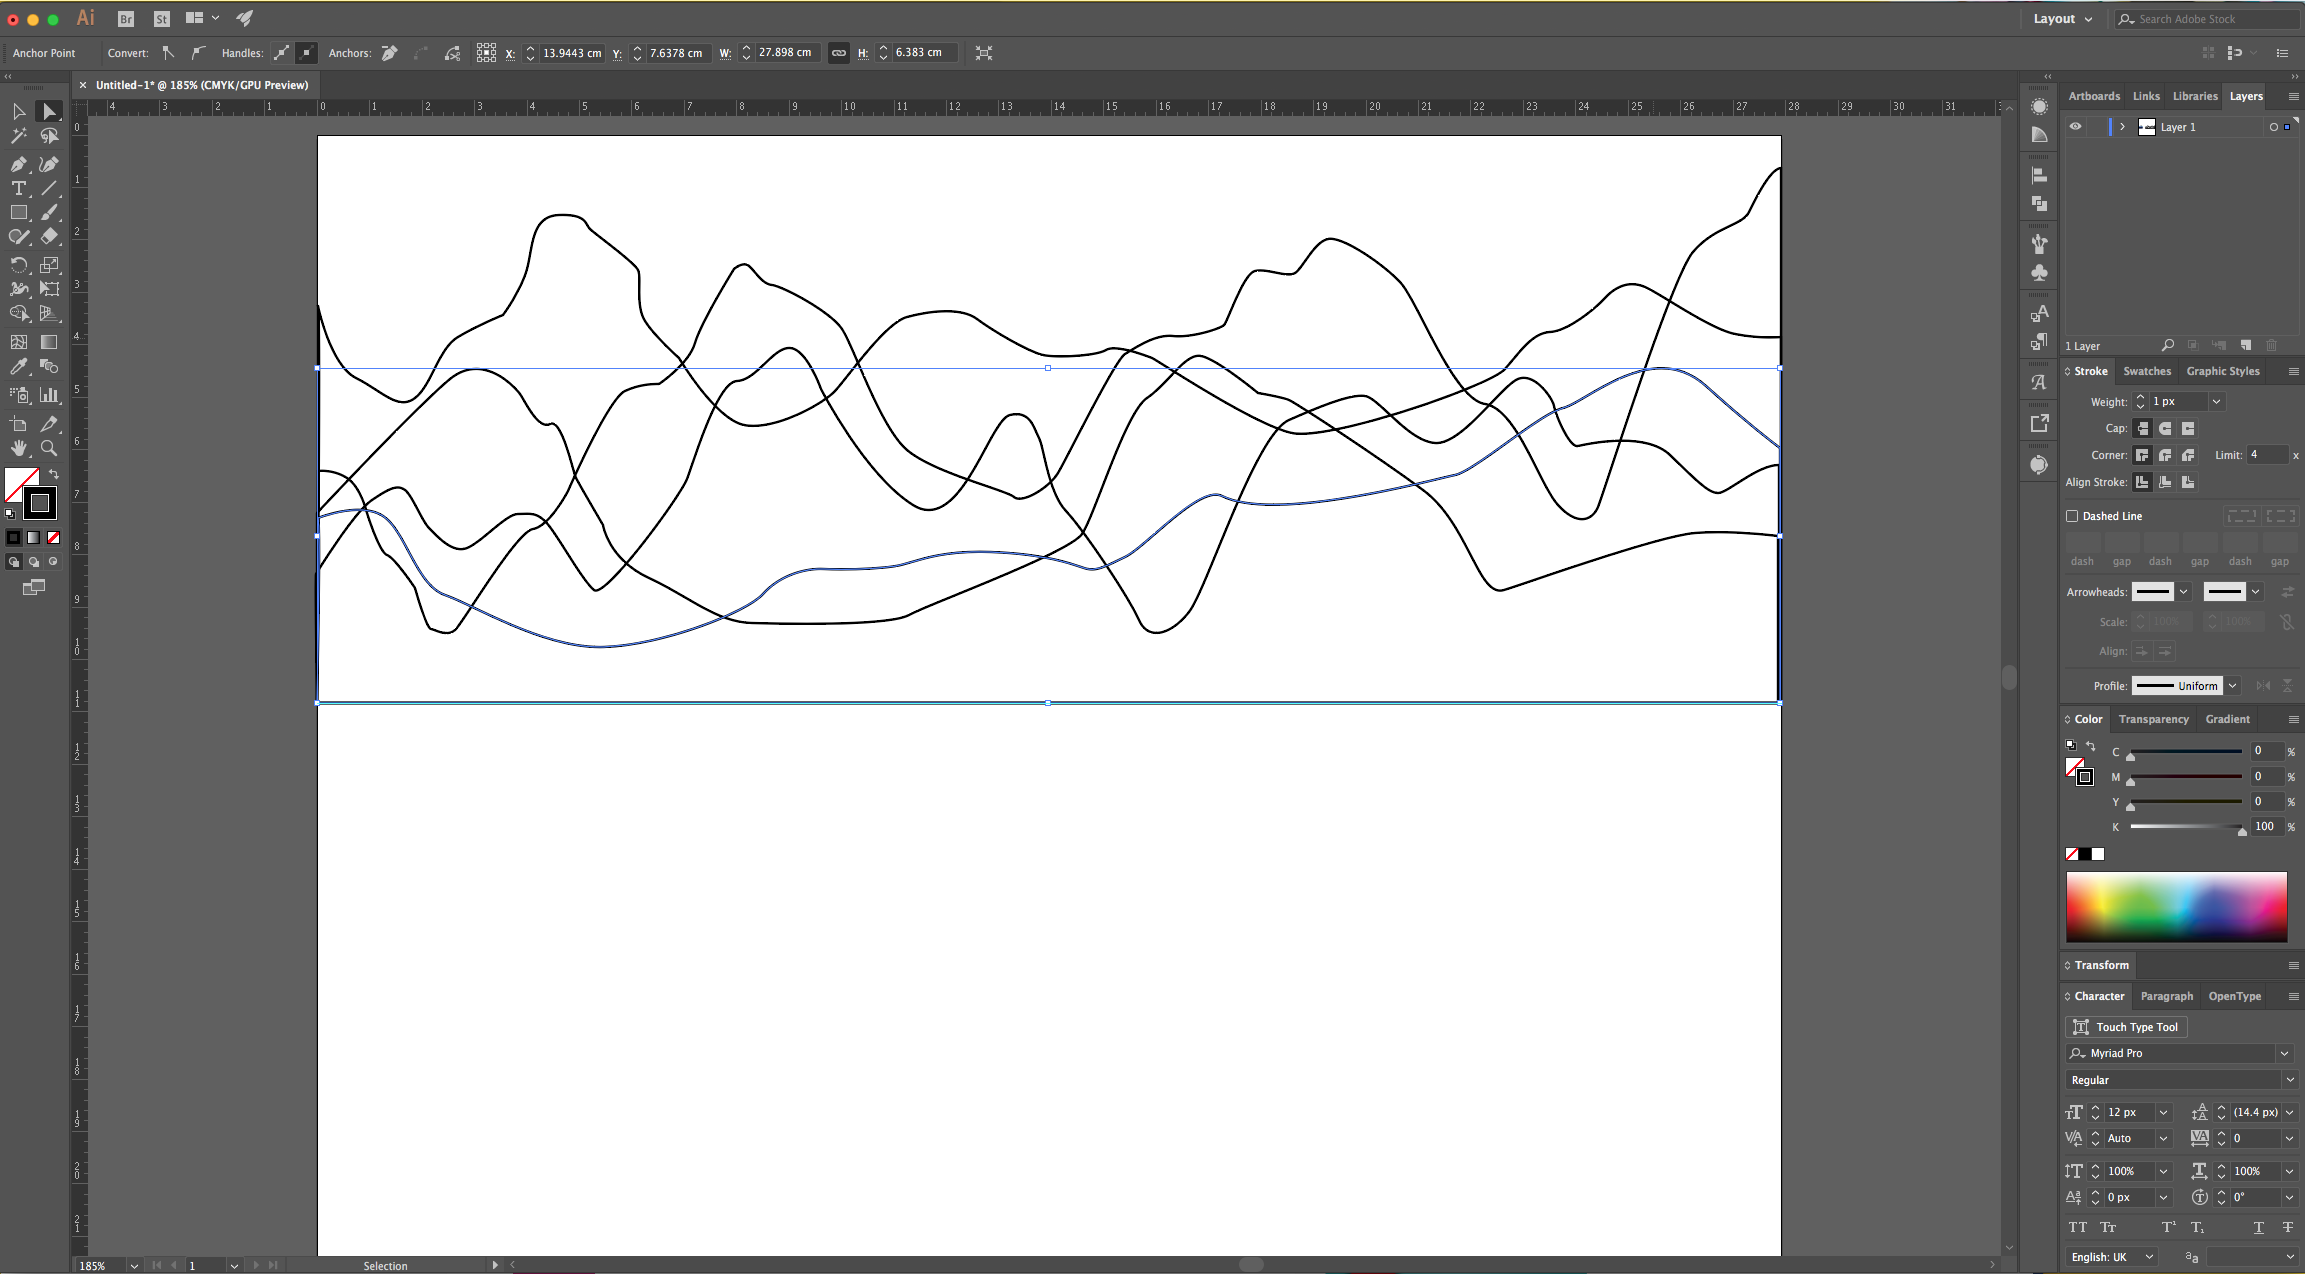
6 - If you want to change your shapes, just select the “Direct Selection Tool” (A) to click on the “Anchor Point” and fix it.
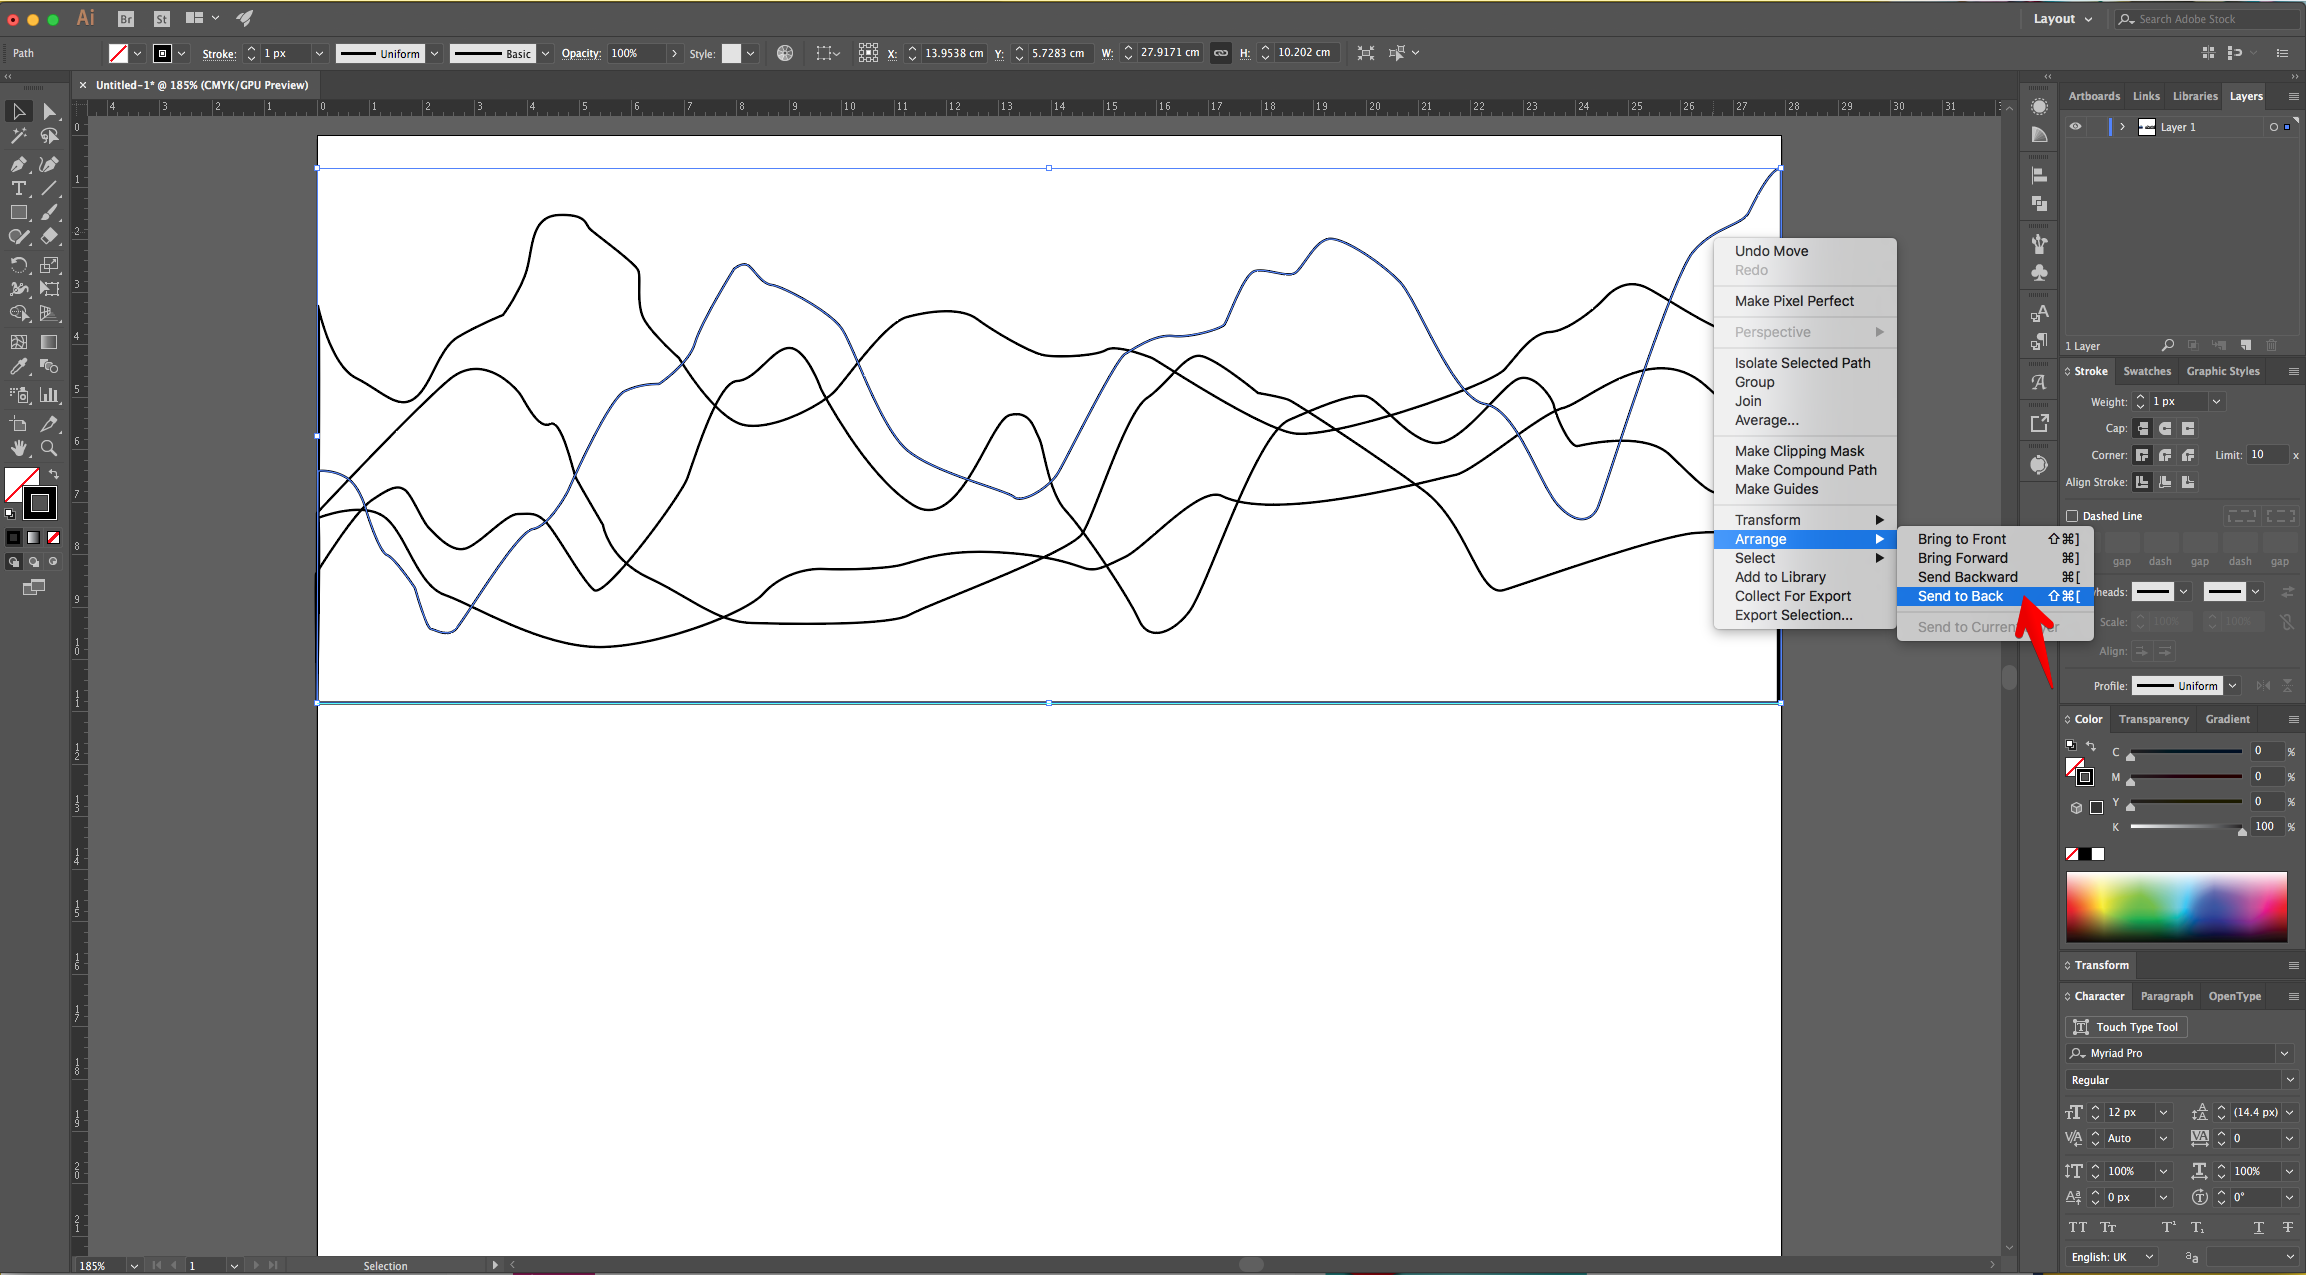
7 - Once you are done, use the “Selection Tool” to select one set of Mountains, right-click on top and choose Arrange > Bring to Front (or any other of the options you want).

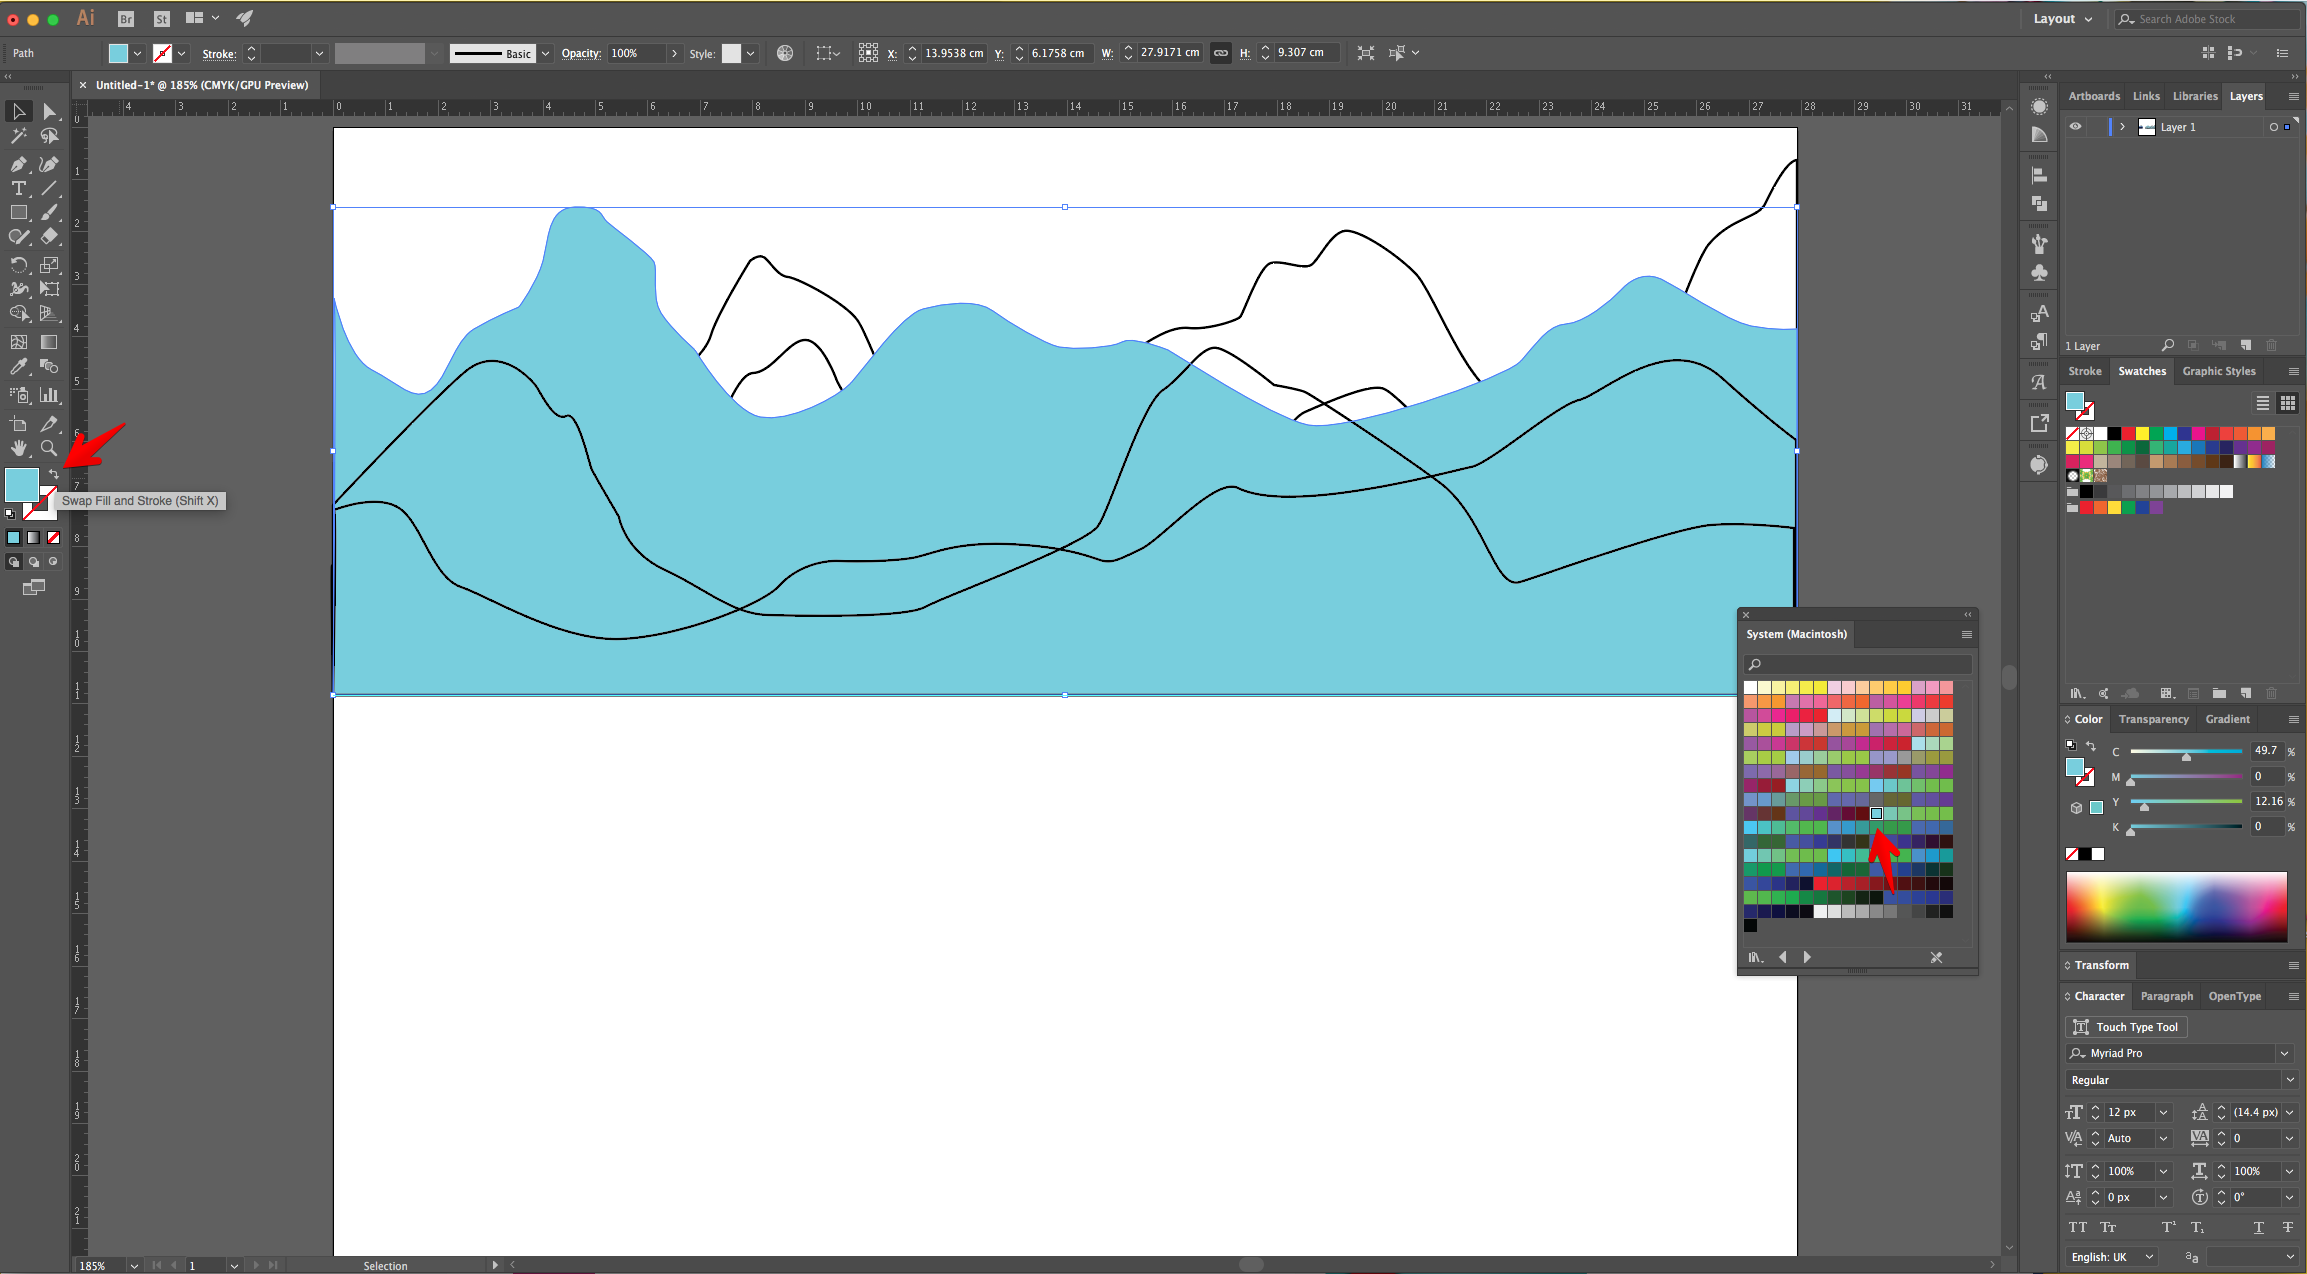
8 - Once you are happy with the order you chose, go to the “Fill” picker in the Top Menu, click on the “Library” button at the bottom of the Panel and choose “System (Macintosh)”.

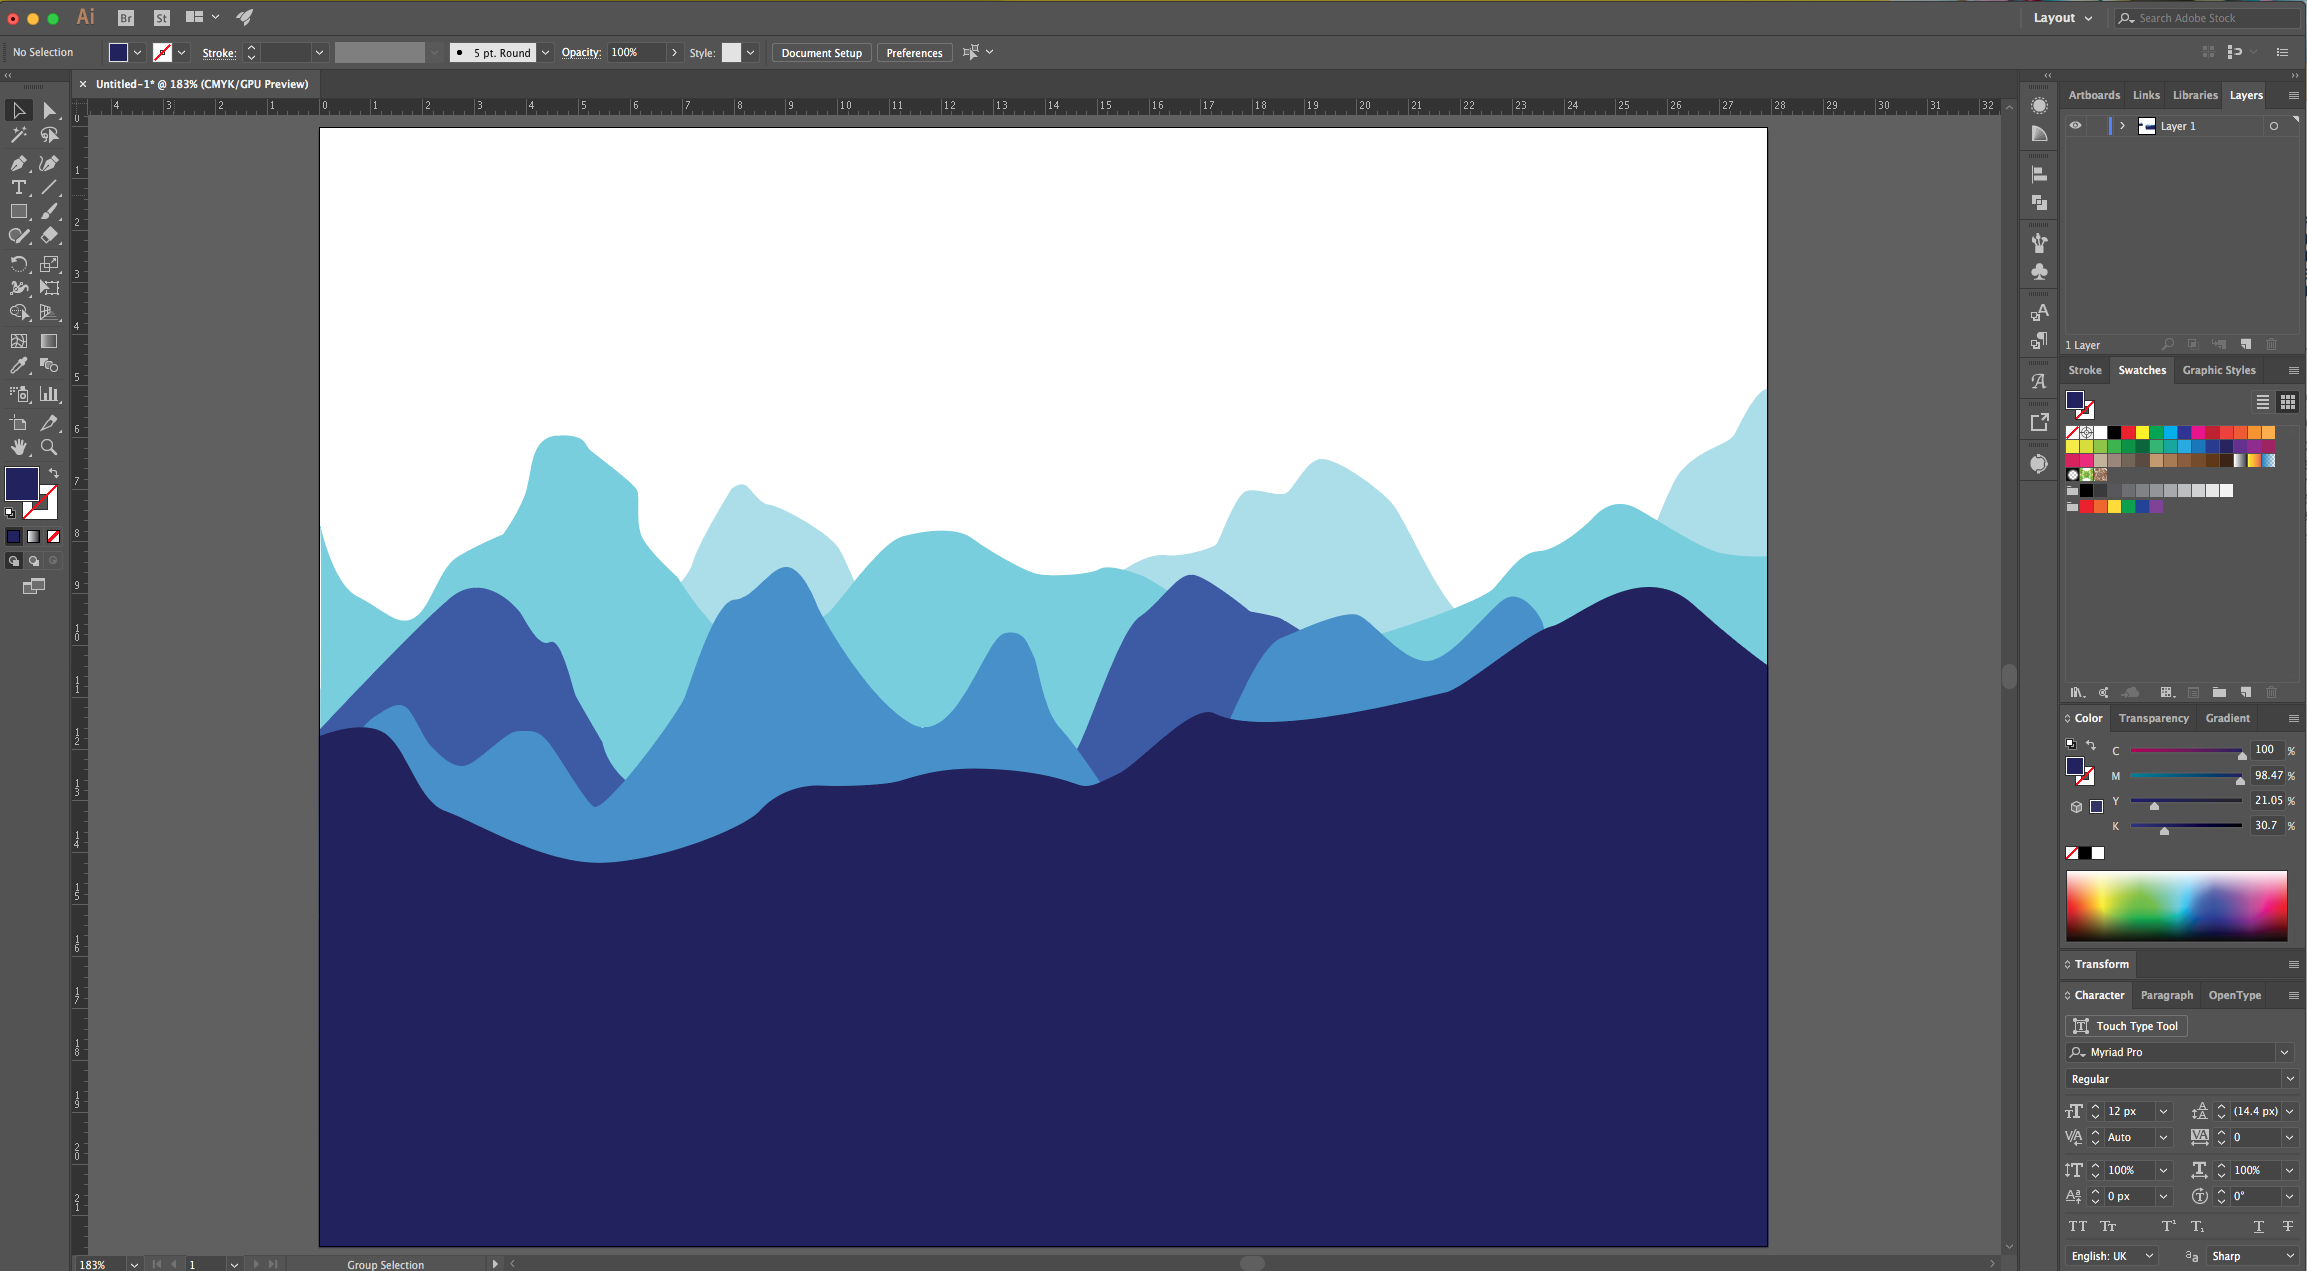
9 - Choose one of the “Swatches” and click on “Swap Fill and Stroke” (Shift + X) in the Toolbox if needed. Do this for each Mountain set using different shades of the same color (we chose Blue).
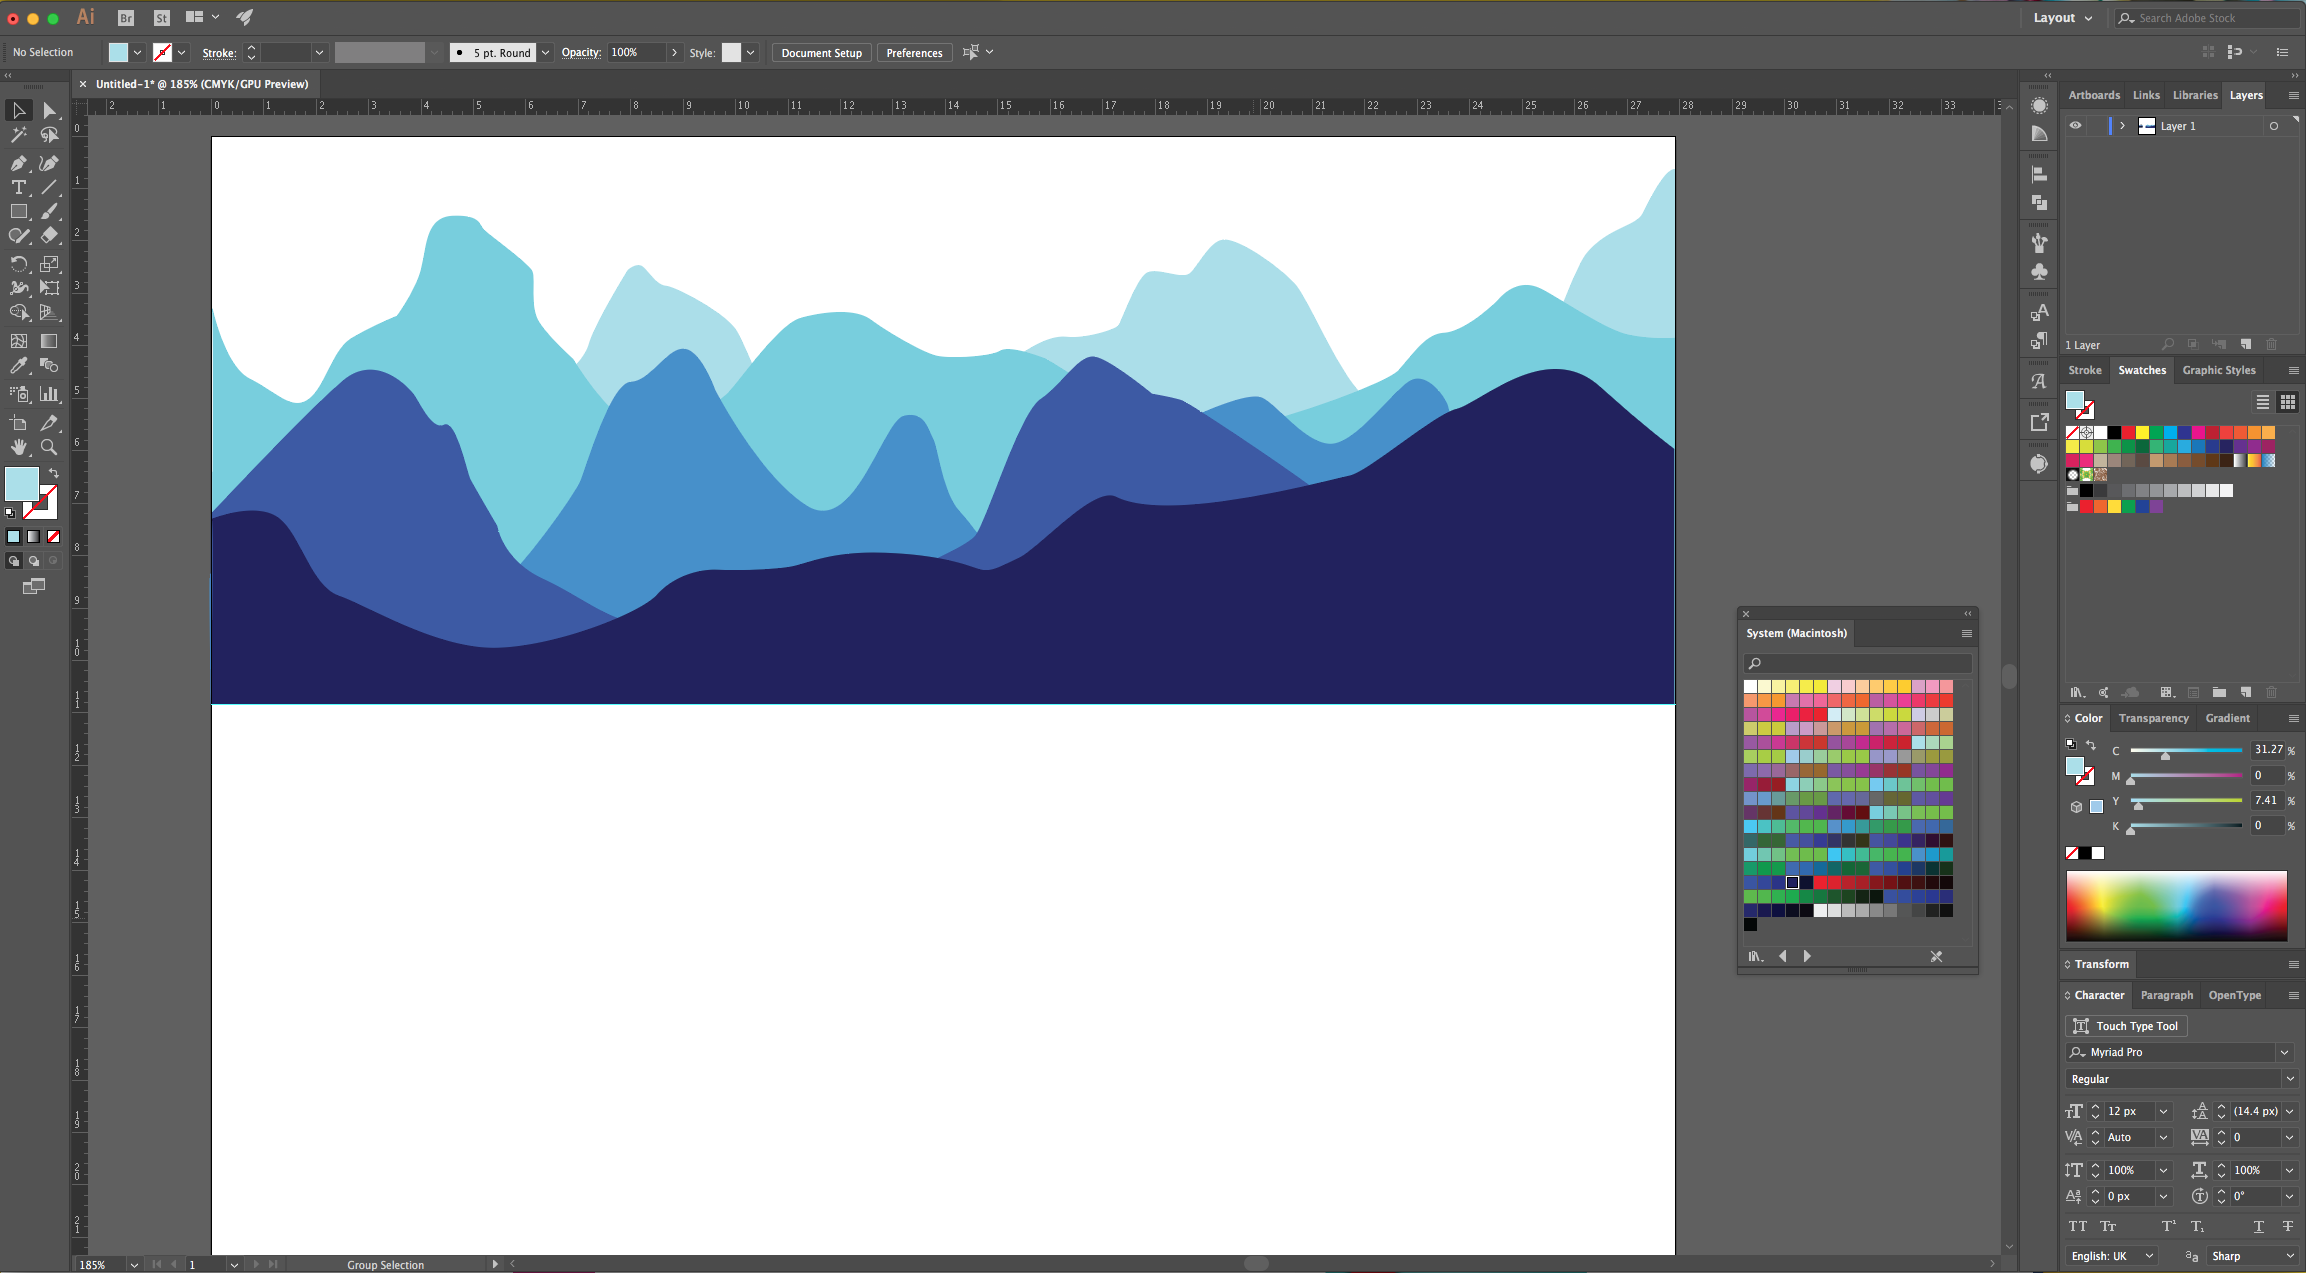
10 - Reposition the Mountains if needed and use the “Direct Selection Tool” (A) to click on the bottom “Anchor Points” of the front Mountains (“Shift” key”) and drag them down to cover the bottom part of the “Canvas”.
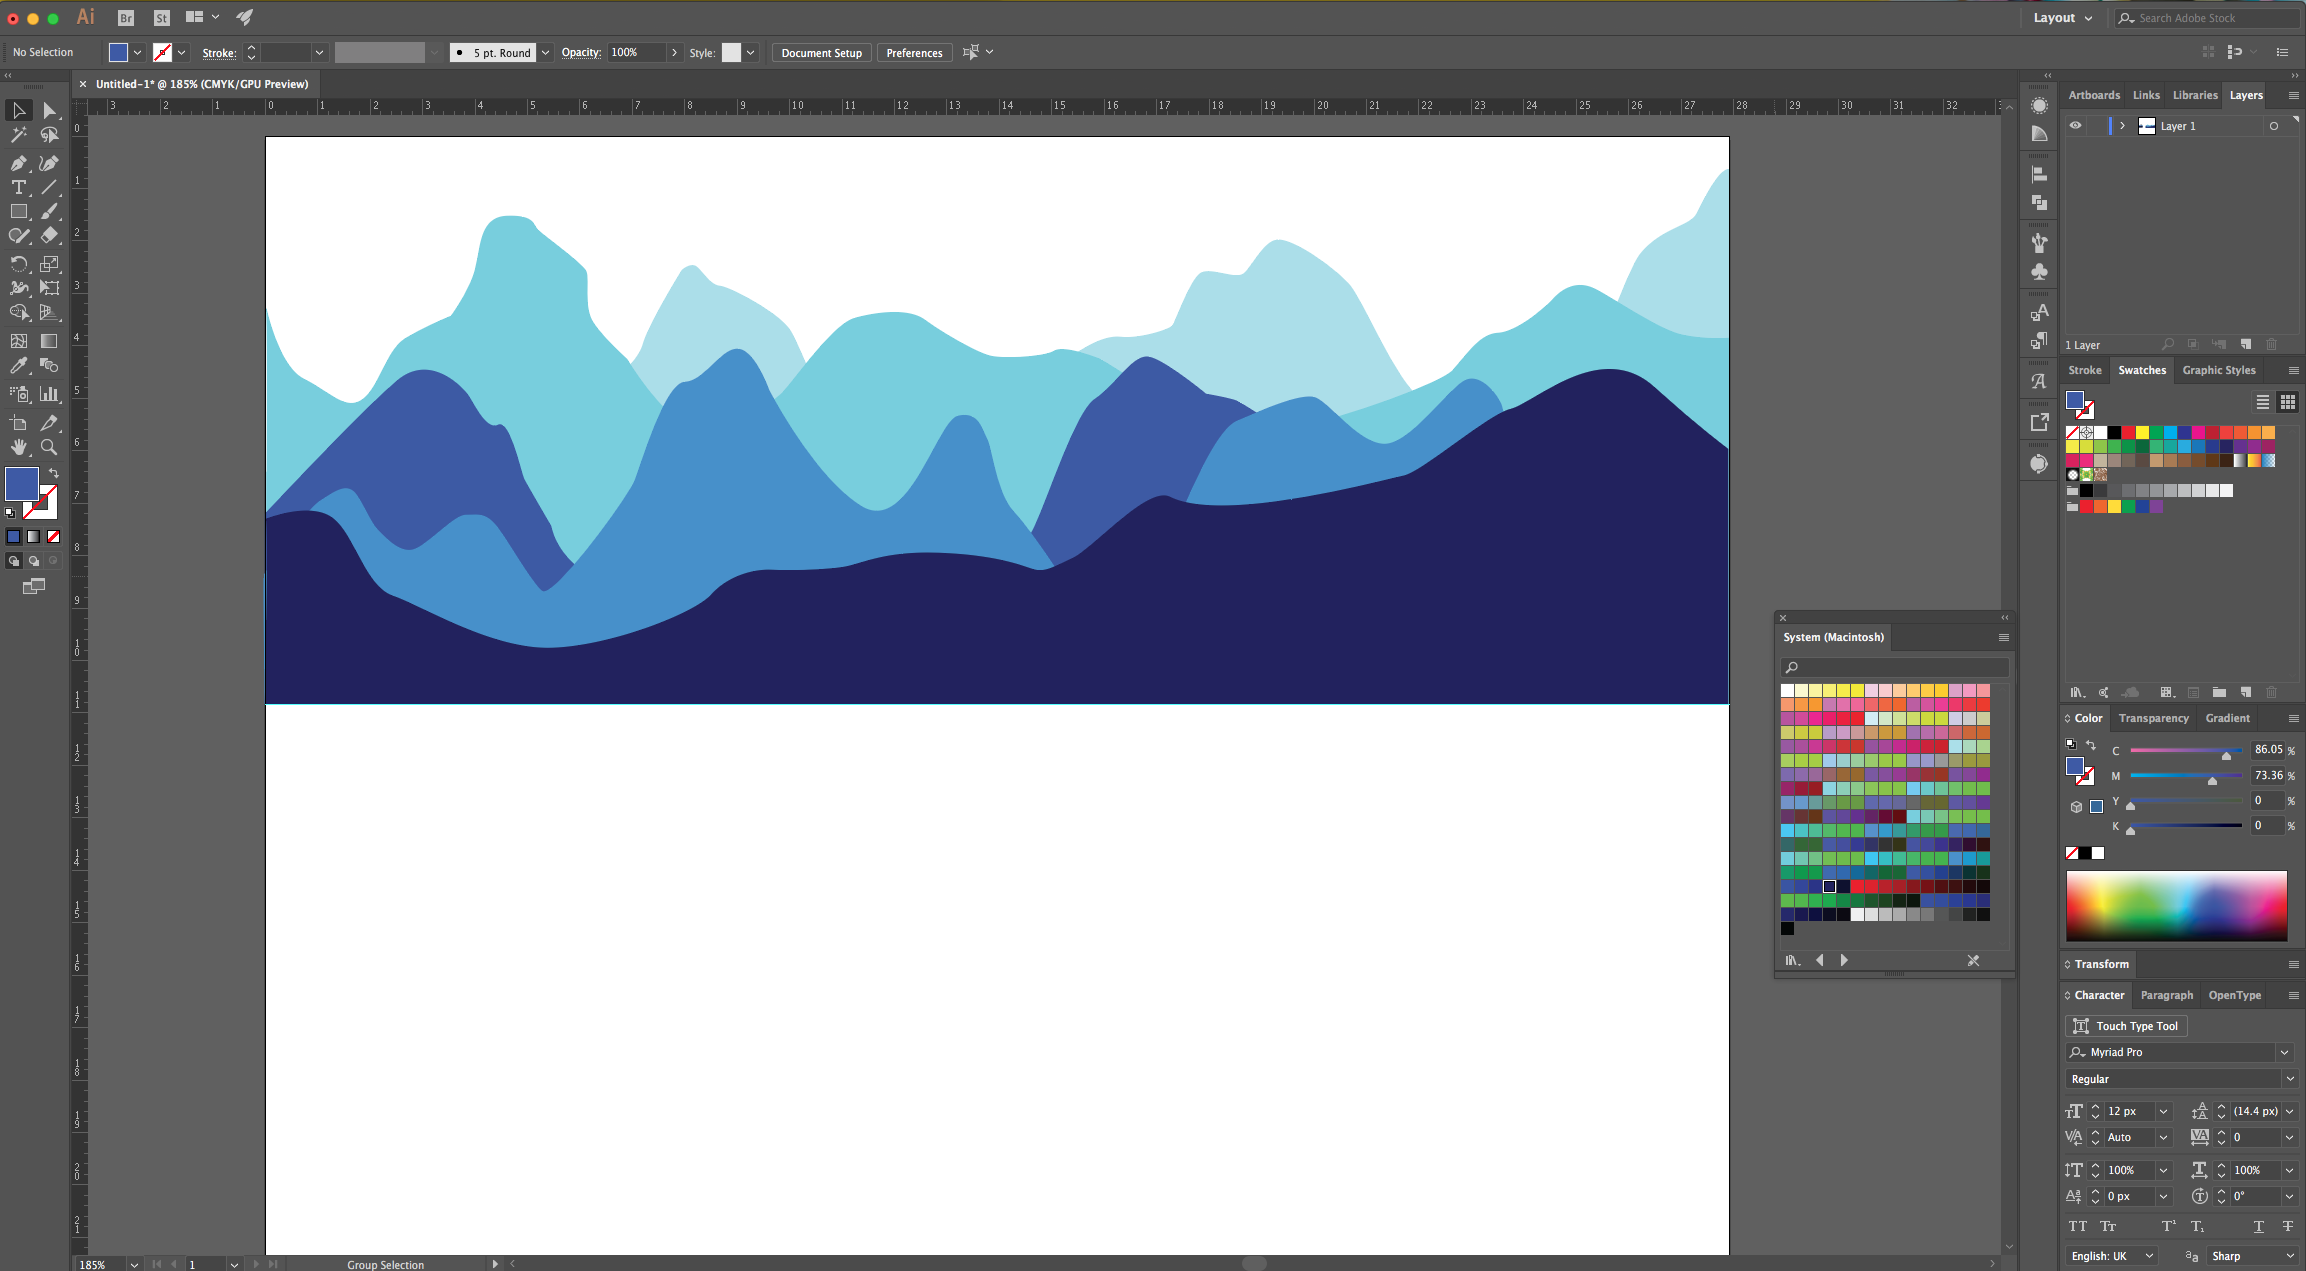
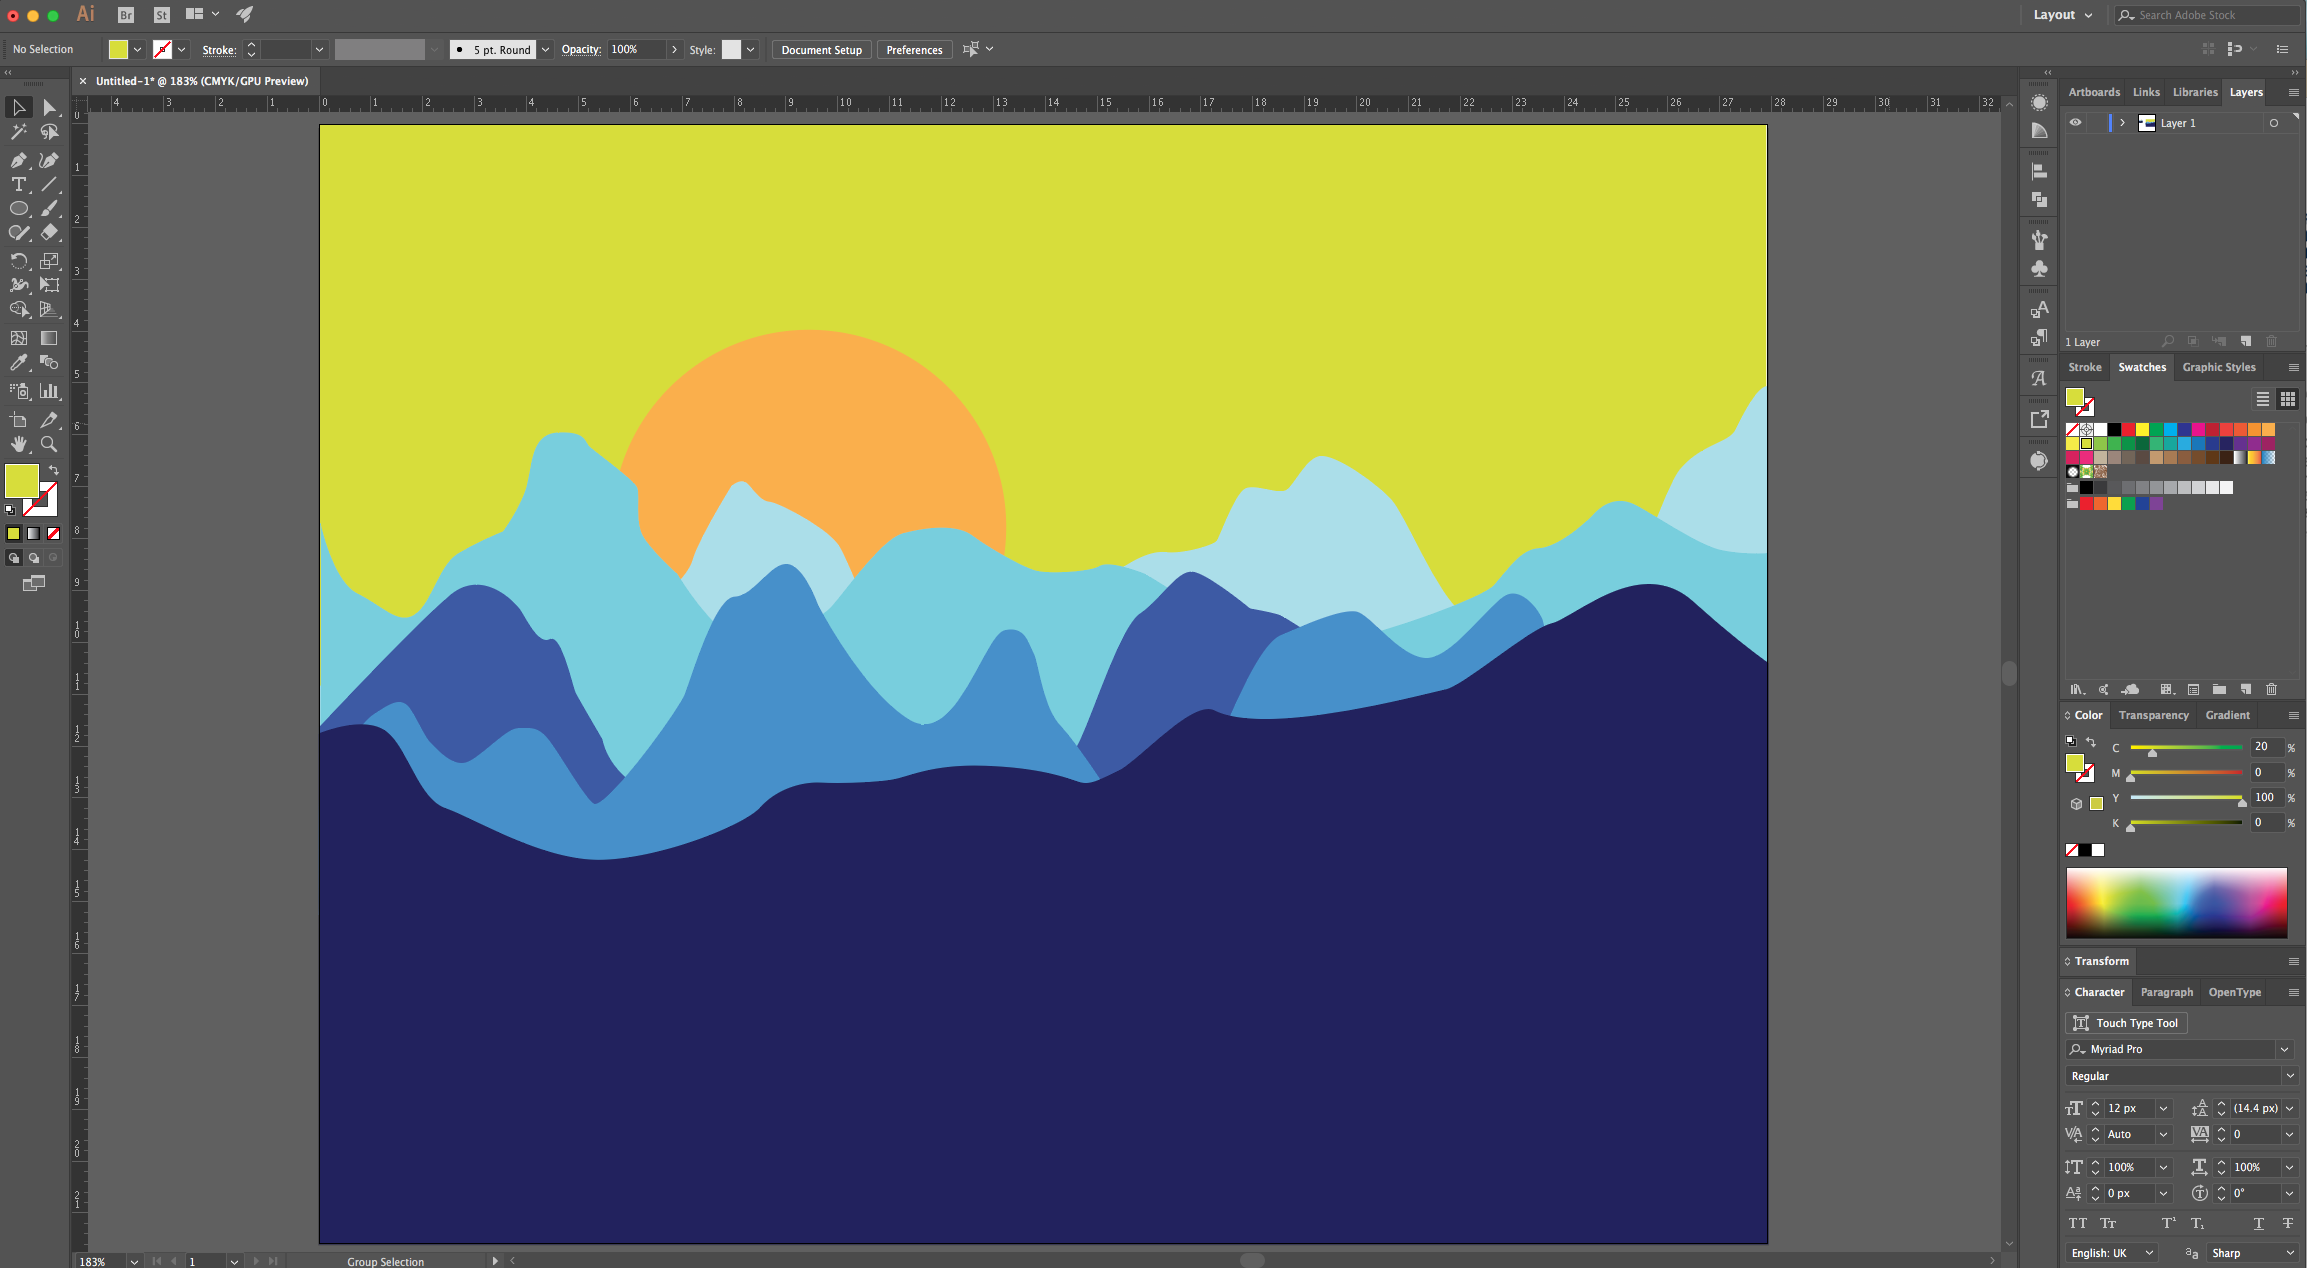
11 - You can add colored backgrounds to complement the design and maybe a circular shape to mimic the sun.
2 - Go to View > Rulers > Show Rulers (Command/Control + R).
3 - Click and drag down from the Top Ruler to the Center of the document to create a “Guide” roughly in the middle of it to mark the “Horizon”.
4 - Select the “Pen Tool” (P), choose Black as “Stroke” color and start drawing the outline of the Mountains from one side of the “Document”. You can to click the “Option/Alt” key if you want your angles to be straight after making a “Curve”. Finish up by “closing” the Path where you started.
5 - Create another set of “Mountains” with different shapes. Repeat as many times as you want. The idea is to create depth.
6 - If you want to change your shapes, just select the “Direct Selection Tool” (A) to click on the “Anchor Point” and fix it.
7 - Once you are done, use the “Selection Tool” to select one set of Mountains, right-click on top and choose Arrange > Bring to Front (or any other of the options you want).
8 - Once you are happy with the order you chose, go to the “Fill” picker in the Top Menu, click on the “Library” button at the bottom of the Panel and choose “System (Macintosh)”.
9 - Choose one of the “Swatches” and click on “Swap Fill and Stroke” (Shift + X) in the Toolbox if needed. Do this for each Mountain set using different shades of the same color (we chose Blue).
10 - Reposition the Mountains if needed and use the “Direct Selection Tool” (A) to click on the bottom “Anchor Points” of the front Mountains (“Shift” key”) and drag them down to cover the bottom part of the “Canvas”.
11 - You can add colored backgrounds to complement the design and maybe a circular shape to mimic the sun.
by @lornacane


