
How to Cut an Image in Illustrator
Sometimes, while working in Illustrator, you may need to use just a portion of an image. There are two ways of cutting or cropping it, one is using Crop Image and the other one is with a Clipping Mask. We will explore both in the following tutorial.
I’m using a Photos of Petals from the Conceptual photos collection to illustrate both options.
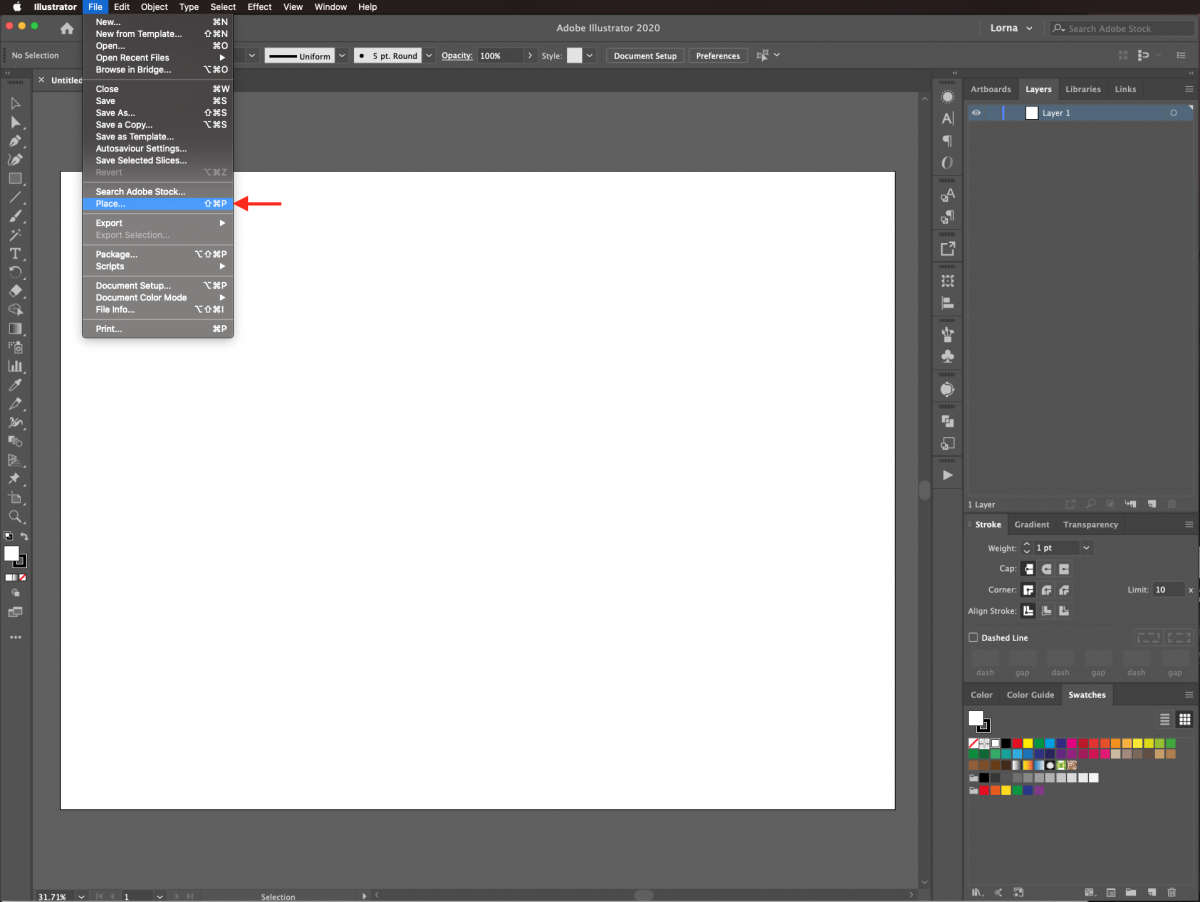
In Illustrator, create a new document or open the one you want to work with. To do this, go to File > Place (Shift + Command/Control + P), and navigate to where the image/images you want to import are saved.
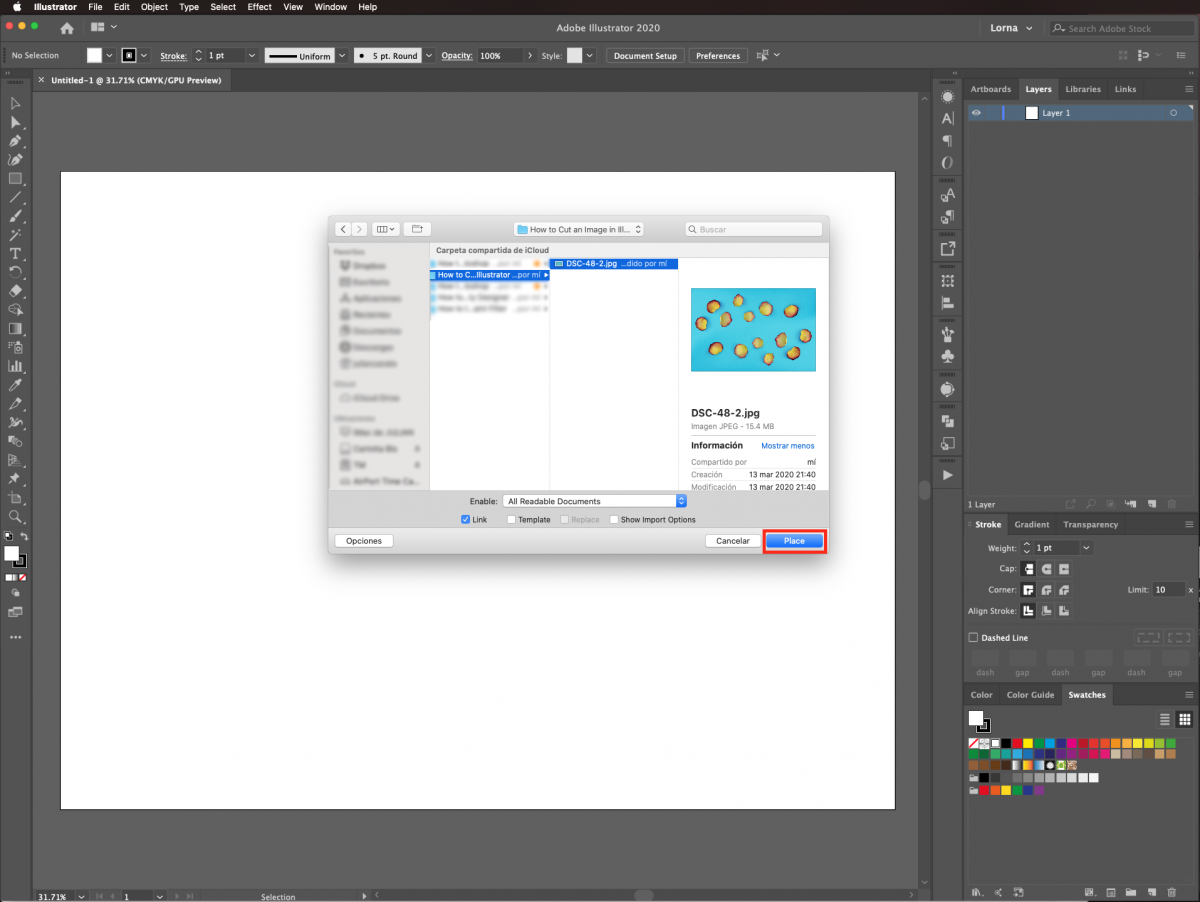
Once you have decided on an image select it and click Place.
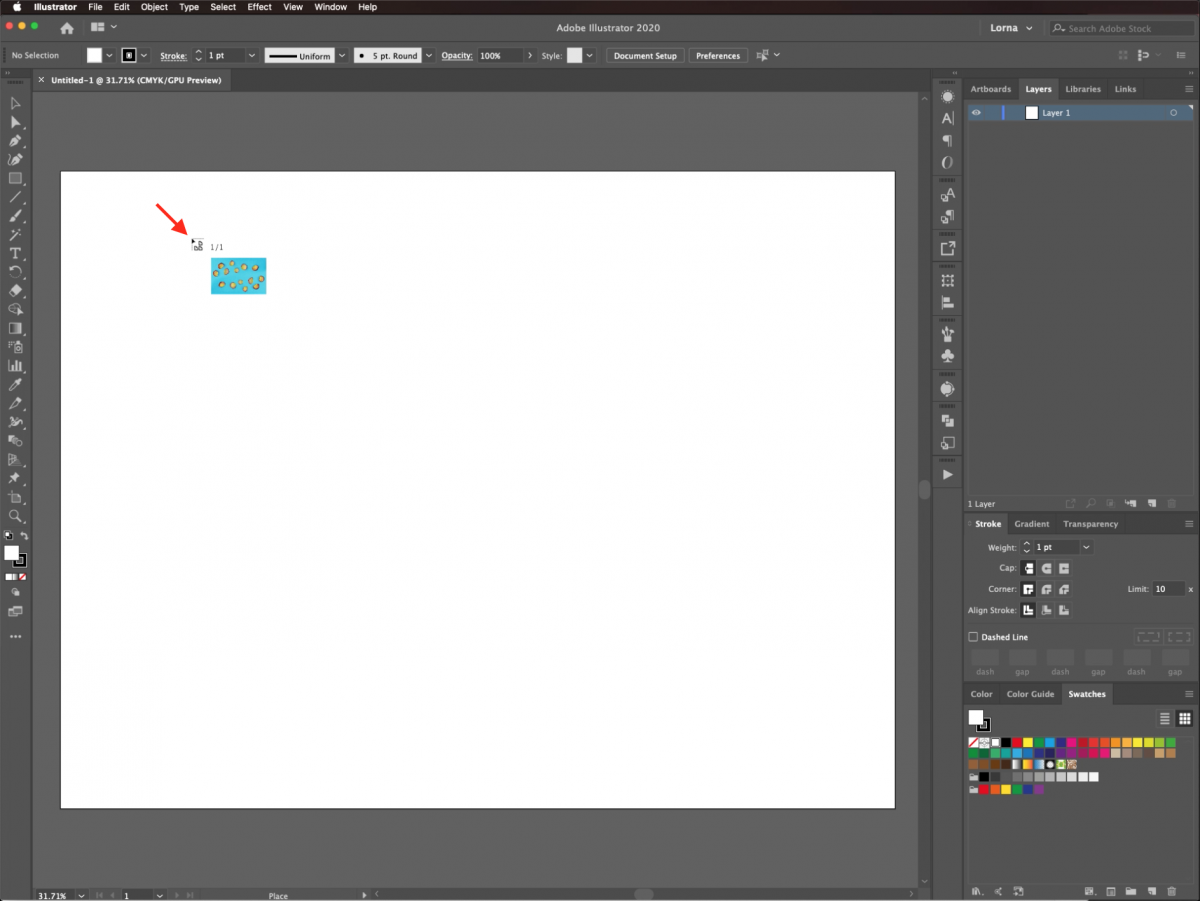
Click inside the document as many times as the number of images you are placing.
Resize the images if needed. Remember to hold down the Shift key to keep the image proportional.
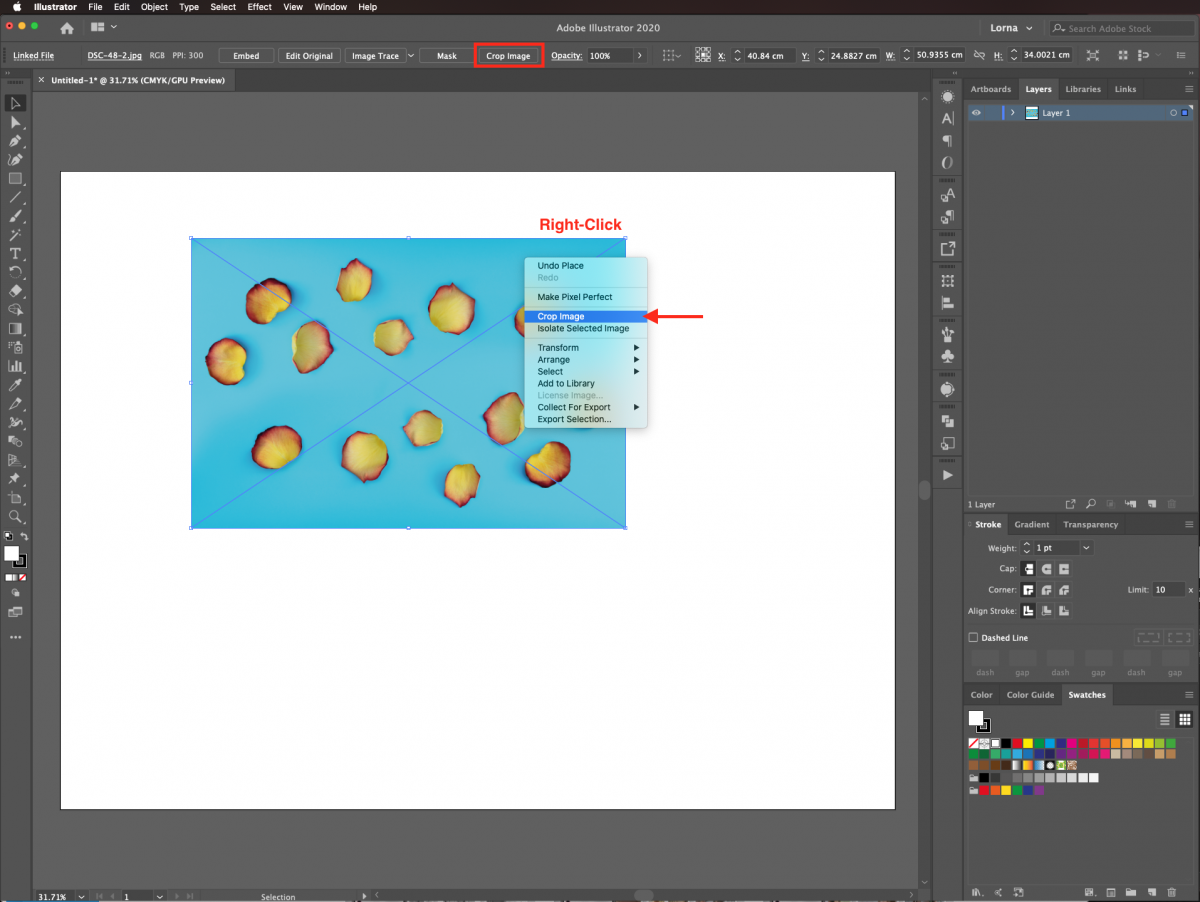
Right-click on top of the selected image and choose Crop Image. Alternatively, click on the button on the top menu.
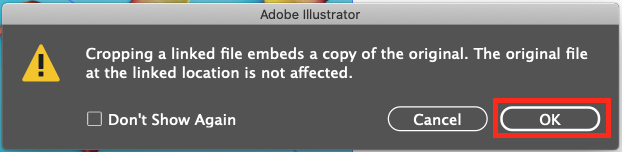
When the following window pops up, click Ok.
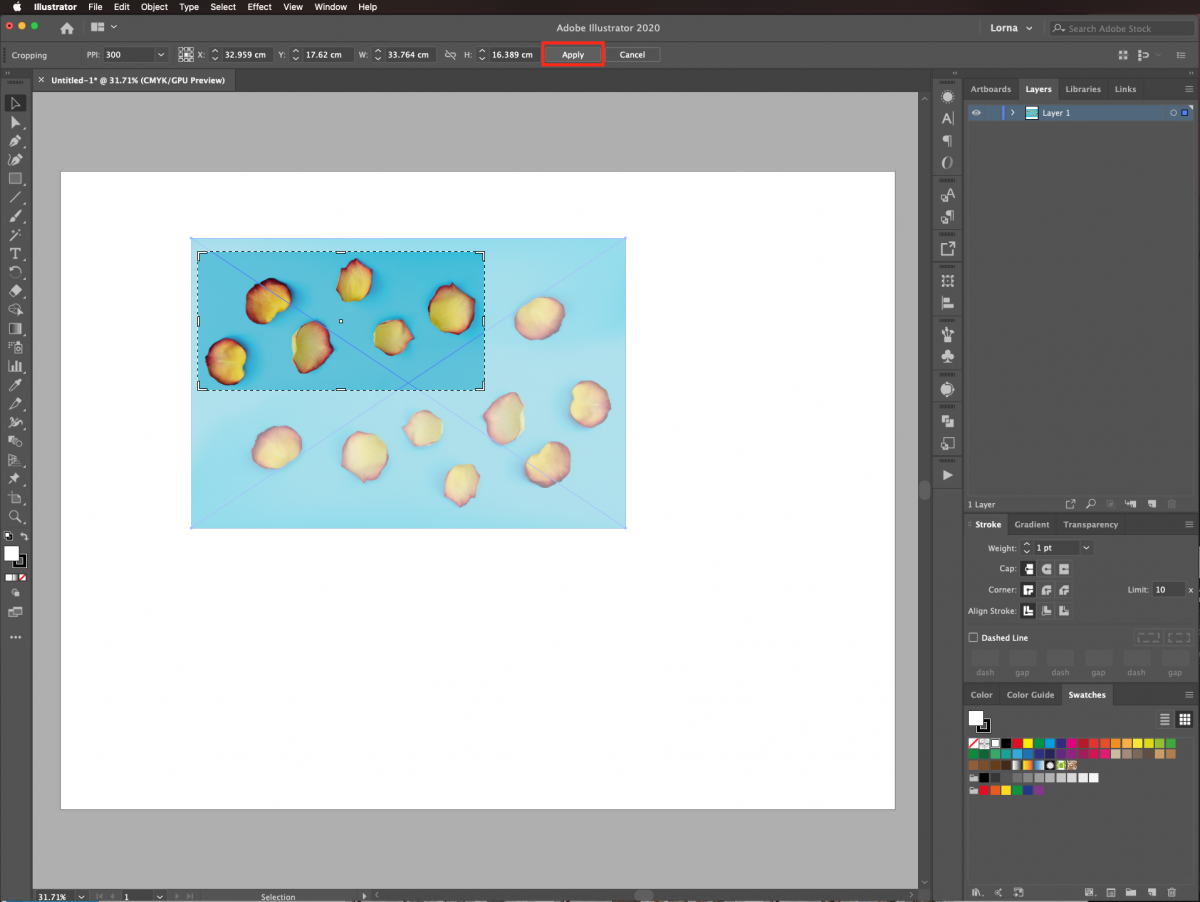
Select the portion of the image you want to keep by moving the handles of the crop window. Then, click Apply in the top menu.
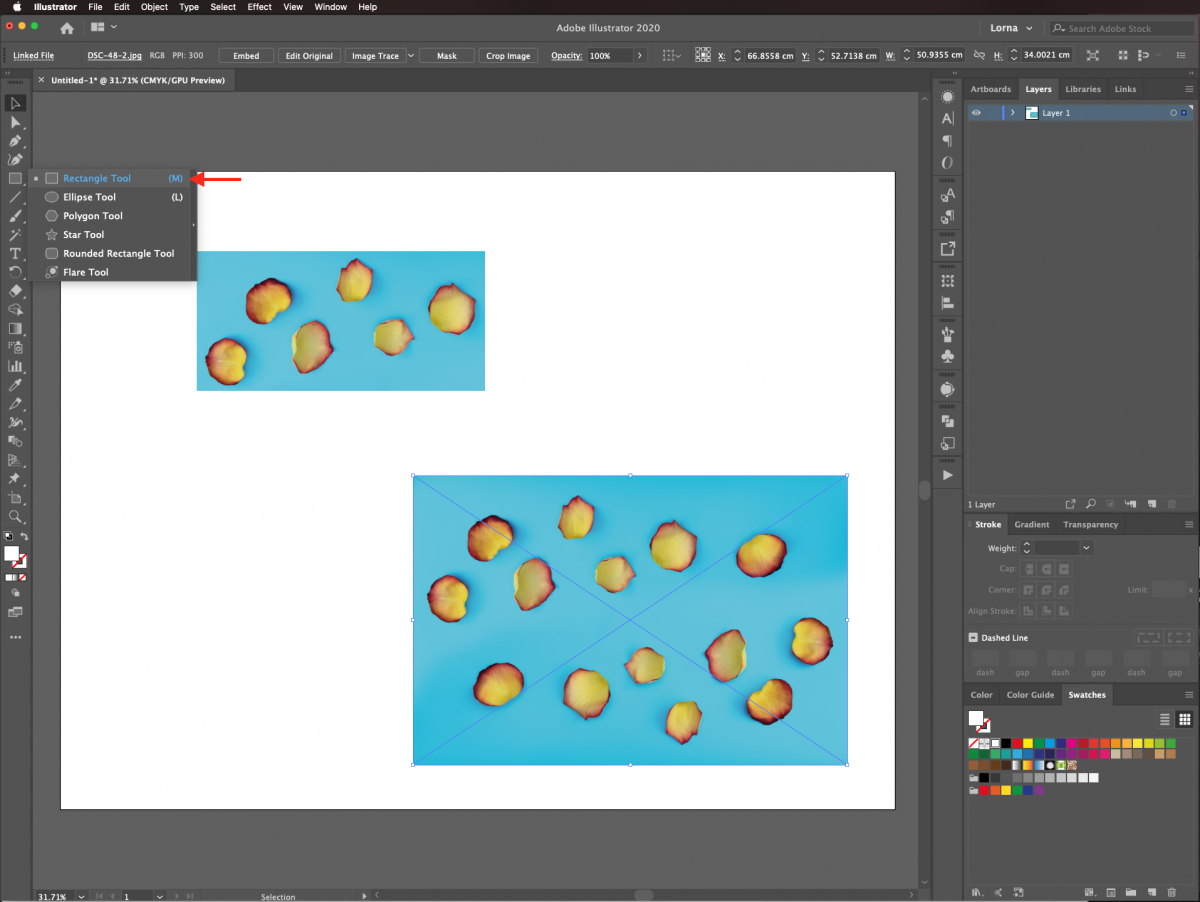
First, you need to define the area you want to keep. To do this, select the Rectangle tool (R).
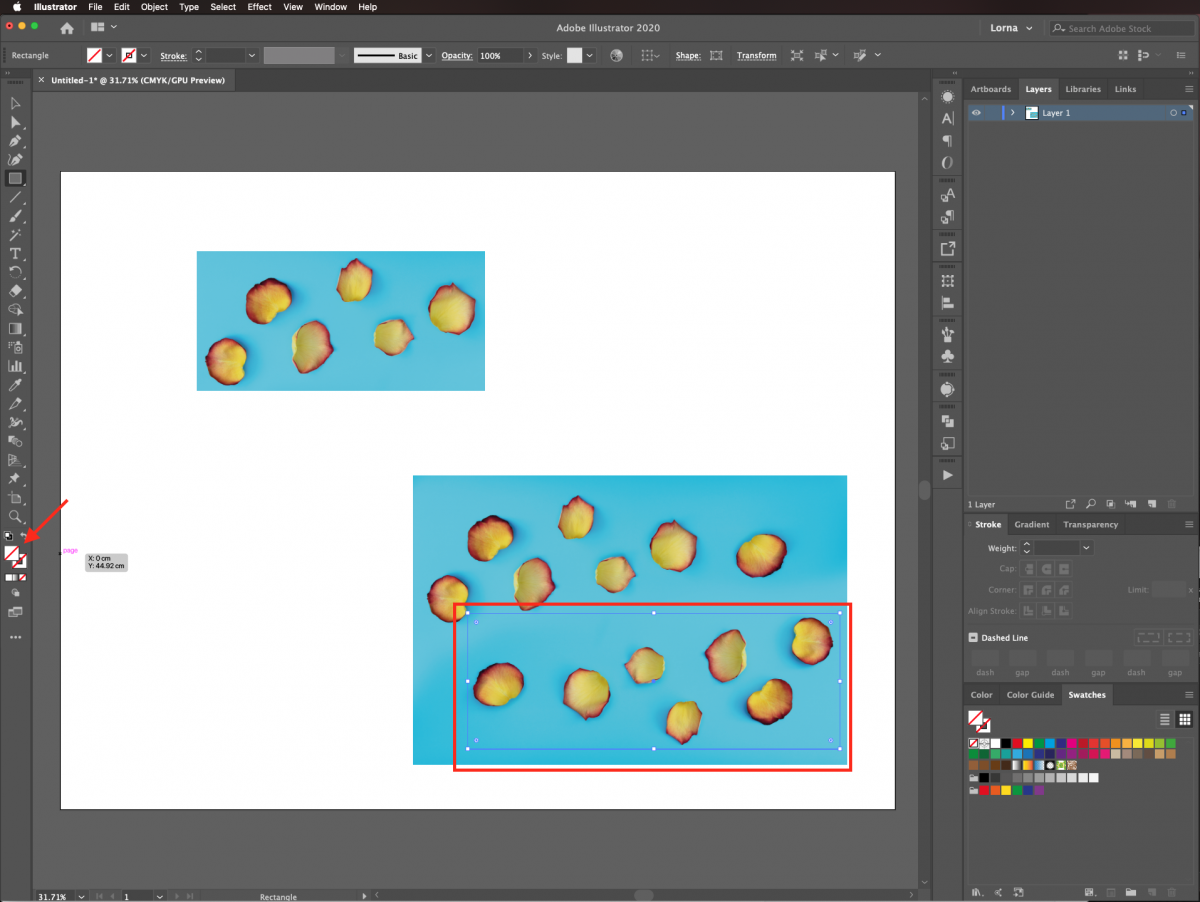
Next, create a rectangle that covers the portion of the image you want to keep. You can use the Ellipse tool (E) or the Pen tool (P) to create different types of shapes. Set Fill and Stroke color to none.
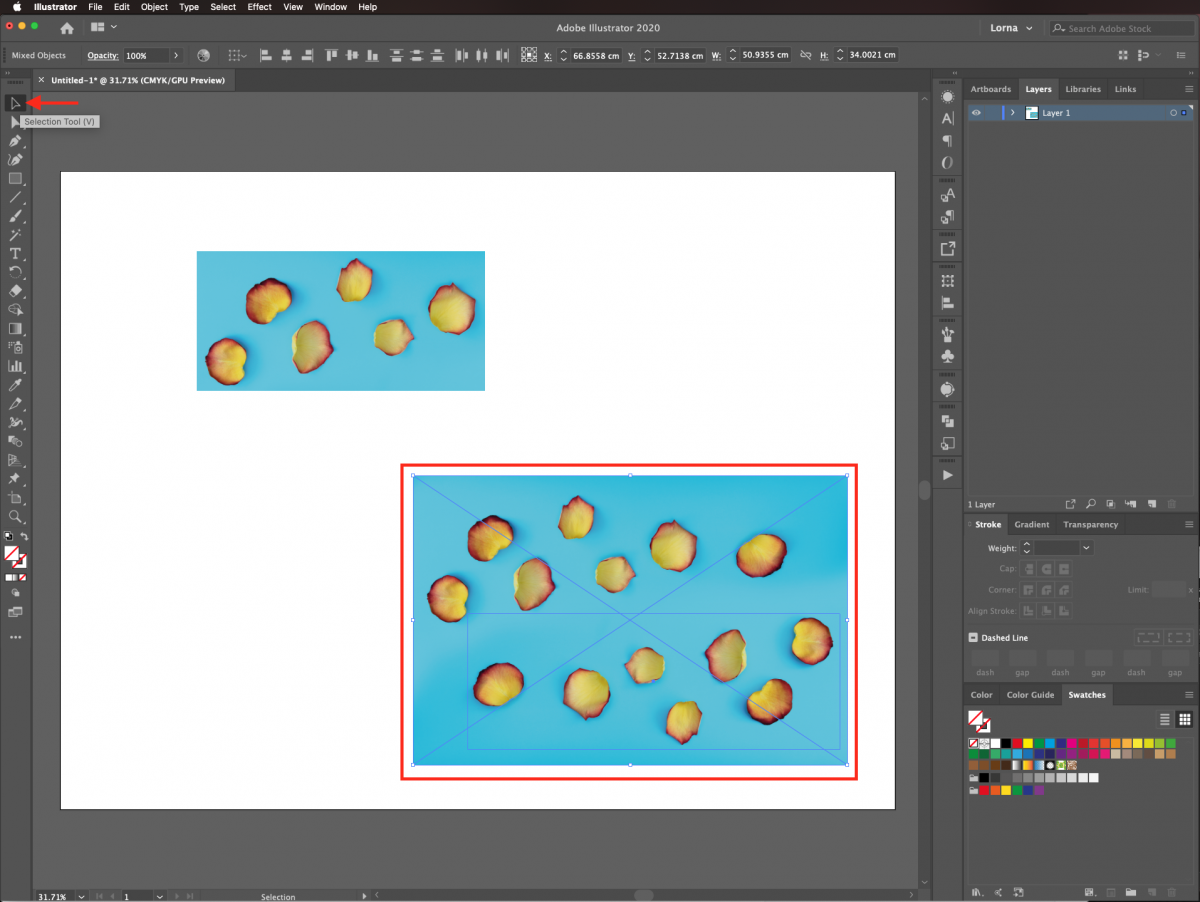
In this step, we will create a clipping mask. Select both the image and path with the Selection tool (V).
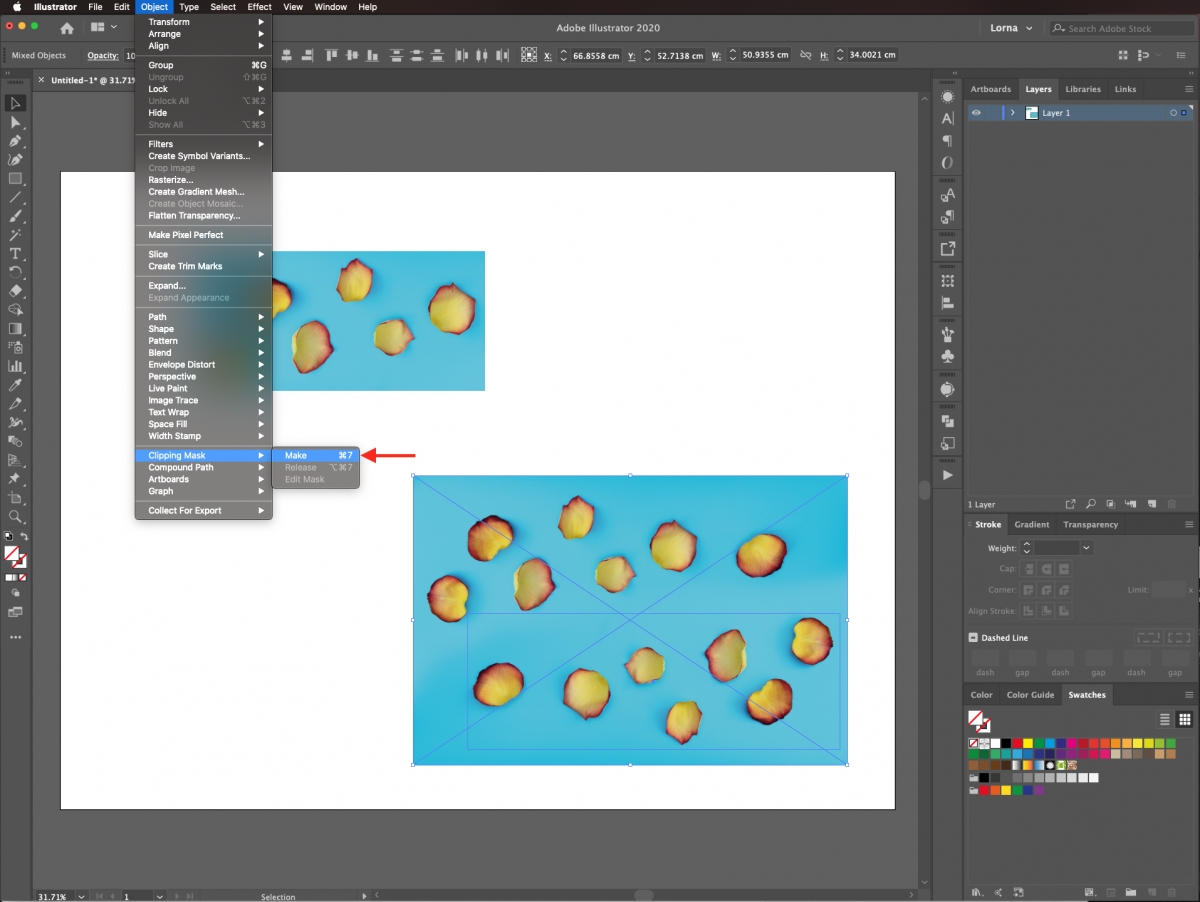
Then, right-click on top, and choose Create Clipping Mask or go to Object > Clipping Mask > Make (Command/Control + 7).
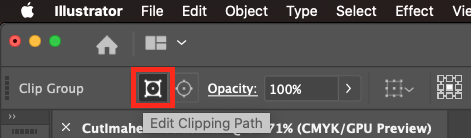
If you want to modify something, click on the Edit Clipping Path button on the top menu. This will modify the path that cuts the image.
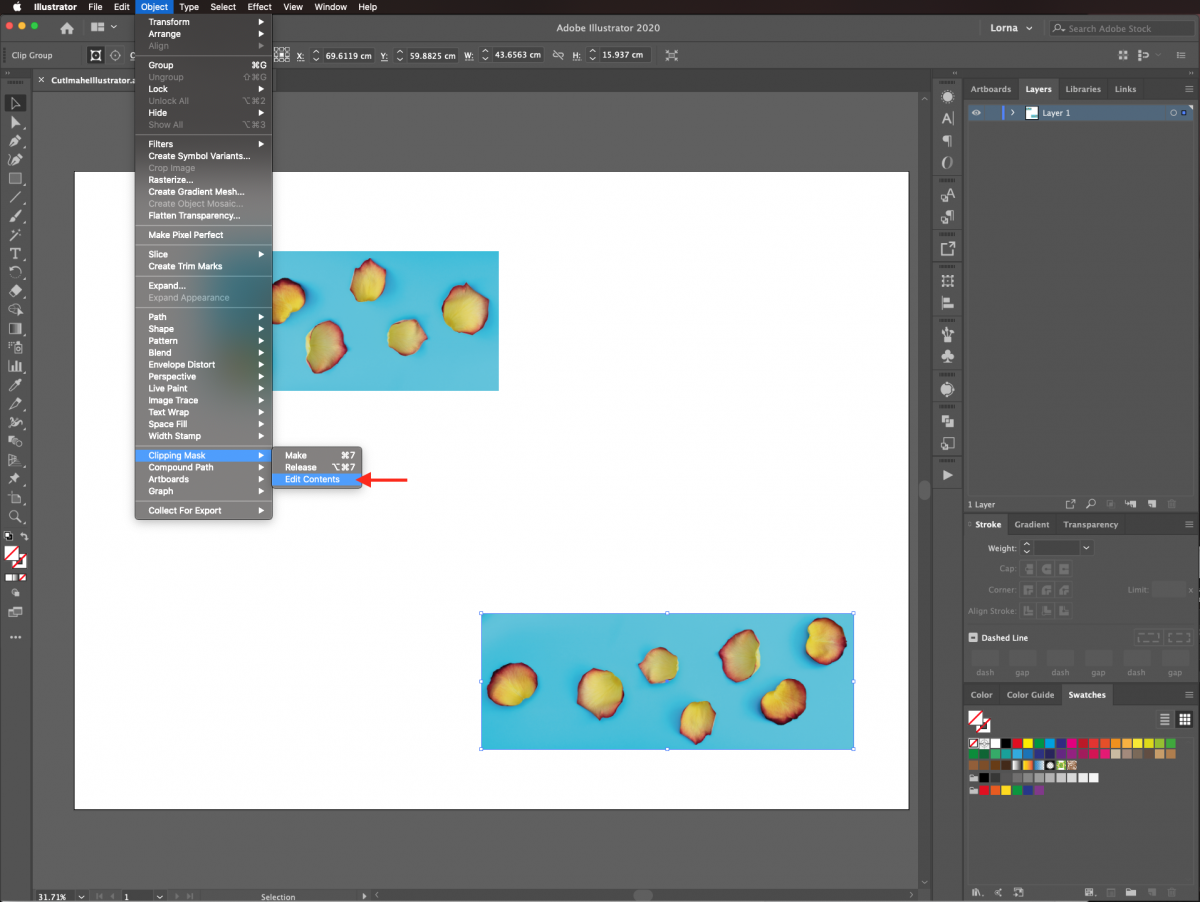
You can also click on Edit Contents to modify the image.
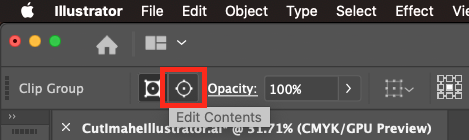
Another way to access Edit Contents is to go to Object > Clipping Mask > Edit Contents.
With the Edit Contents option, the bounding box of the image will appear so you can modify it.

Remember that you can use other tools like the Ellipse tool (E), or the Pen tool (P) to create different types of shapes in case you need a more precise path.
If you liked this tutorial make sure to check out our guide on using the recolor artwork tool, creating SVGs in Illustrator, and using the blend tool with text in Illustrator.
I’m using a Photos of Petals from the Conceptual photos collection to illustrate both options.
Using the Crop Image Method
Step 1 - Import the Image
In Illustrator, create a new document or open the one you want to work with. To do this, go to File > Place (Shift + Command/Control + P), and navigate to where the image/images you want to import are saved.
Once you have decided on an image select it and click Place.
Click inside the document as many times as the number of images you are placing.
Resize the images if needed. Remember to hold down the Shift key to keep the image proportional.
Step 2 - Cut the Image Using Crop Image
Right-click on top of the selected image and choose Crop Image. Alternatively, click on the button on the top menu.
When the following window pops up, click Ok.
Select the portion of the image you want to keep by moving the handles of the crop window. Then, click Apply in the top menu.
Using the Clipping Mask Method
Step 1 - Define the Clipping Area
First, you need to define the area you want to keep. To do this, select the Rectangle tool (R).
Next, create a rectangle that covers the portion of the image you want to keep. You can use the Ellipse tool (E) or the Pen tool (P) to create different types of shapes. Set Fill and Stroke color to none.
Step 2 - Make the Clipping Mask
In this step, we will create a clipping mask. Select both the image and path with the Selection tool (V).
Then, right-click on top, and choose Create Clipping Mask or go to Object > Clipping Mask > Make (Command/Control + 7).
If you want to modify something, click on the Edit Clipping Path button on the top menu. This will modify the path that cuts the image.
You can also click on Edit Contents to modify the image.
Another way to access Edit Contents is to go to Object > Clipping Mask > Edit Contents.
With the Edit Contents option, the bounding box of the image will appear so you can modify it.
Remember that you can use other tools like the Ellipse tool (E), or the Pen tool (P) to create different types of shapes in case you need a more precise path.
If you liked this tutorial make sure to check out our guide on using the recolor artwork tool, creating SVGs in Illustrator, and using the blend tool with text in Illustrator.


