
Text Basics in DesignScape
Learn how to change font size, direction of text, change font color, warp text and more.
Today we will show you all about text basics in DesignScape. It is so easy to add and edit text in your projects as well as use your purchased fonts. DesignScape is an awesome editing software available to Gold Plus Members. Not only is DesignScape an alternative to Photoshop and Illustrator, but it’s also a browser based software. This means you don’t need to download anything to start designing.
If you are not a Gold Plus Member yet, we do have a great free 30-day trial for you to try out.
So let us begin by creating a new document in DesignScape. During this tutorial, we will be using a modern calligraphy typeface called Michelle, but we have many more calligraphy fonts to choose from.
Step 1 - Use the Text Tool
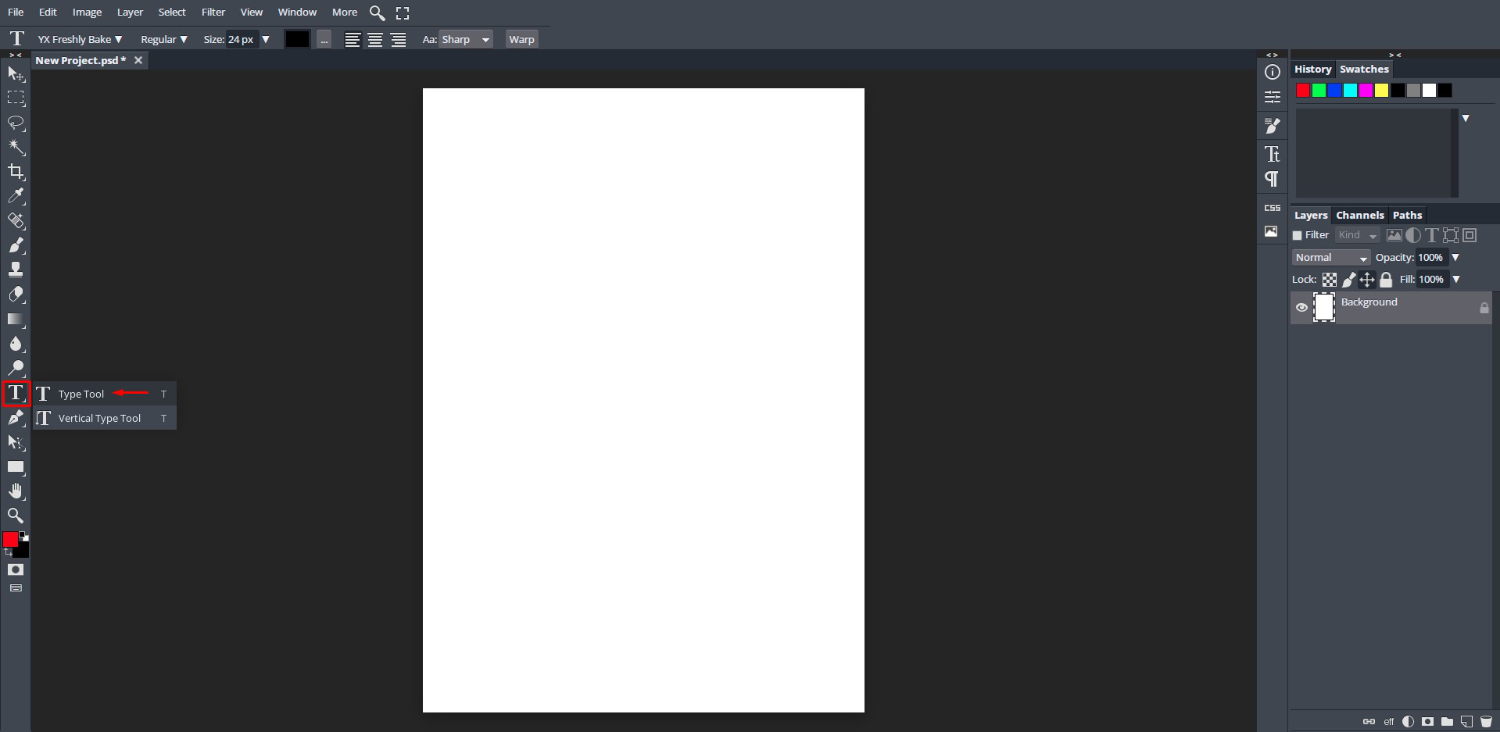
Before we begin, make sure that you have uploaded your fonts to DesignScape. The text tool, which can be found on the left side panel, offers two options.
Type Tool
The Type Tool is for your usual typing requirements. Place your cursor over the “T” icon and click then hold to open the Text menu. Now click on the Type Tool.
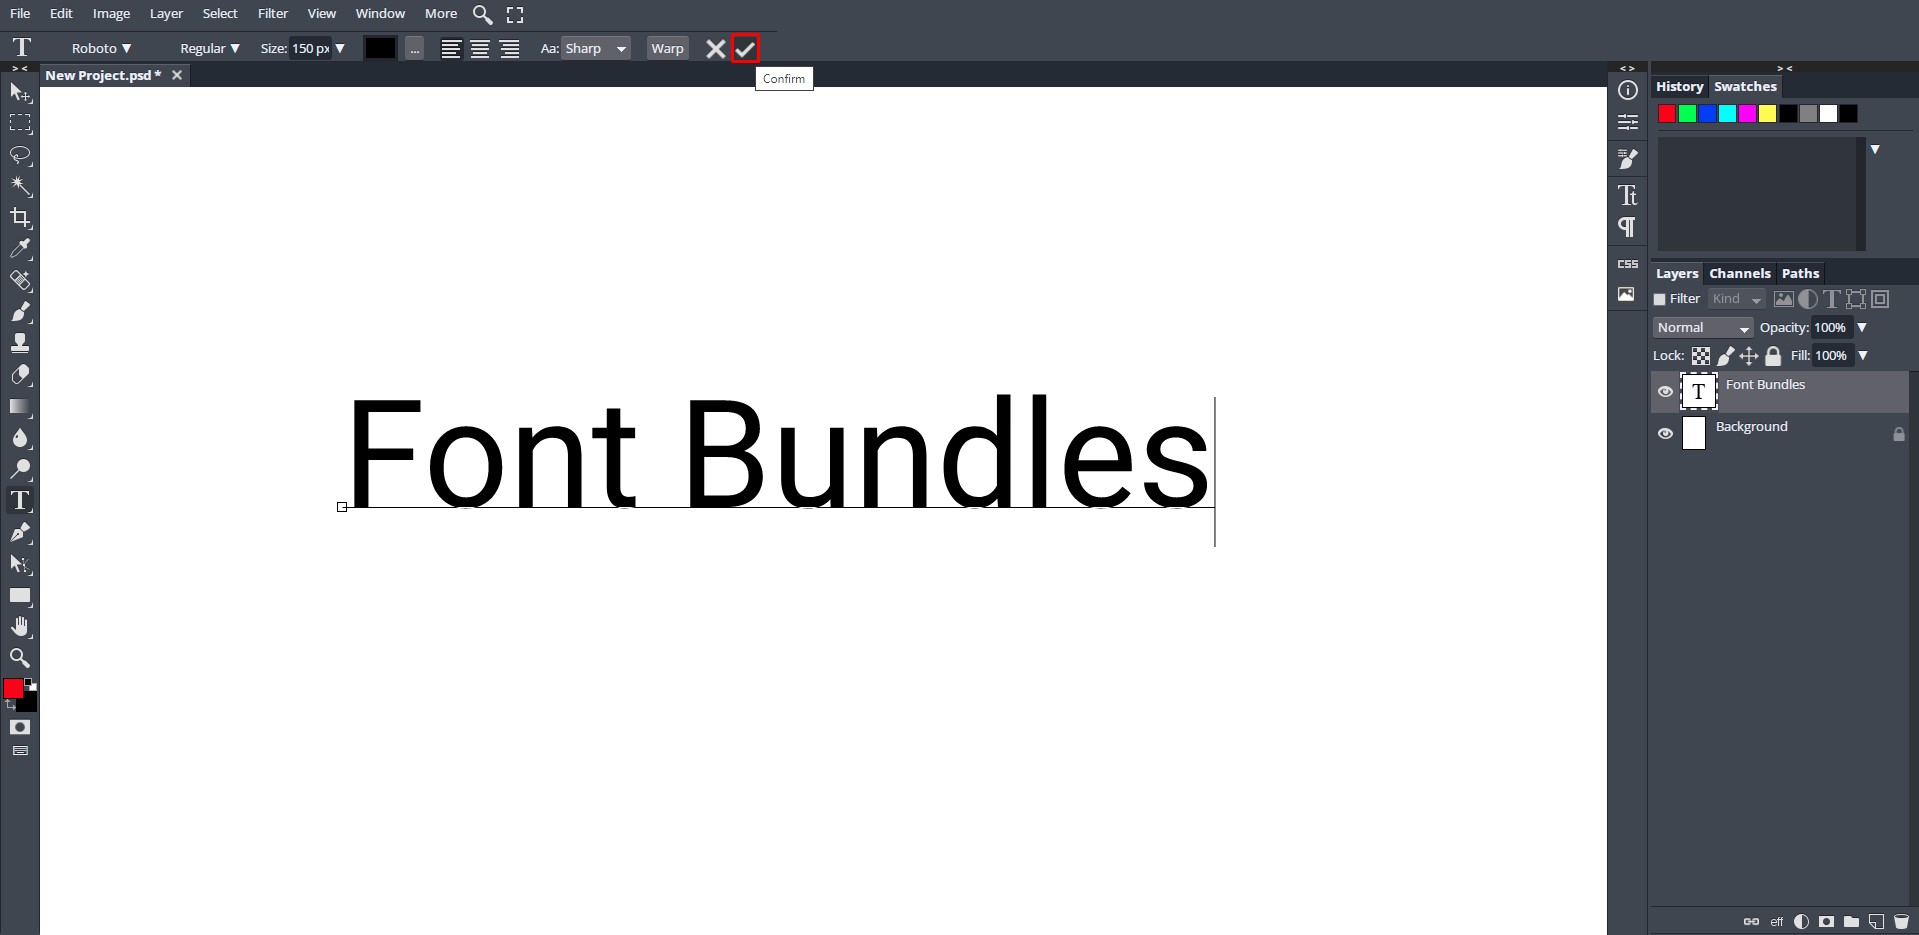
We want the font size to the highest it will go for now, which is 150px. Click on the drop down box at the top and move the slider all the way to the right. Now, click anywhere and start typing.

At the top toolbar, click on the checkmark icon to exit text edit mode.
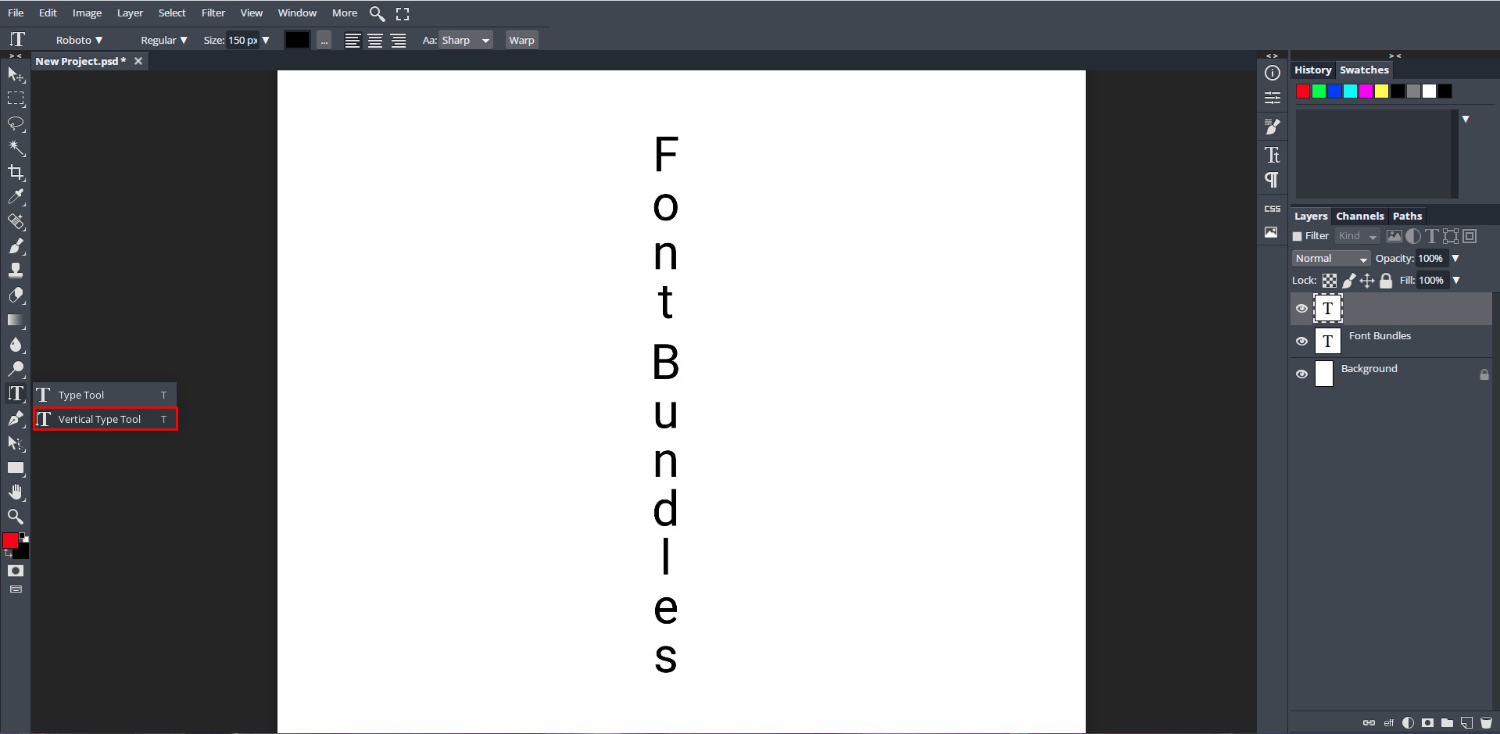
Vertical Type Tool
The Vertical Type Tool is as the name describes, text is typed vertically. This can create many types of creative options.
As with the Type Tool, click and hold over the text menu and select the Vertical Type Tool. Check that your font size is set at maximum in order to see the text. Click on the document and start typing. Exit text edit mode by clicking on the checkmark at the top toolbar.
Step 2 - Change the Font
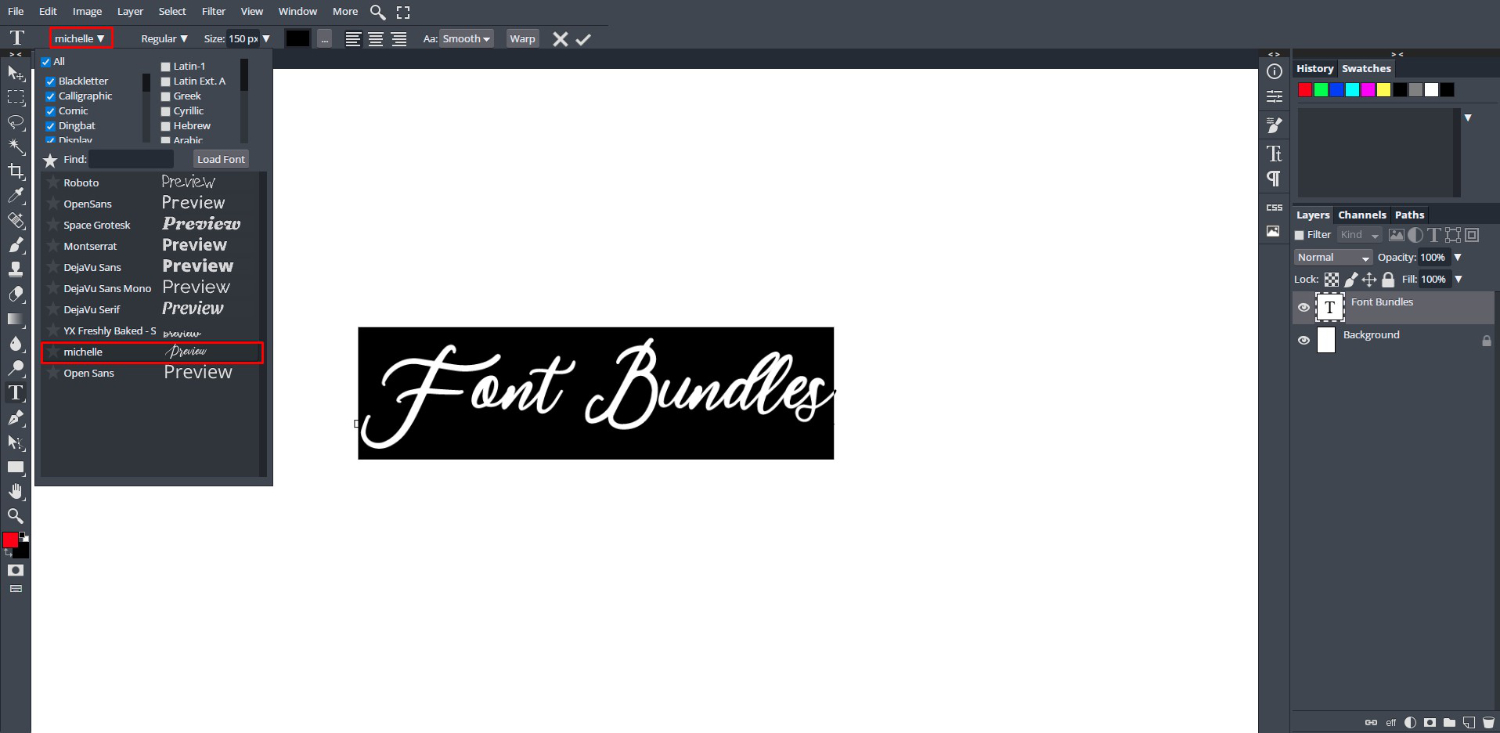
We went back to the Type Tool for this step. You can change the font before typing by going to the Font Family top left. Click on the drop down menu and here you will find all of the fonts uploaded to DesignScape. To apply the font, simply click on it.
If you have already typed out your text, as we did, double click to enter text edit mode. Then click + drag to select the text and go to the Font Family. Click on the font to apply.
When changing your font, some fonts may make the text smaller. Even though our text size is set to maximum this can be adjusted.
Step 3 - Adjust the Text Size
The text size can be adjusted one of two ways. You can input a number into the text size box or click + drag to resize.
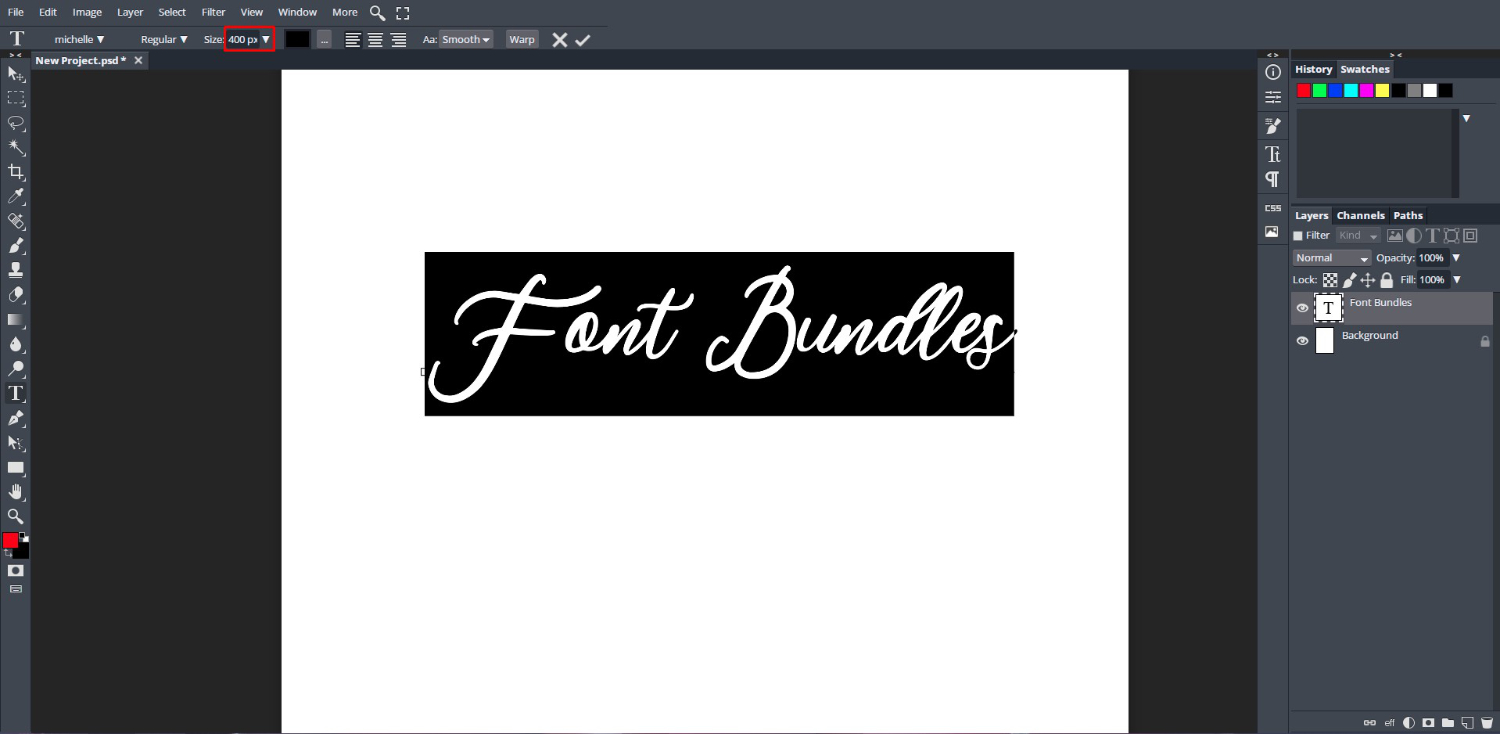
The text size value is not limited to 150px. Here we increased our text to 400px by typing in the value.
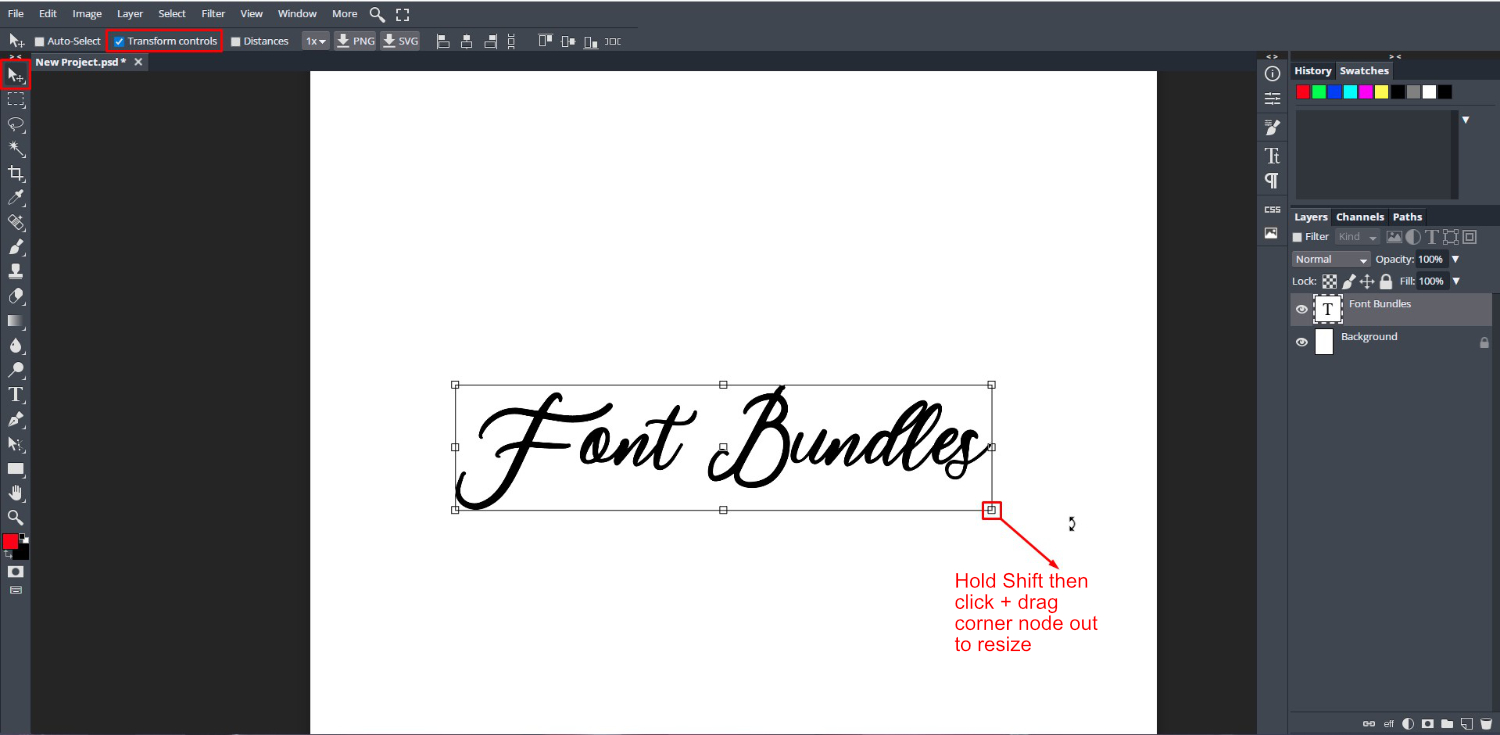
If you want more control over resizing the text, click on the Move Tool top left toolbar. Make sure that the Transform controls box is ticked to show the sizing handles. Now, holding down Shift to constrain the size, click + drag a corner node out to resize the text.
Step 4 - Change the Text Color
Changing the color is a quick and simple process in DesignScape. Double click on the text to enter text edit mode and highlight the text. Go to the top toolbar where the text editing options are and click on the Color Picker box. Once the box opens, you can select from the color palettes or from the hues and shades.
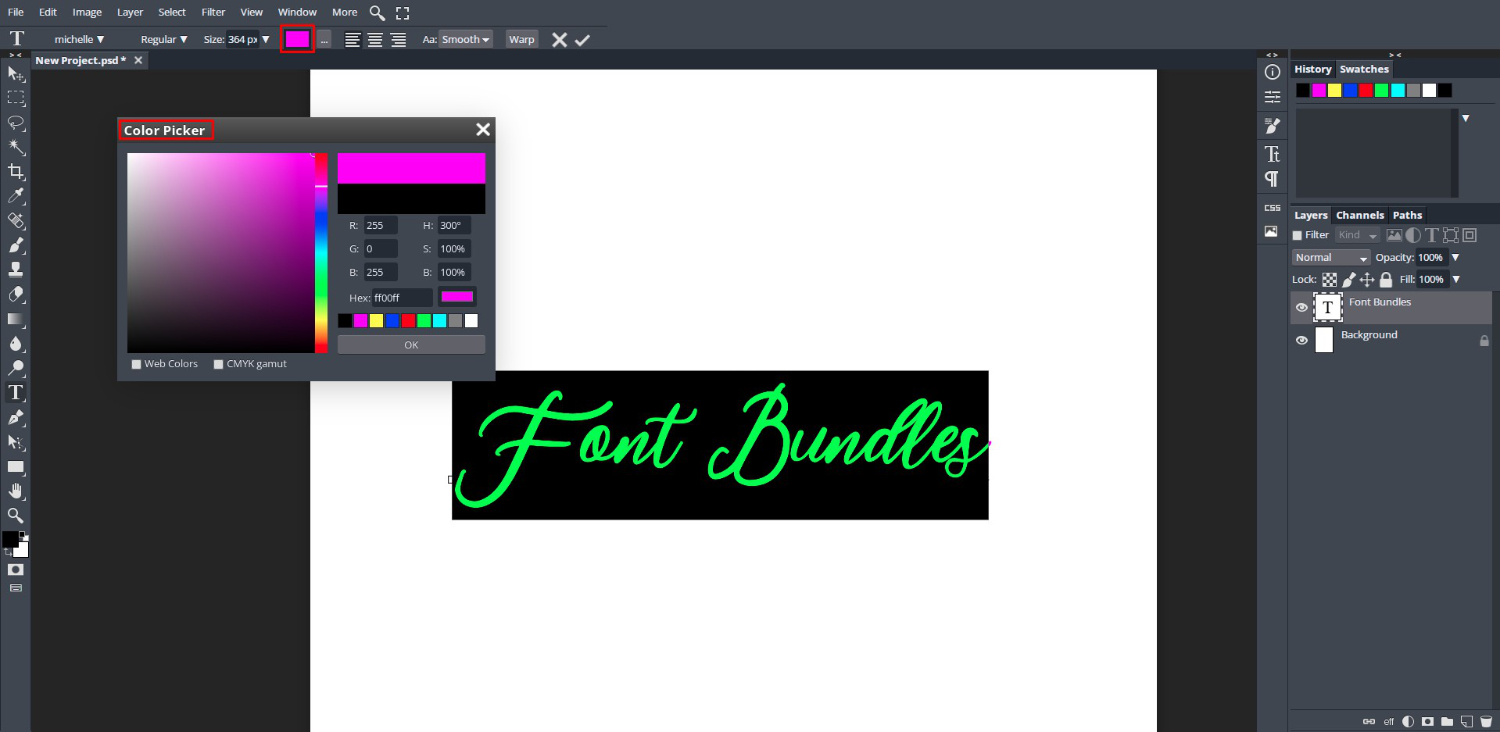
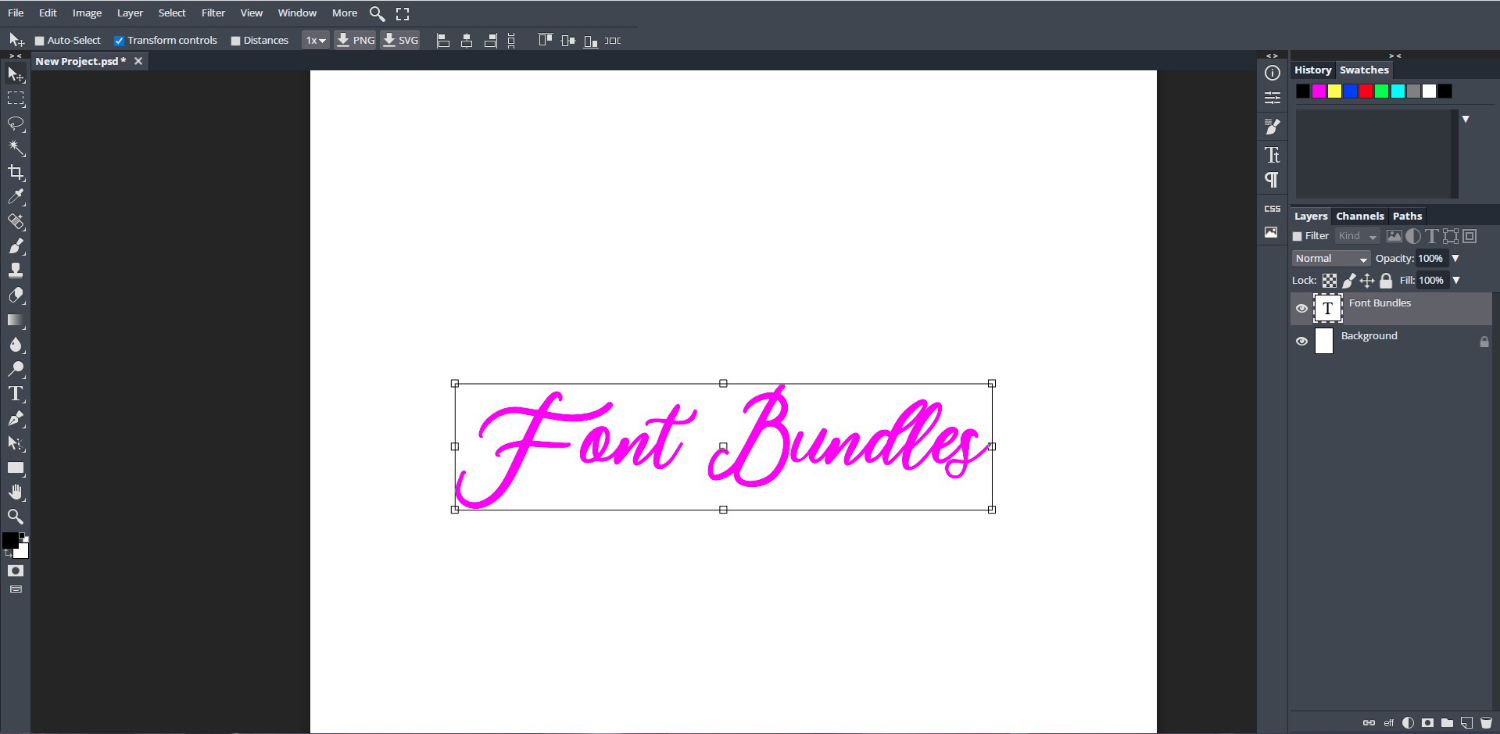
If you move your cursor around while in Color Picker mode, it will change to crosshairs. When clicking over an area, the color there will be picked up and applied. After editing the color, click Ok then click on the checkmark at the top to commit the changes.
Step 5 - Use Top Toolbar Editing Options
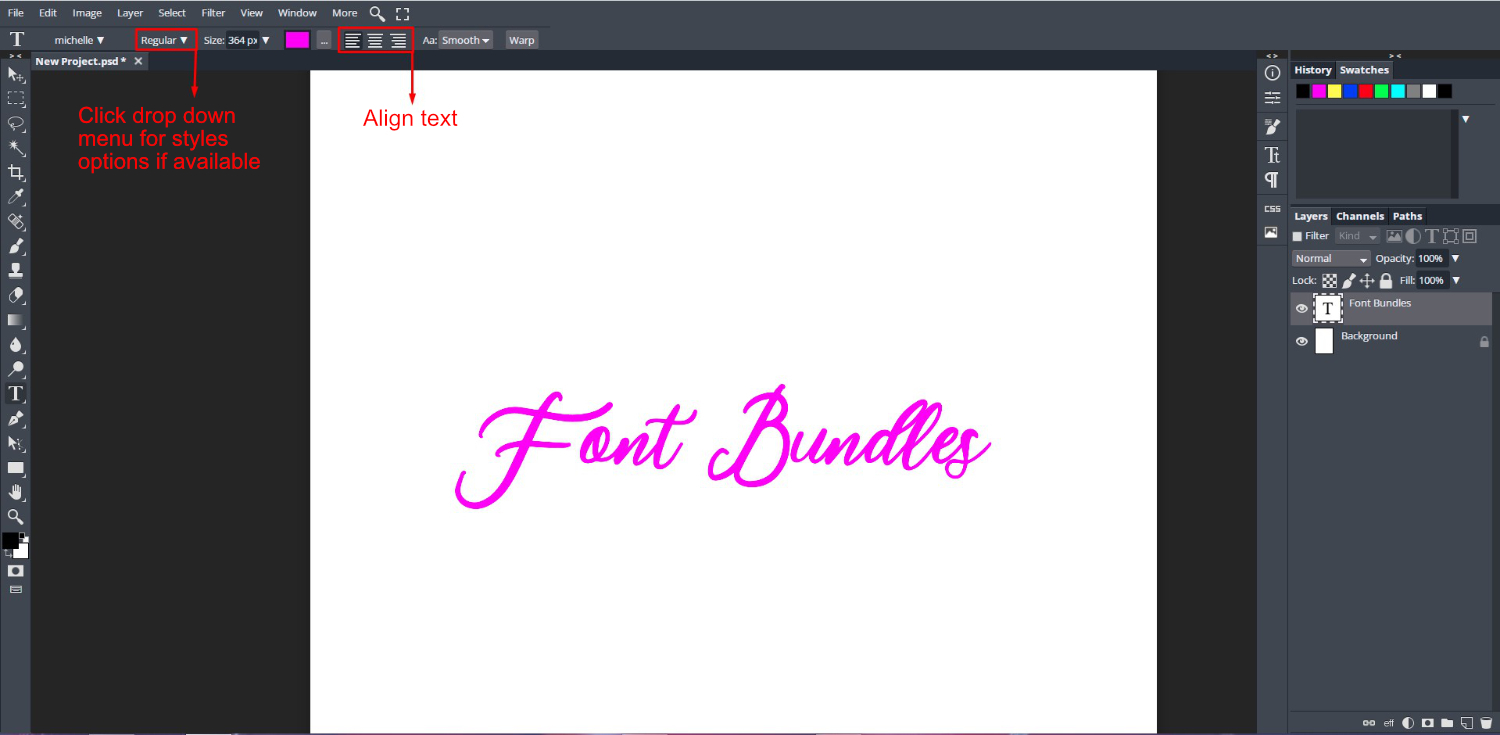
There are a few other editing options available in the text editing toolbar at the top. You can align the text or change the different text styles/emphasis that may be included in the font. These could be fonts included in duo or trio sets.
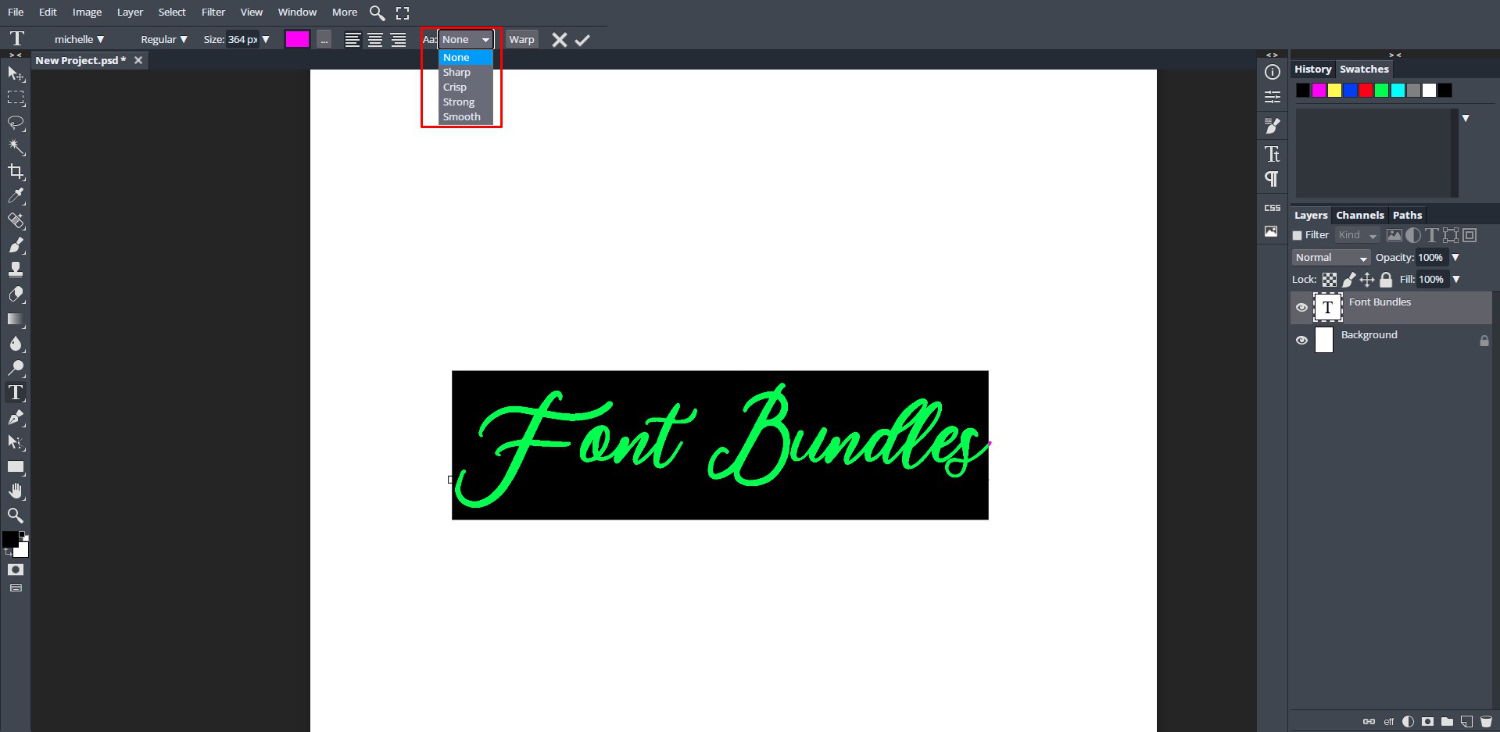
The Aa symbol has a drop down menu with options for smoothing or sharpening the text. This is especially useful for some text that may appear too rough. To apply, the text will need to be selected first.
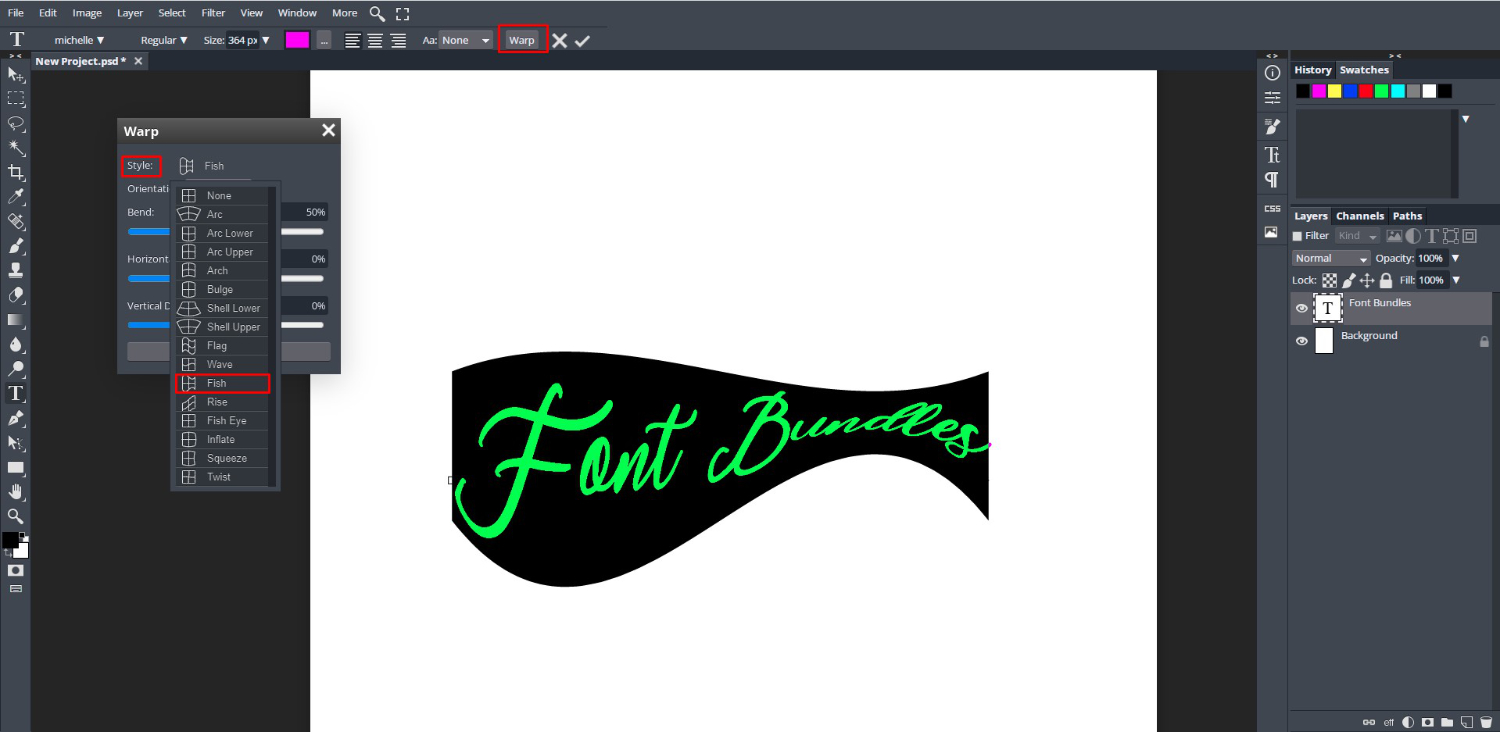
There is a very cool text edit option called Warp. To open the menu options click Warp at the top toolbar. Here you will find a selection of styles. We chose the Fish style and the text was warped into a fish shape.
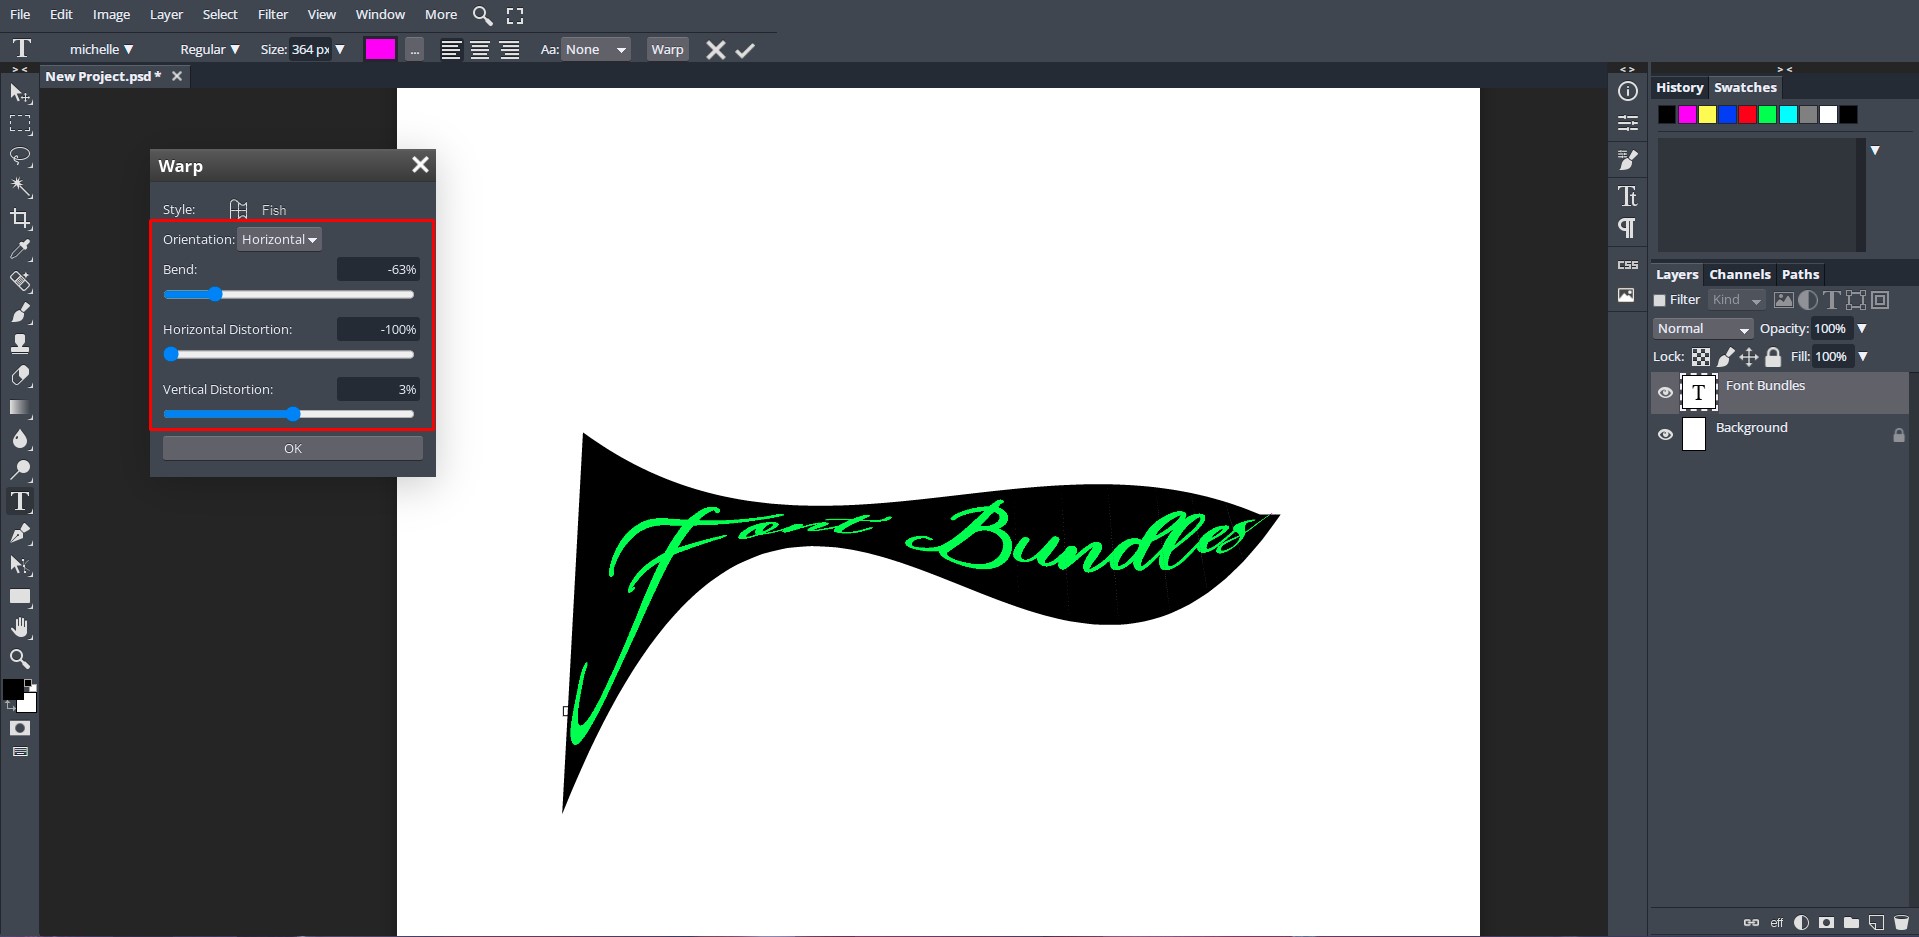
The Warp options can be adjusted to give some very interesting effects.
Step 6 - Use the Character Panel
The Character Panel contains most of the text editing options in one place. You can locate and open the panel by clicking on the “Tt” icon on the right side toolbar.
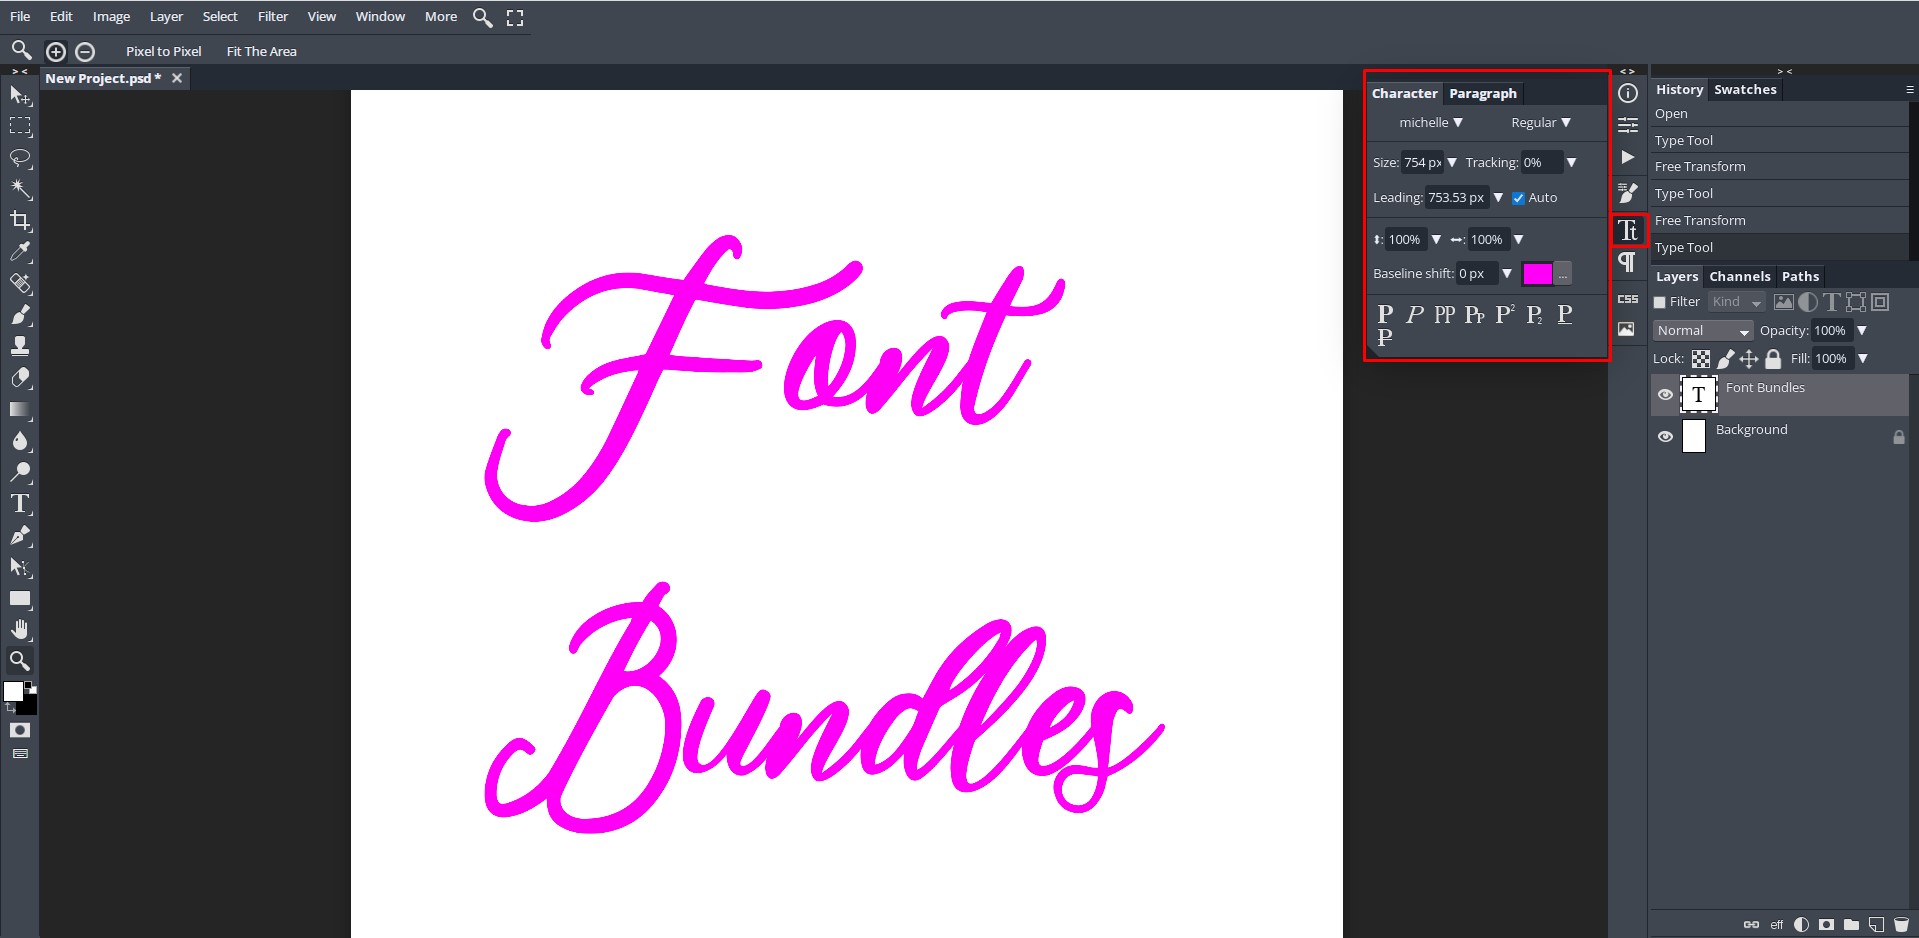
Here you will be able to change font leading, font type, size and color. The font Tracking can also be adjusted where the entire word or set of words is spaced out evenly.
![]()
Scale Vertically or Horizontally
In the Character Panel there is an option to Scale Vertically. The font will be scaled on a vertical basis giving an elongated look.
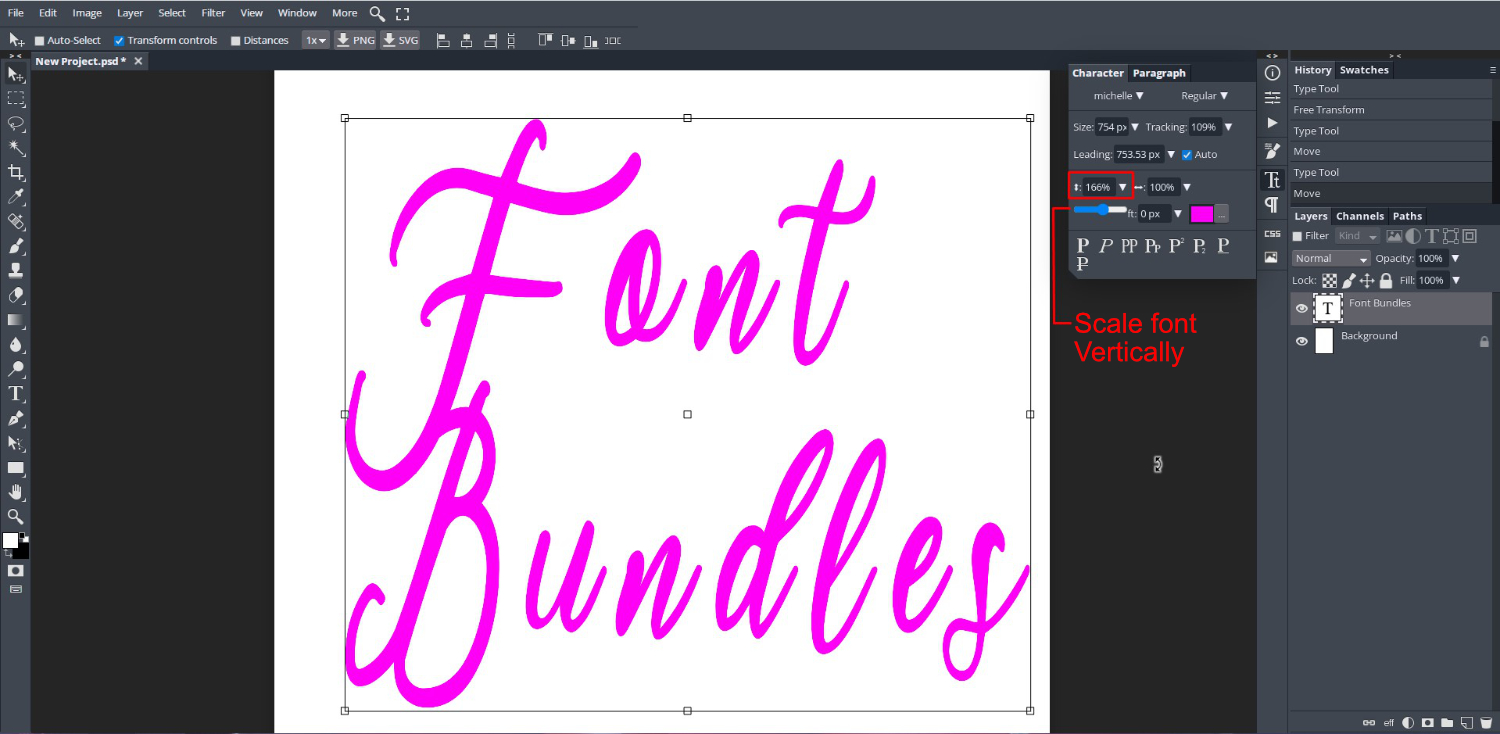
The Scale Horizontally option scales on a horizontal basis. The font is given a stretched out look in comparison to being scaled vertically.

Baseline Shift
The baseline is the invisible line on which your text sits. The Baseline Shift option is a great tool for fine tuning your text by either shifting it up or down. The text will shift according to how the font is designed and how it sits on the baseline.
When you increase the baseline number, the characters move up from the baseline. When decreasing the value, the characters move down towards the baseline.
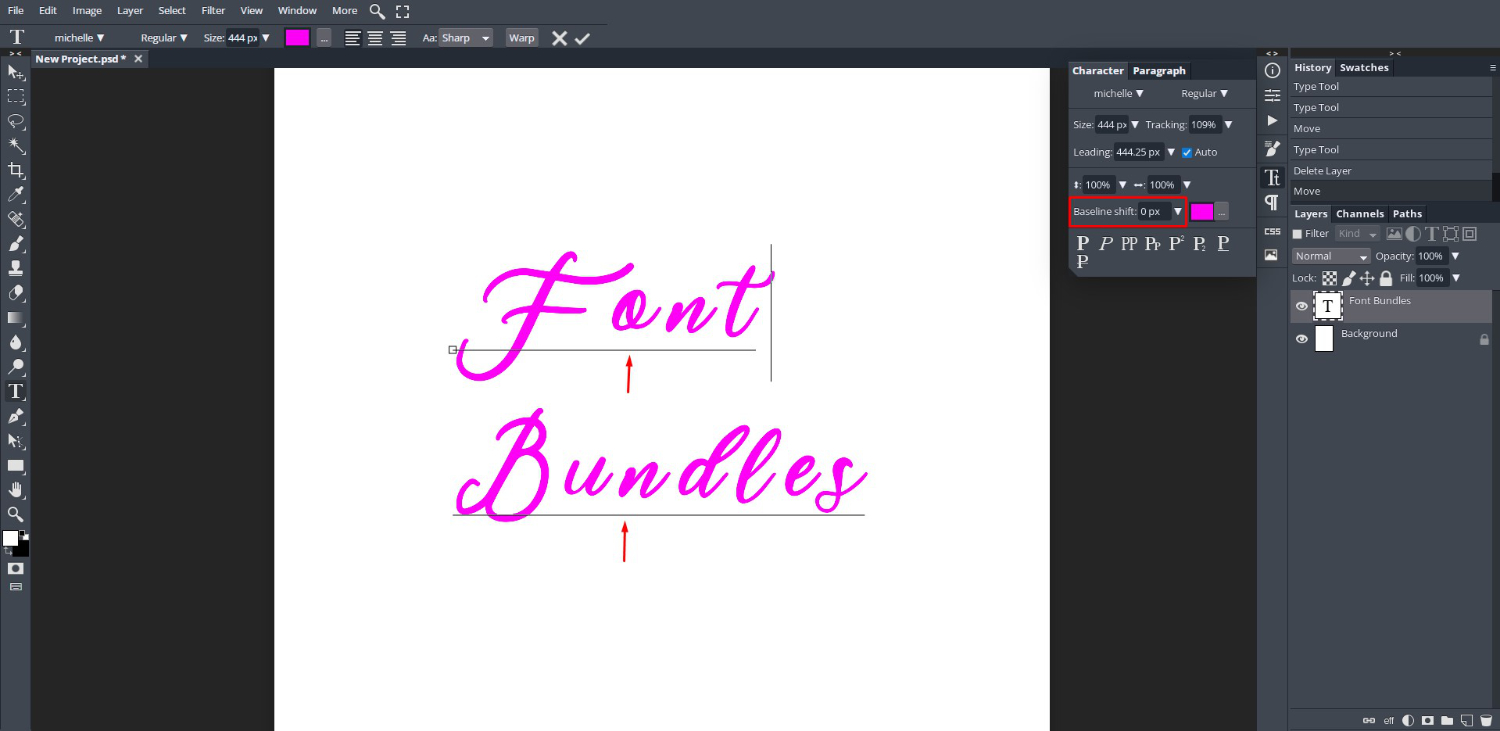
To adjust the Baseline Shift, all of the text needs to be highlighted. You can also just move selected characters by highlighting them. Then move the Baseline Shift slider either left to increase distance from baseline or right to decrease distance.
The maximum for either side is -10px and 10px. However, you can input a value of your choice. In the image below we shifted the “B” in “Bundles” up by 20px.

Last in the Character Panel are the emphasis options. These include Bold, Italics, Underline, Strikethrough and more.
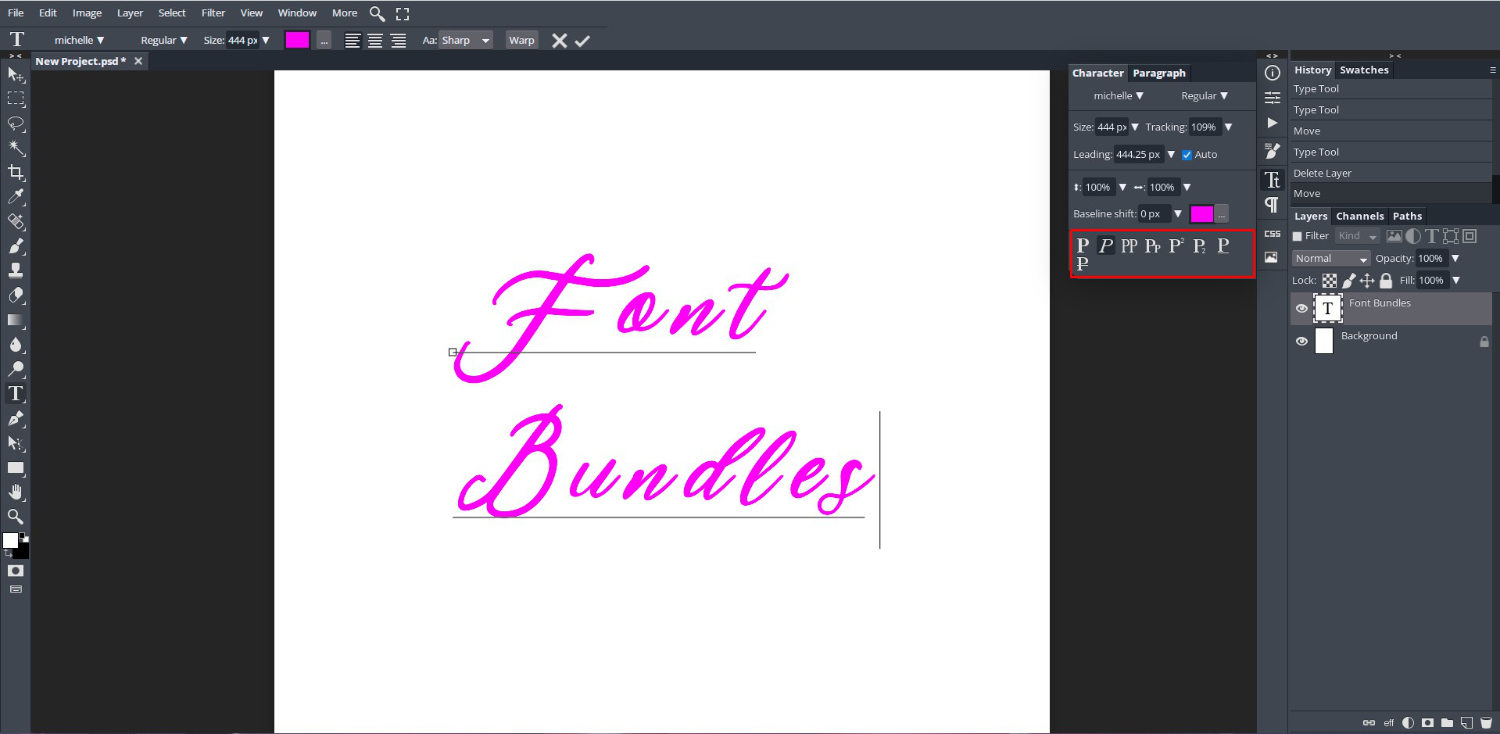
Take your text editing a step further by adding font glyphs to give your text more character. Glyphs can be cute designs or fancy swirls. If you want to create impact with your text, try creating an offset stroke to make it stand out more.
We hope this tutorial on text basics in DesignScape has been a helpful guide on how to use text. Explore and experiment with the array of tools in DesignScape to enhance your text. You can even add your text to Pinterest templates in DesignScape.


