- By Design Bundles
- 5 Mins
- Illustrator Tutorials
3D Cut-Out Art in Illustrator
1 - In Illustrator, create a “New Document”.
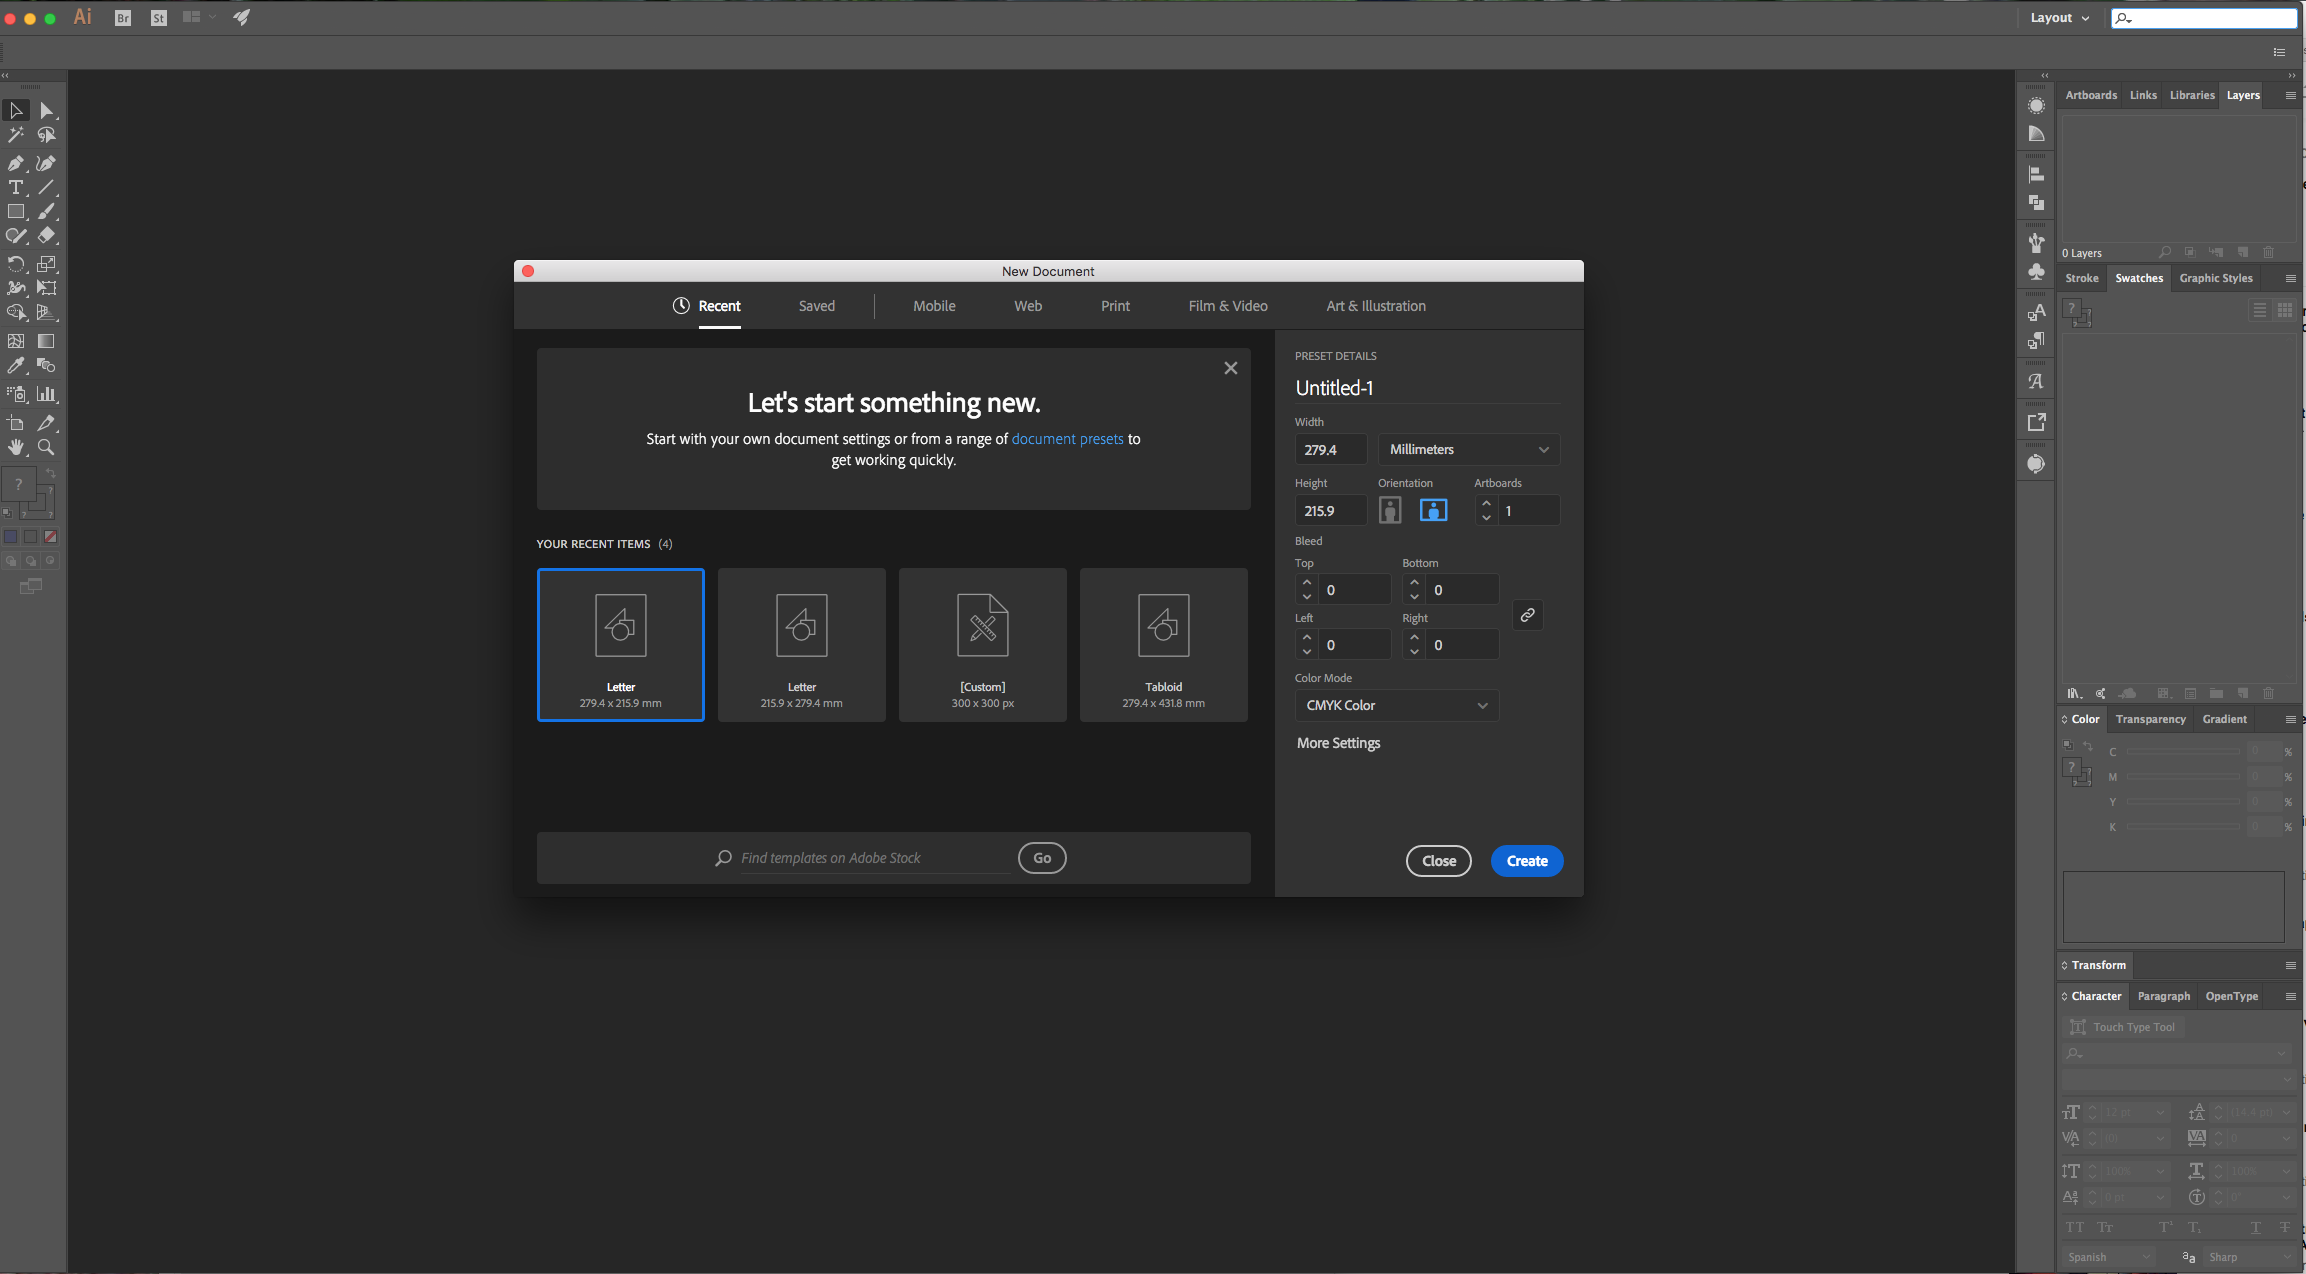
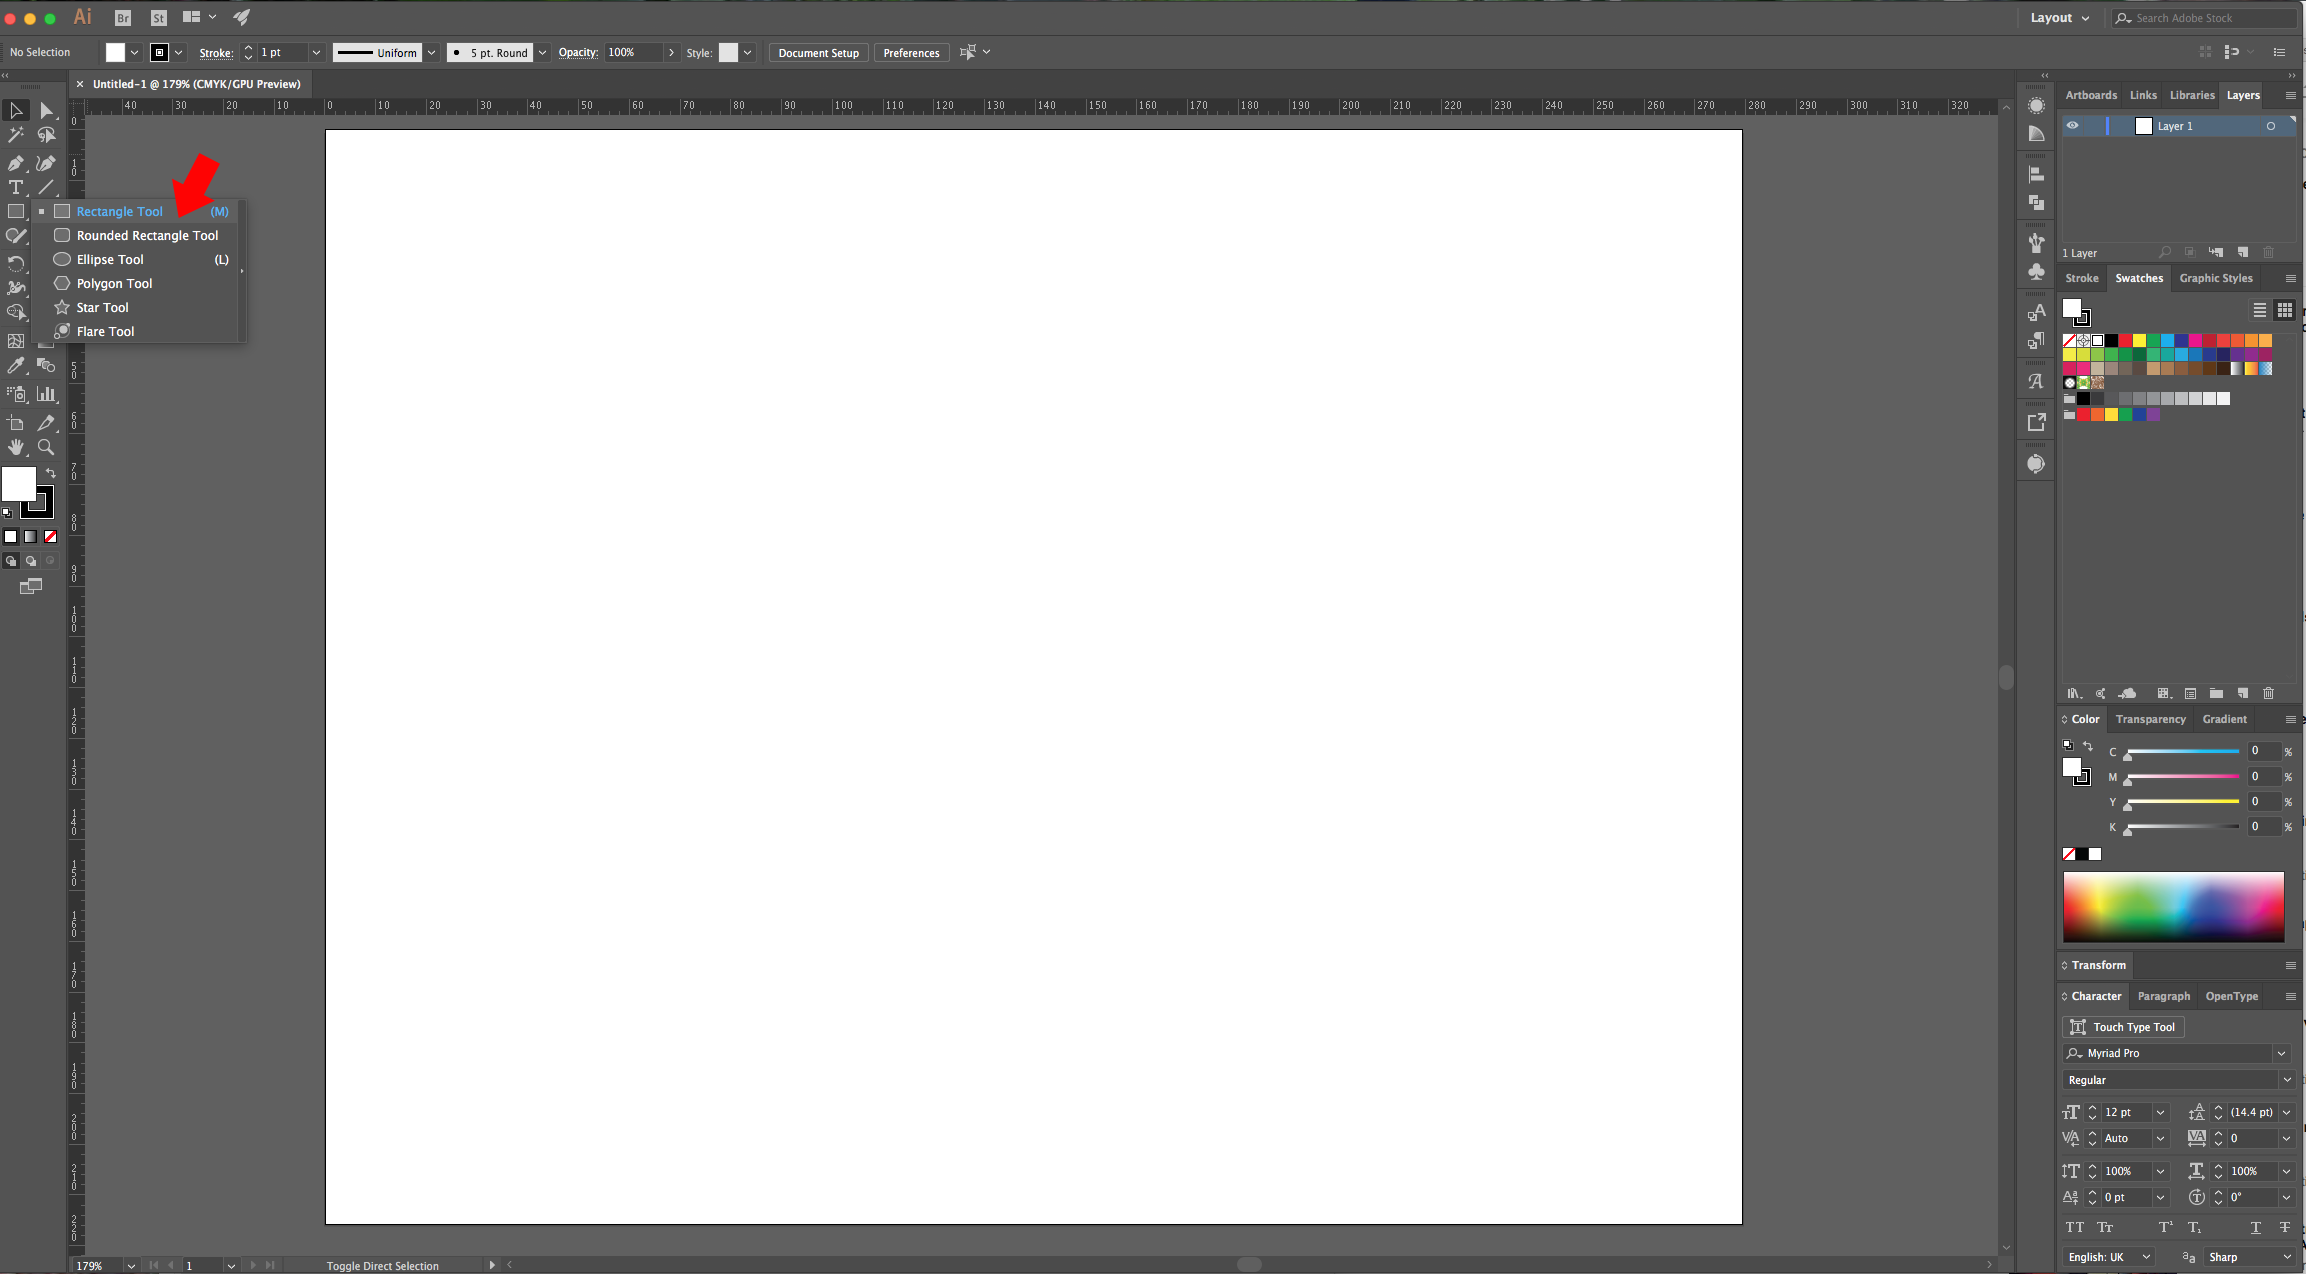
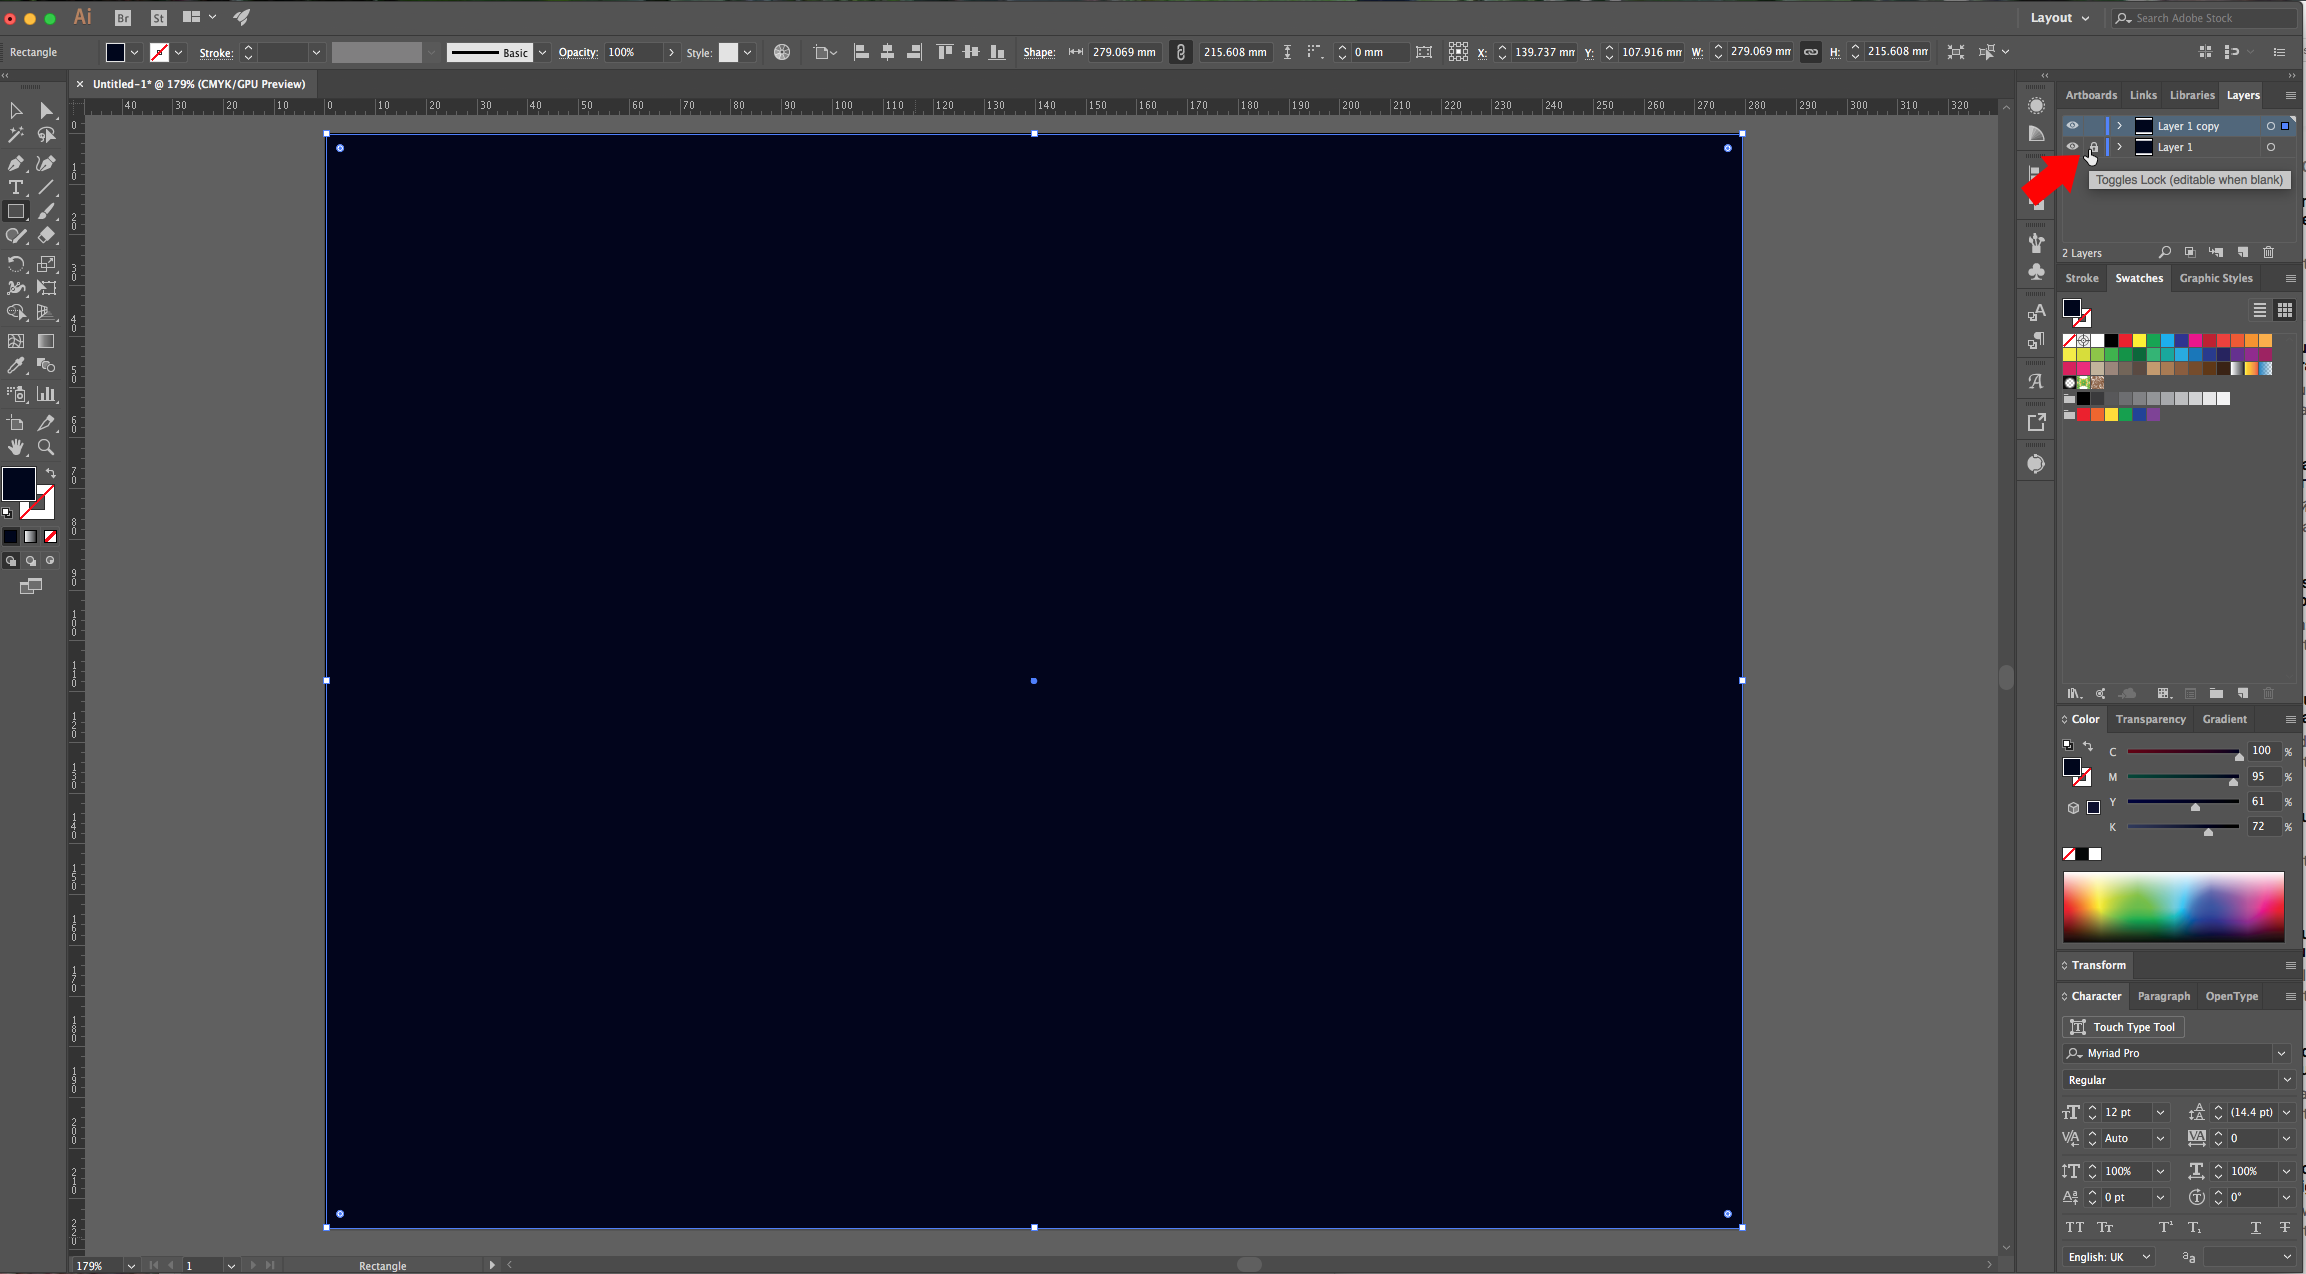
2 - Select the “Rectangle Tool” (M), draw a rectangle that covers all your document and fill it with the color of your choice (we used #00001d).
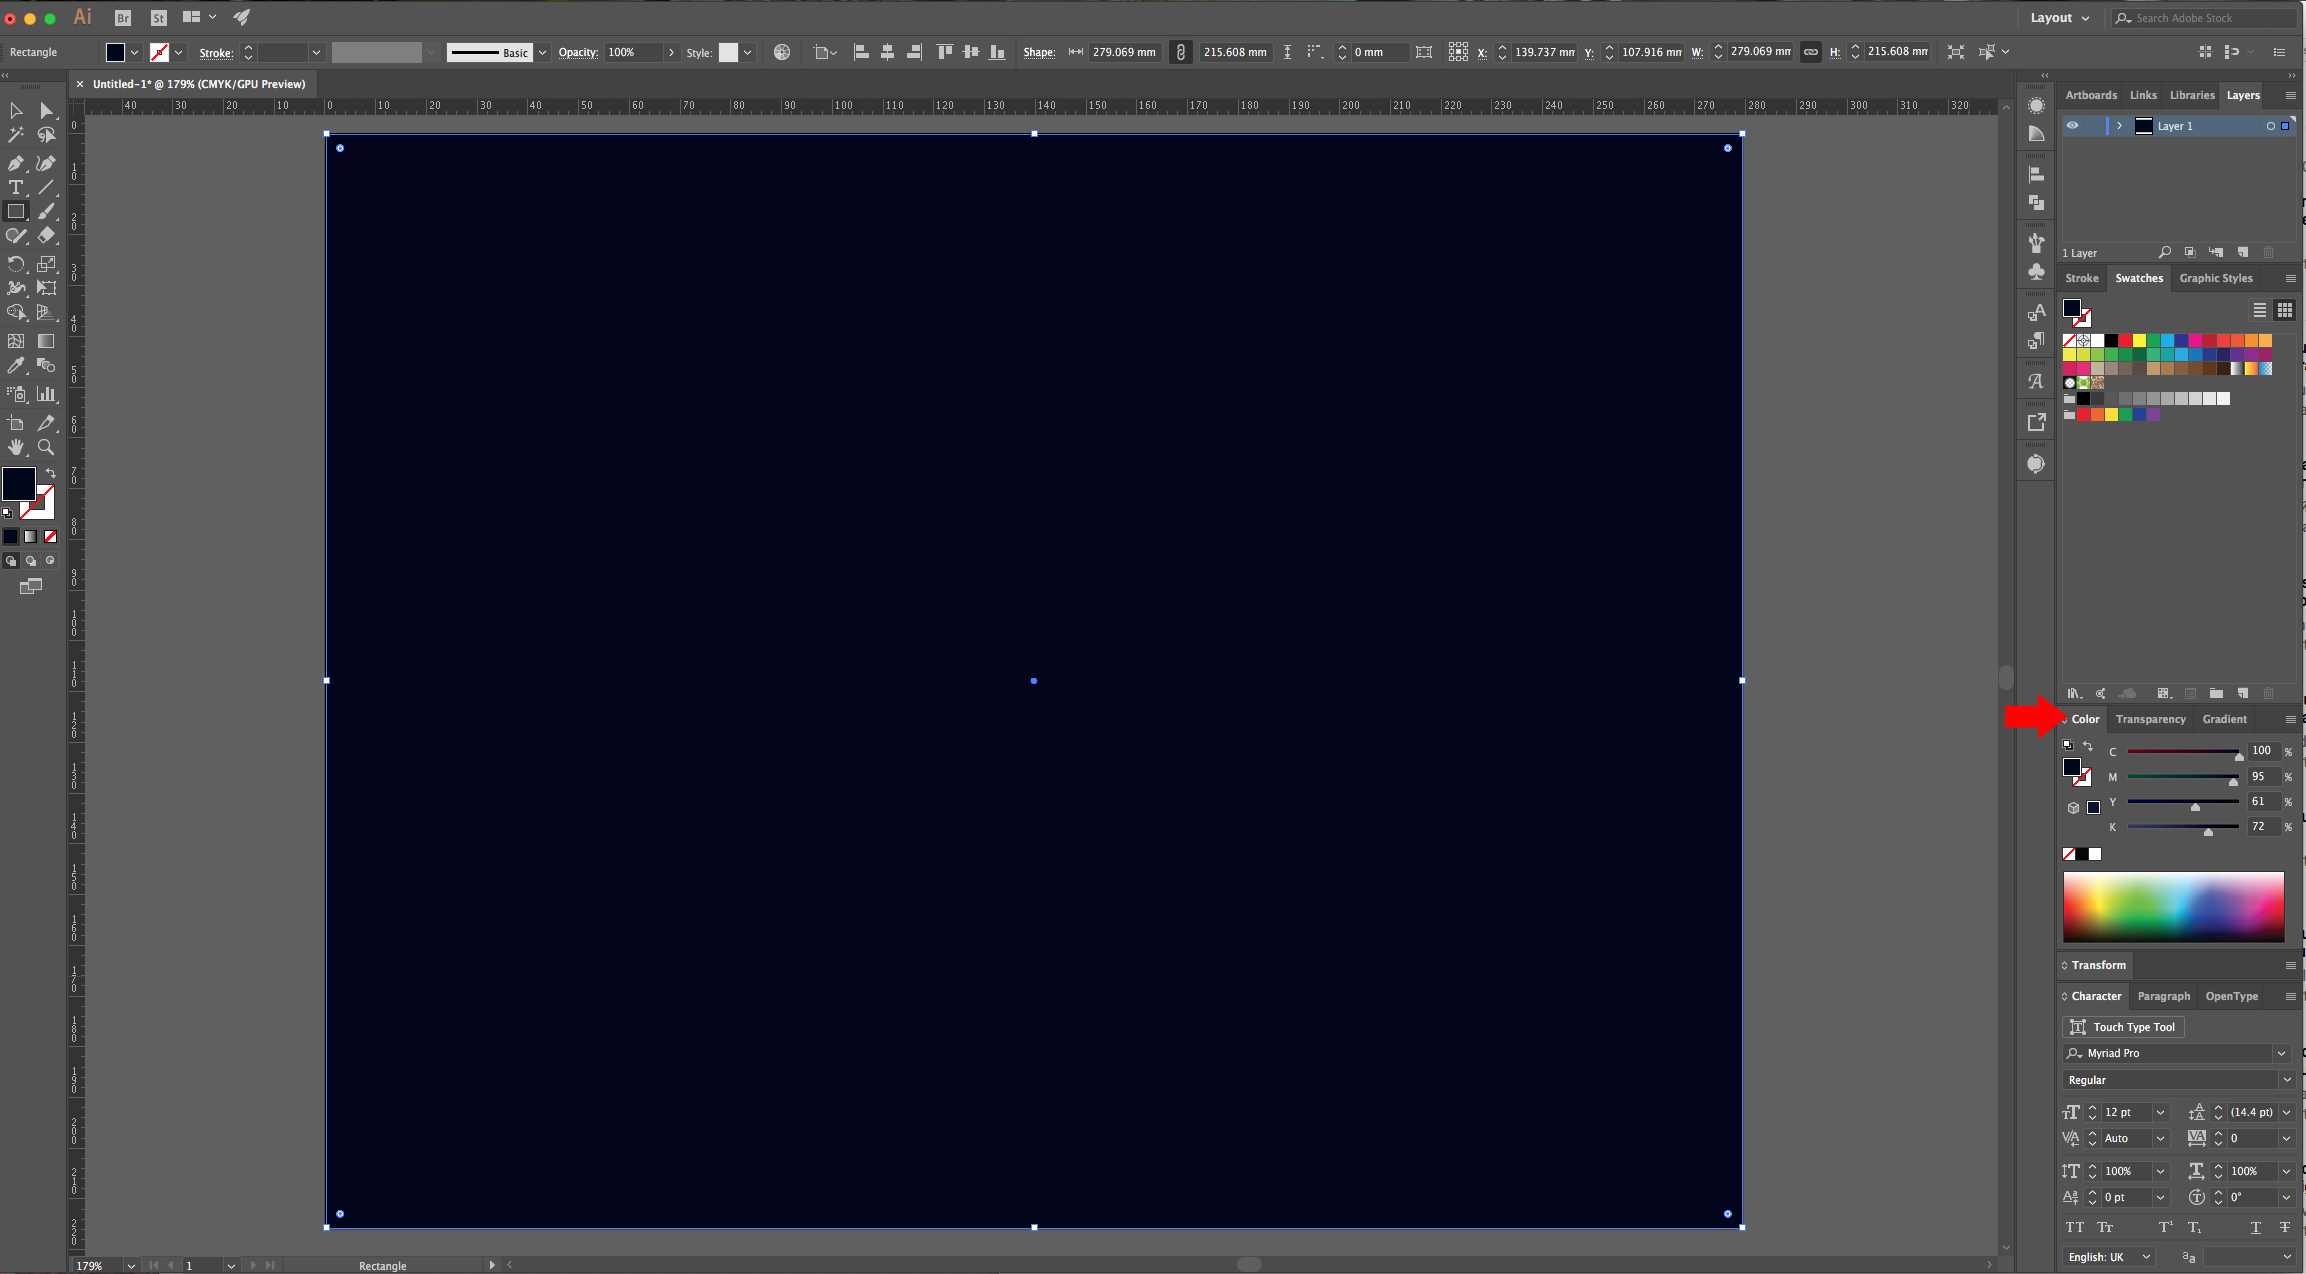
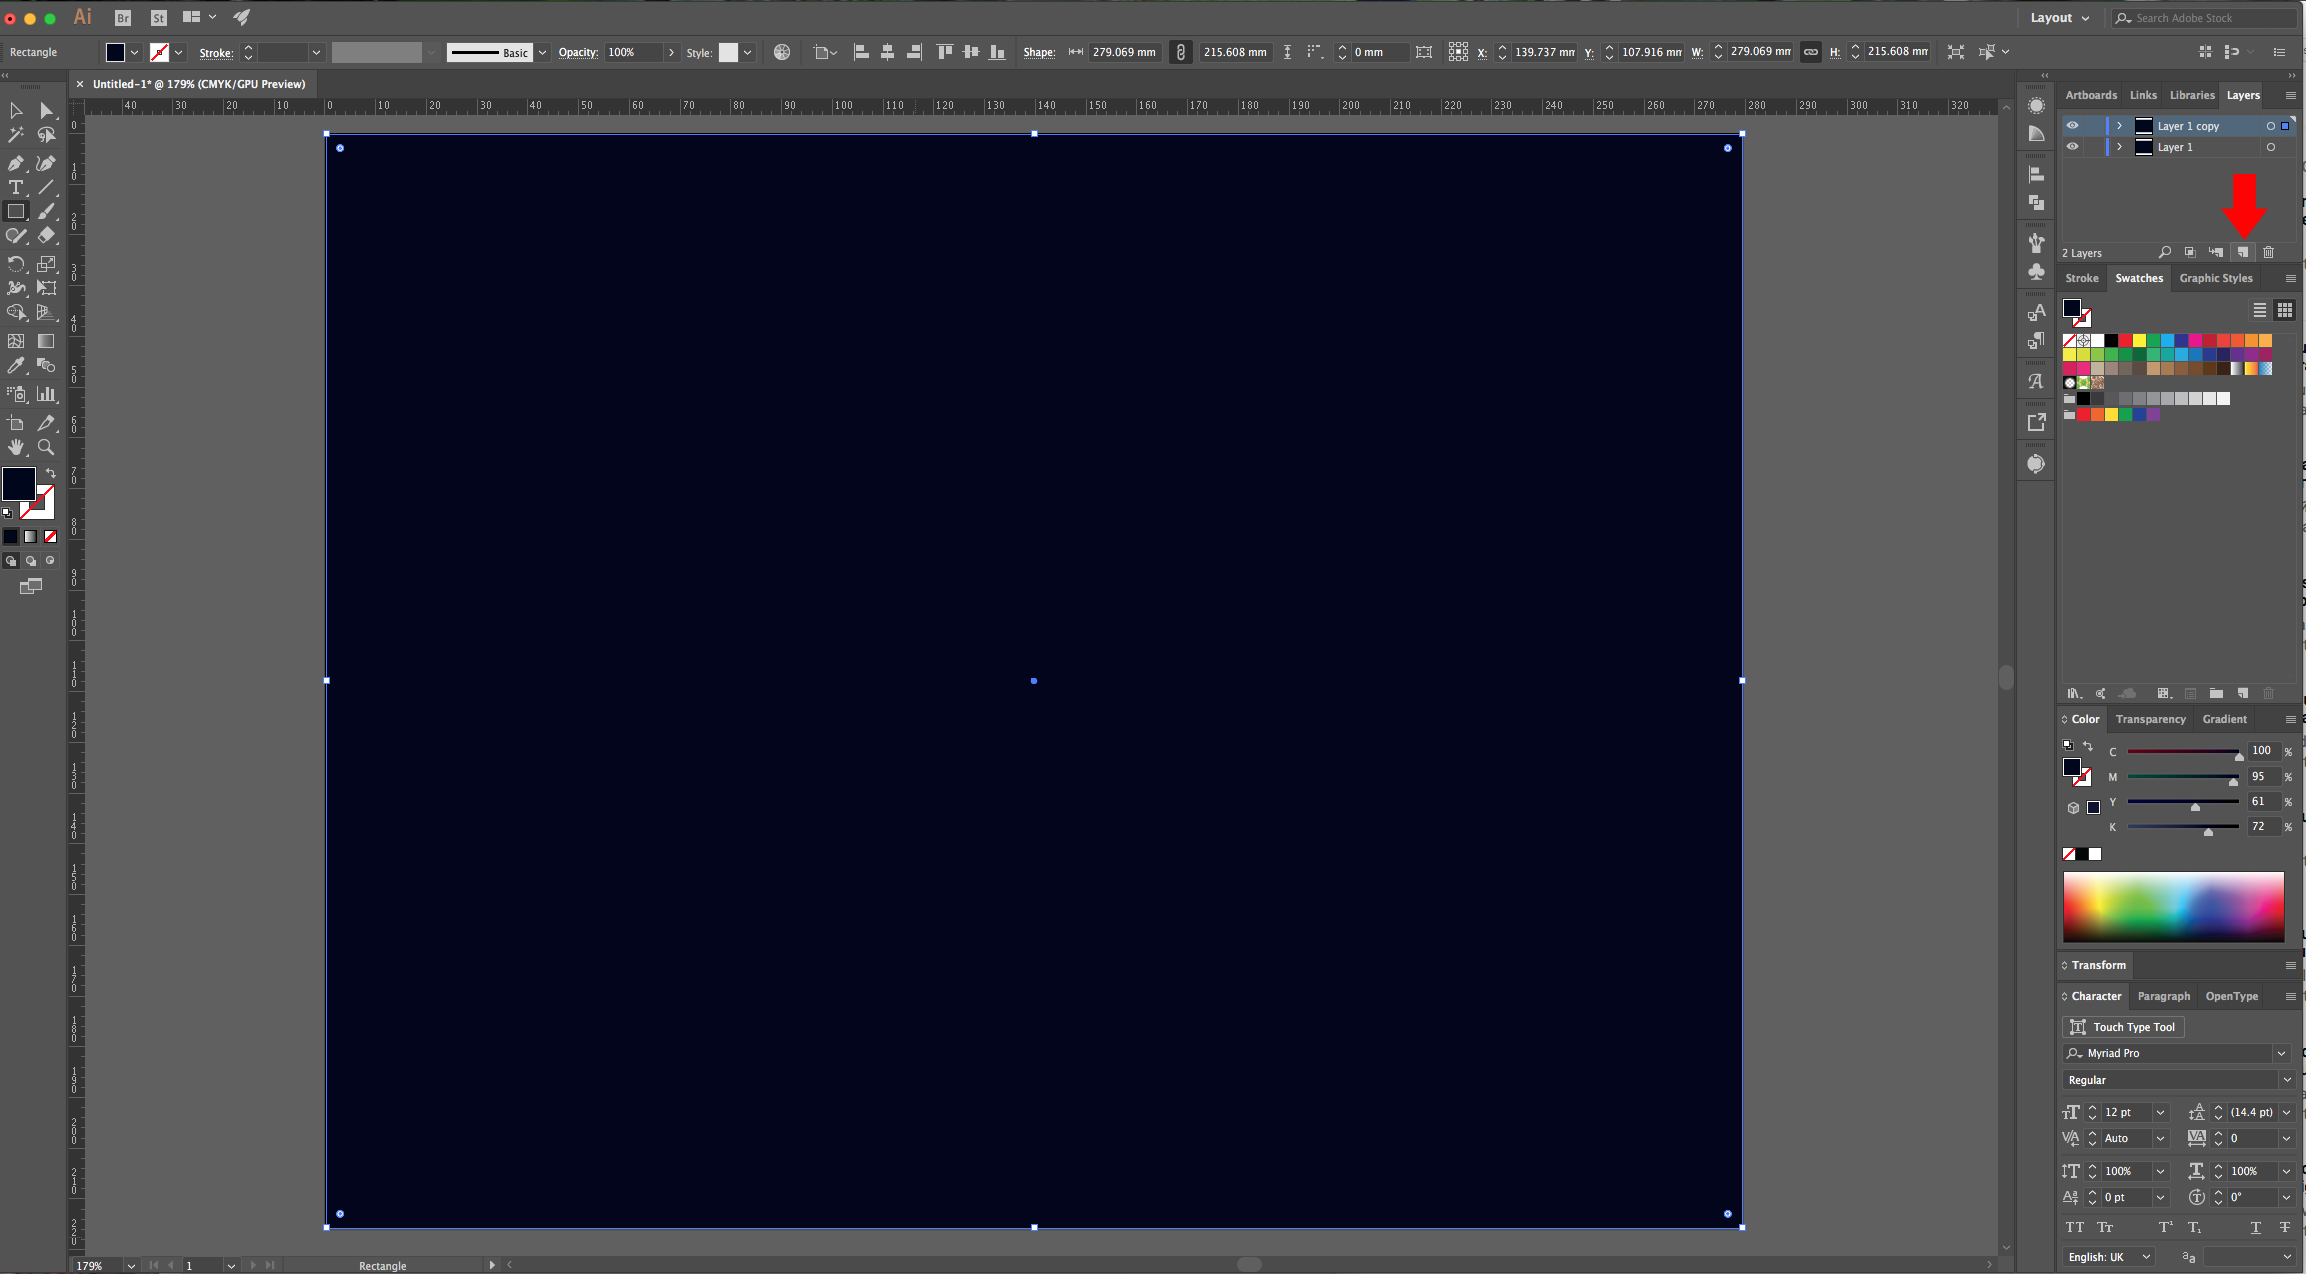
3 - Drag your Layer to the small “Create New Layer” button at the bottom of the “Layers Panel” to “Duplicate” it. Lock your bottom Layer by clicking on the left side of its thumbnail in the “Layers Panel” and bringing out the small padlock icon.
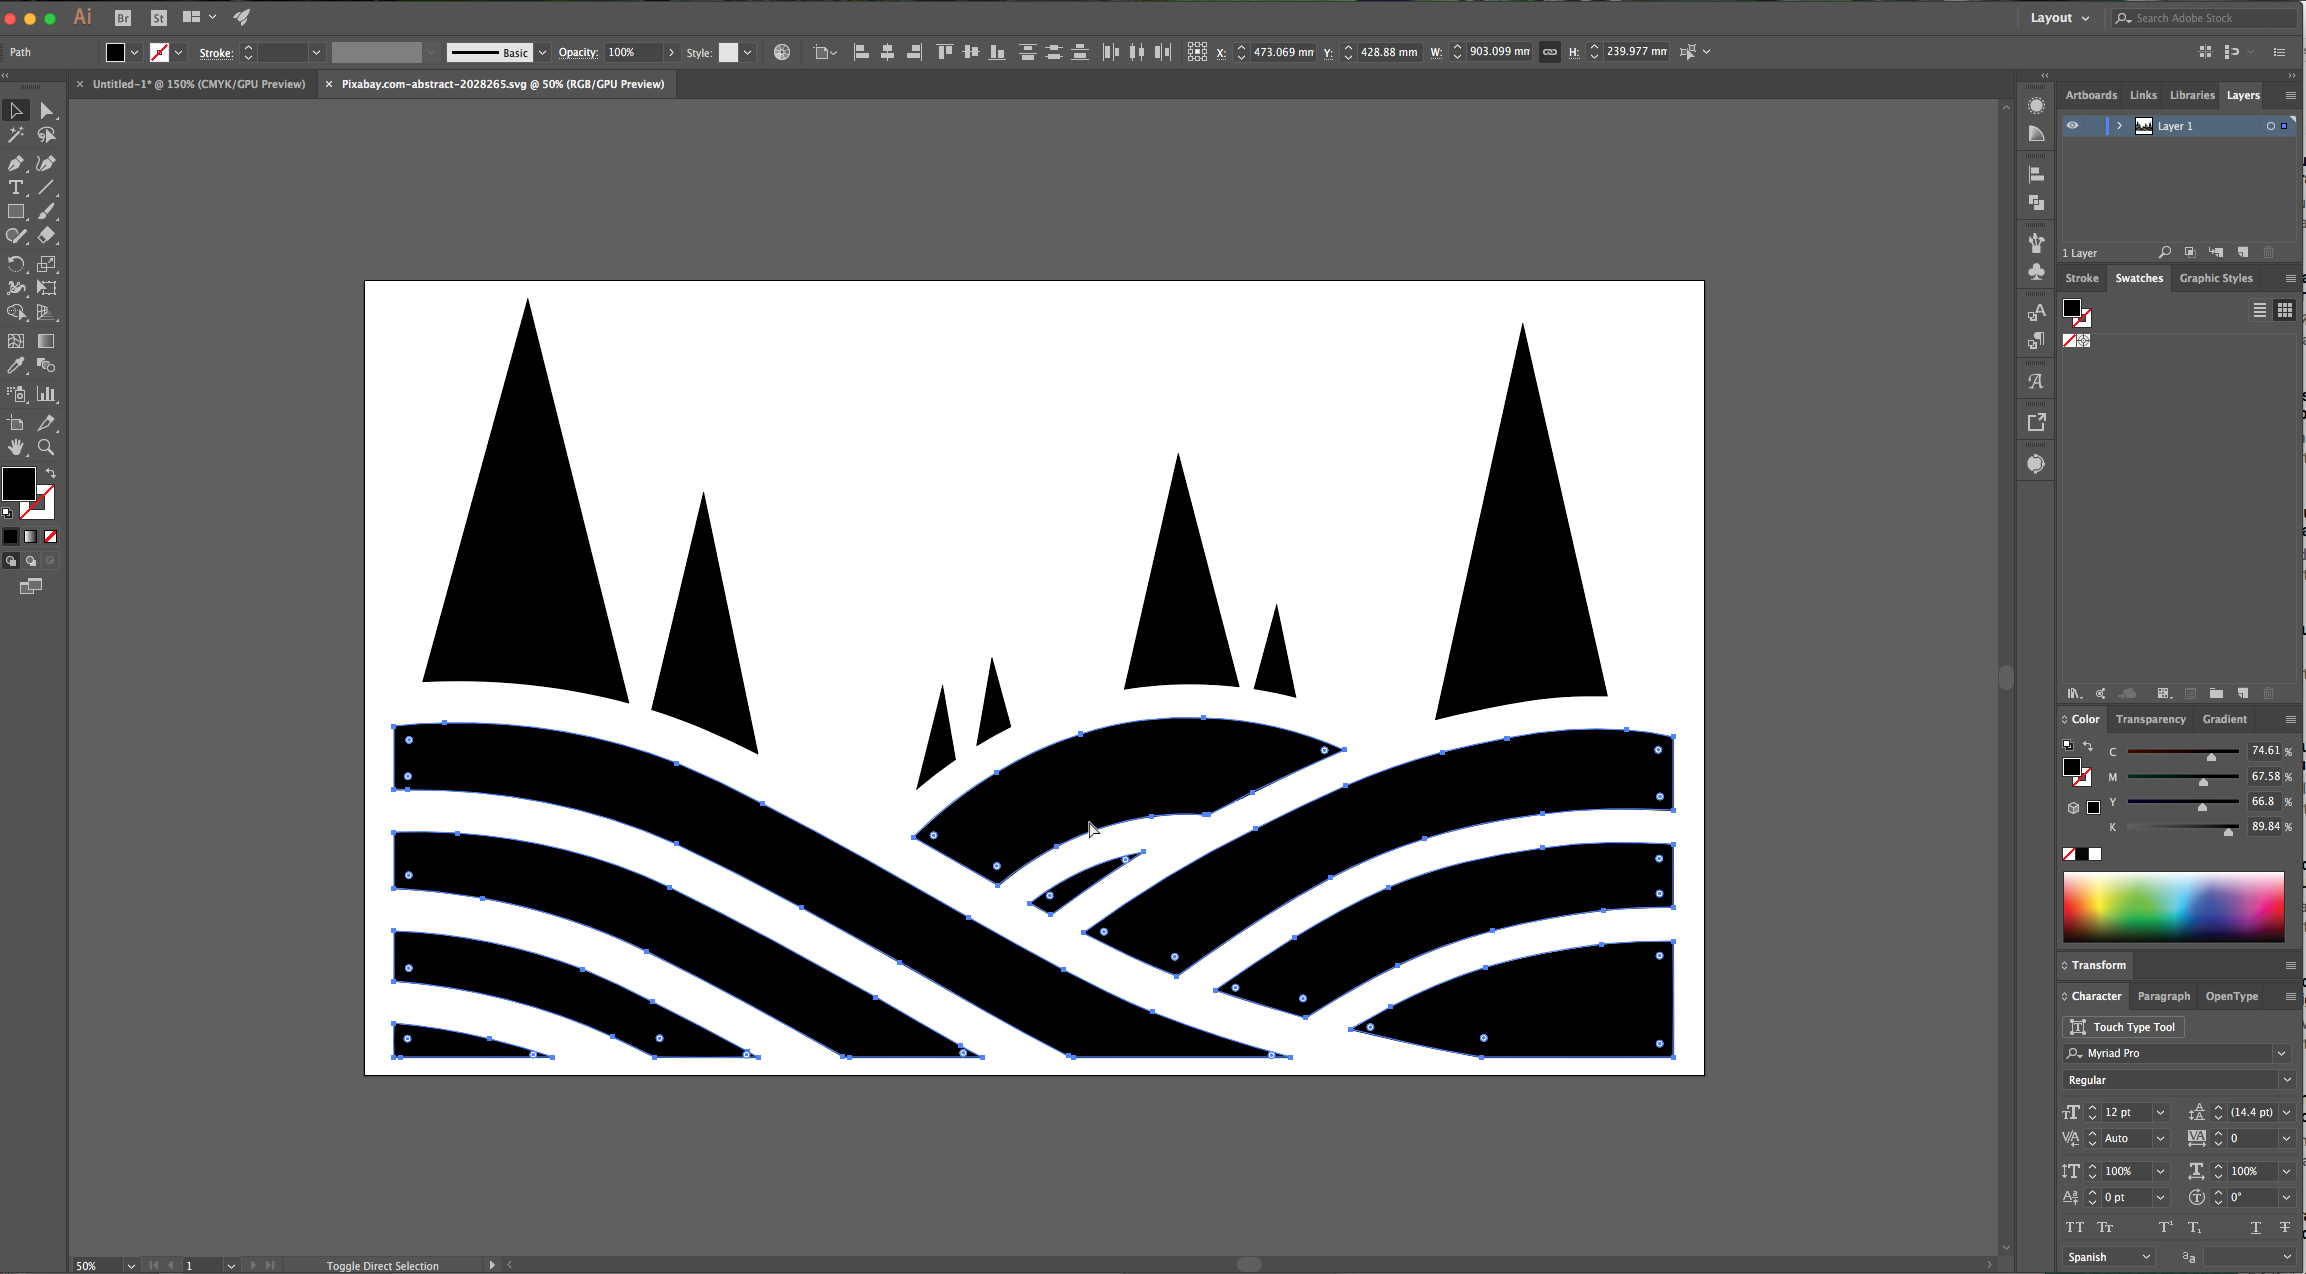
4 - Open one of the “Waves” vector file, “Copy” (Command/Control + C) the portions you want to use and “Paste” them (Command/Control + V) into your document.
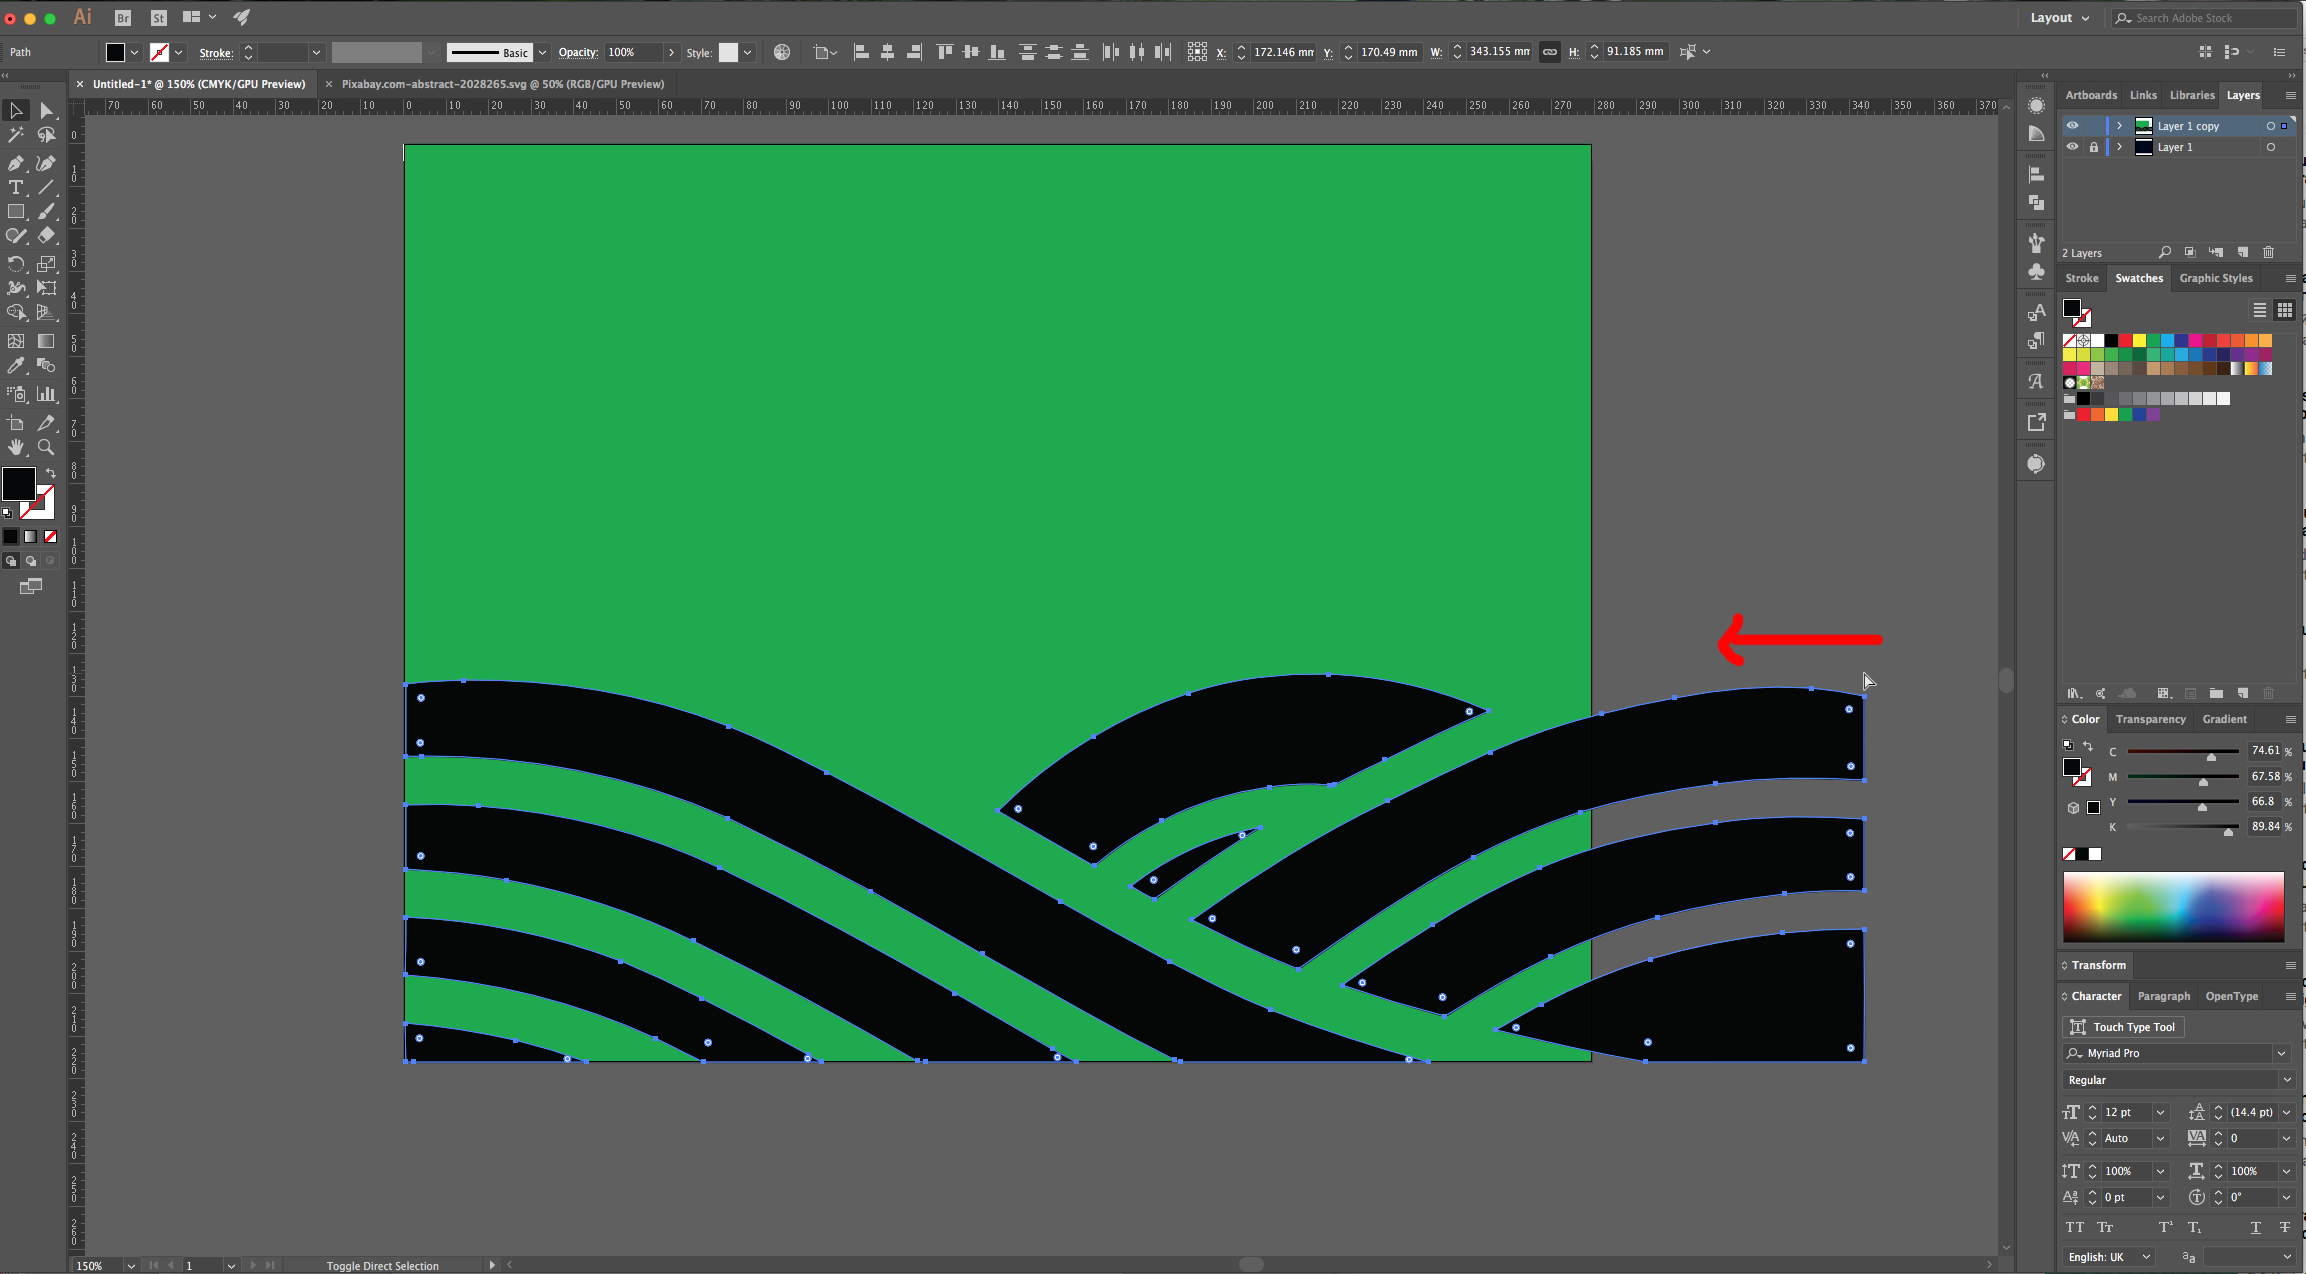
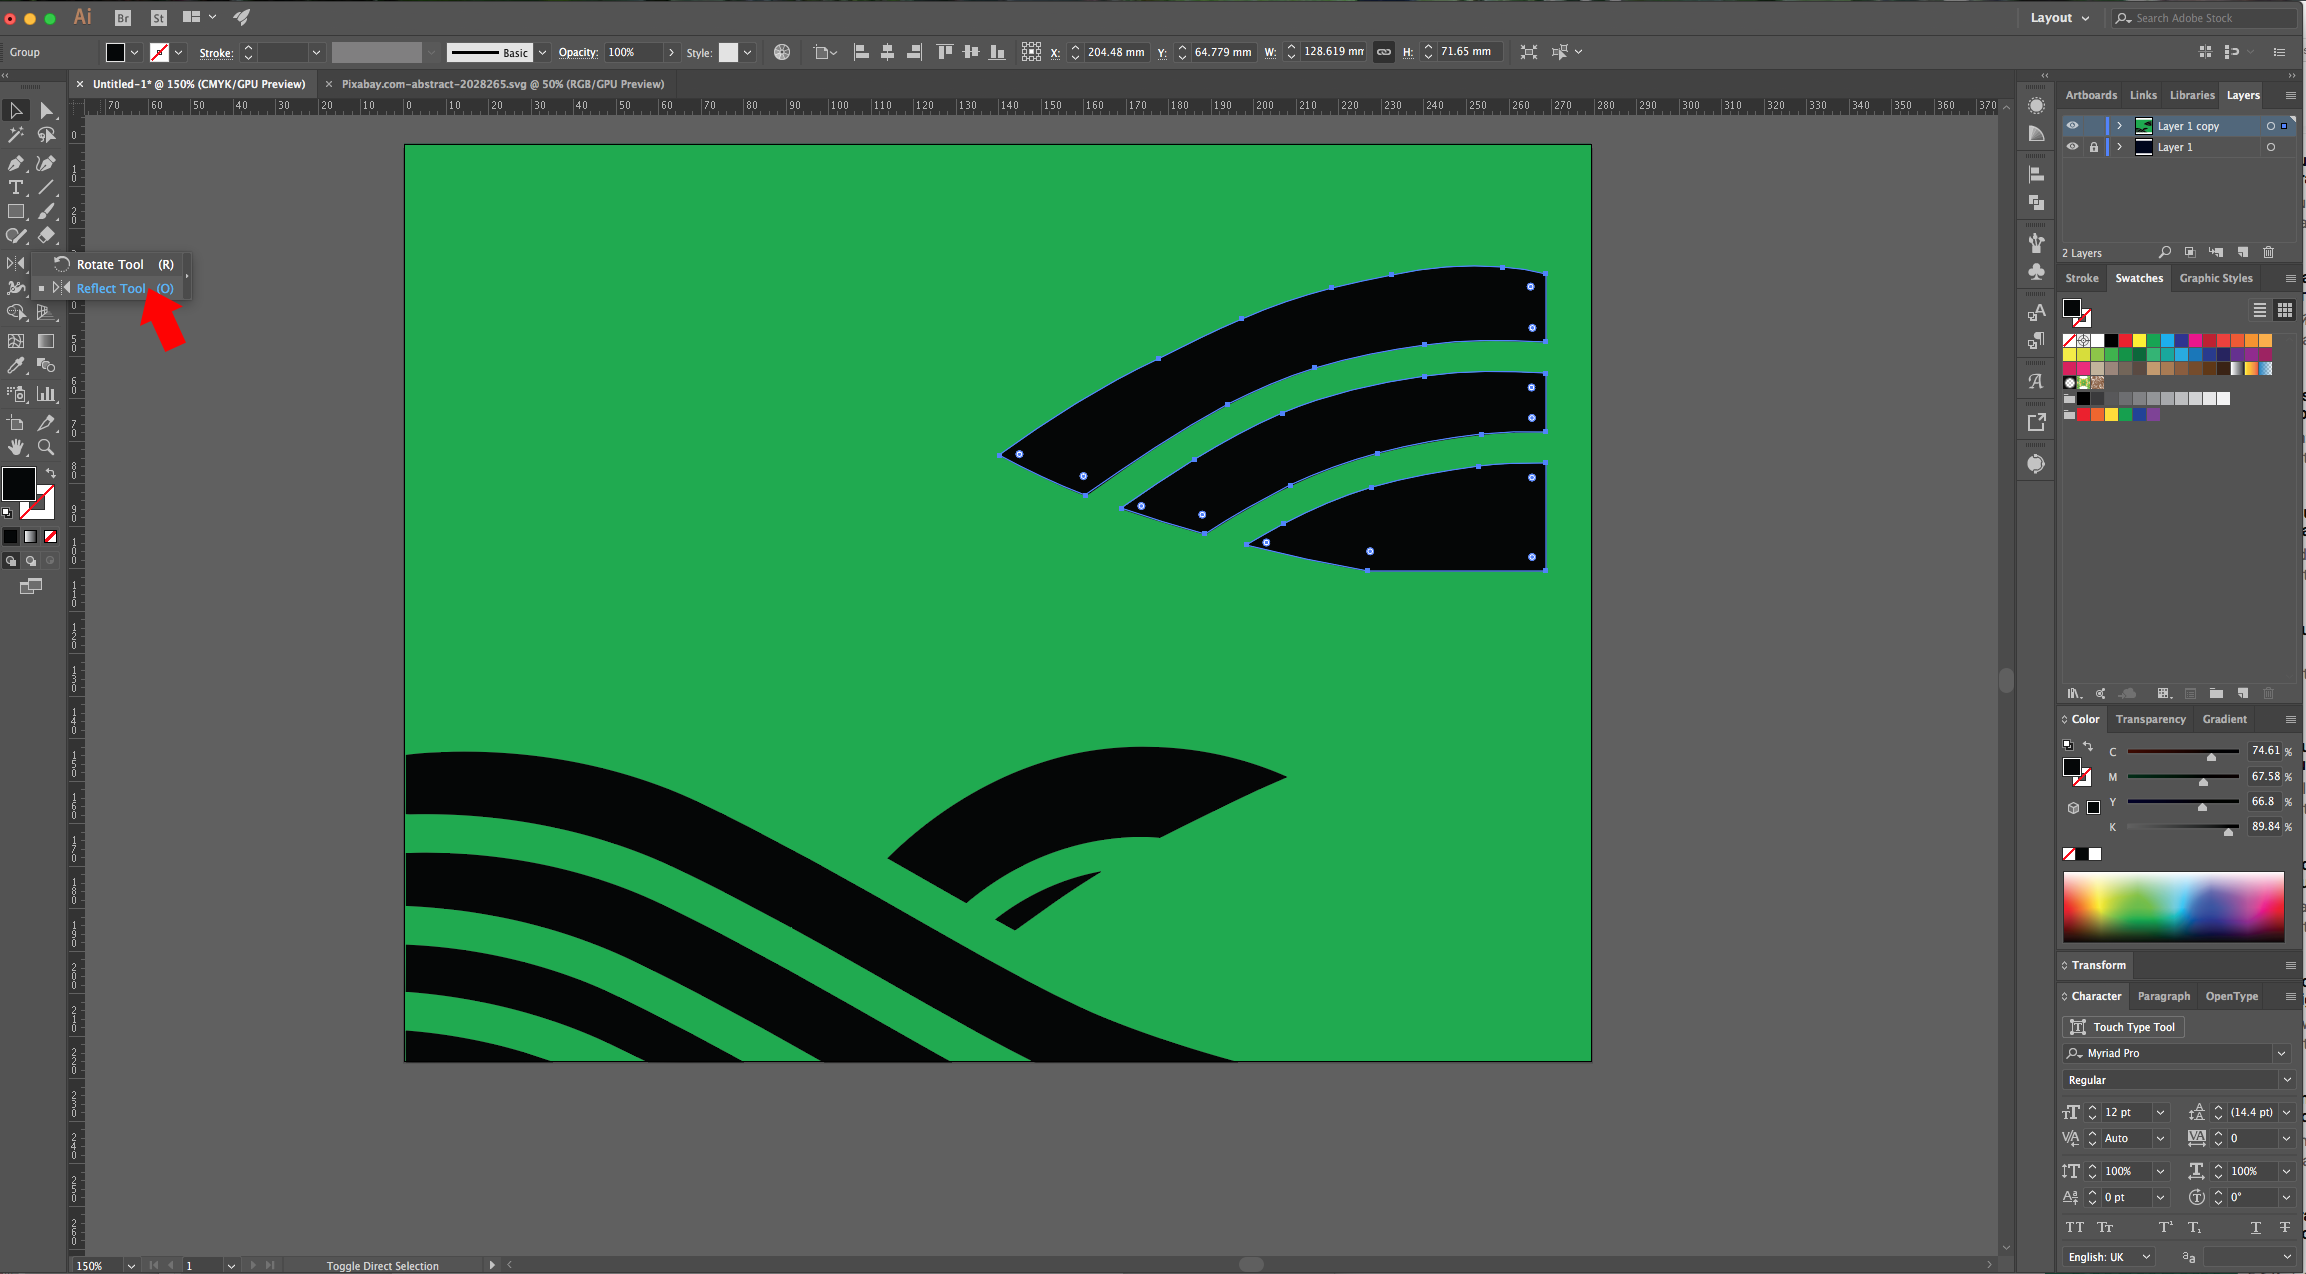
5 - You may need to Re-size, arrange and/or Rotate or Reflect them to get the results you want. Change the “Fill” color of your second Layer (we used #05aa34).
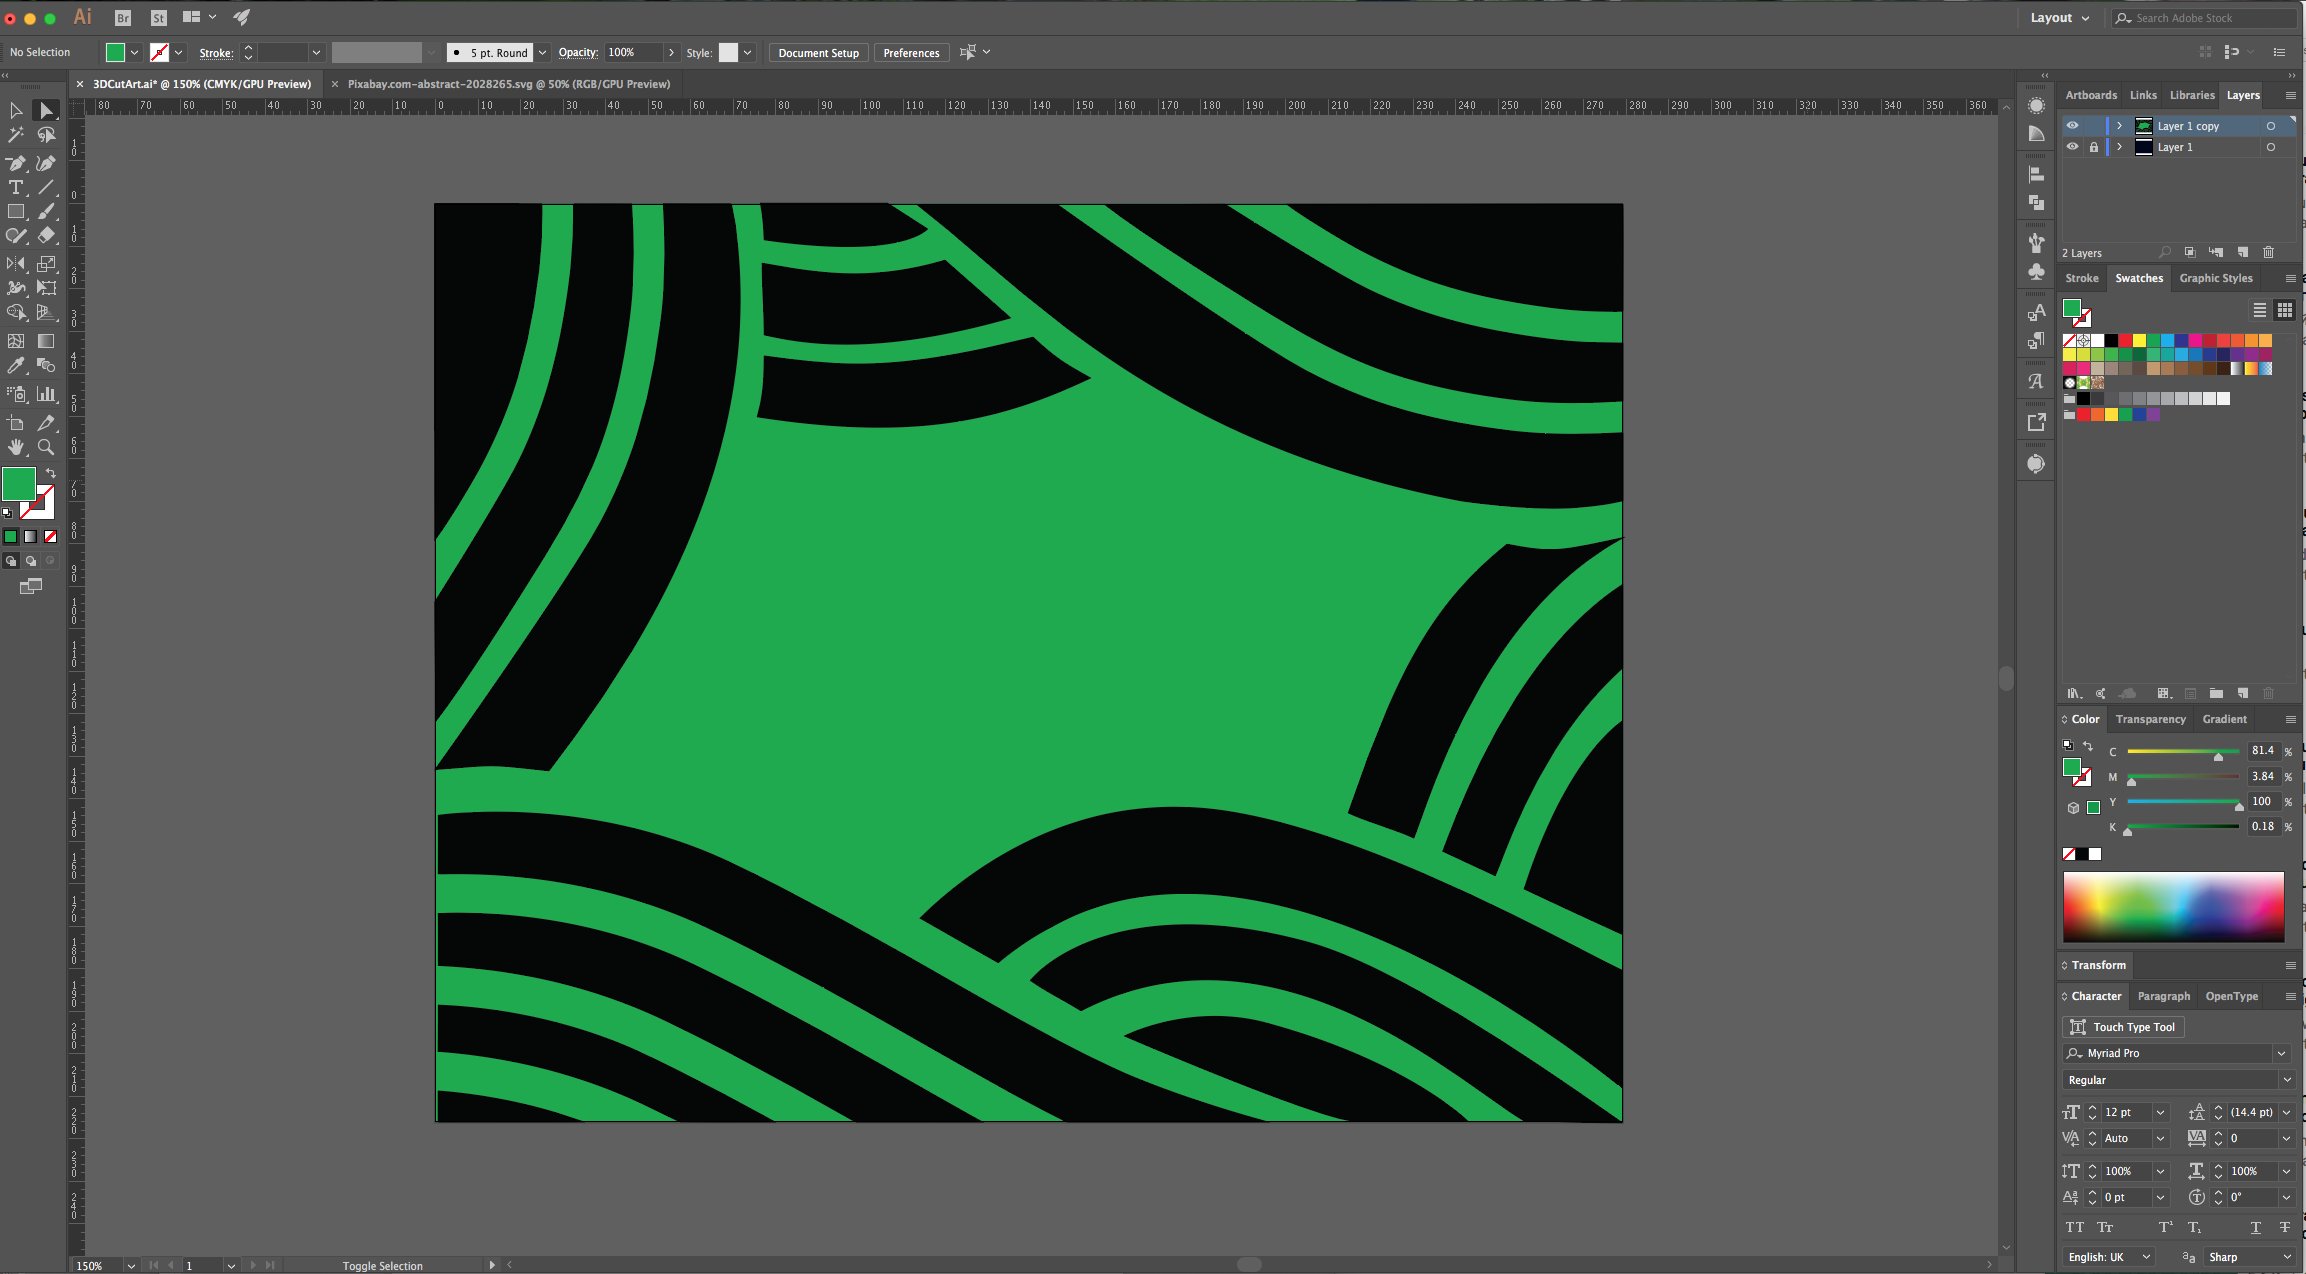
6 - Select all your “Wave” pieces and “Group” them together (Command/Control + G). Then, make a “Copy”, “Paste it in Place” Shift + Command/Control + V) in another Layer and hide it by clicking on the small eye icon left of its thumbnail for now.
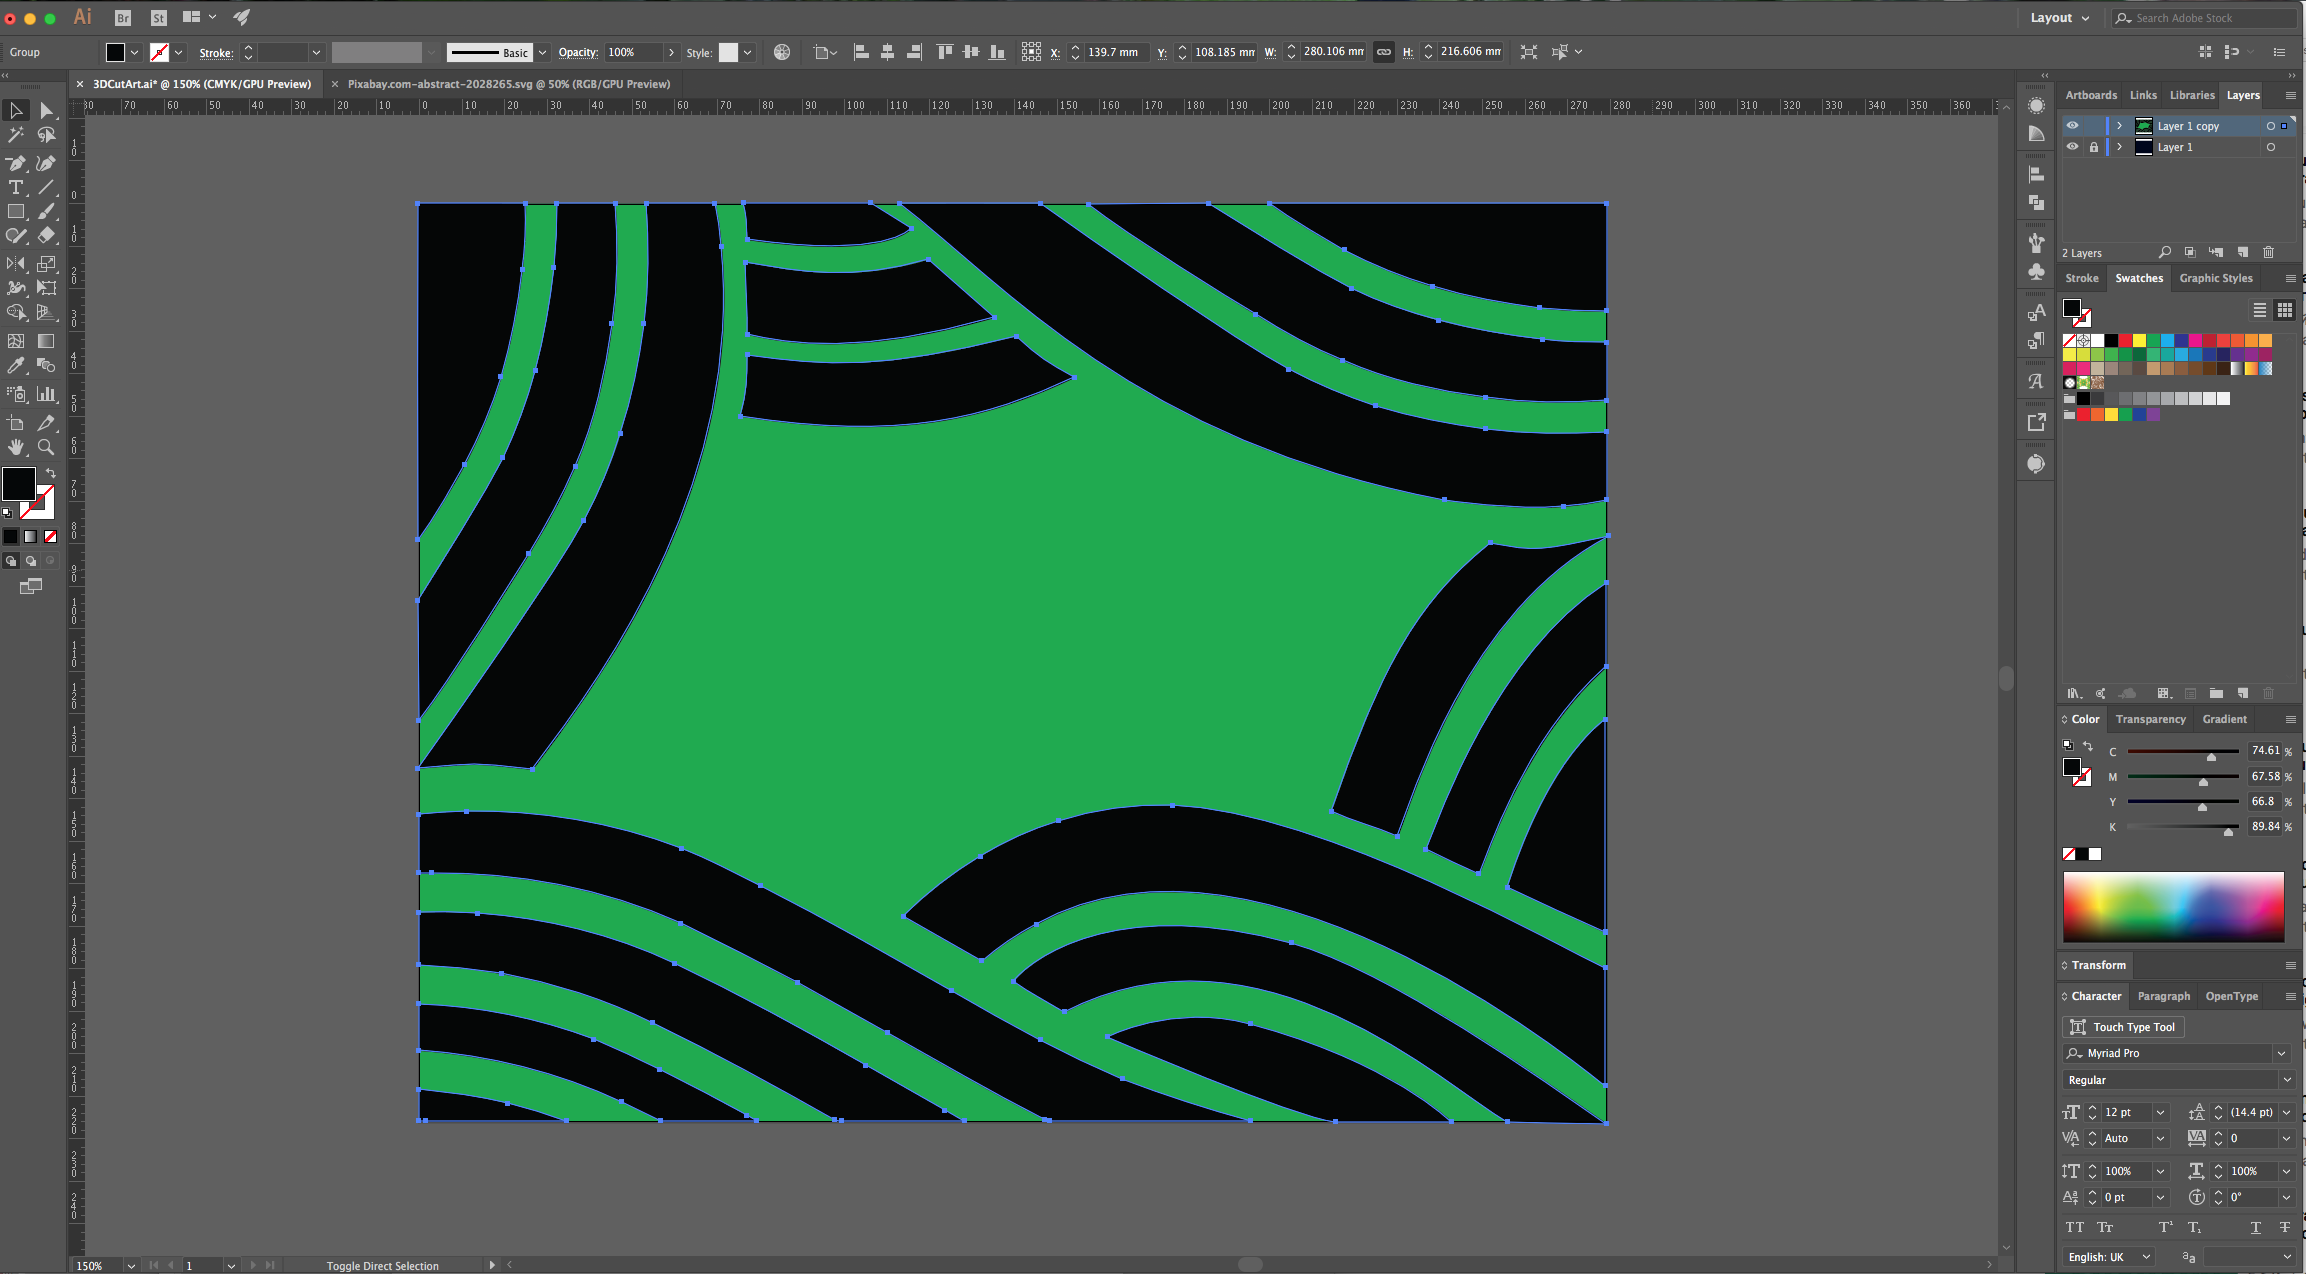
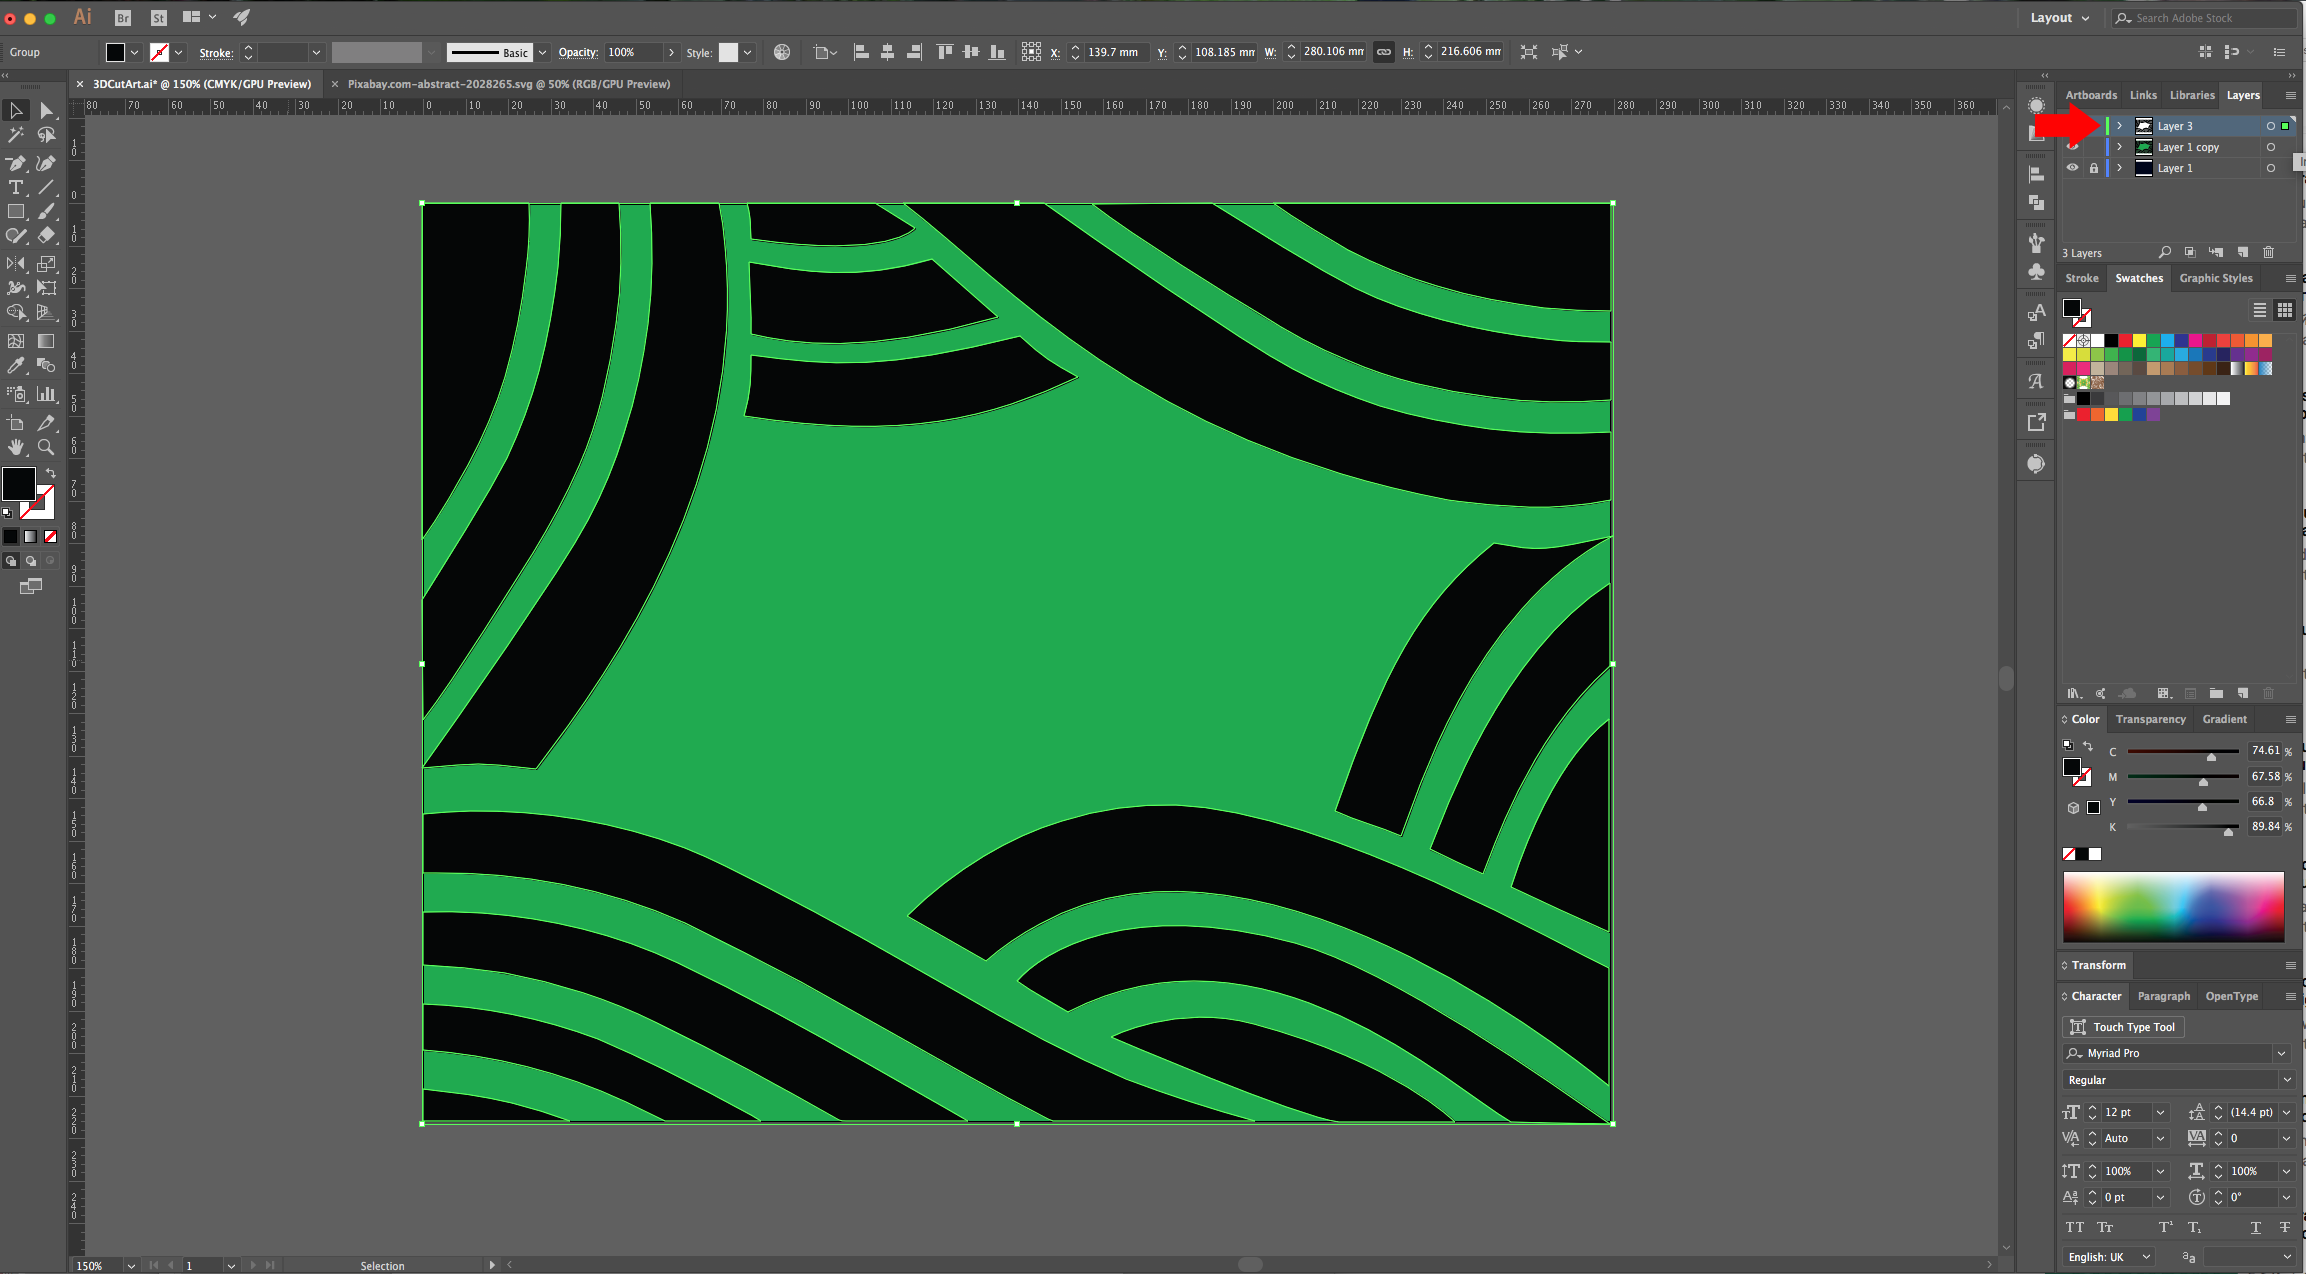
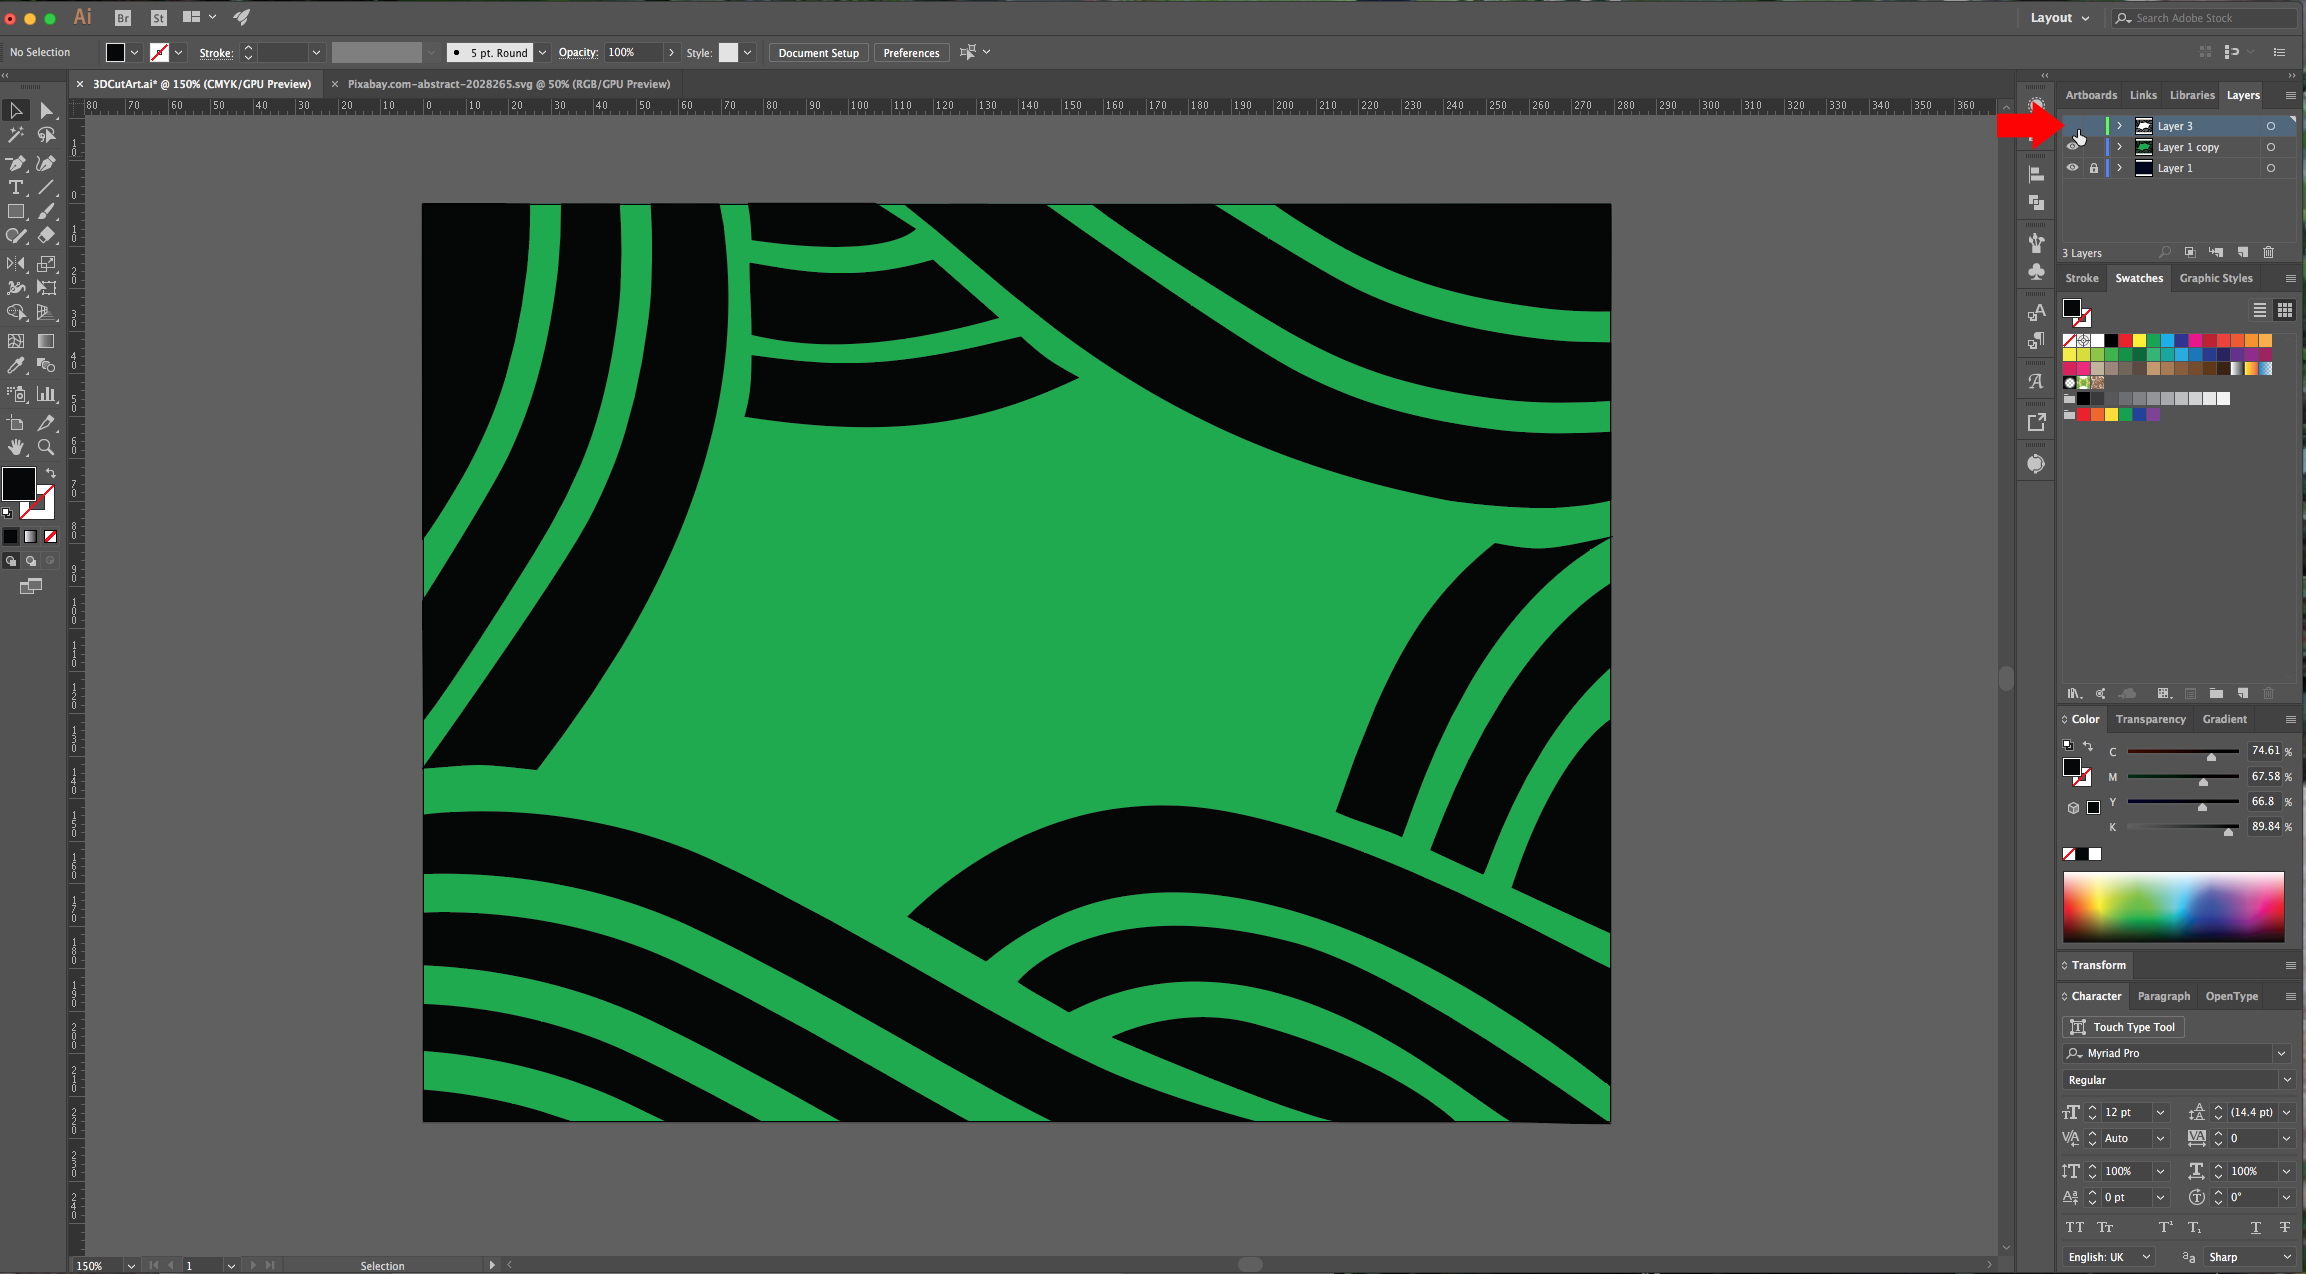
7 - Select the “Pen Tool” (P) to draw a shape in the center of the “Artwork”. Select it together with the second layer of color, then go to the “Pathfinder Panel” and choose “Minus Front” to punch a hole in the Layer.
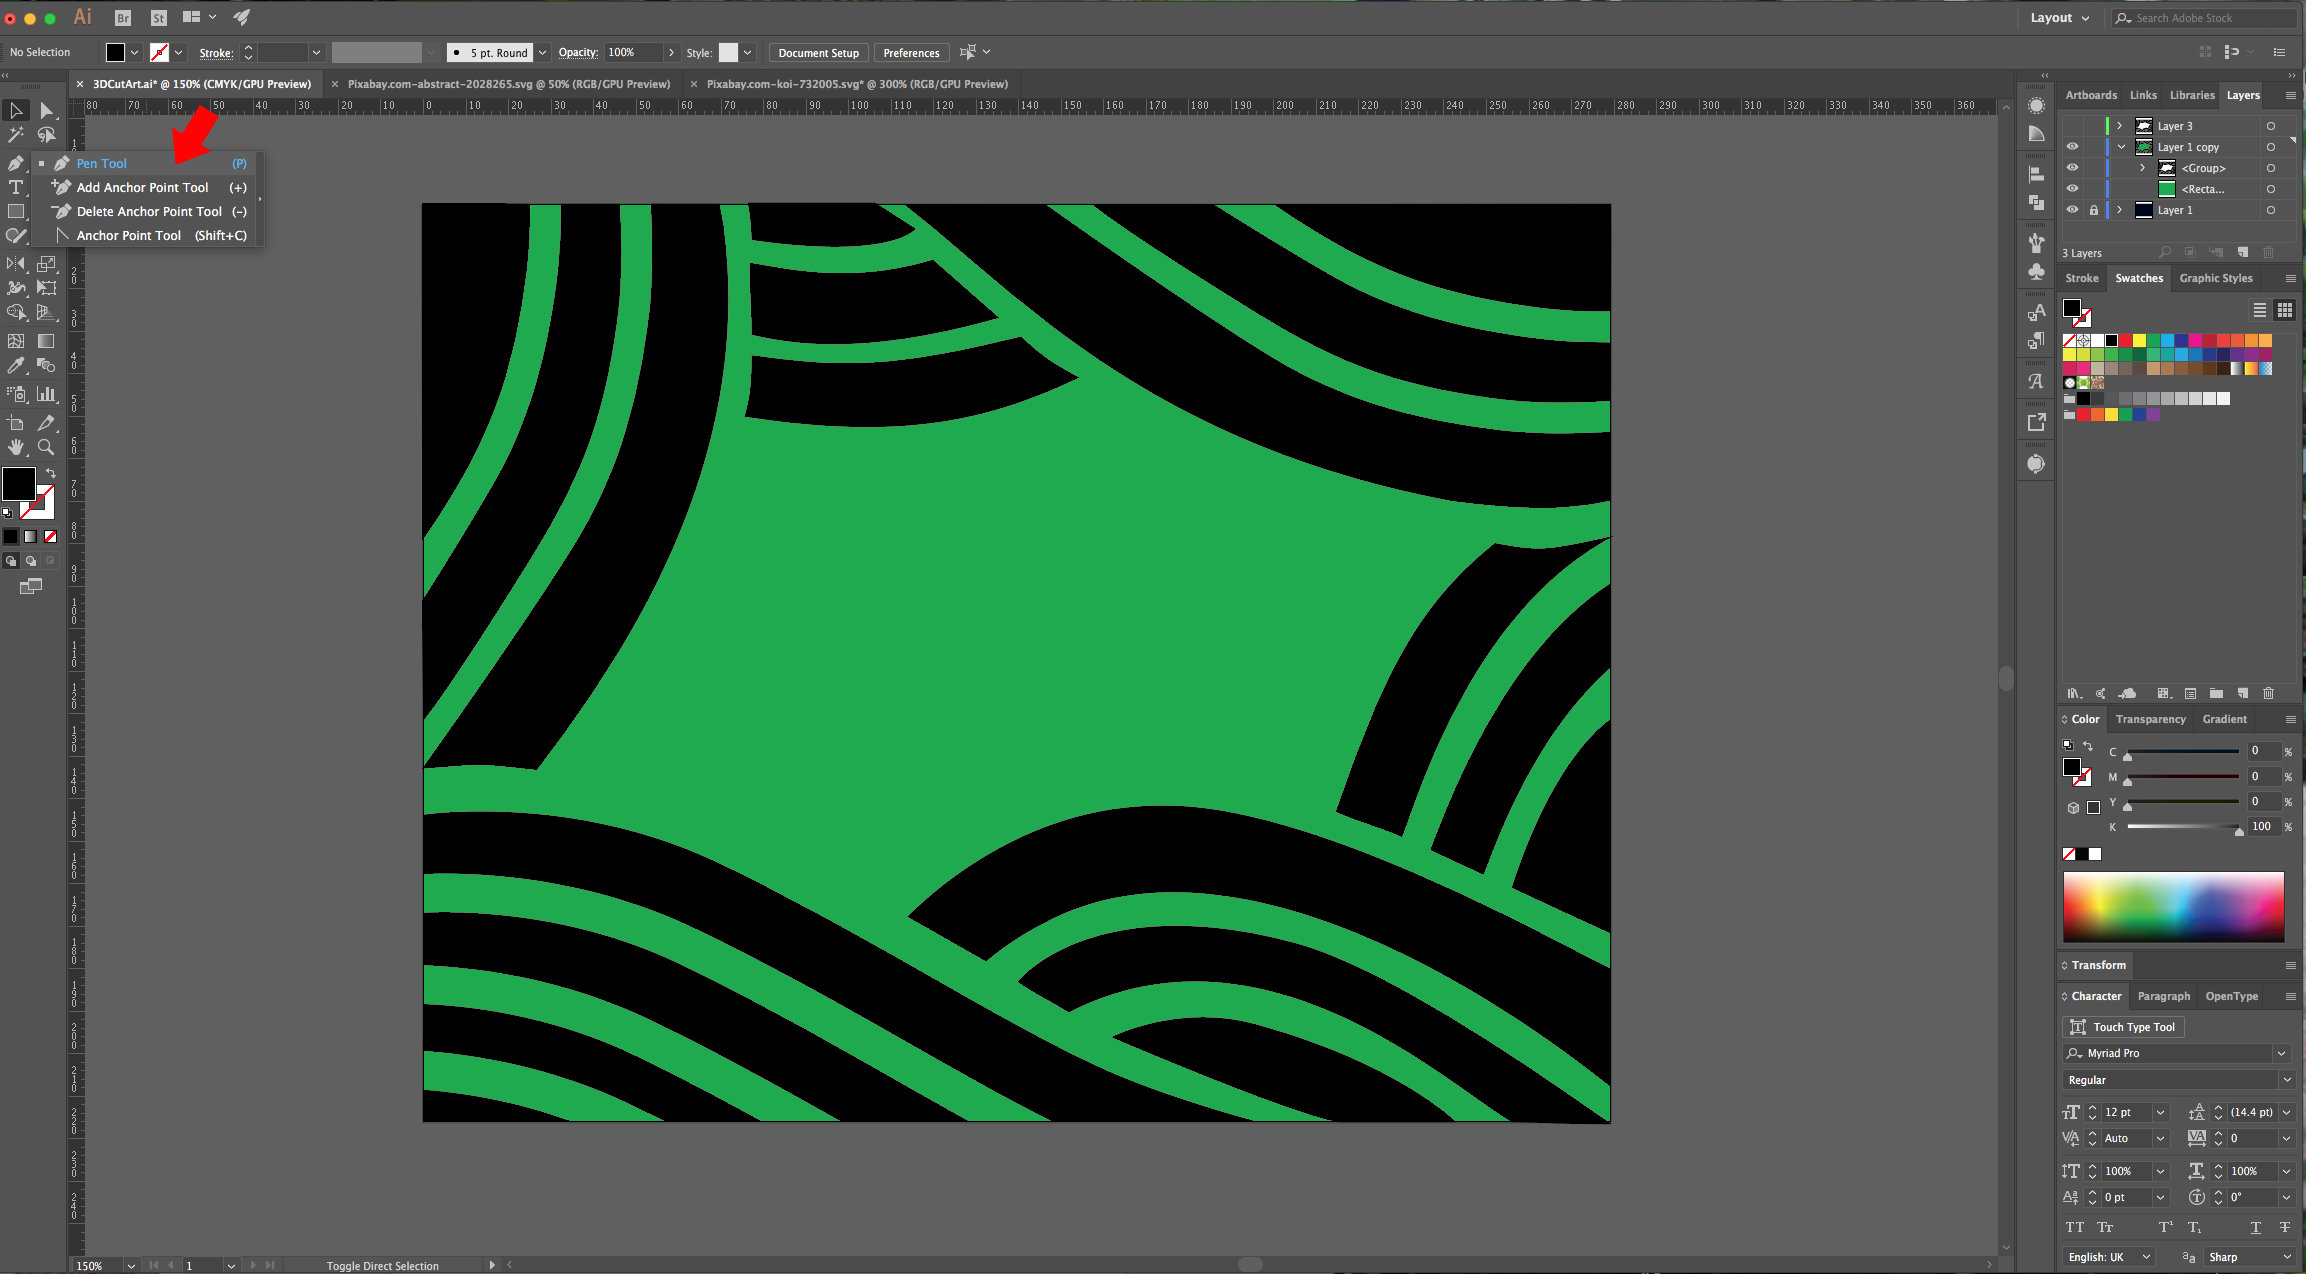
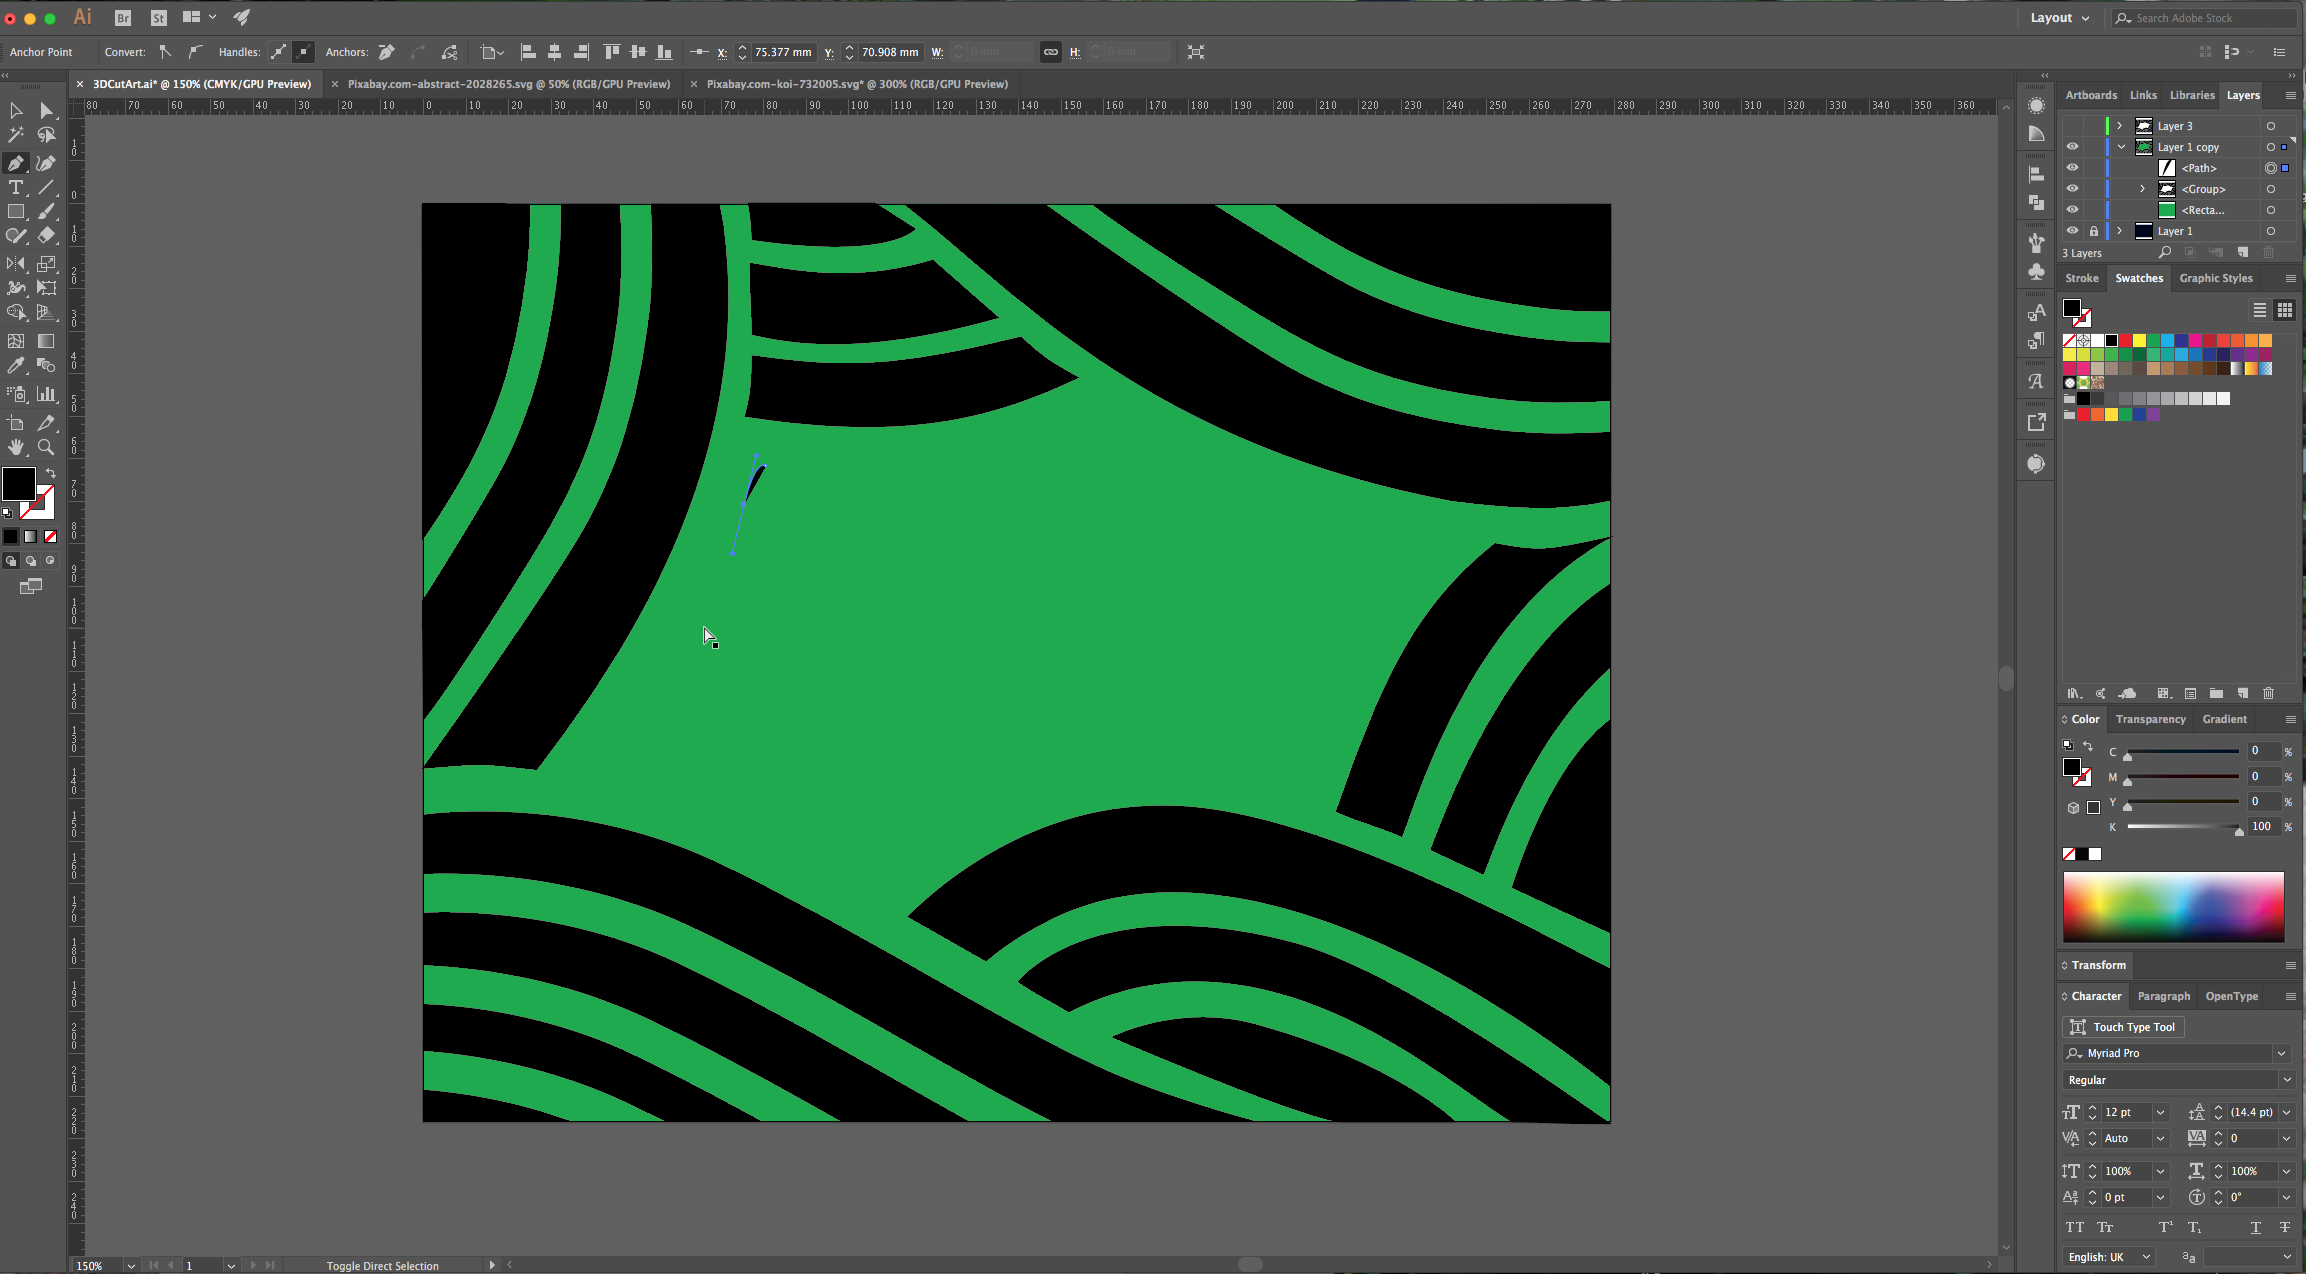
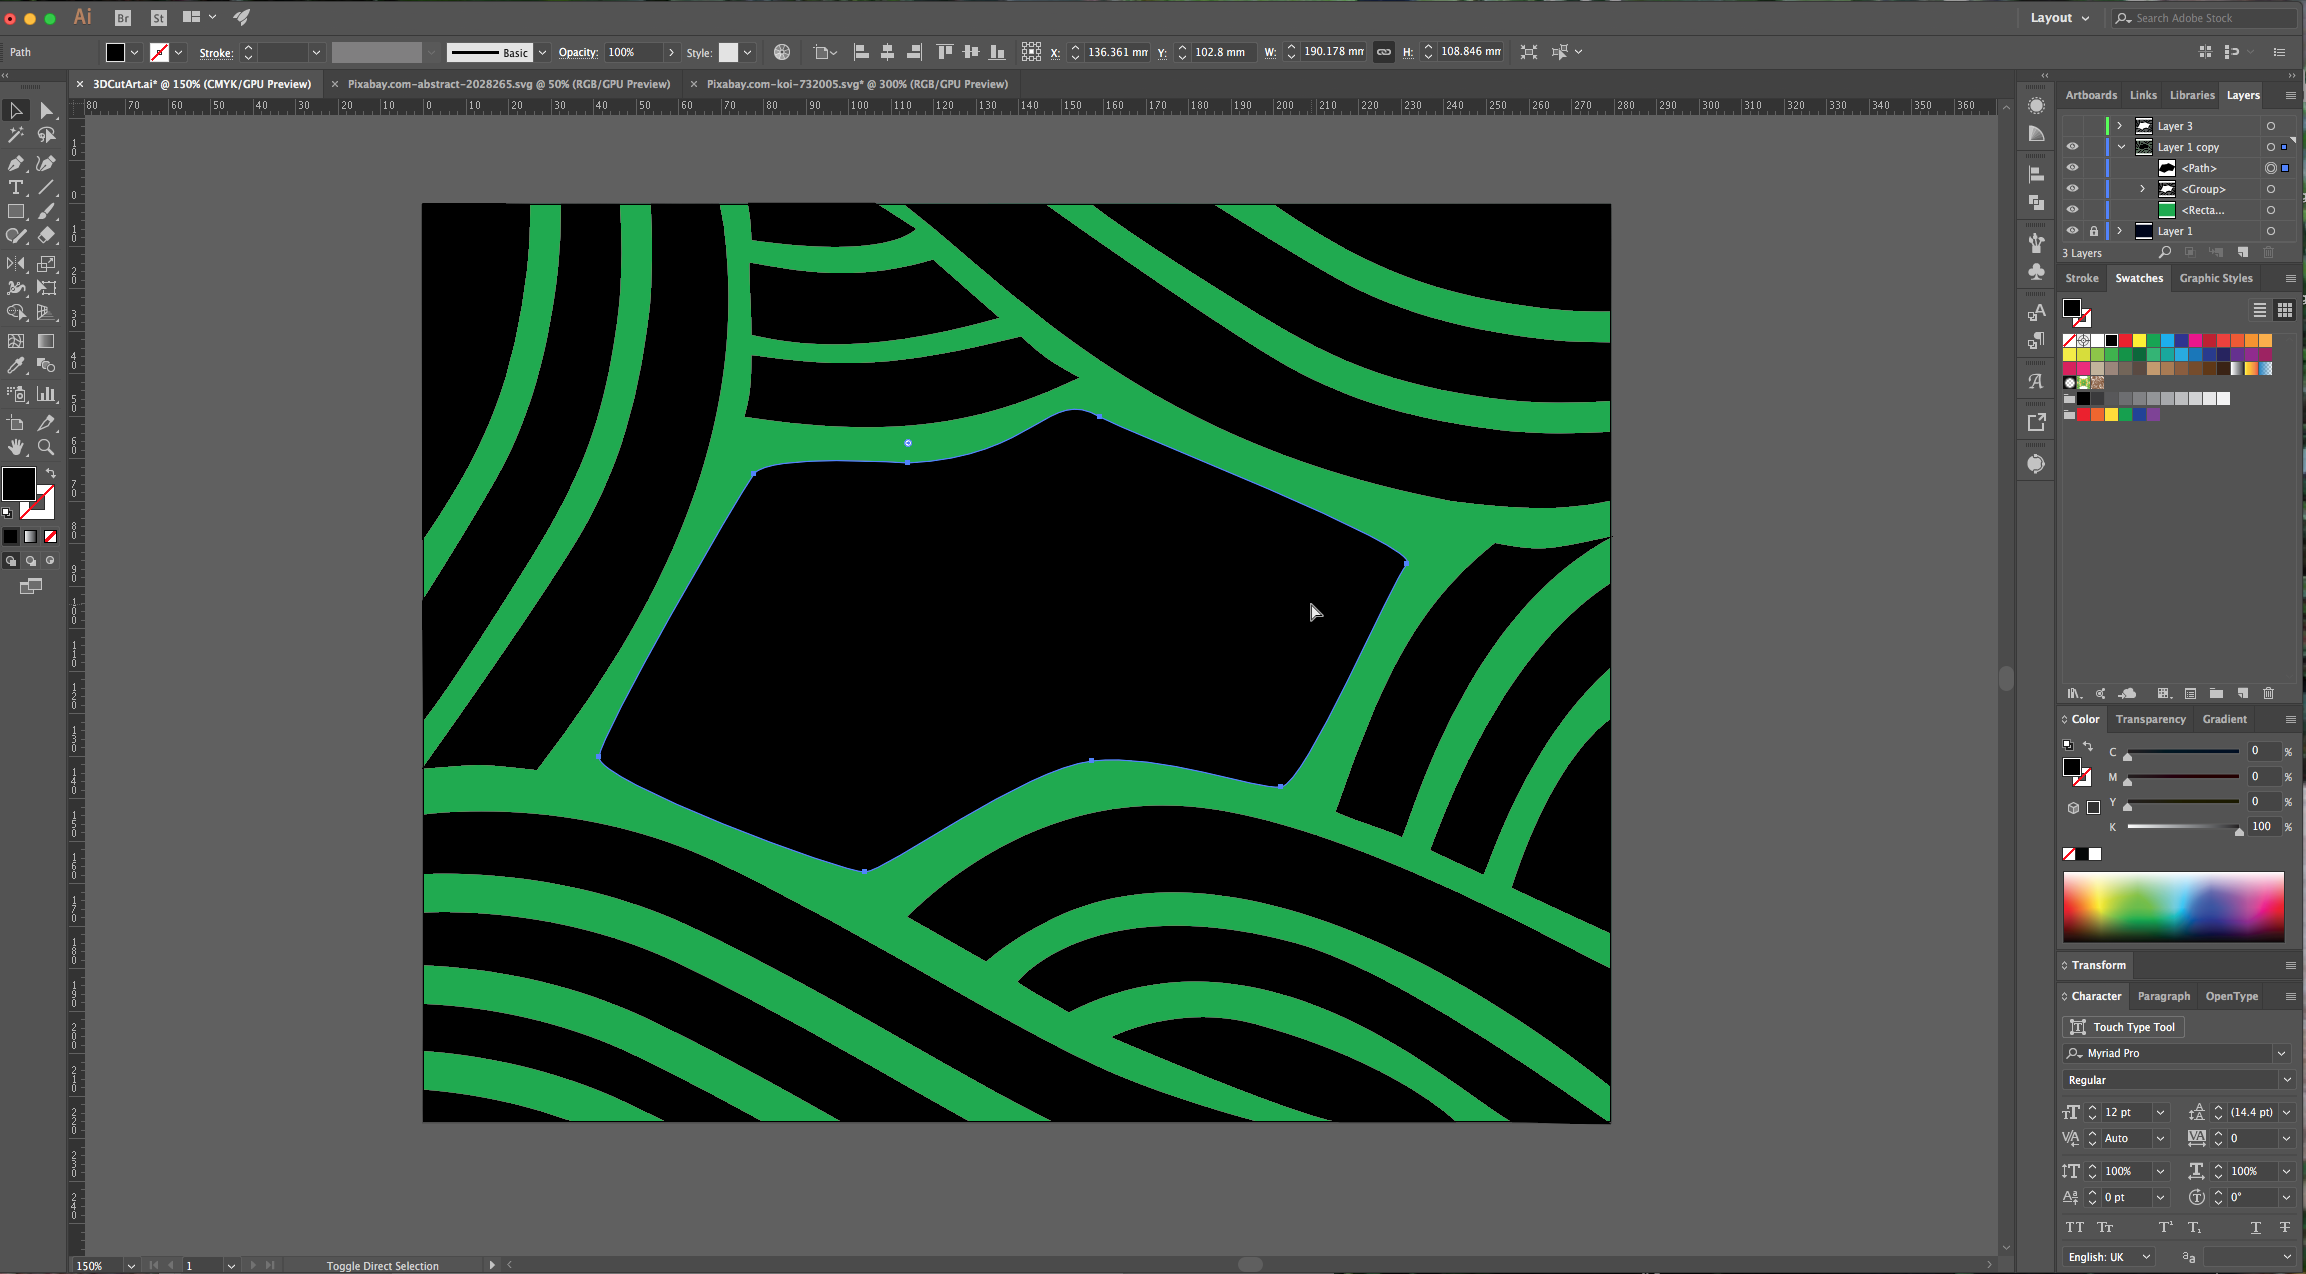
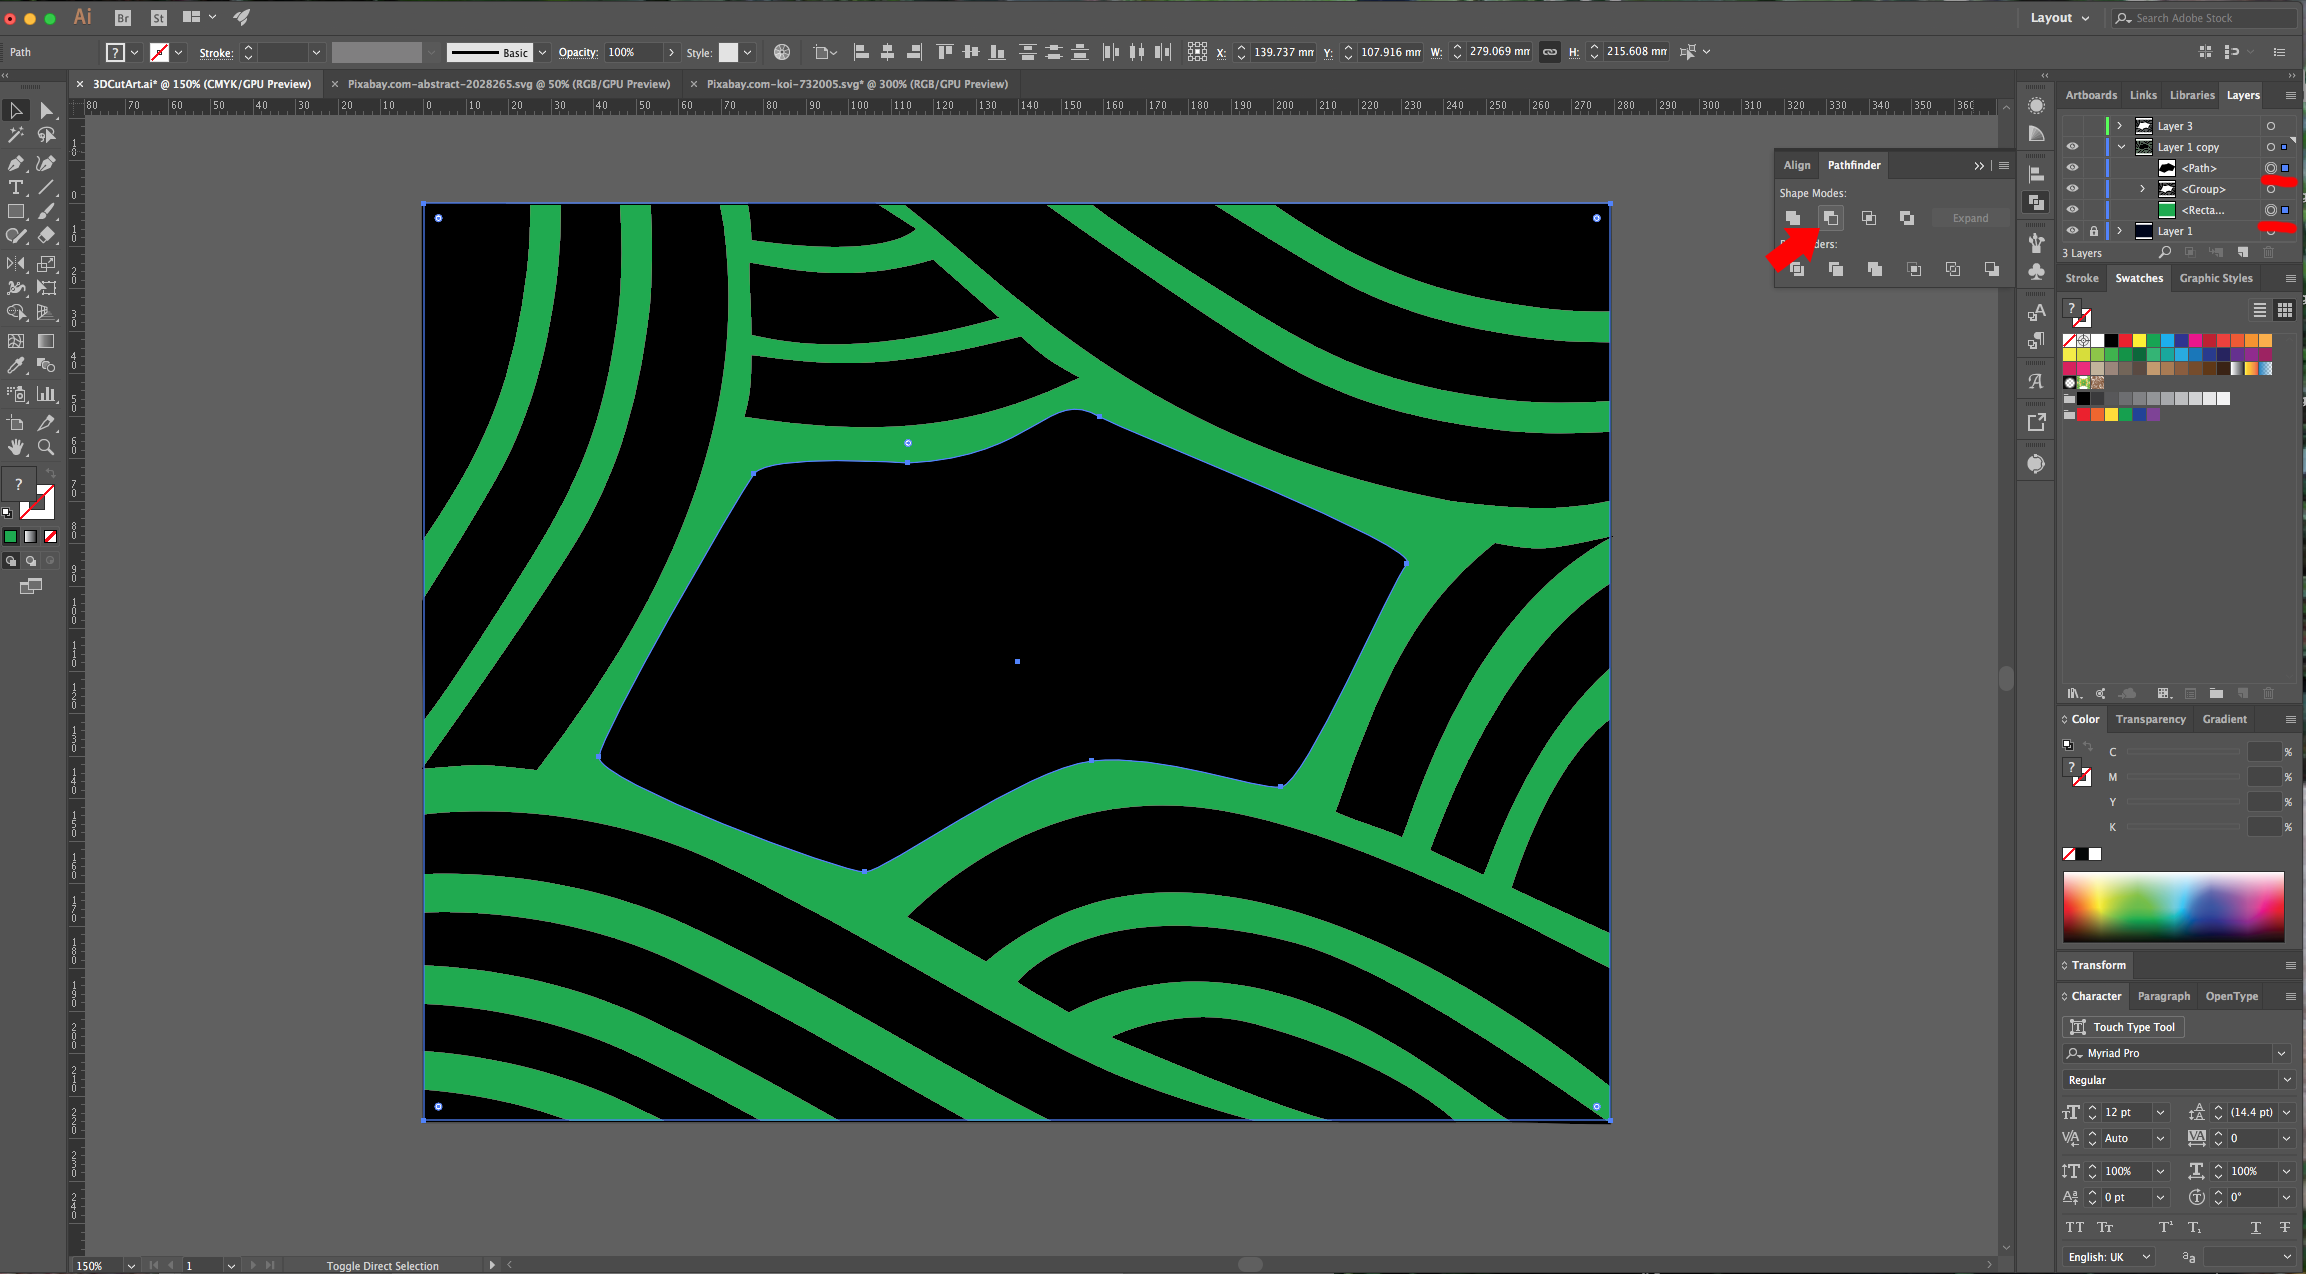
8 - Duplicate that layer (the one with the hole in the middle), select it together with the one with the “Waves” and repeat “Minus Front” in the “Pathfinder Panel”. Change the “Fill” color (we used one from the Color Swatches).
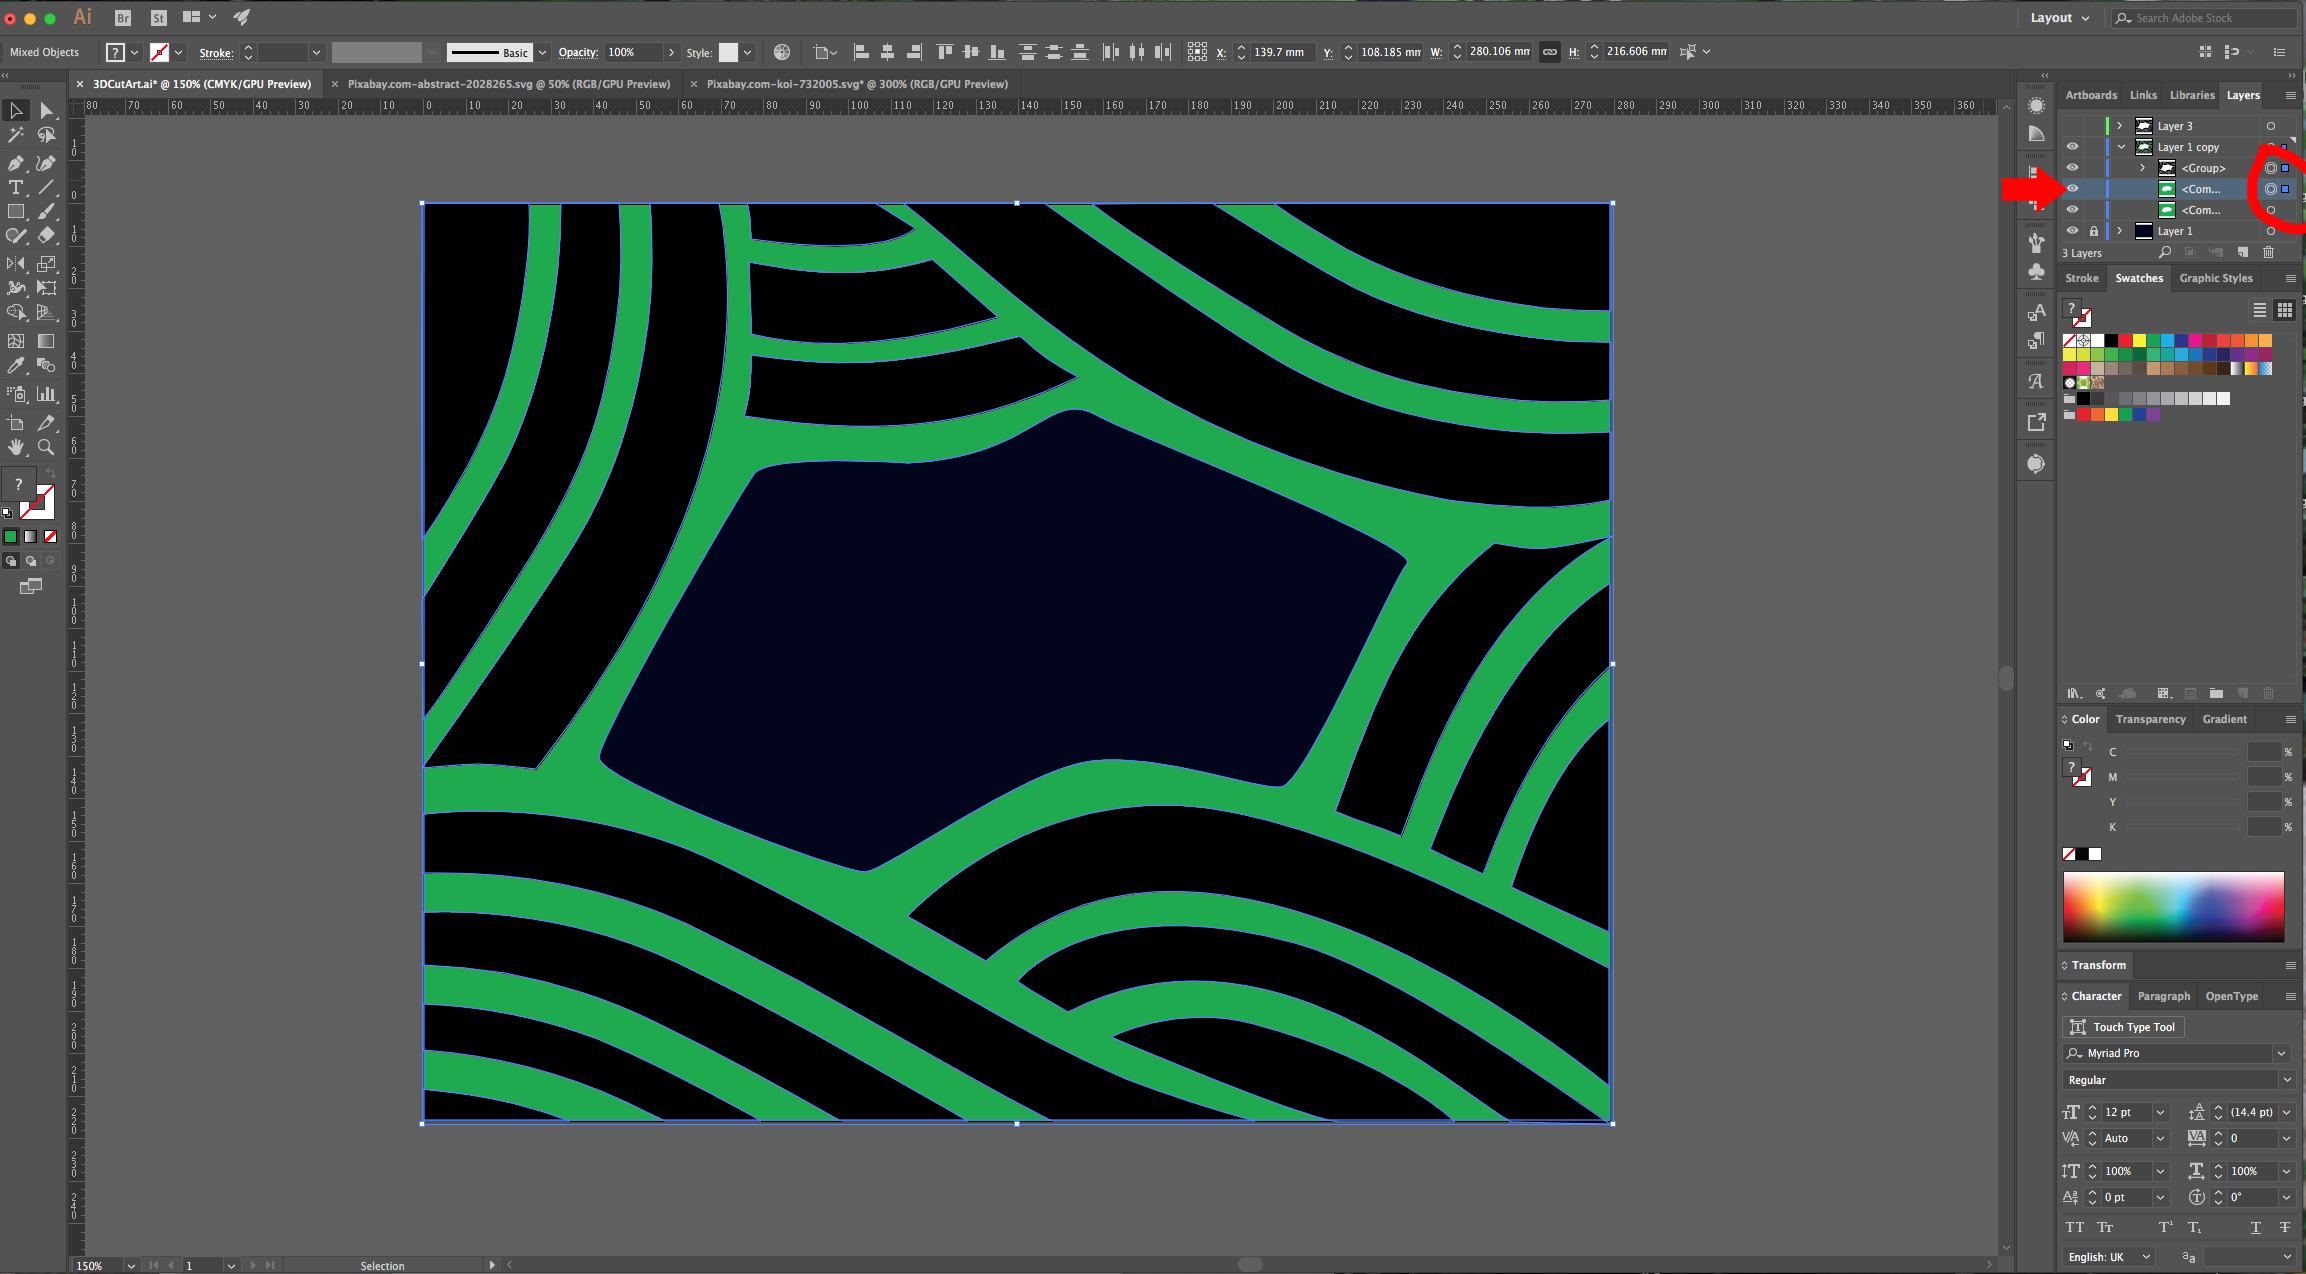
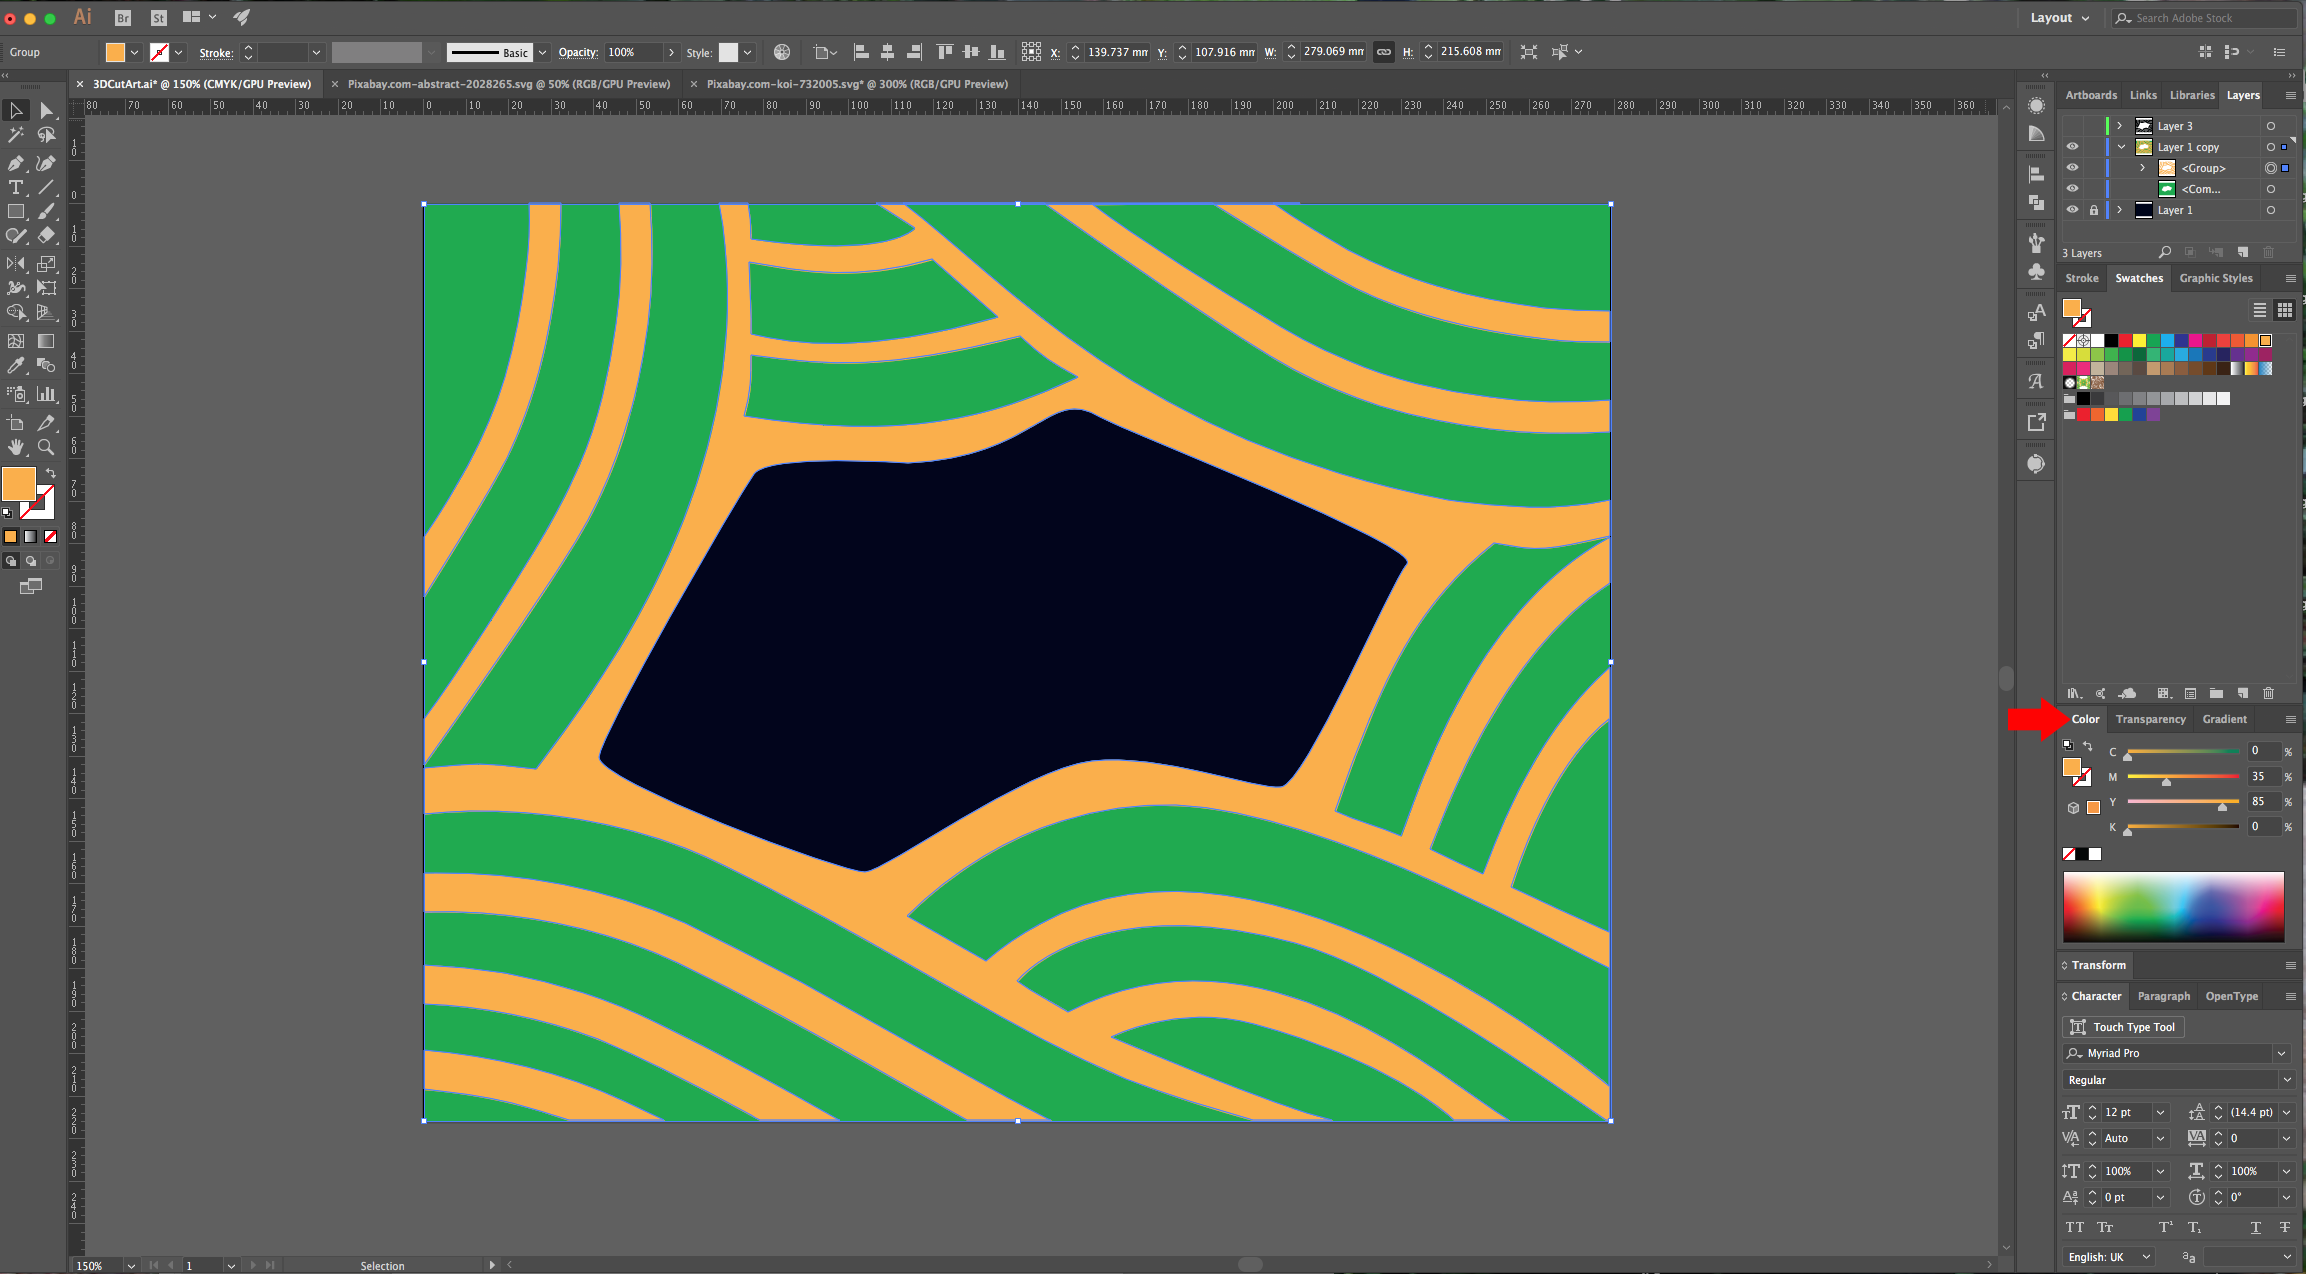
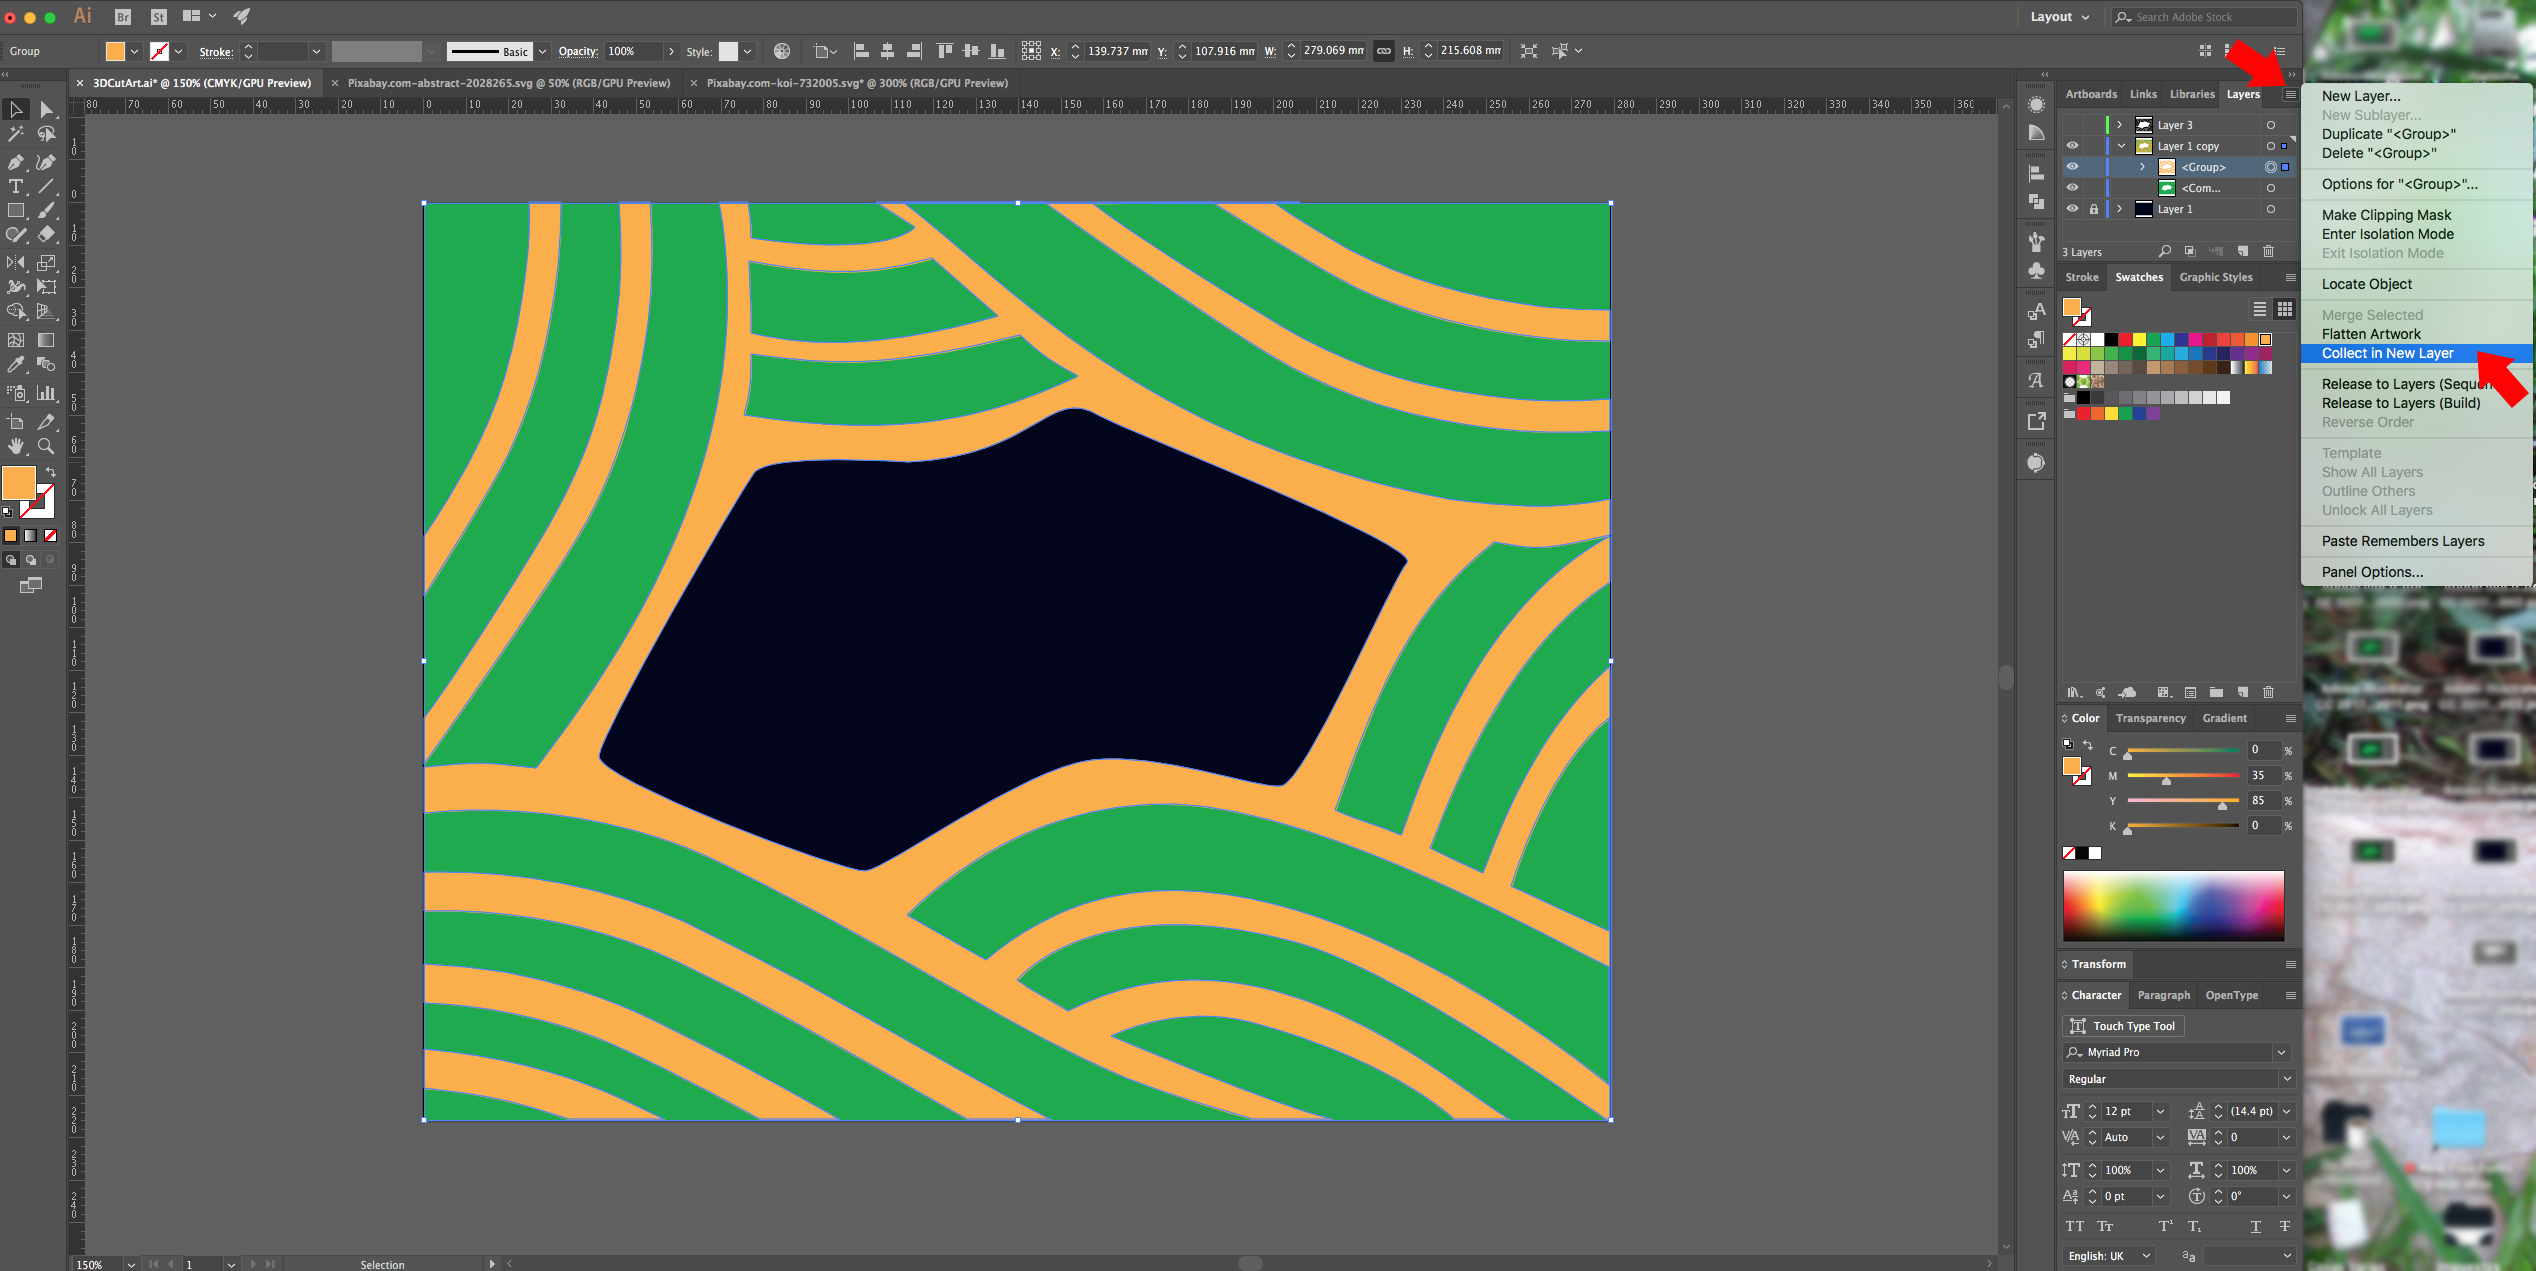
9 - With the resulting “Shape” still selected, go to the little menu at the top-left of the “Layers Panel” and choose “Collect in a New Layer” to create a Layer with it. You can re-name the Layers if you want.
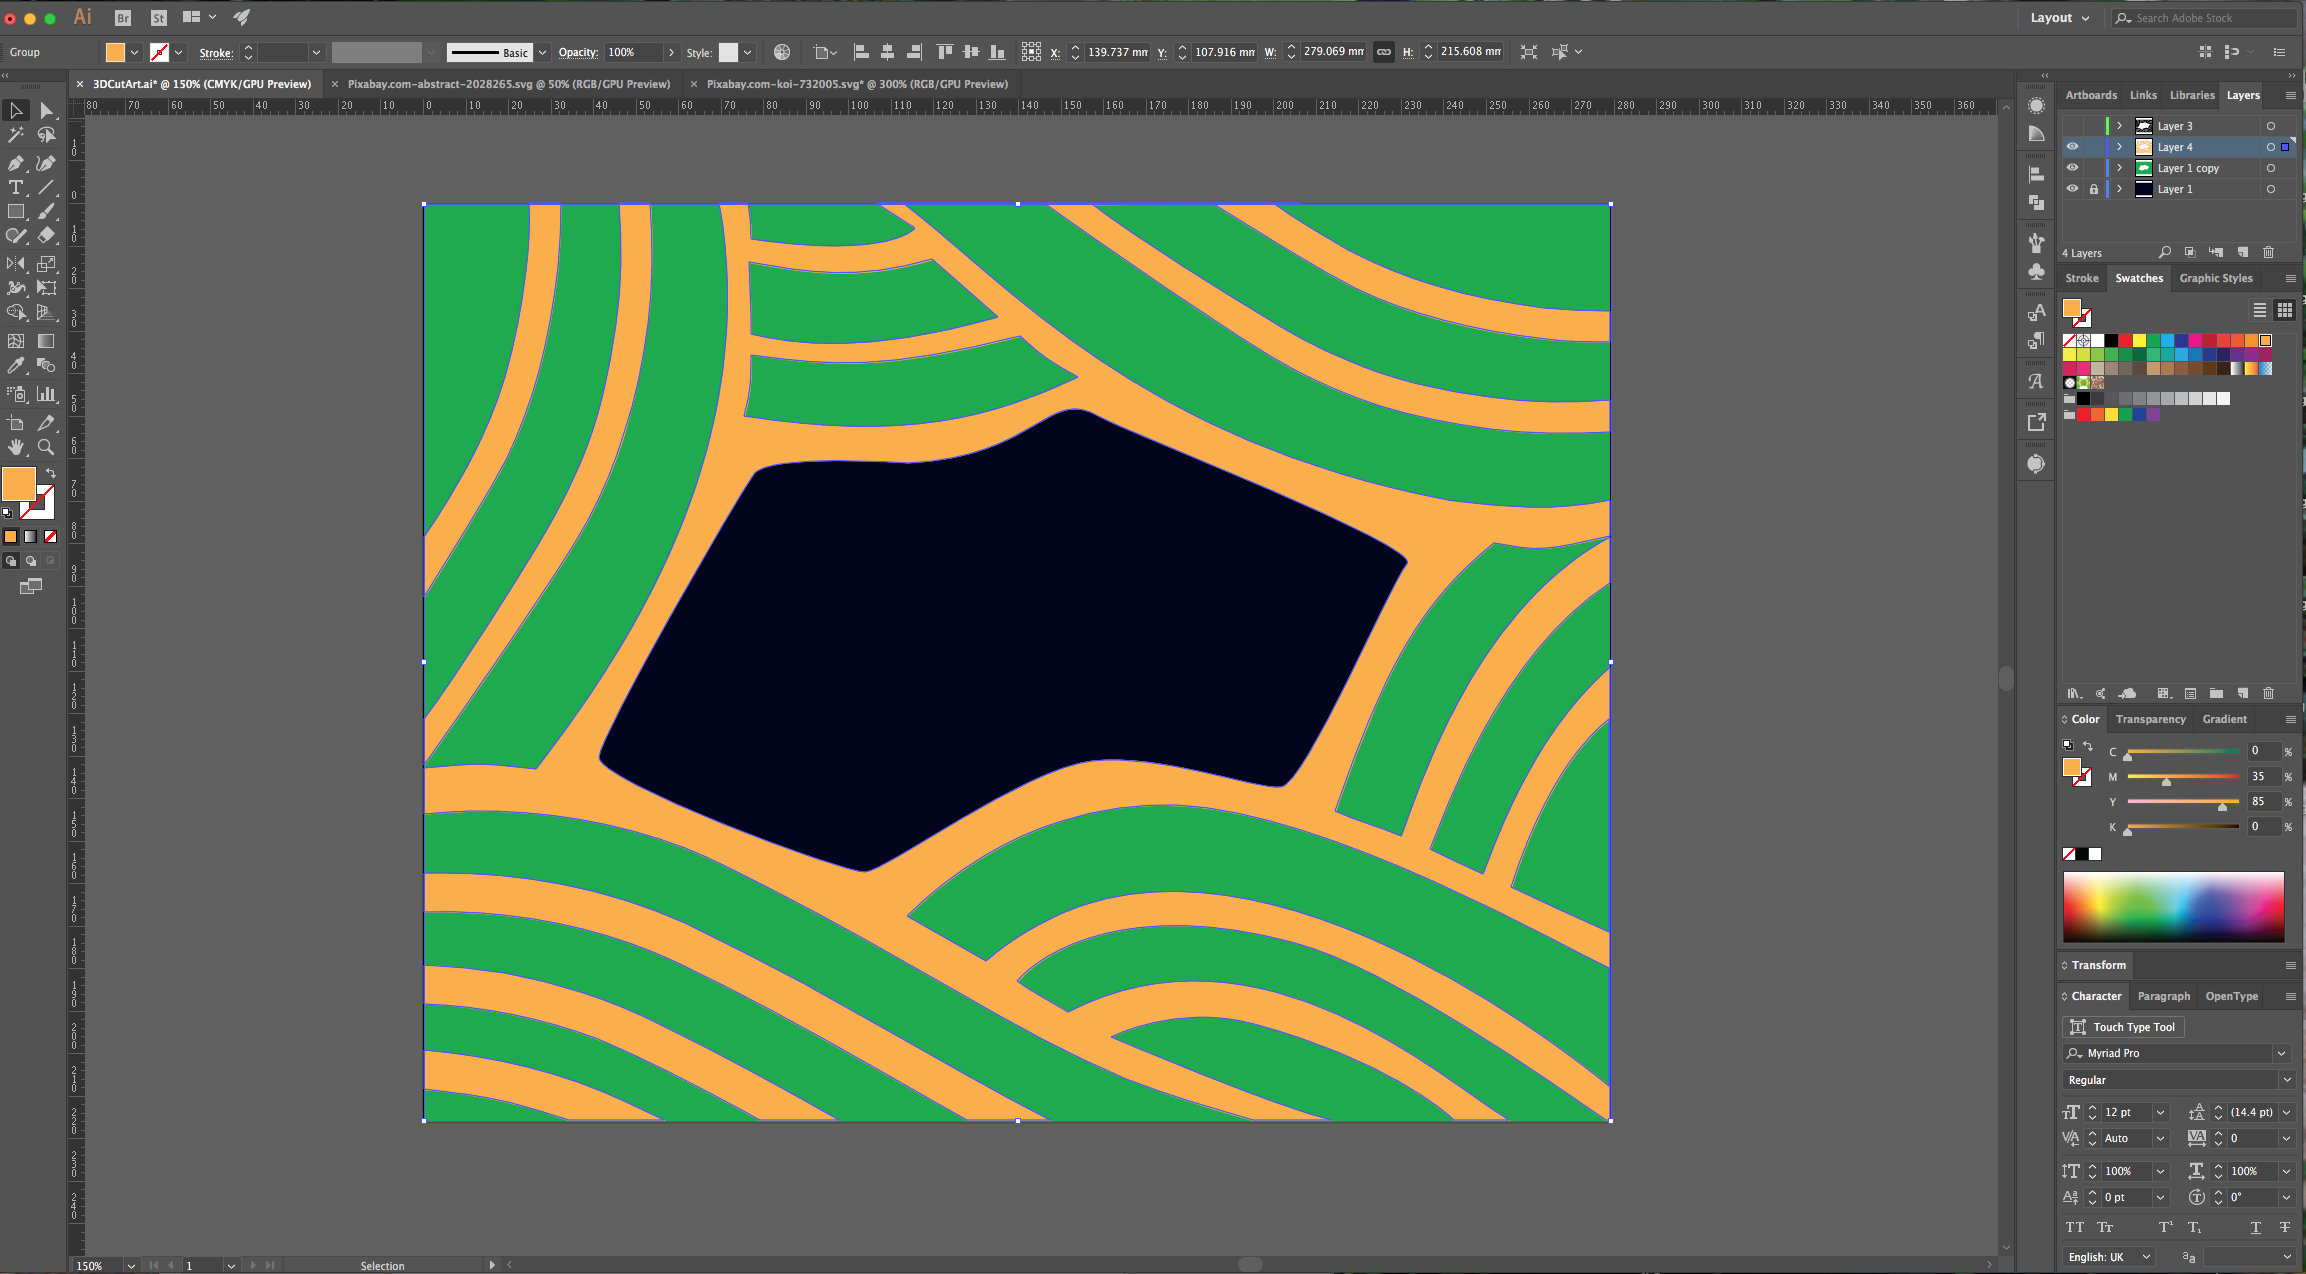
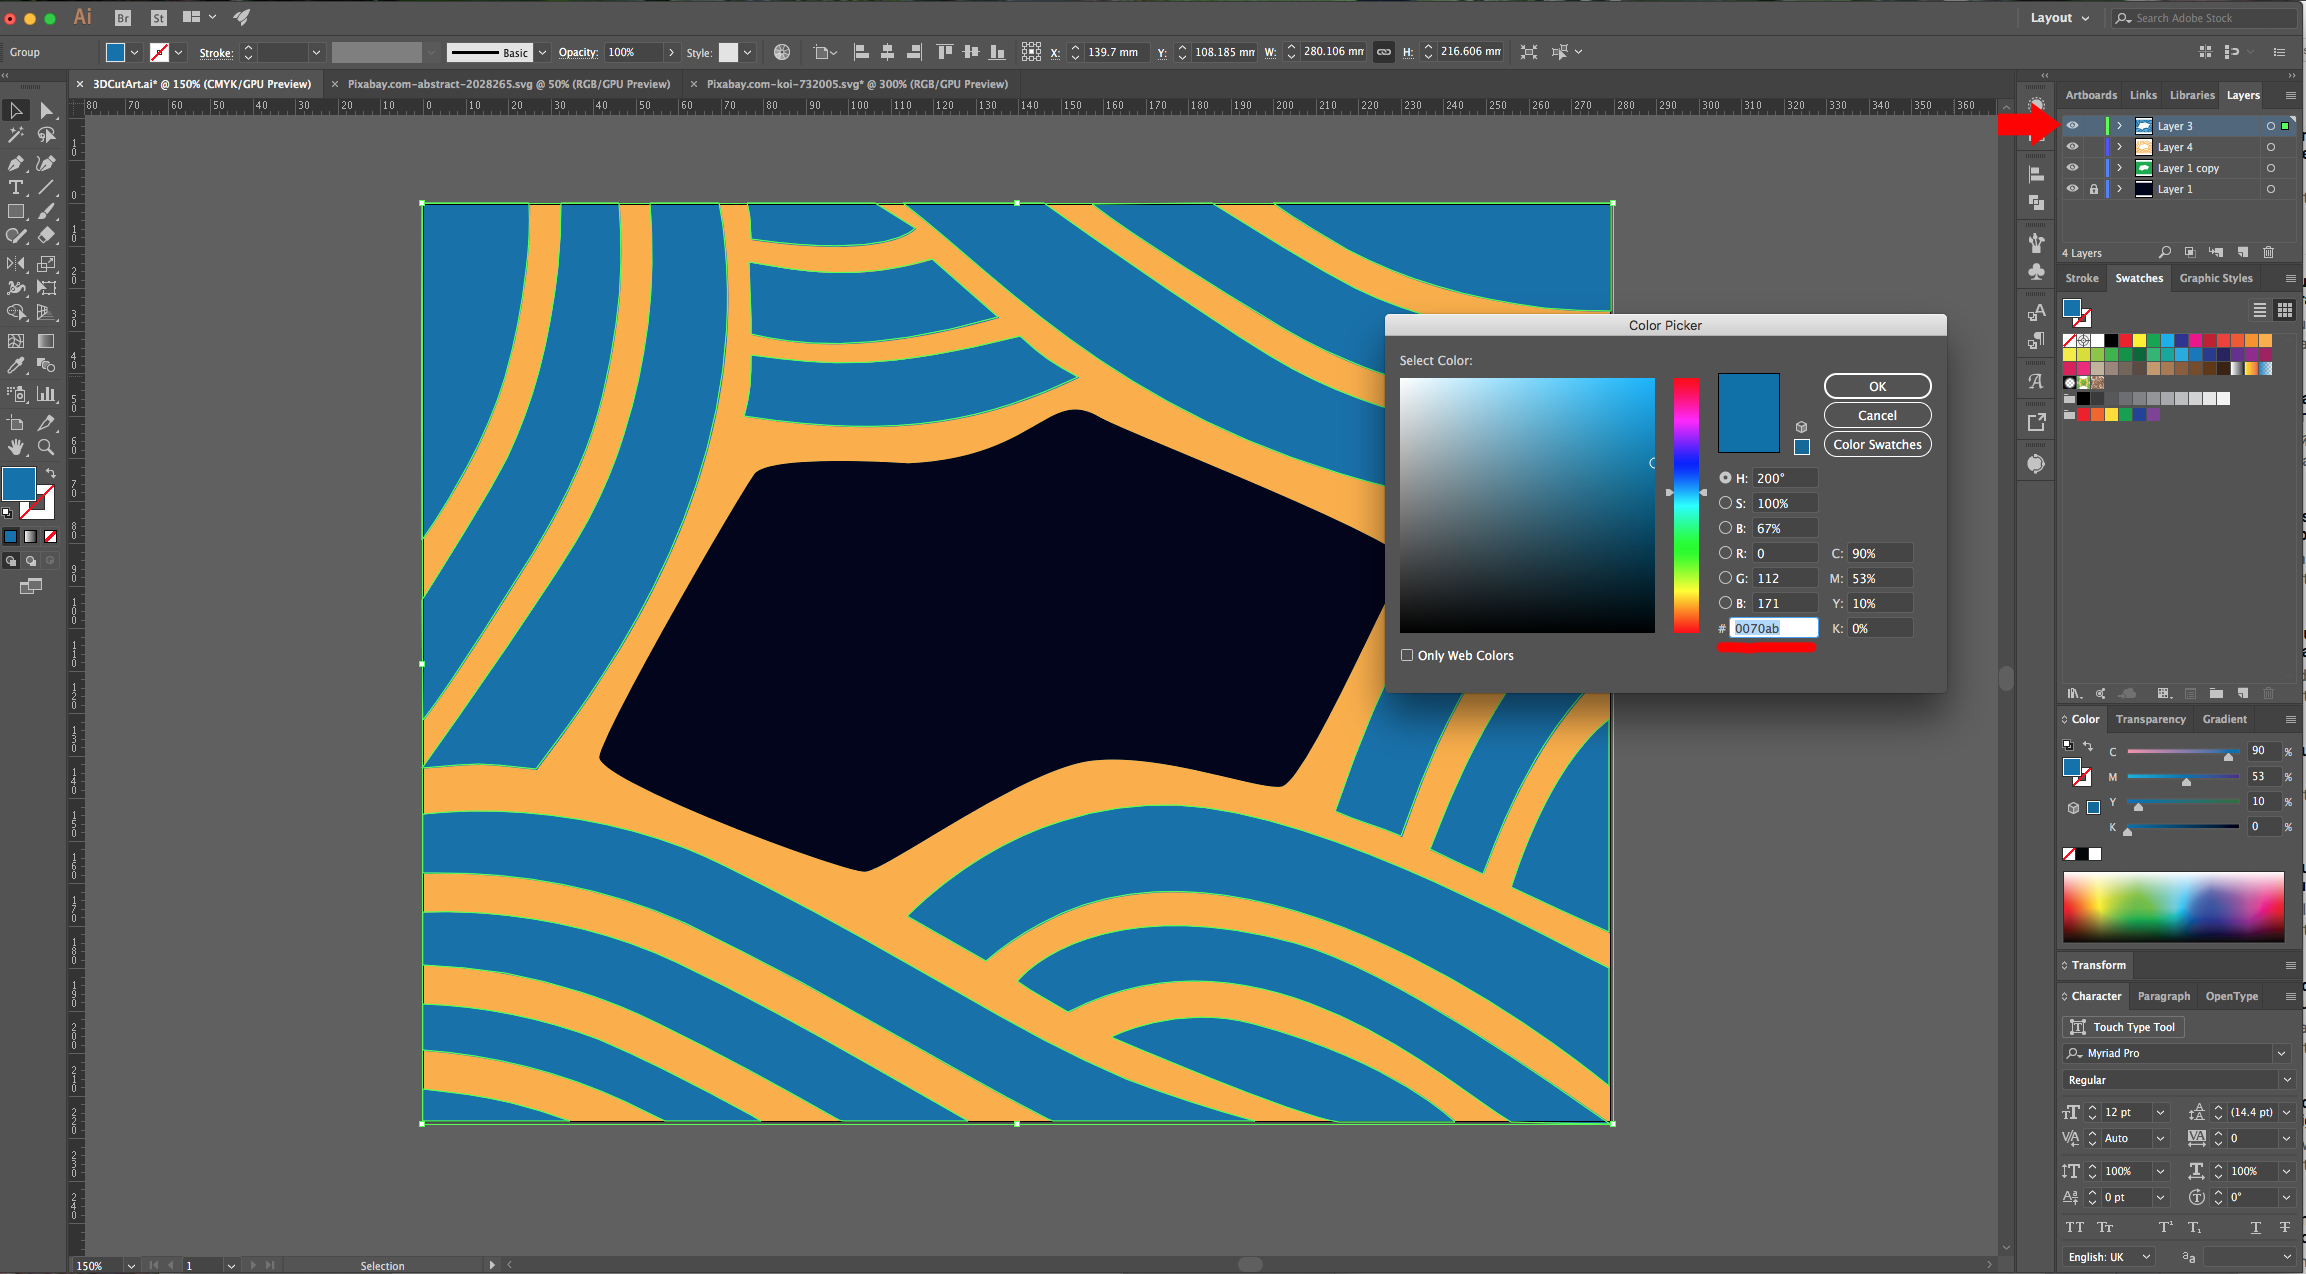
10 - Turn back on the copy layer of the “Waves” and give it a “Fill” color (we used #0070ab).
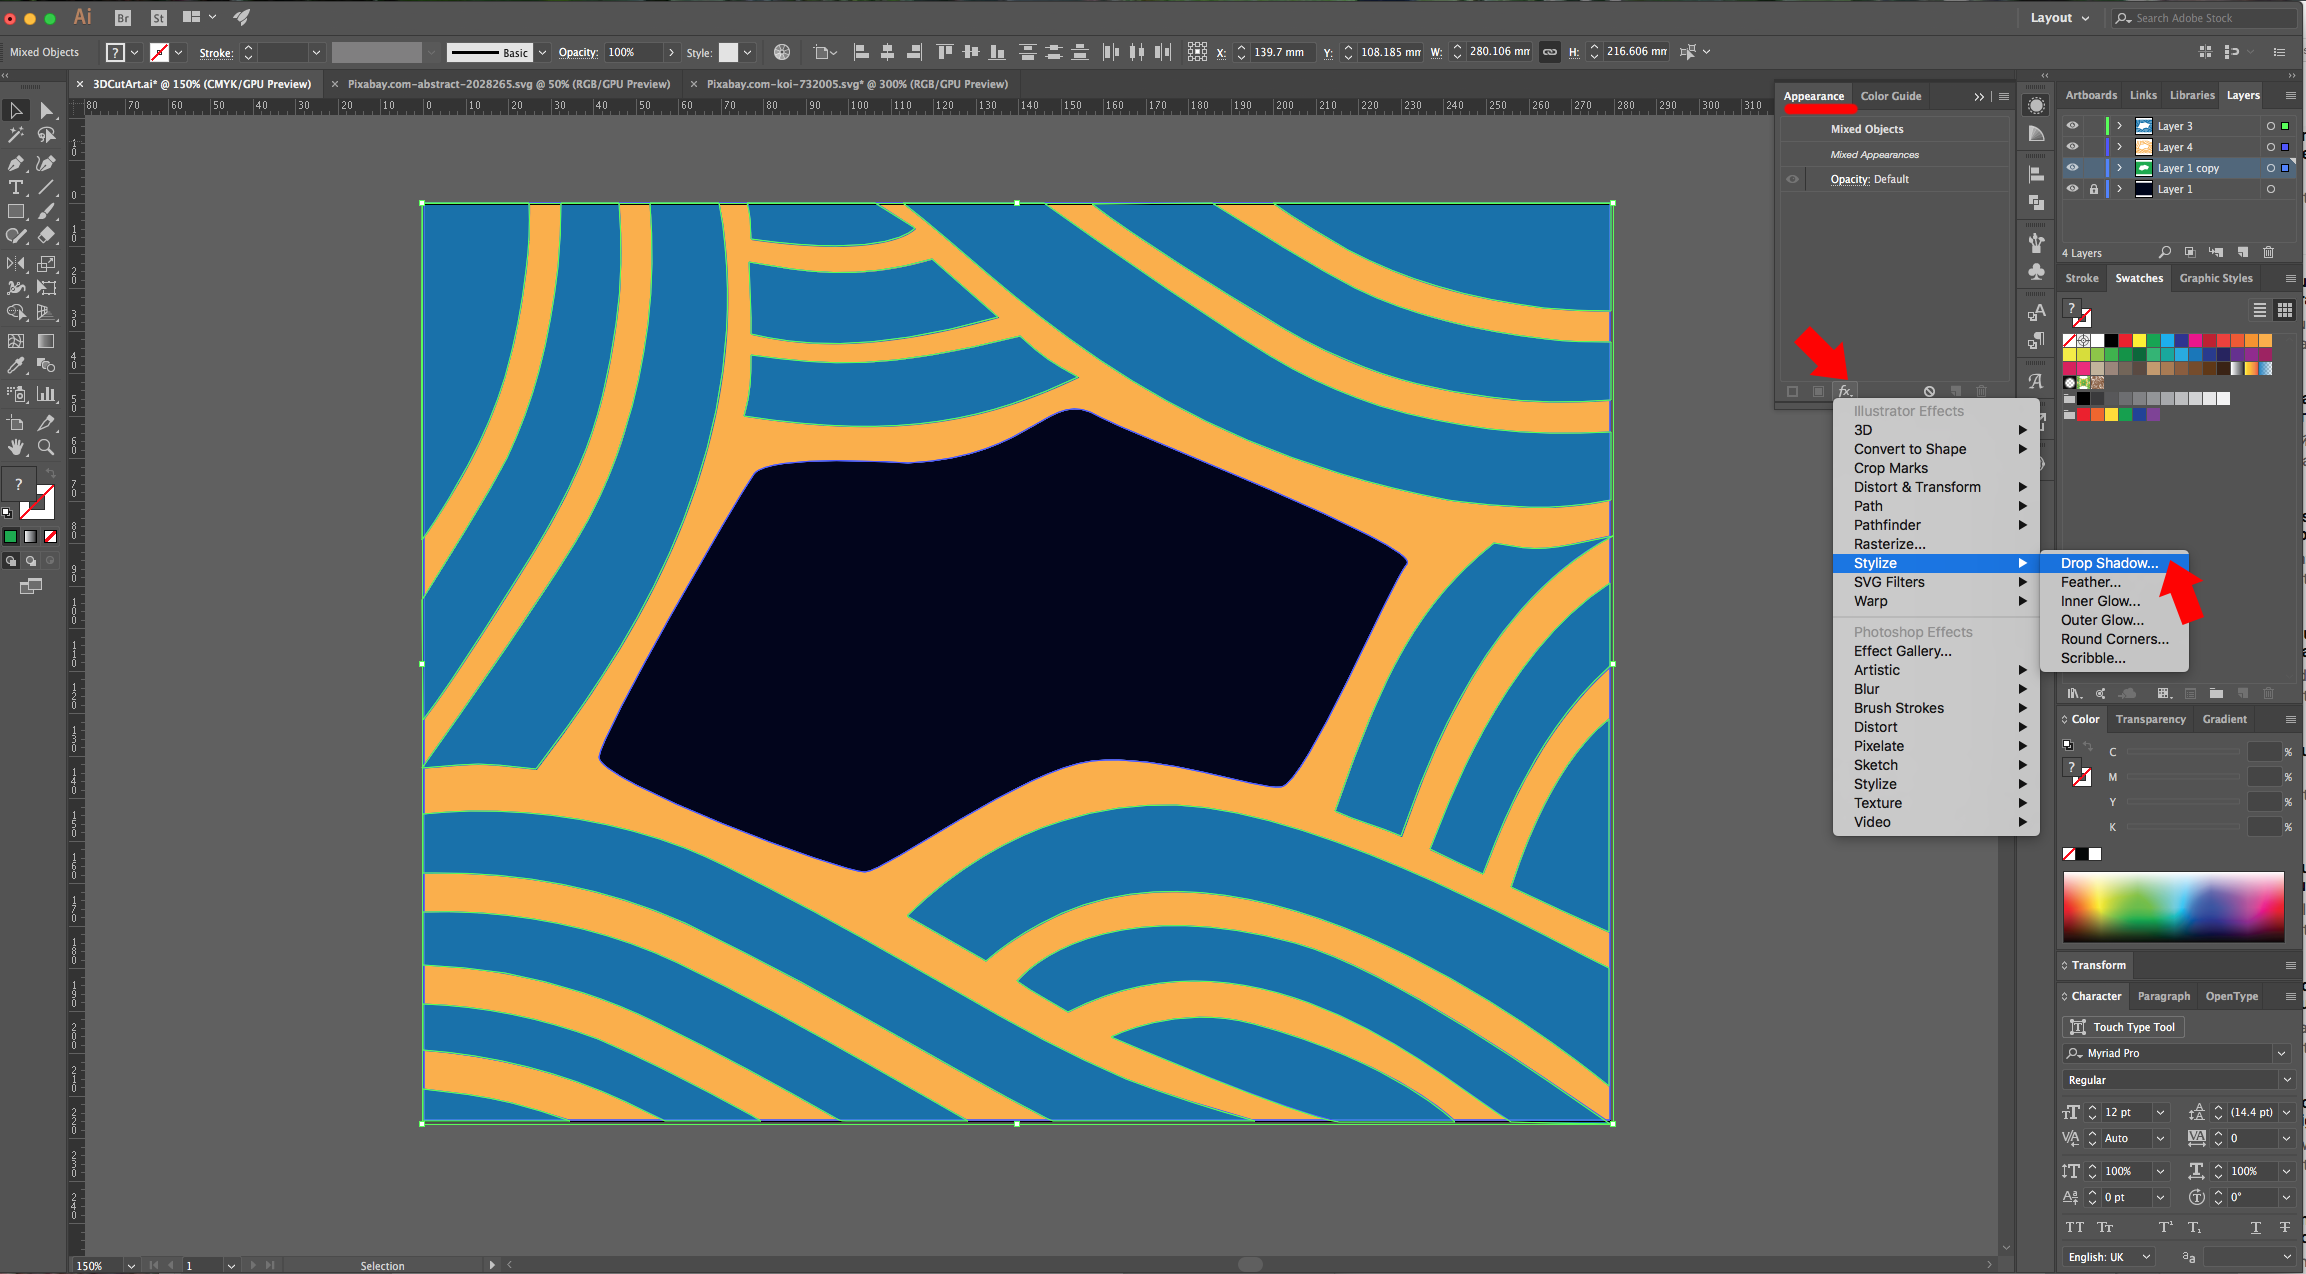
11 - Select all your layers (except the one at the very bottom), in the “Appearance Panel” click on the “Effects” menu, navigate to Stylize > Drop Shadow and use the following values:
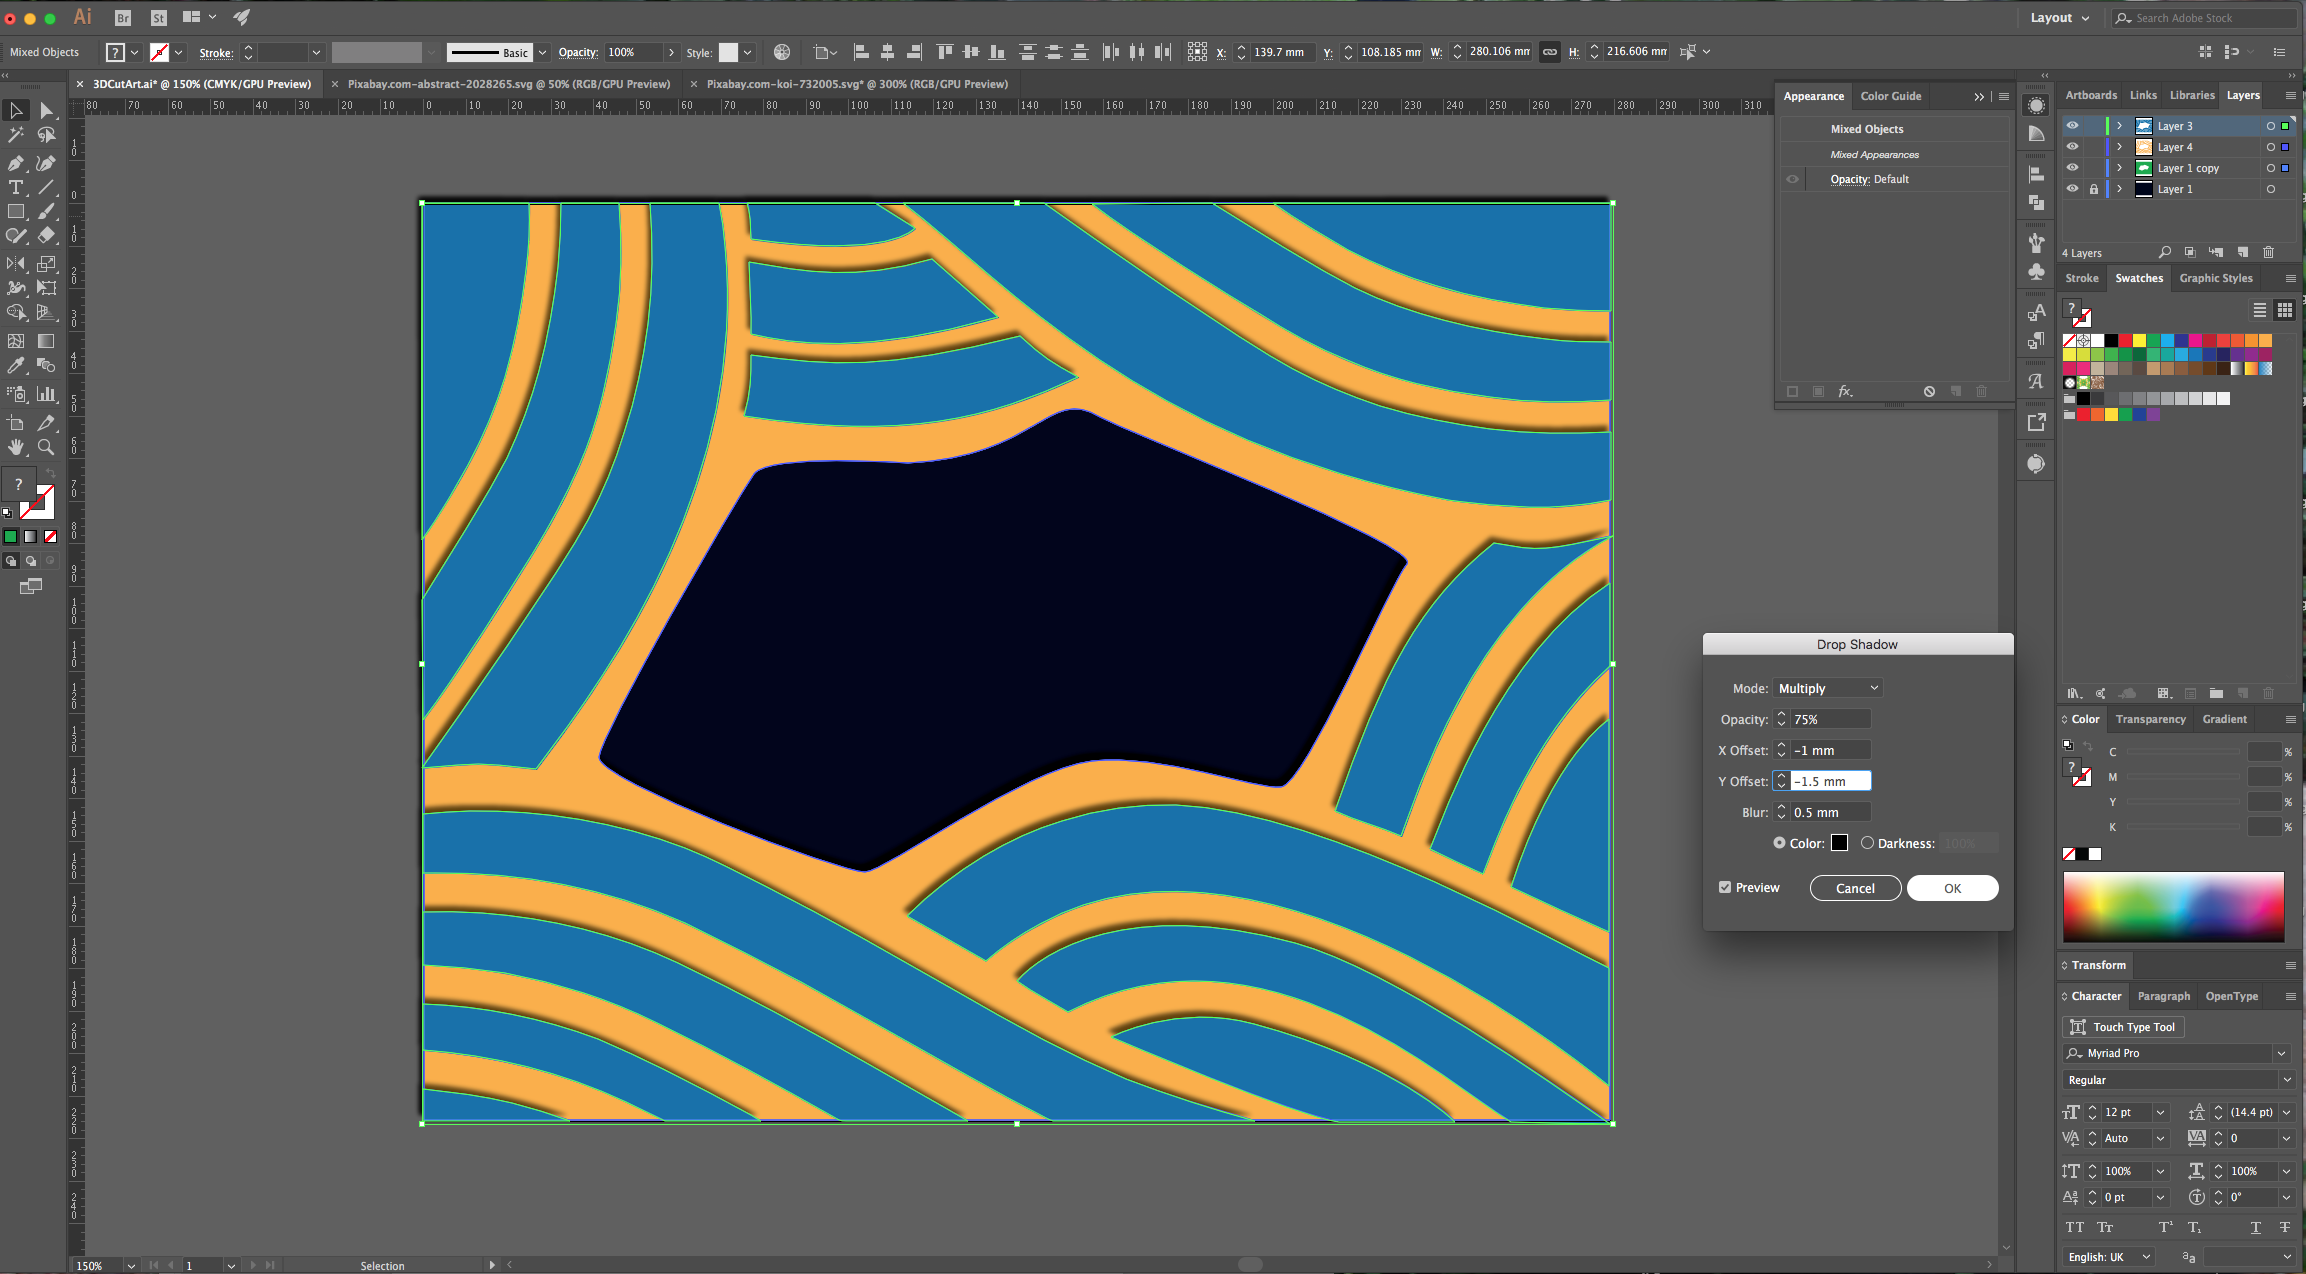
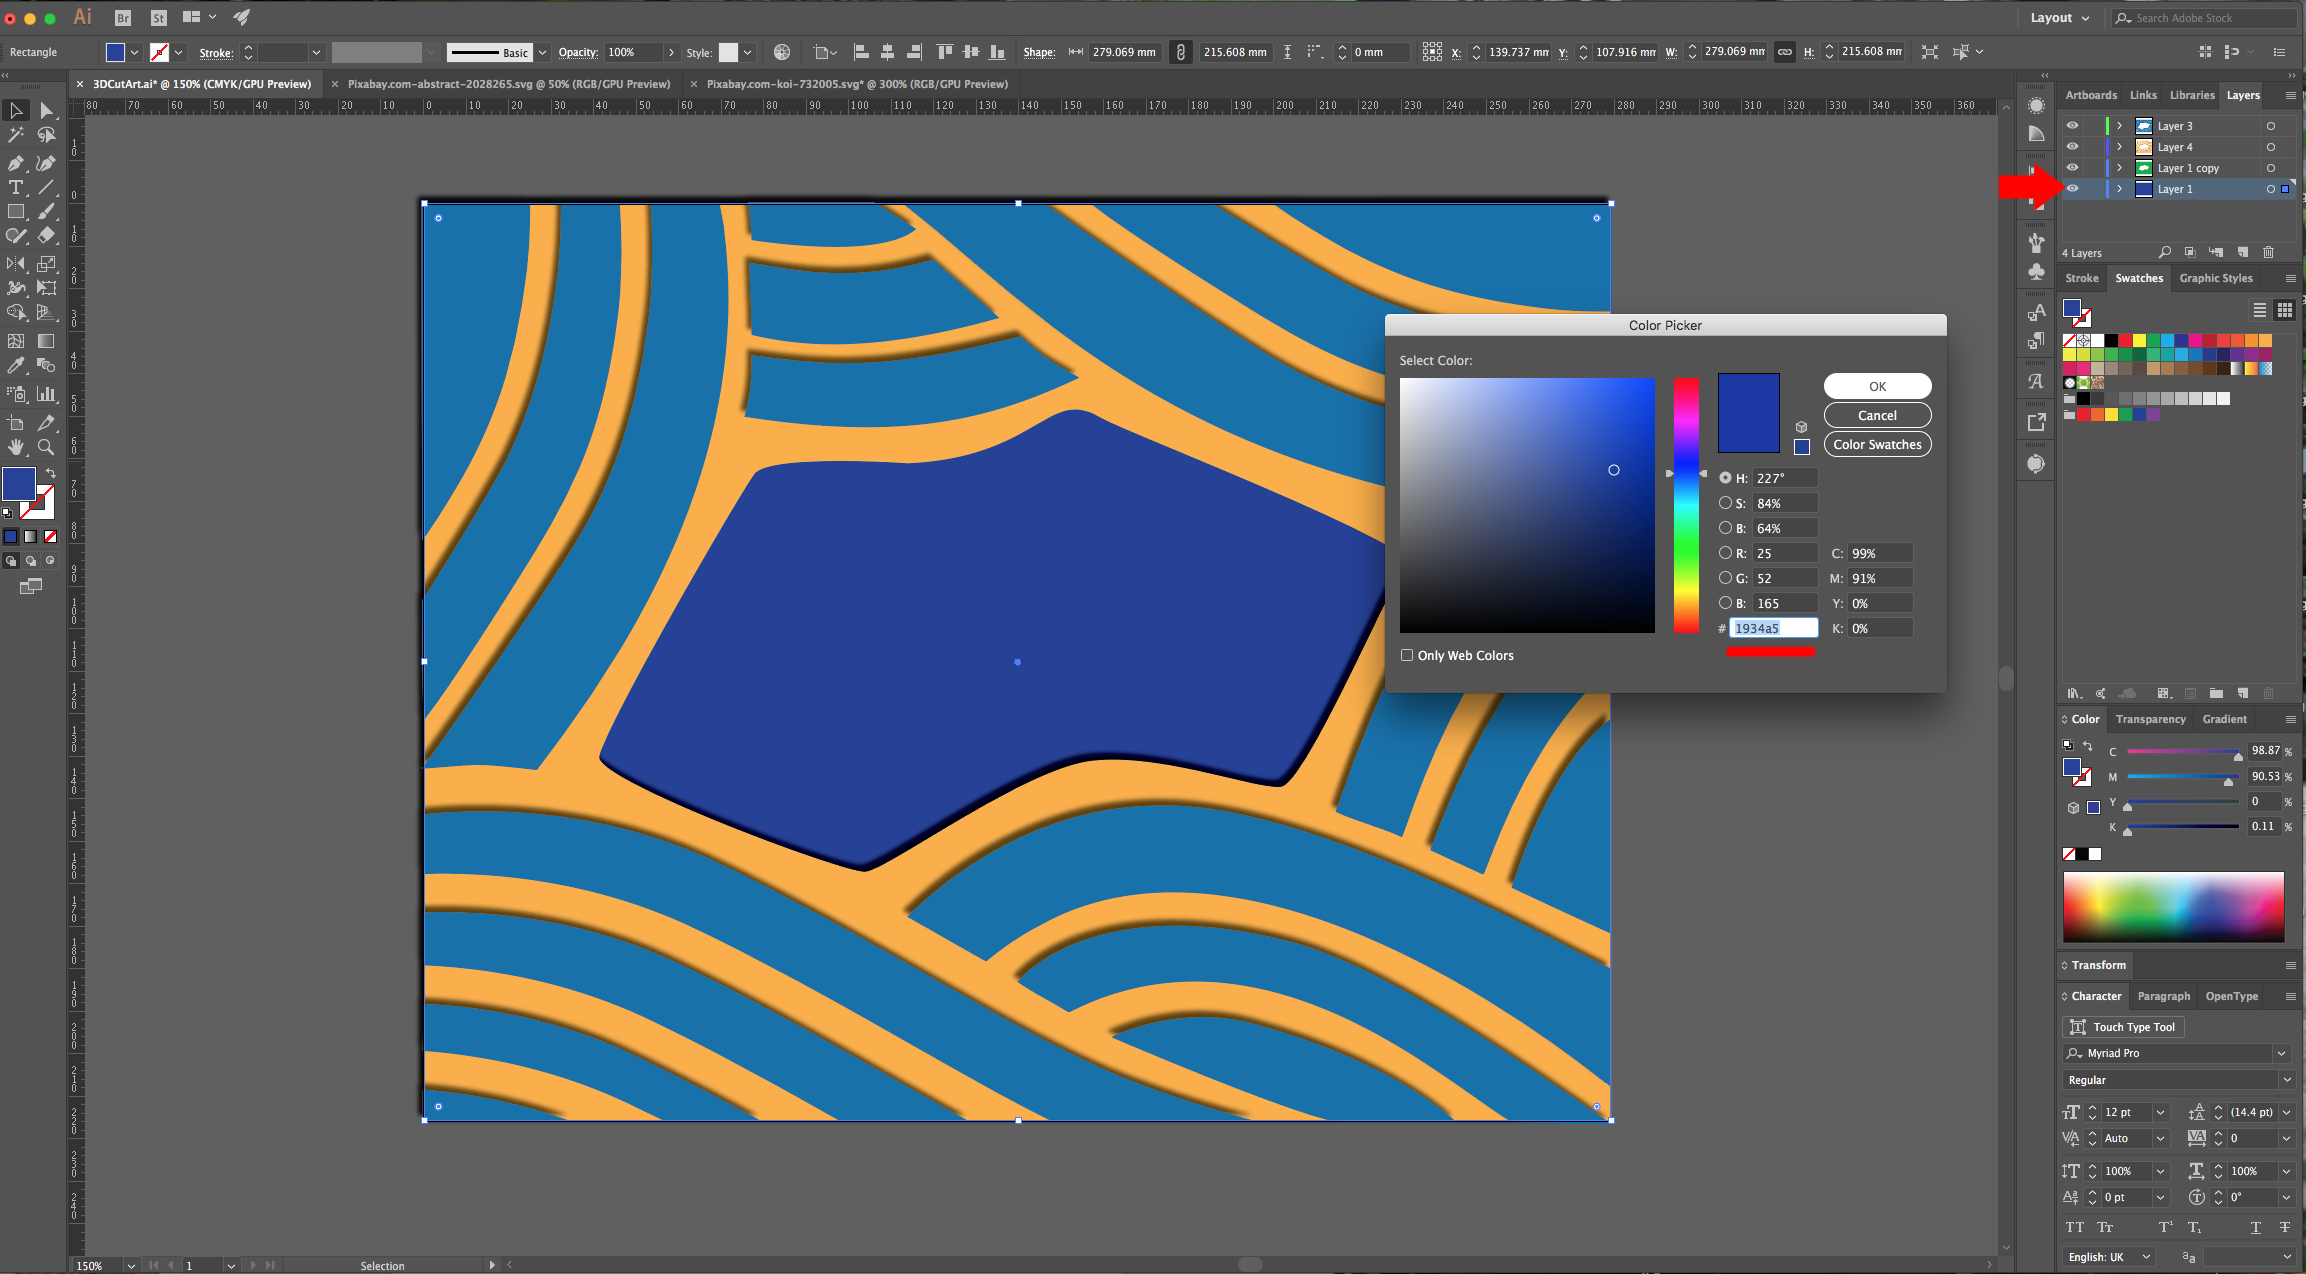
We noticed that the “Background” color was too dark so we unlocked the bottom layer and changed to a slightly lighter shade (#1934a5).
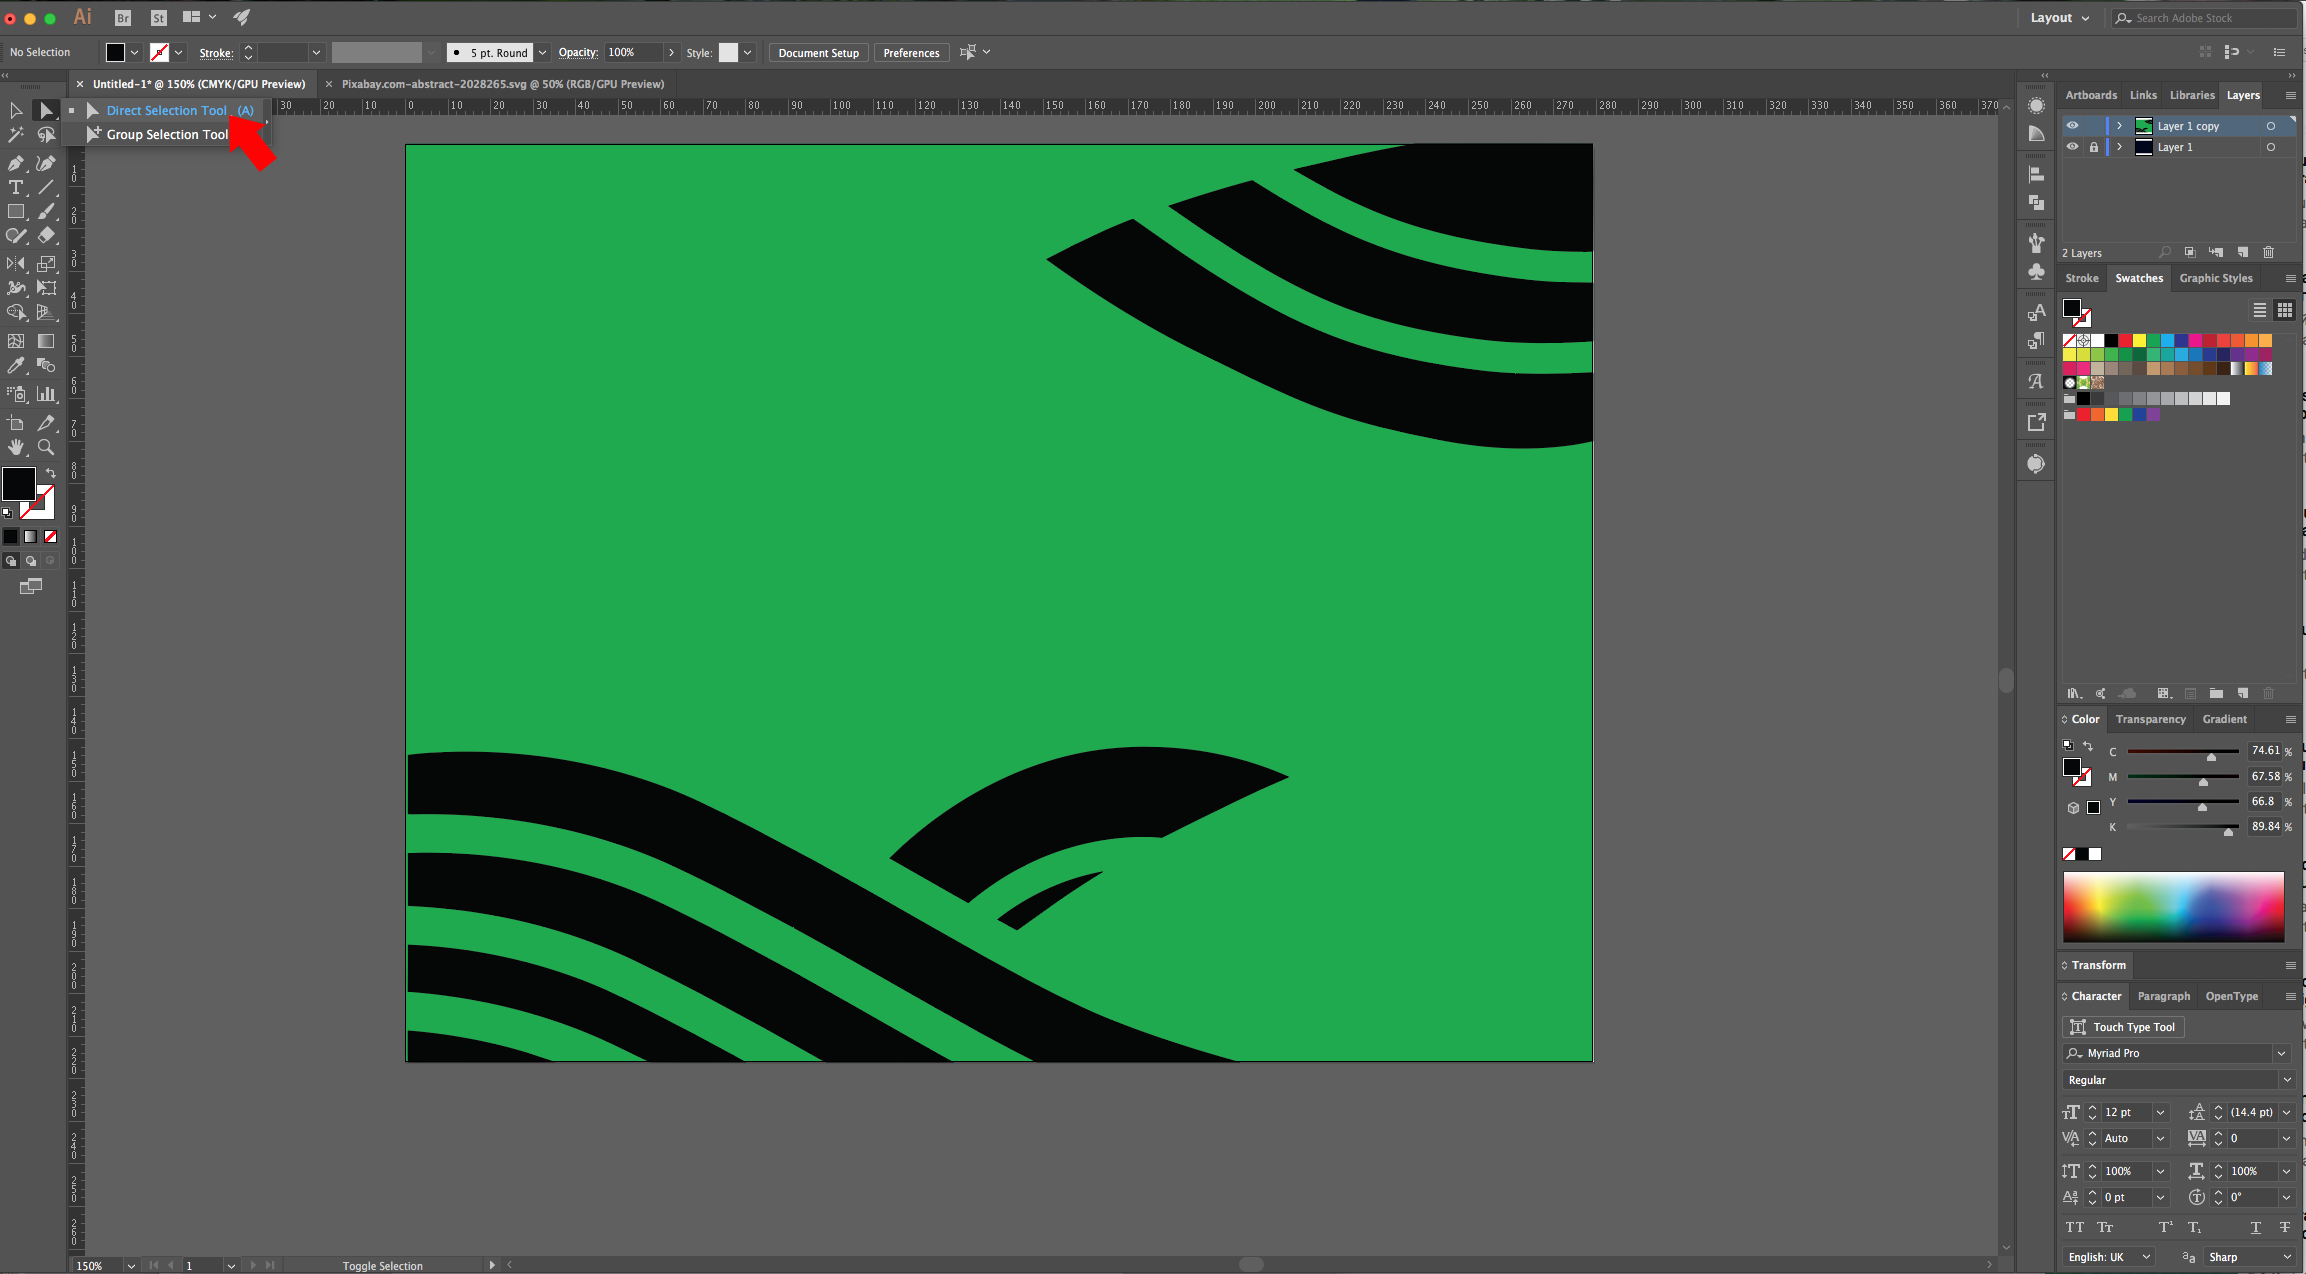
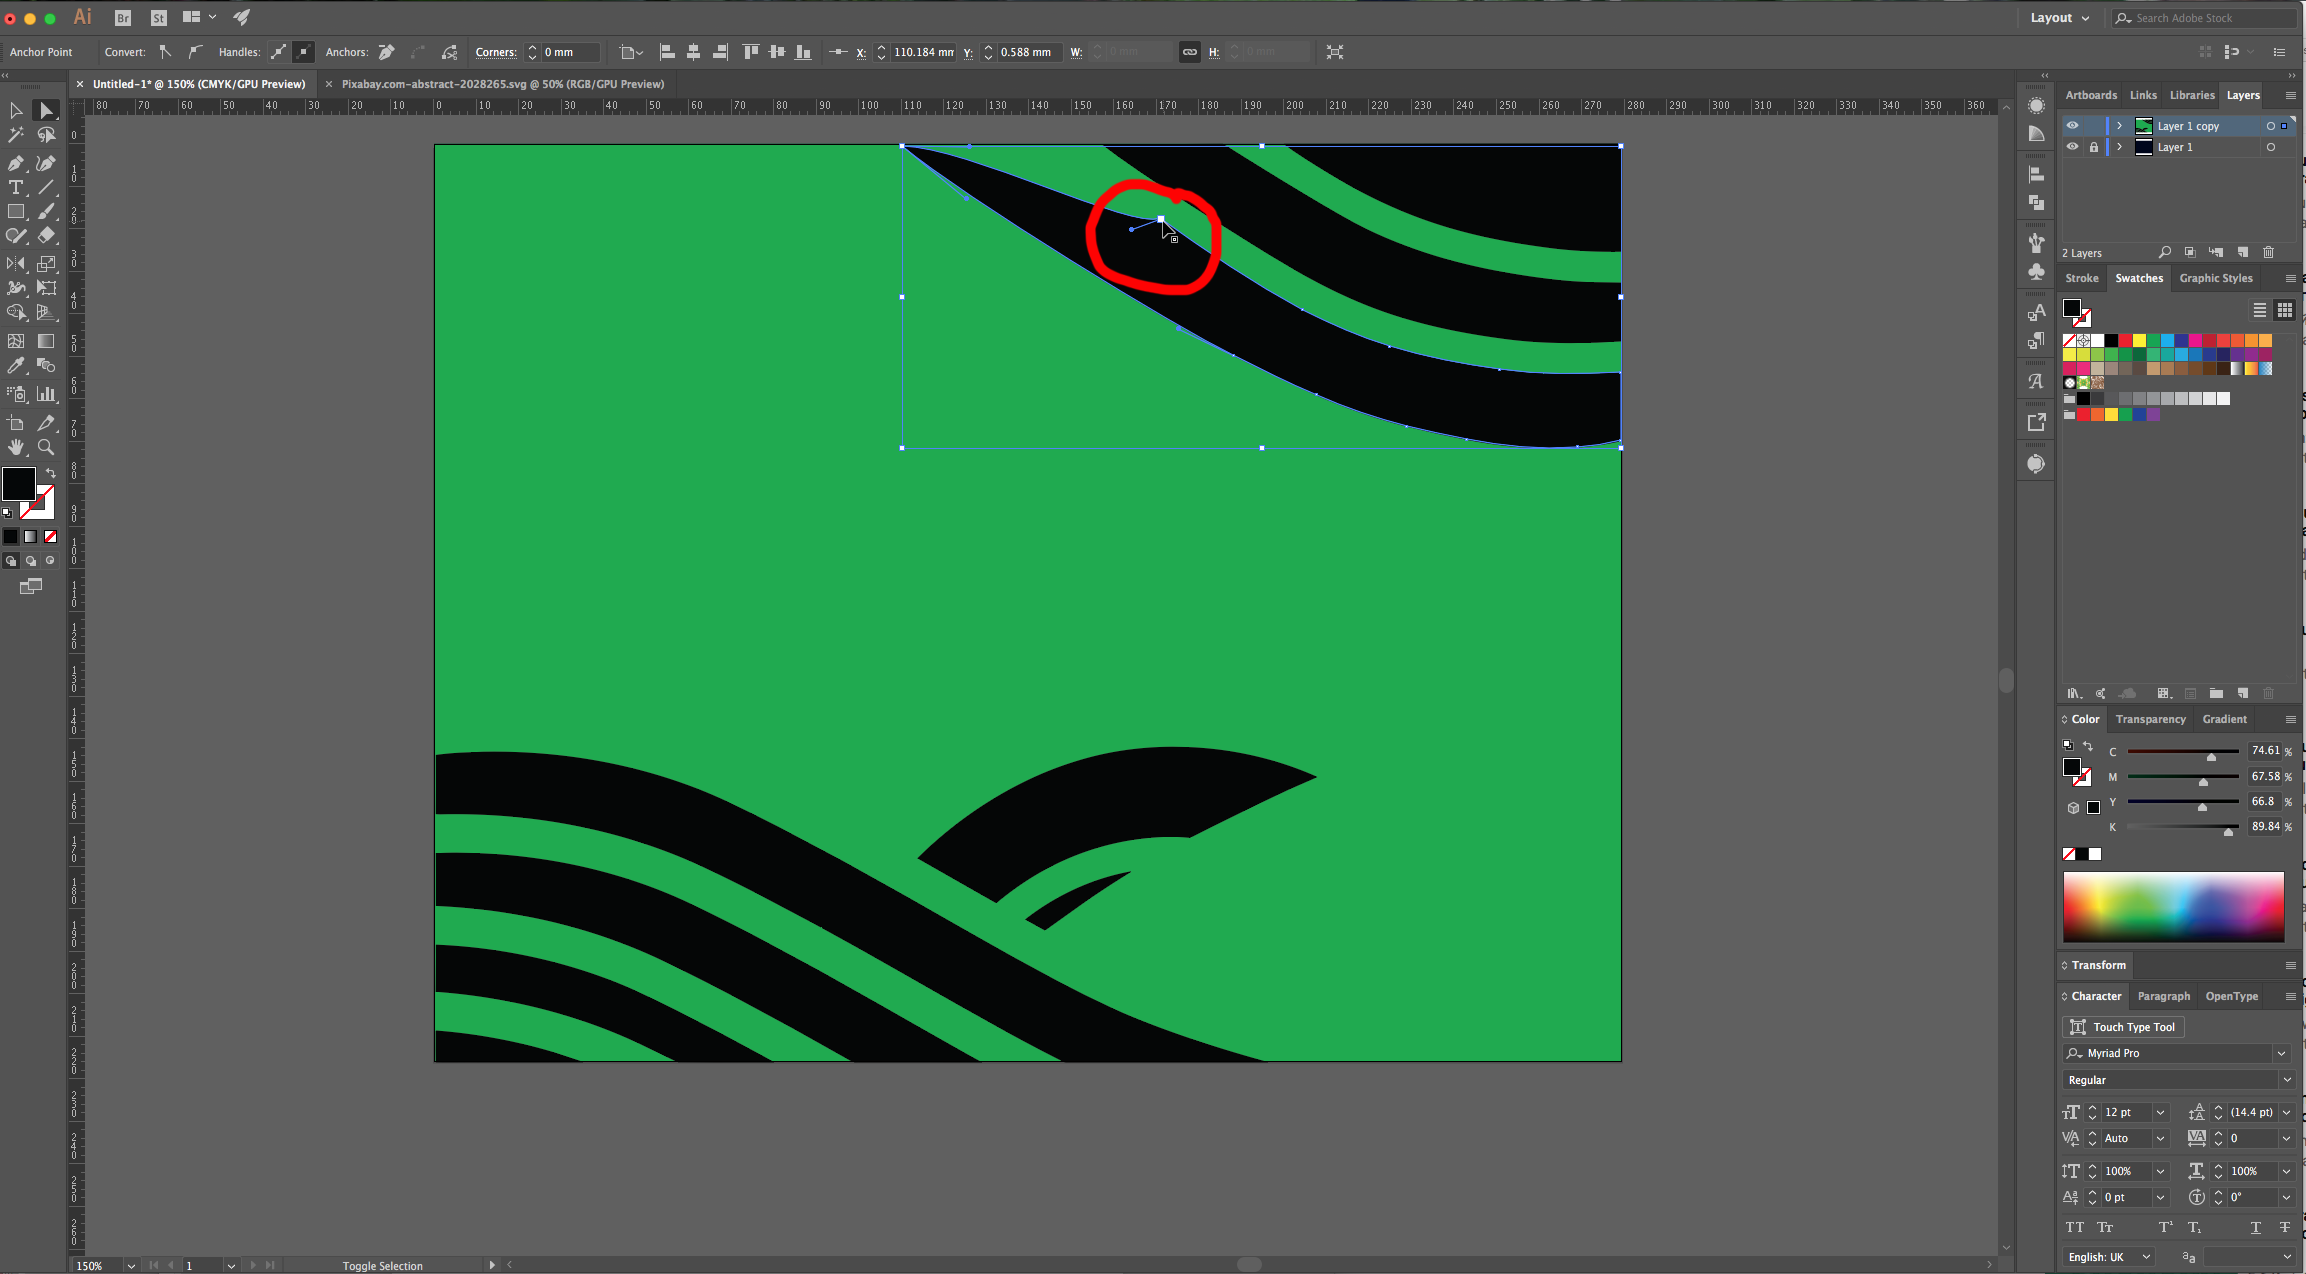
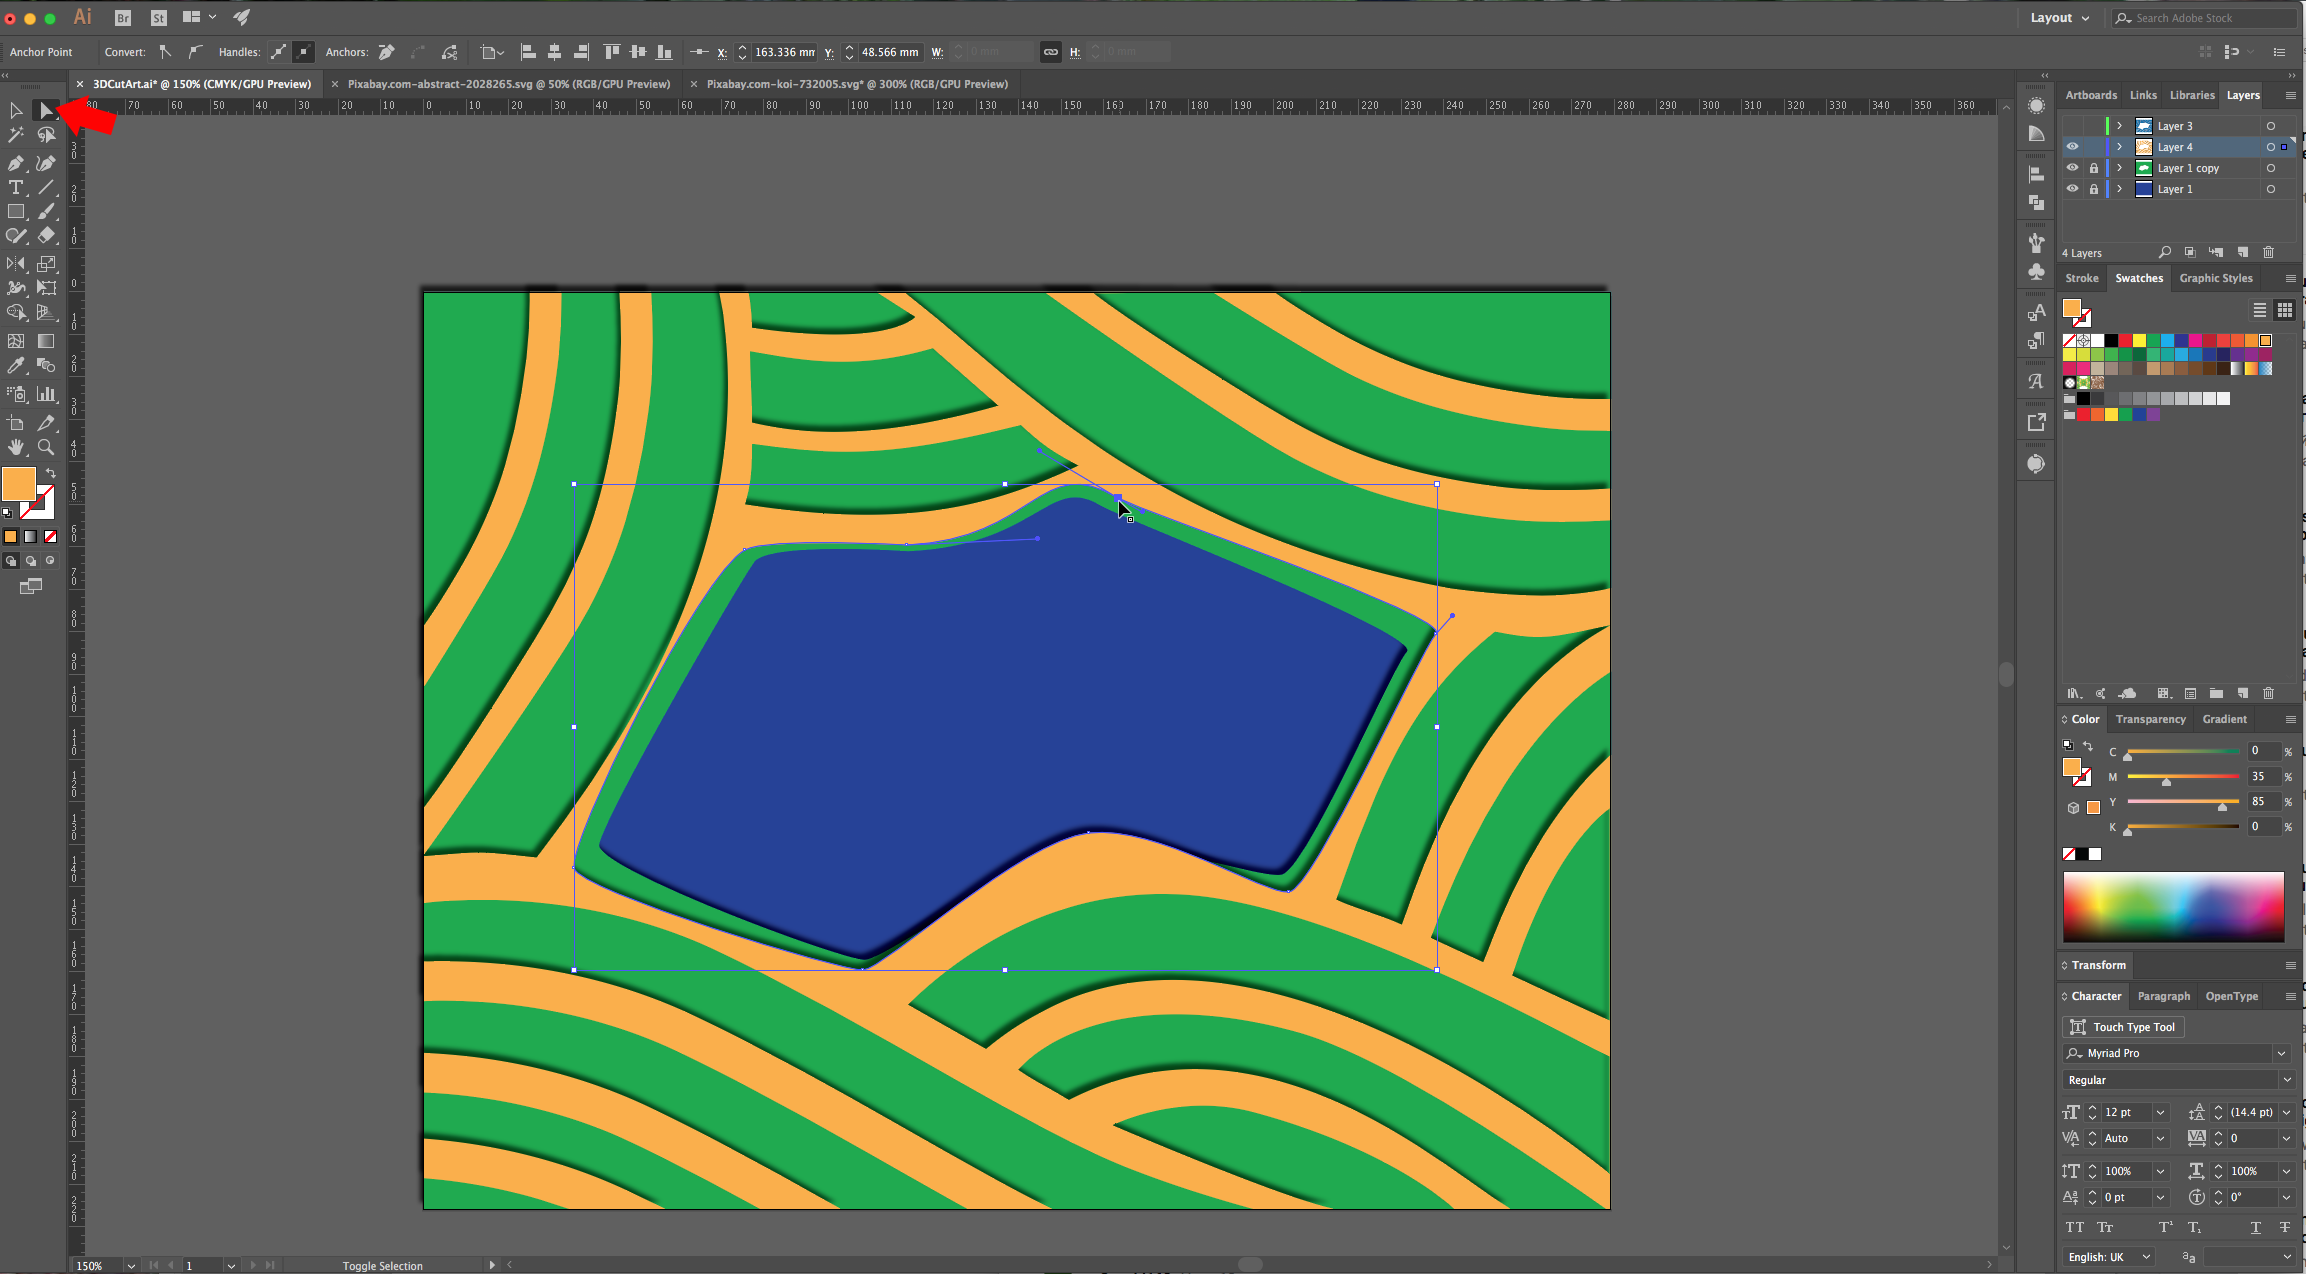
12 - With the “Direct Selection Tool” (A) tweak the edges of the shape with the cut-out waves. Then do the same with the layer that has only the waves so they are less uniform.
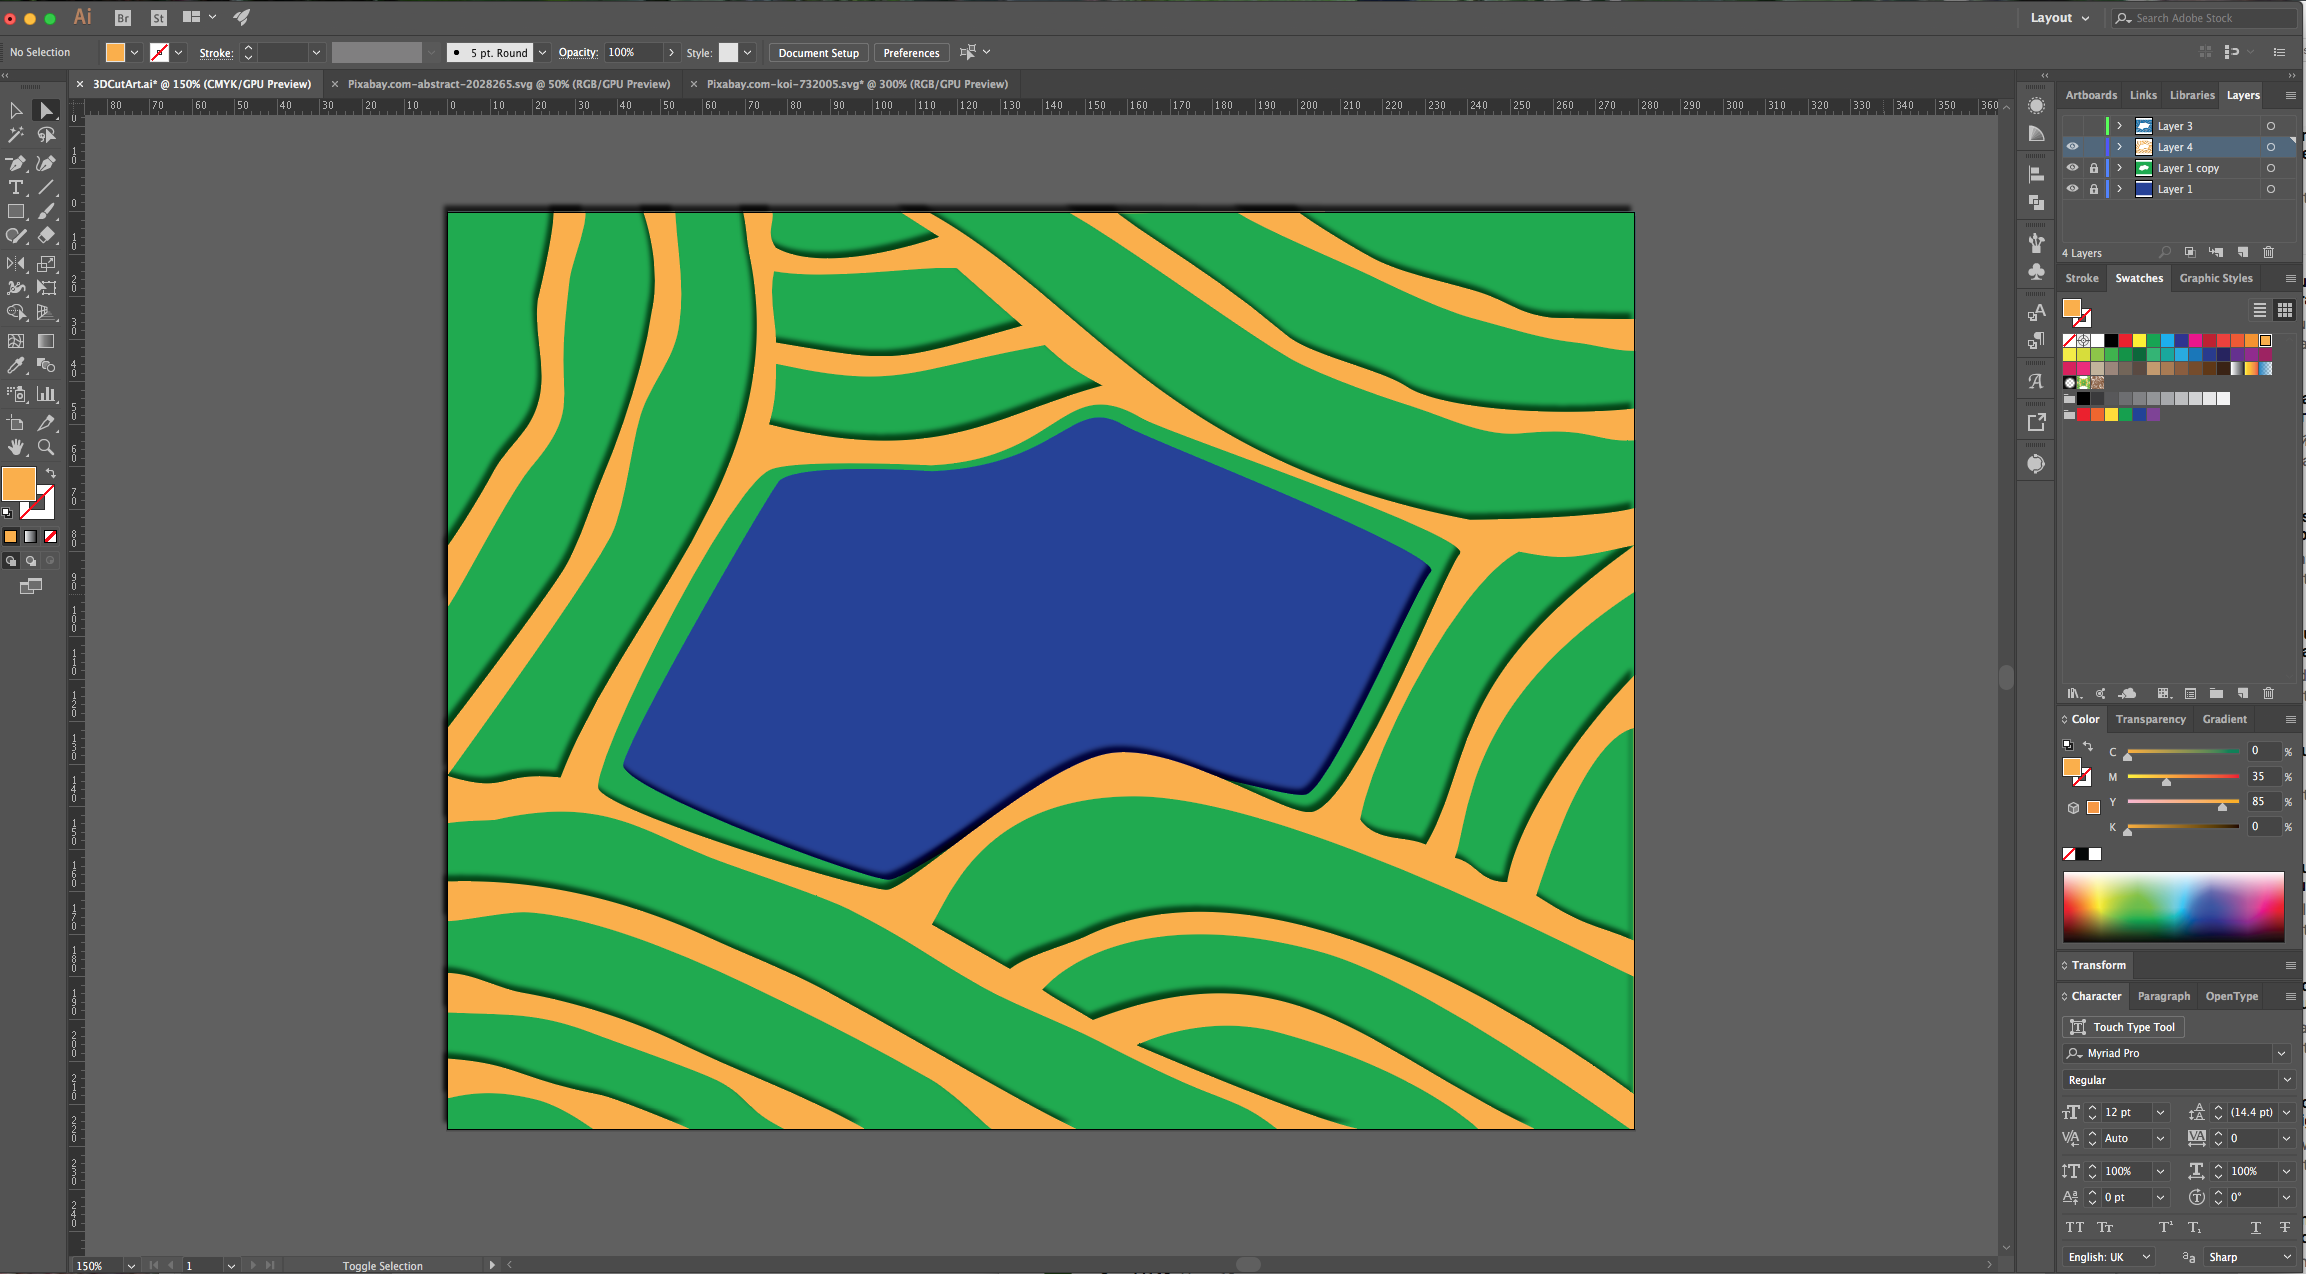
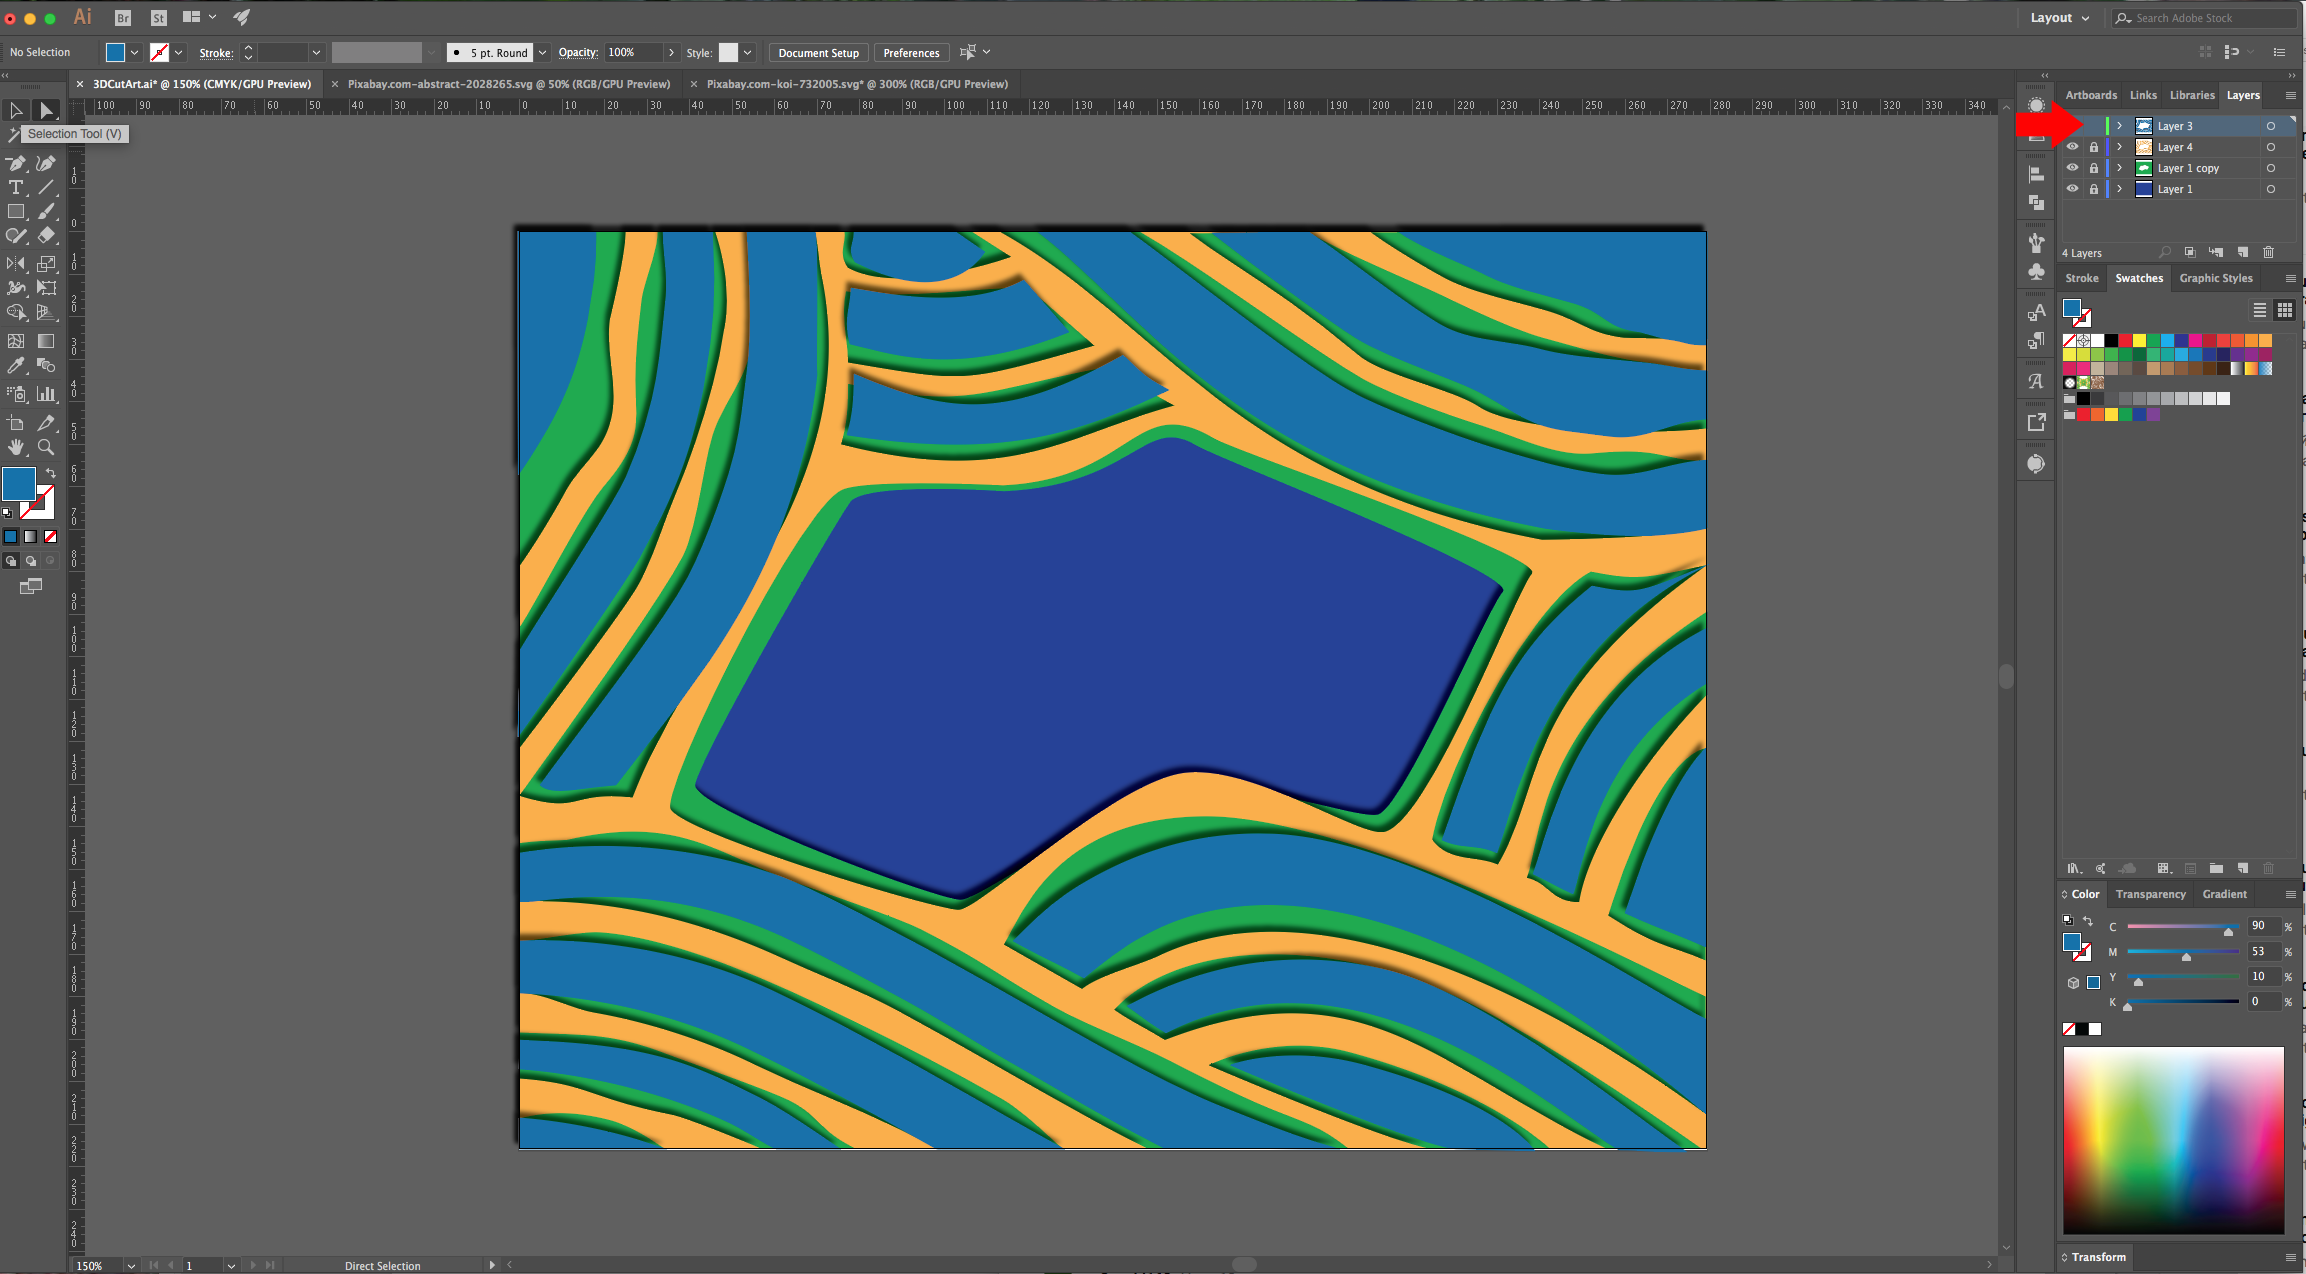
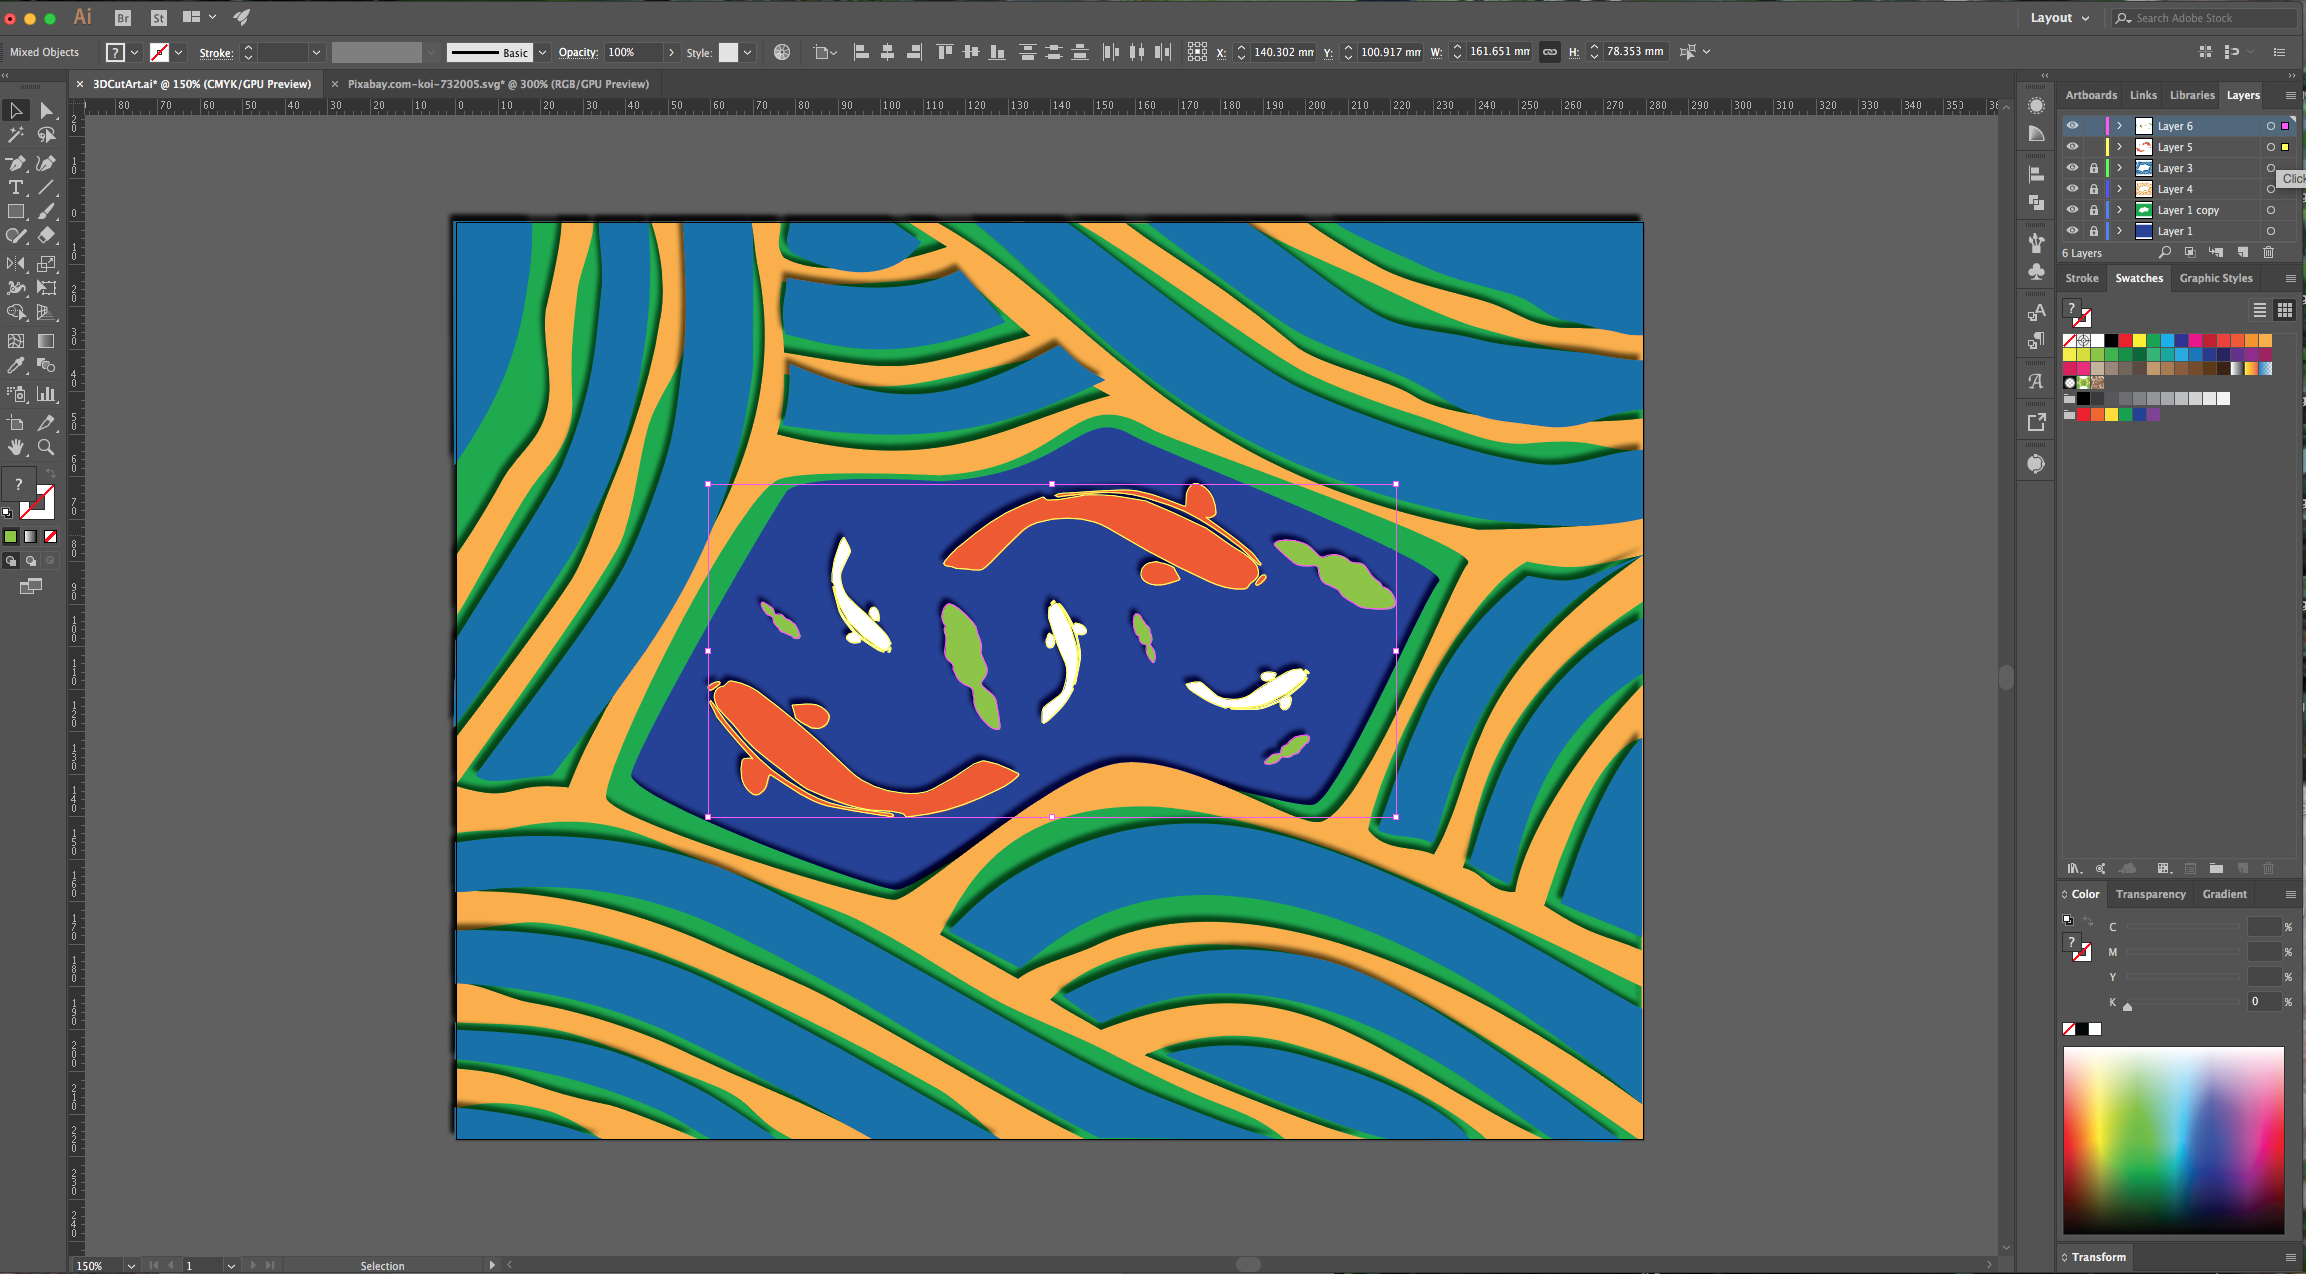
13 - Create a “New Layer” and paste your “Koi Fish” into it, add some “Fill” colors to the fish and apply the same “Drop Shadow” Effect to them.
14 - Your “Artwork” should look similar to this.
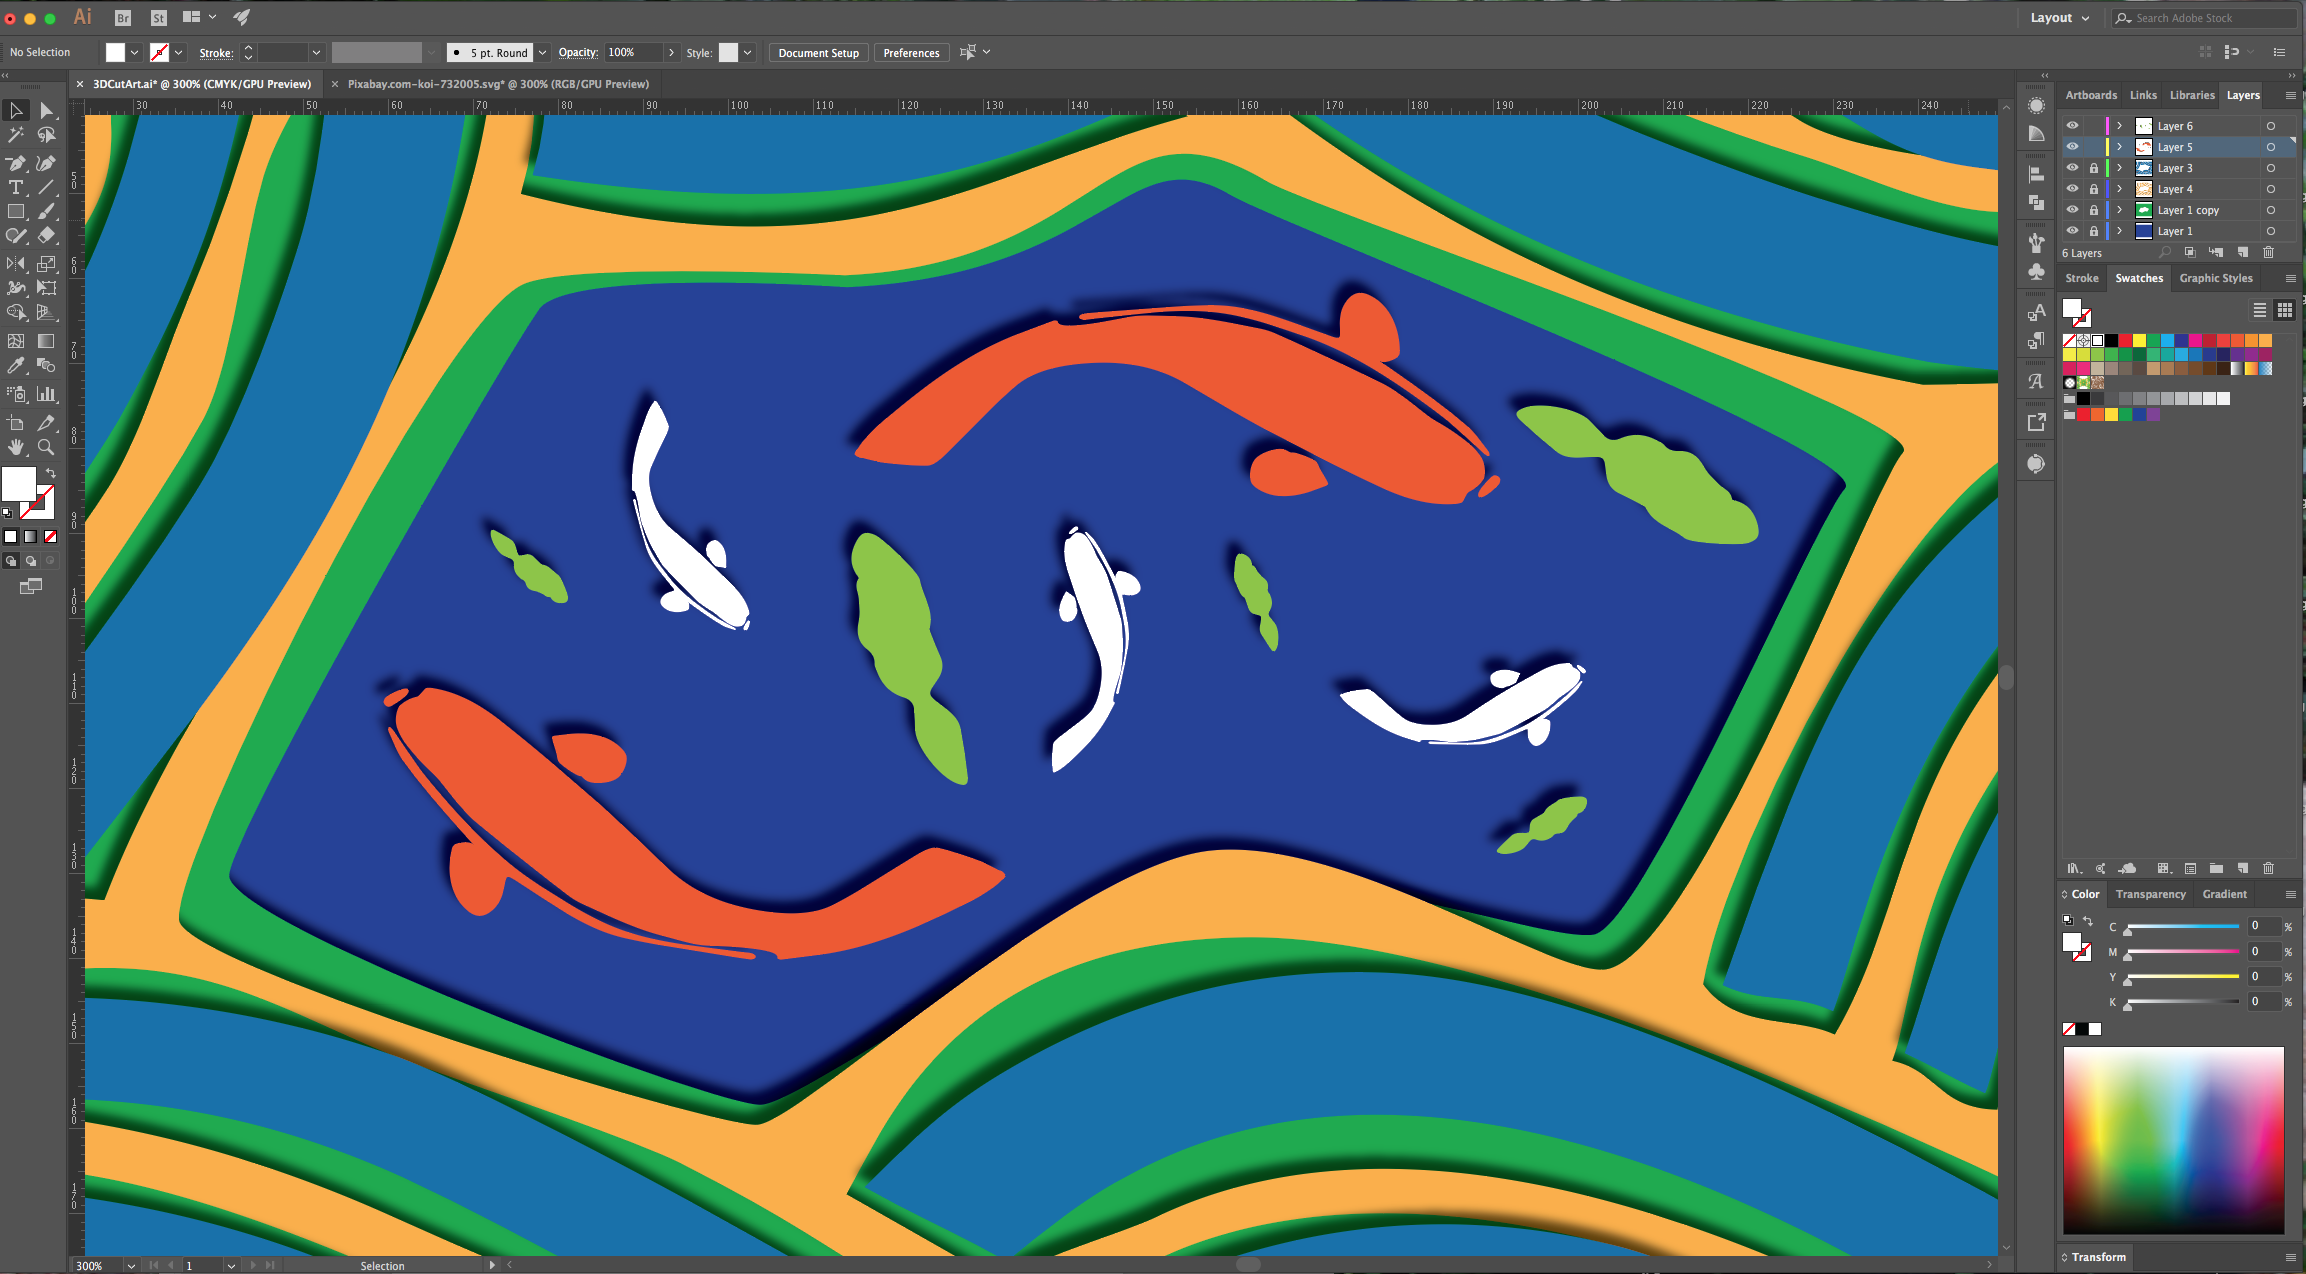
by @lornacane
6 Related Illustrator Tutorials
1 - In Illustrator, create a “New Document”.2 - Select the “Ellipse Tool” (L) and to draw a circle with a 5mm circumference approximately.3 - With the “Direct Selection Tool” (A) click on the Top “Anchor Point” and hit the “Up” key until you are satisfied with its position. If you ...
For this tutorial we are going to use some vector flowers from Designbundle.net. We are exploring two different options to create a “Color Group” to use with our artwork.1 – In Illustrator create a new document, open the “Hand Drawn Flowers” file and copy (Command/Control + C) the flower or ...
1 - In Illustrator, create a “New Document”. If the “Rulers” are not enabled, go to View > Rulers > Show Rulers (Command/Control + R) to turn them ON.2 - Select the “Ellipse Tool” (E), click inside the “Canvas” and input a “Width” and “Height” of 80 mm. Click “OK”.3 - Use ...
1 - In Illustrator, create a “New Document”.2 - Select the “Rectangle Tool” (M) and create a “Rectangle” that covers the entire Document. Fill it with a “Radial Gradient” going from a light blue (#b5d0da) at 30% “Opacity” to 100% “Opacity”.3 - “Lock” your Layer using the small “Padlock” icon on ...
For this tutorial, we will use an image or path to trace the Type Art.1 - In Illustrator, create a “New Document”.2 - Open the file you wish to use as reference for the shape then “Copy” (Command/Control + C) the portion you wish to use, “Paste” it (Command/Control + ...
This tutorial will show you how to create a pop art vector image in Illustrator from a photo. Pop art vector images work well on posters, stickers, and sublimation designs as they are very striking with saturated colors and bold outlines.For this tutorial, you will need an image or ...

 All your Font Needs


