How to Add Border in Canva
Borders are fun element to play with in Canva.From intricate edging to...
Borders are fun element to play with in Canva. From intricate edging to simple frames, a great border can help draw attention to your design. It can also help break up different parts of a design or frames specific content that you want to highlight in your design.
In this tutorial, I’m going to show you several ways on how to add borders to your design in Canva. It will help create visual balance and unity in your composition.

Option 1: Using Canva elements
Step 1 - Open your design
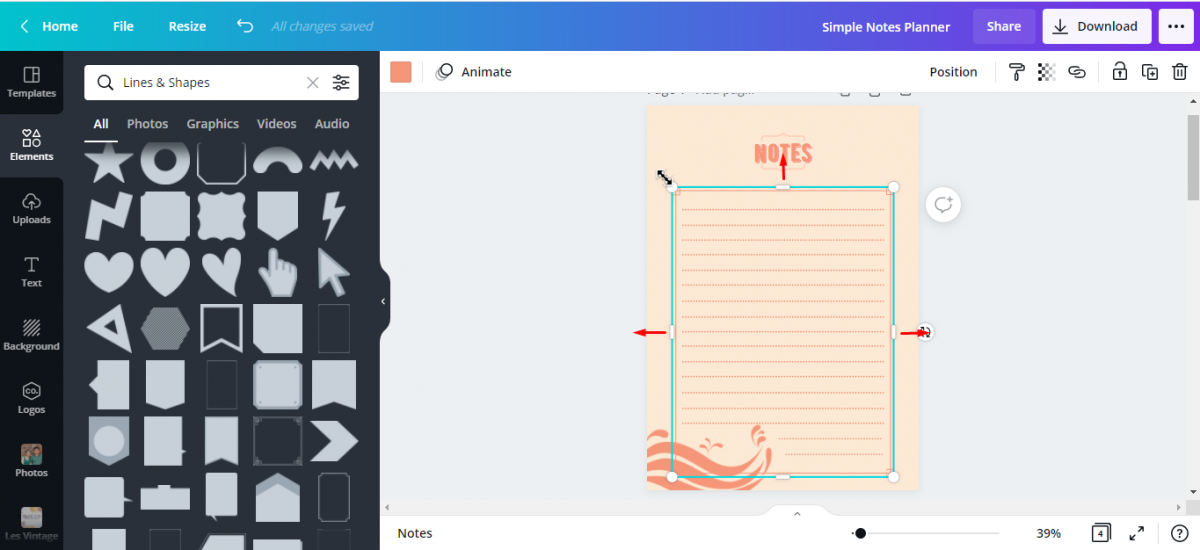
Open your existing design where you want your border added.We're going to use this simple notes planner from Canva templates library.

Step 2 - Add border
We will add a border to the template. On the editor side panel, click Elements> Lines and shapes> see all.
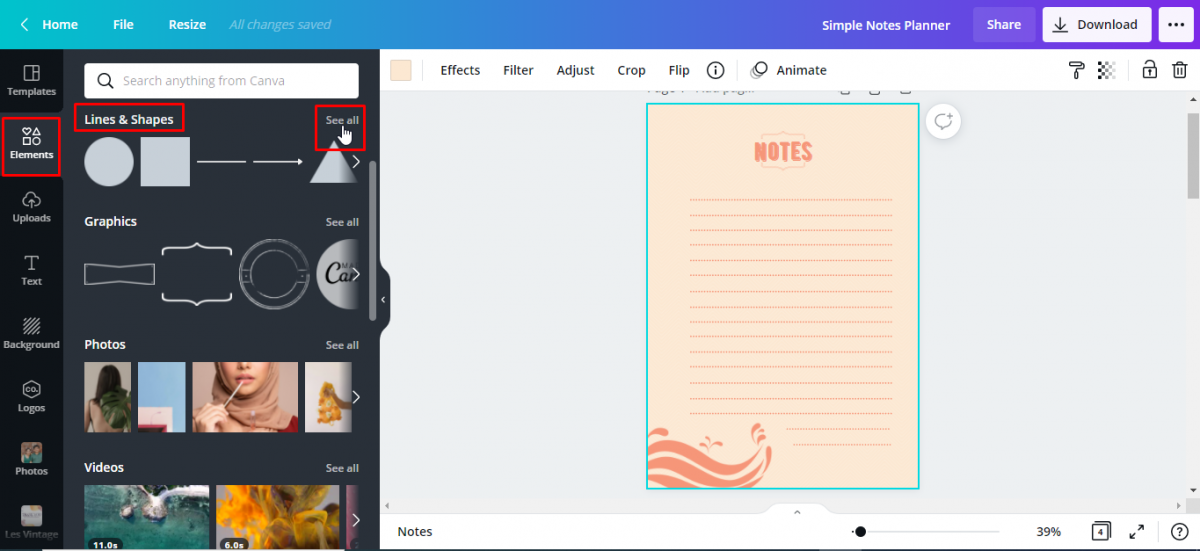
Scroll down to see all the available shapes that could be used as a border. You can choose some basic square borders or frame borders with different corner styles.

For our design, I'm going to use the Frame with Cut Corners.

Adjust the shape to make it bigger by clicking the white handles on the corner or middle. Then drag it out until it frames the dotted lines of our notes planner.
Another way to find borders from the Canva library is by searching for borders on the search bar. Click Elements > type the keyword on the search bar then enter > graphics. I will use "corner border" for our keyword. We will select this Leafy Branch Border.

Step 3 - Edit border
We will now select the leaf border and drag it to the top left corner of our design. To change the element's color, click on the color tile on the toolbar. Click on the preferred coloron the left side panel to apply the color change. I will use sage green, a darker shade of our background color.

Duplicate border-Right click on the element > copy > paste or ctrl/command C + ctrl/command V.

Flip border - Select the duplicated element > Flip > Flip Horizontal > Flip Vertical.
Drag the border to the bottom right corner of the design.

Option 2: Using purchased elements
When you can't find a border from Canva library that you like, you can also use purchased elements. Design Bundles has lots of available borders and frames that you can use. In this part of the tutorial, we will be using a dividers and borders set by Mallinka. This set includes decorative hand-drawn tree branches, hearts, flowers, curl and design elements that can help make your design stand out.
Step 1 - Open your design
Open your existing design where you want your border added. We're going to use this pink notes planner this time.

Step 2 - Upload purchased elements
From the side panel, click on the Uploads tab > Upload Media and locate the file from your computer. Then click theelements you’d like to use in your design. We will select the SVG files so we can change the color of the element to match the color scheme of our notes planner.

All selected elements will now appear in the uploads panel.
Step 3 - Add border
Next, we will add a border. Select the border you want to use.

Step 4 - Edit border
Arrange the placement of your border by dragging it to where you want to place it. We will put it on the top center of our design above the notes text. We're also going to change its color to rose and flip it vertically

Repeat the above steps to add another border at the bottom.

I hope you enjoyed this tutorial and that it helps when using borders in your future projects.
We also have other tutorials you may enjoy on animating text in Canva, removing the background, and blurring the background in Canva.