
How to Create a Vintage Postcard in Illustrator
Learn how to create a Vintage Postcard in Illustrator with this in depth tutorial.
In this tutorial you will learn how to create this awesome vintage postcard design in Adobe Illustrator. We will be using various tools such as clipping masks and 3D text to achieve the result. A Vintage postcard is a fun way to share your adventure with your viewers.

For this tutorial we will be using this beach scenery photo and a distressed grunge pack.
We will also be using the sans serif typeface called Gontano for the centre text of the design. For the ‘Greetings from’ text we will use a bold typeface called Creativa.
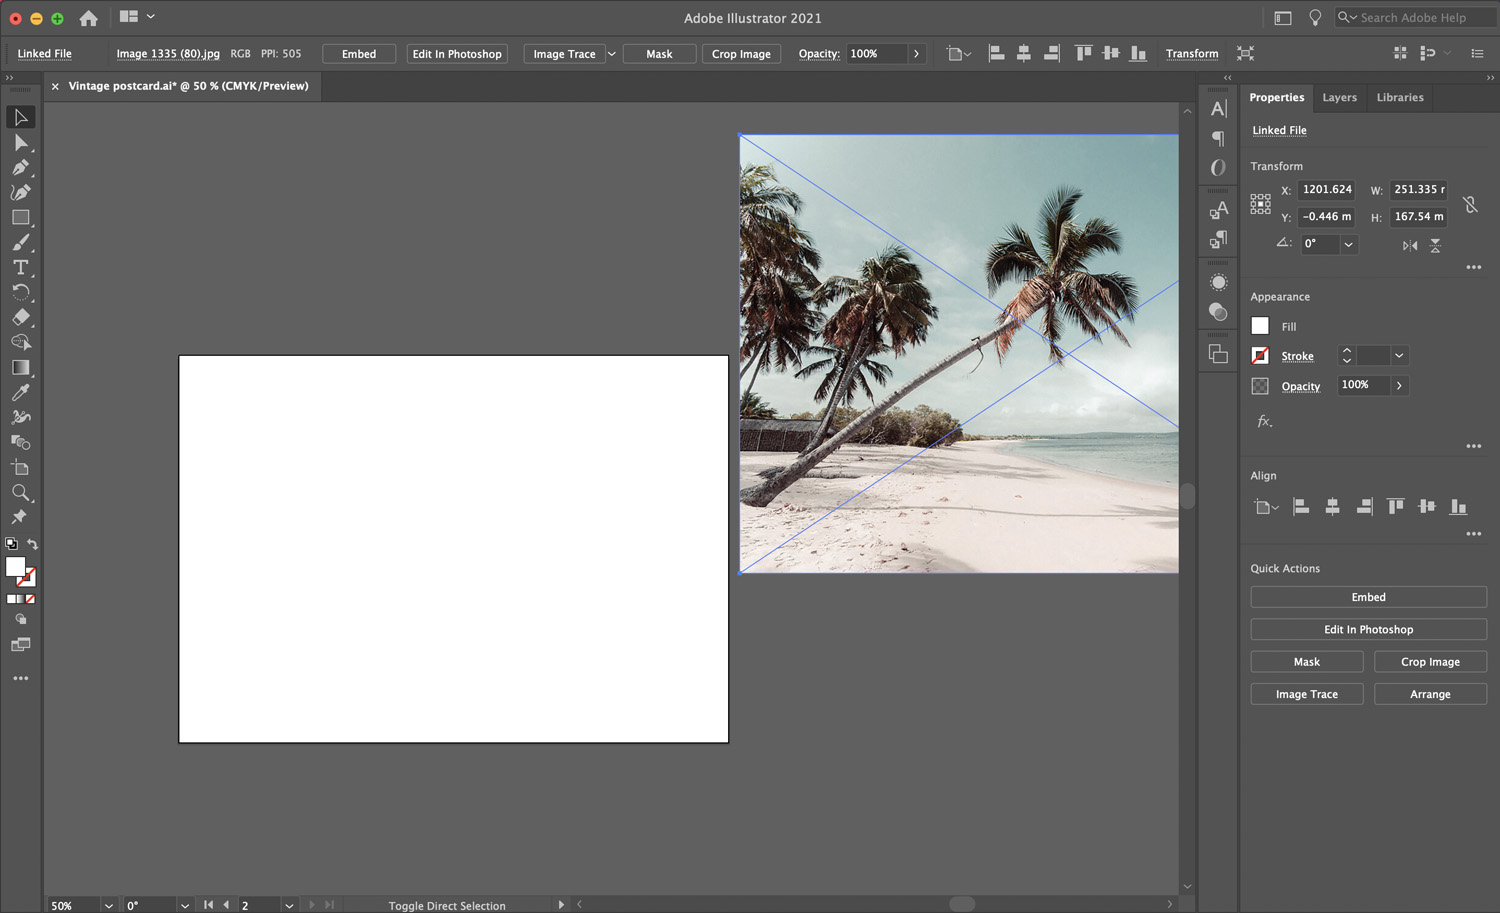
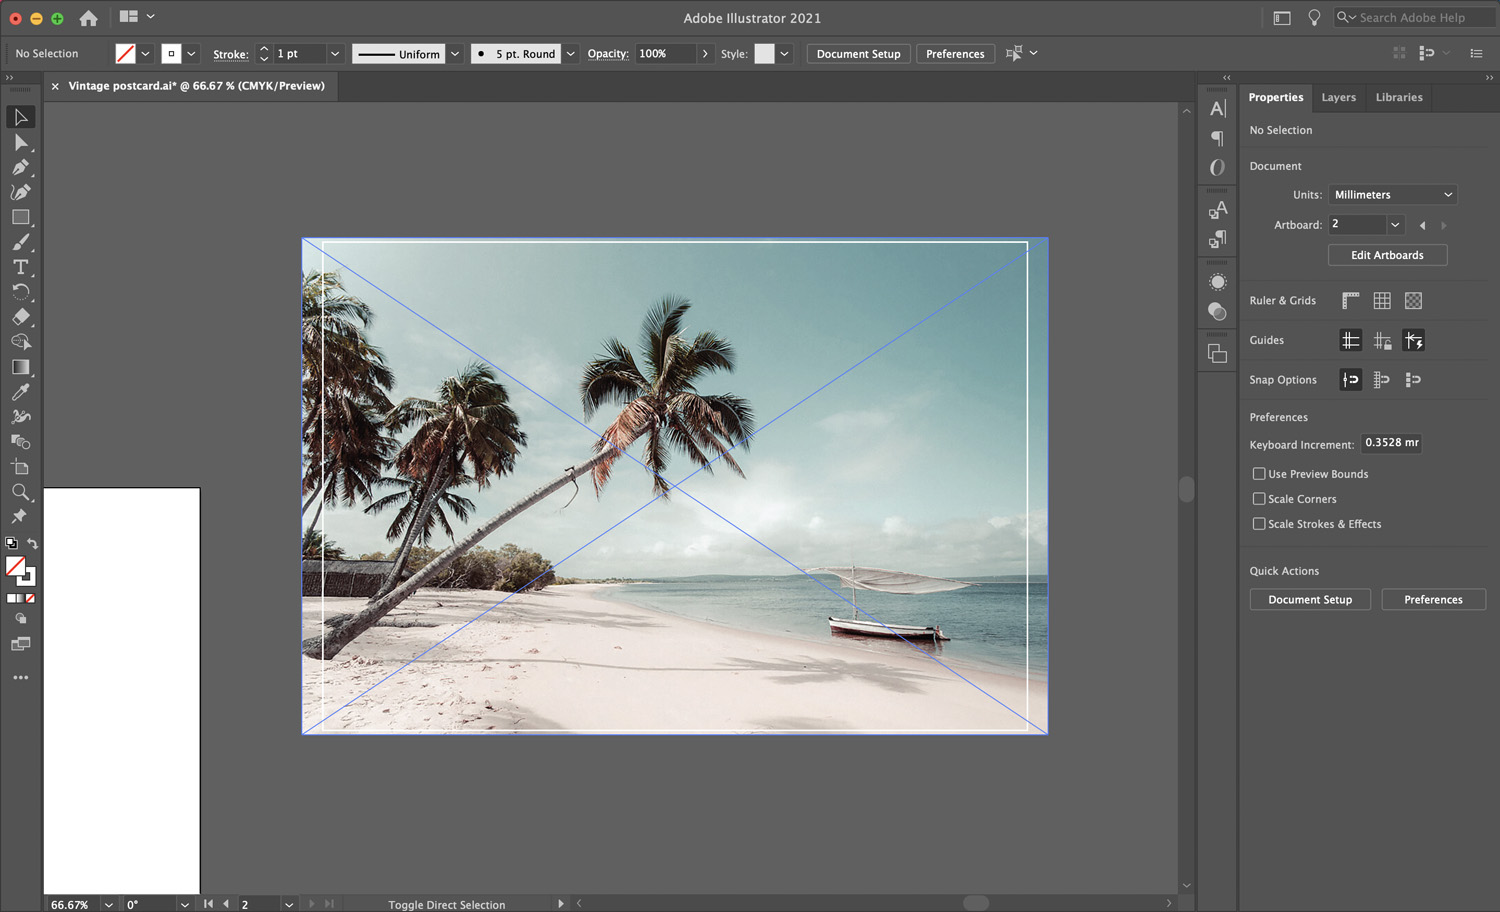
Step 1 - Add Your Postcard Photo
Create your Illustrator artboard to your desired size. We are using the dimensions 210mm x 148mm (A5), which is your typical postcard size. Then, add your photo by dragging it from your computer and dropping it into Illustrator.
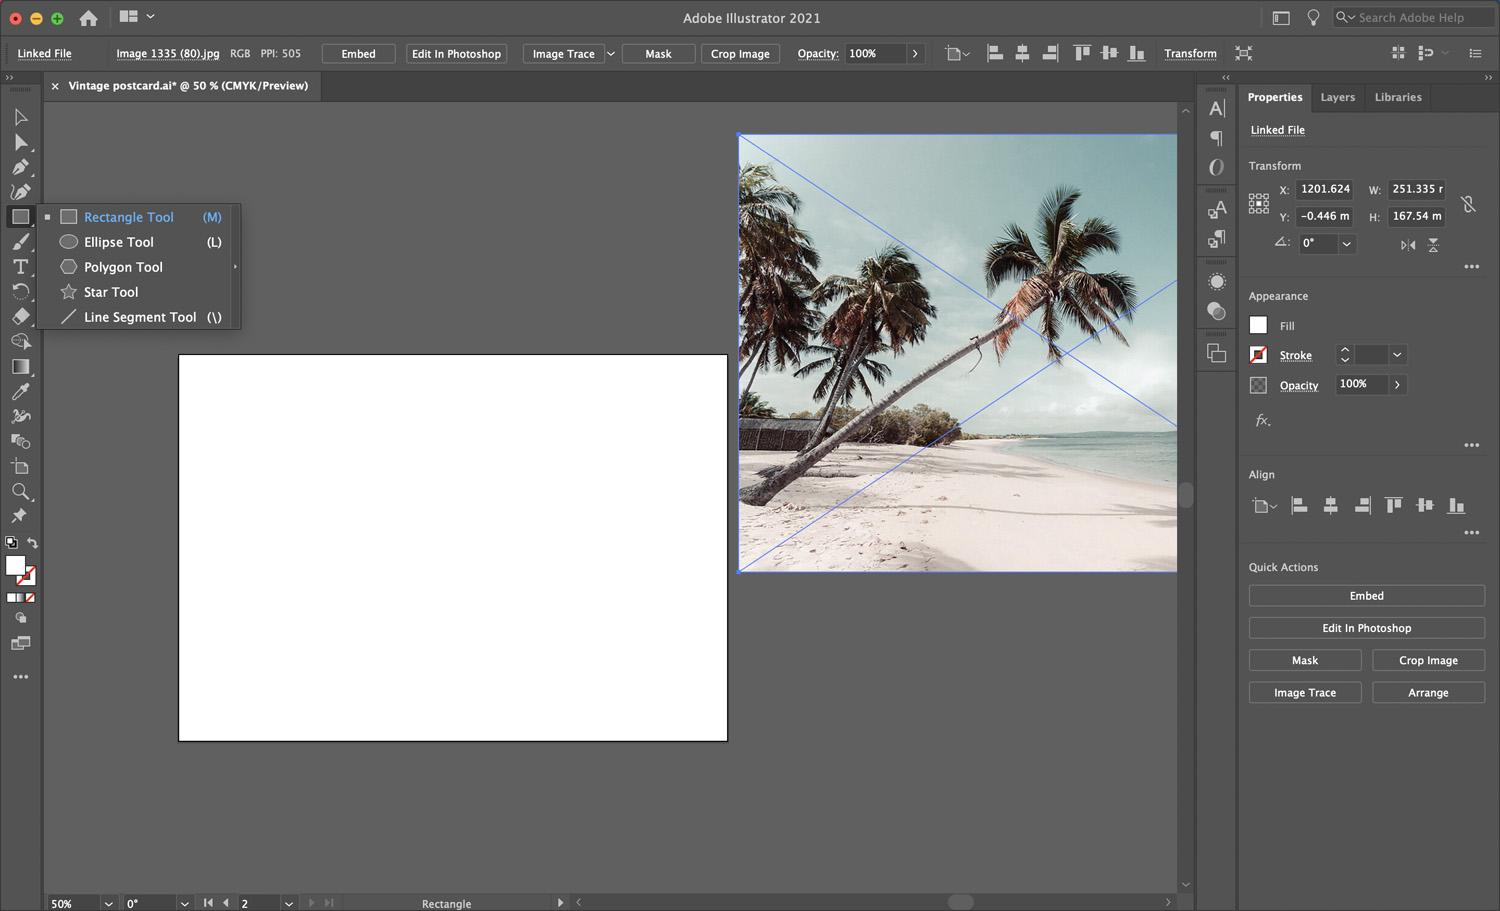
Use the Rectangle Tool
Select the Rectangle tool (M) from the left side toolbar.
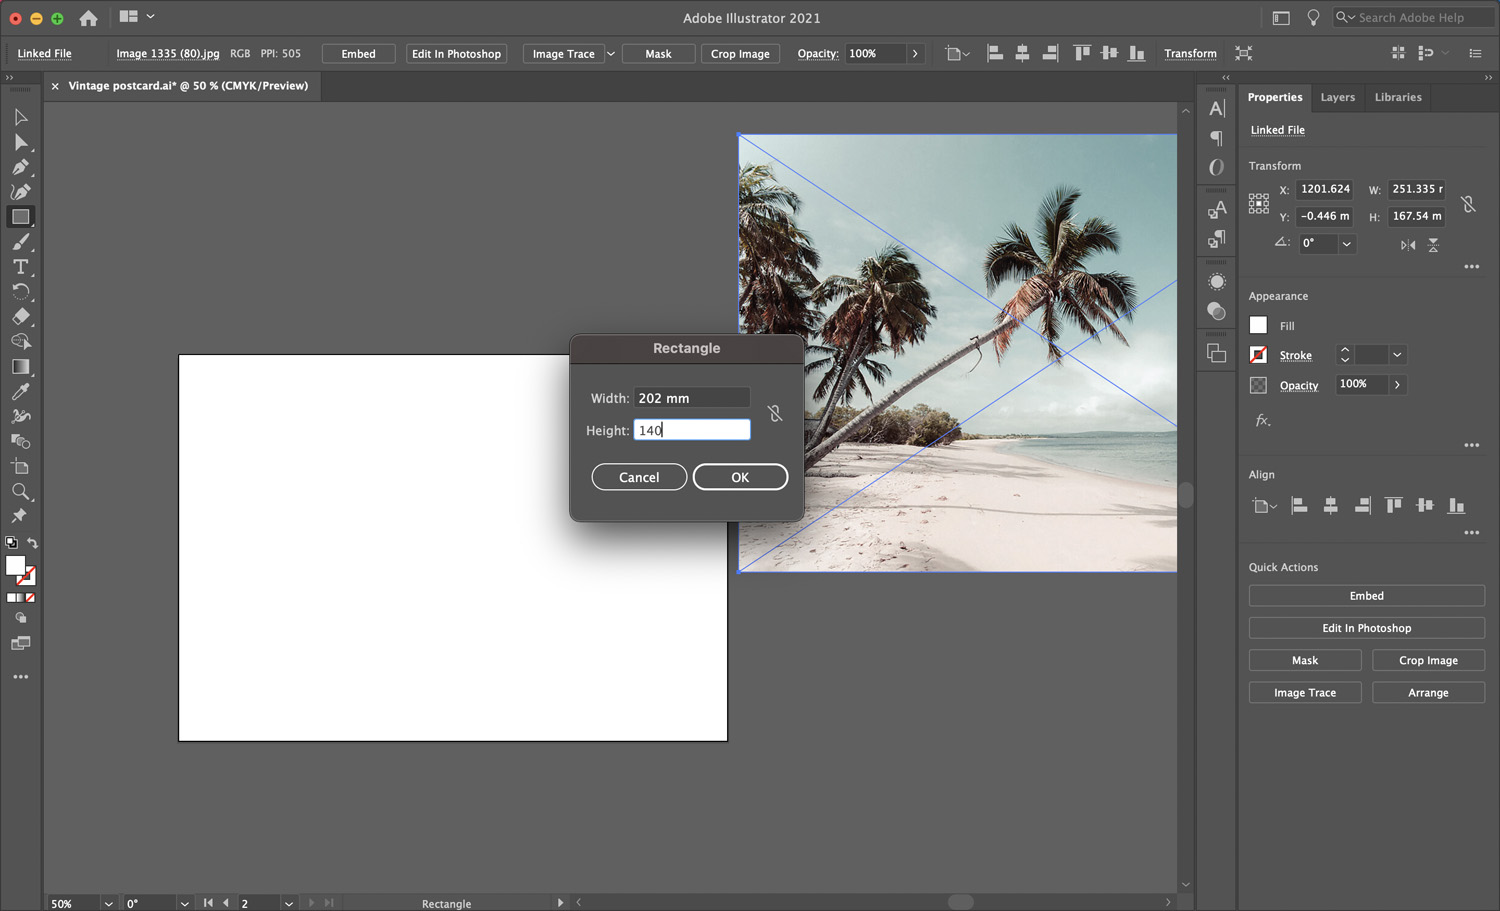
Click anywhere on your artboard, this will bring up the option to add your rectangle dimensions. Add 202mm width and 140mm height, then select OK.
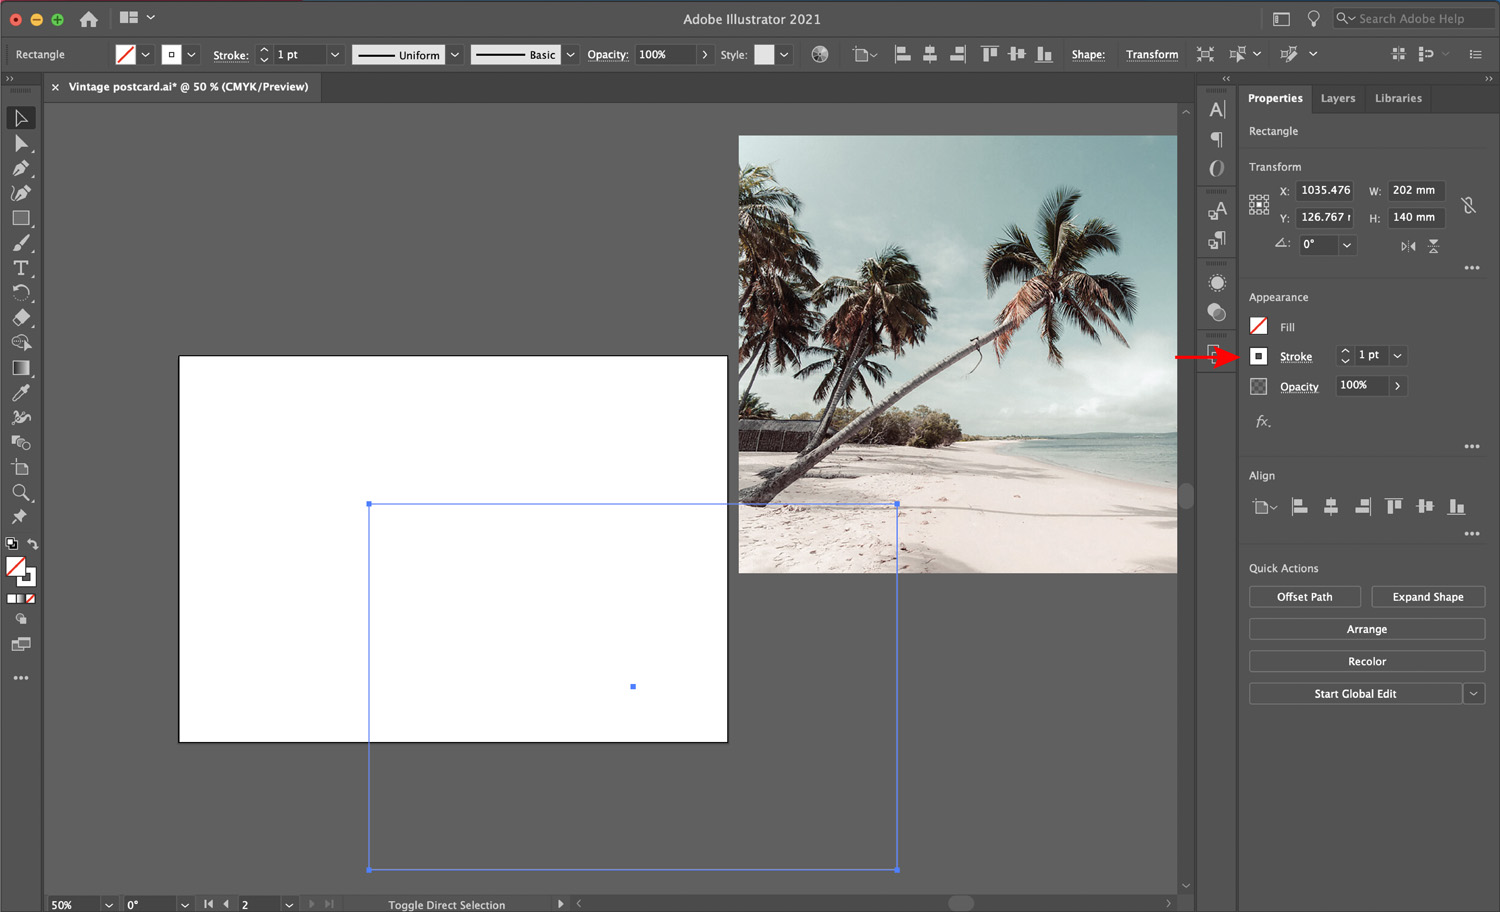
Change your fill to an outline if necessary using the fill and stroke settings within the Appearance Panel (Window > Appearance).
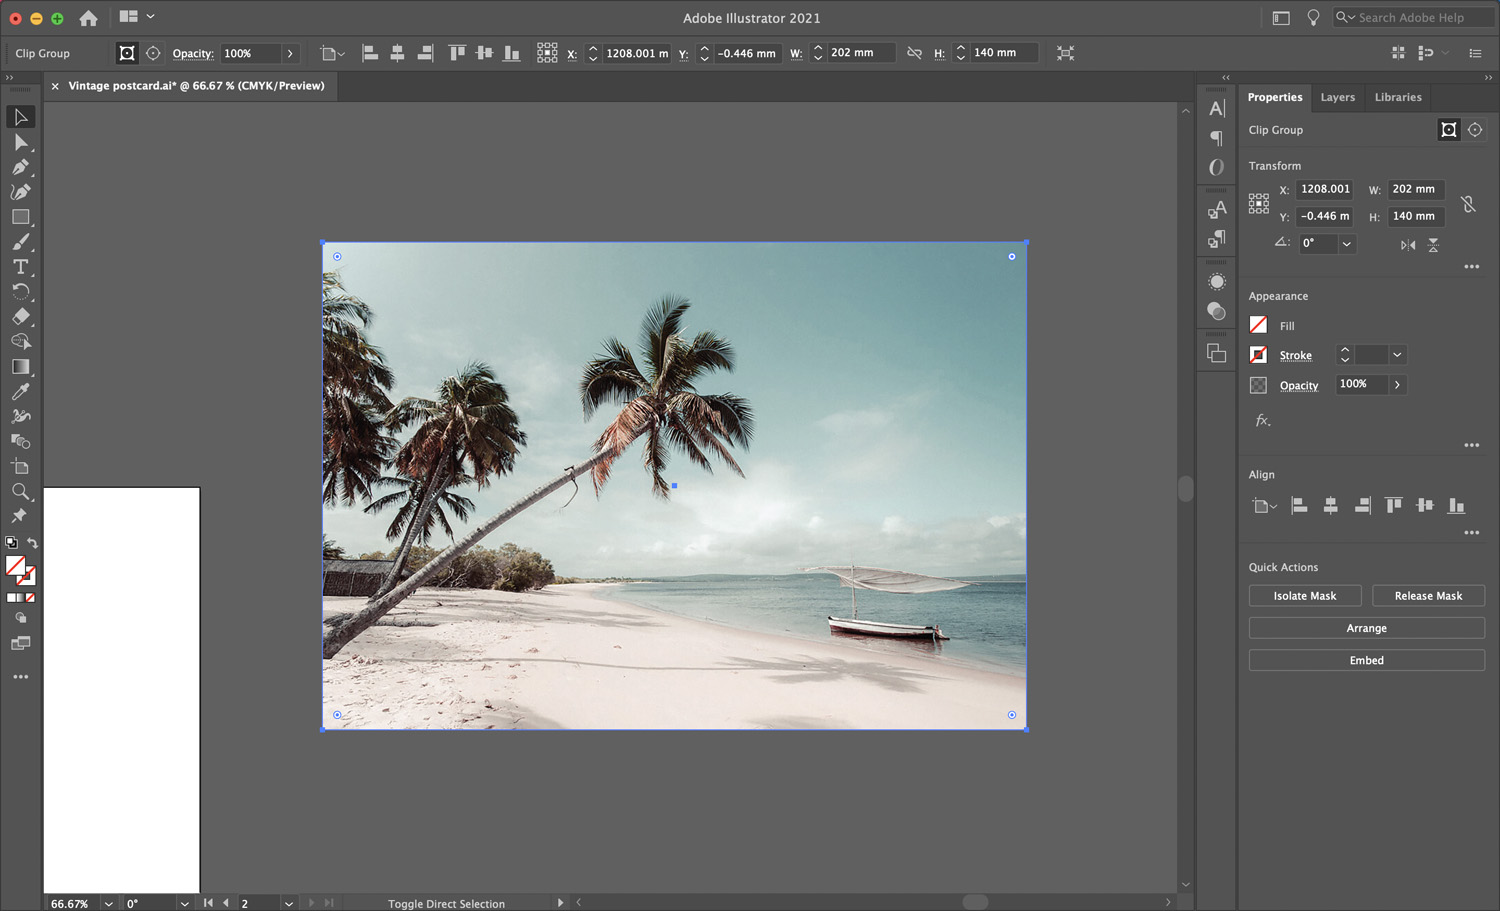
Create a Clipping Mask
Now, reposition your rectangle on top of your photo and select Object > Clipping Mask > Make. This will put your photo inside the rectangle frame. If you need more information, have a look at how to use clipping masks in Illustrator.
To reposition your photo inside the frame, double click on the image and drag it within the frame.
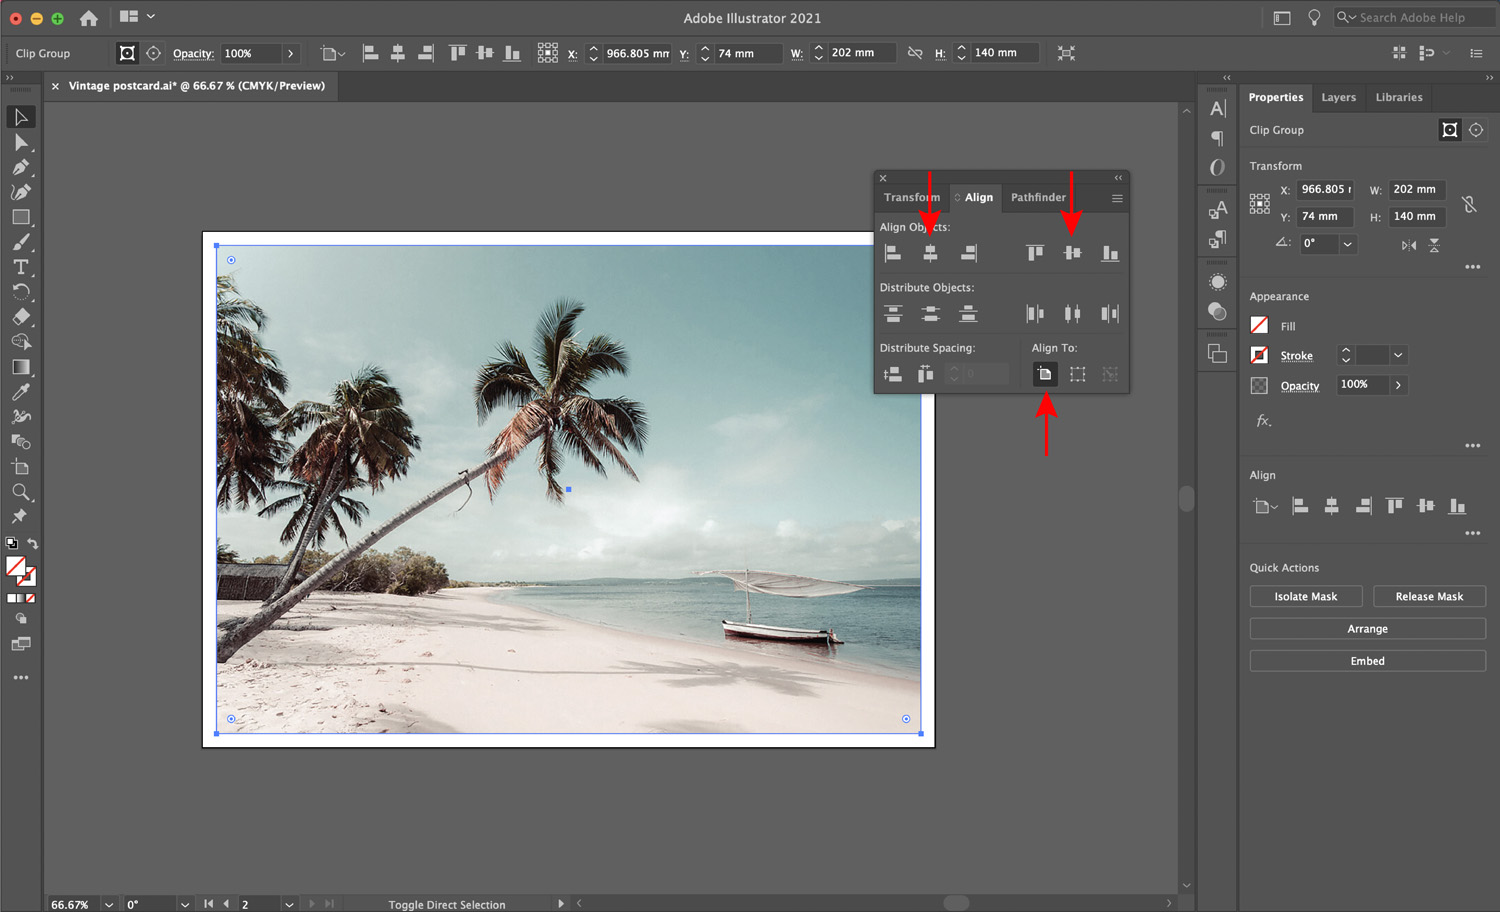
Align the Image
When you are happy with this positioning, open your Align menu by selecting Window > Align. Select your photo and in your Align menu, select Align to Artboard. Then select the horizontal and vertical centering icons to center your image to the artboard.
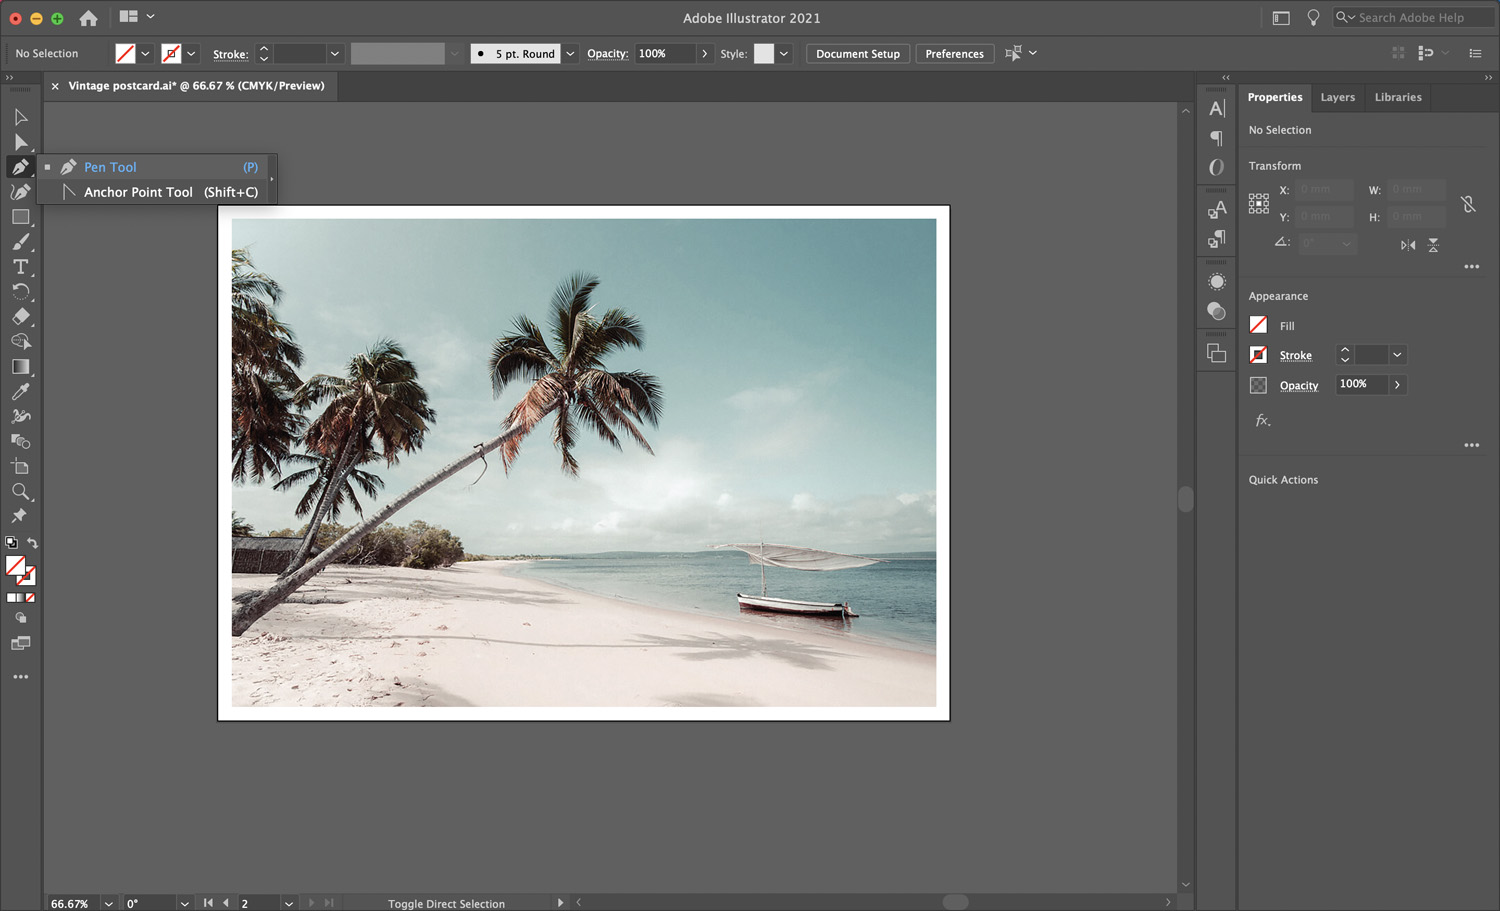
Step 2 - Create a Wavy Line for Text
We have already created our wavy line but you can follow our tutorial on how to create a wavy line in Illustrator.
As you will see, when you select your wavy line, there is a blue selection line through the centre. Illustrator isn’t yet recognising your wavy line as an individual shape. To fix this, select Object > Expand Appearance. You will notice the blue line now goes through the centre of the wavy line.
Next, to get the one swoop of the wavy line, select the Direct Selection Tool. Then select just the first (left) node and press backspace on your keyboard to delete.

Now, you can hold shift and select and drag the corners to resize your wavy line.

Step 3 - Add Text to the Postcard
We now want to add text to our wavy line. Select the Type on a Path tool by selecting and holding the Type Tool.

Then select the left hand side of your wavy line. You will notice your type cursor flashing, ready for you to add your text. Type your text, then double click the text to highlight it.

Now, you can refer to your Character Panel to change your text size, color and font.
Note: If your Character Panel isn’t open, select Window > Type > Character.
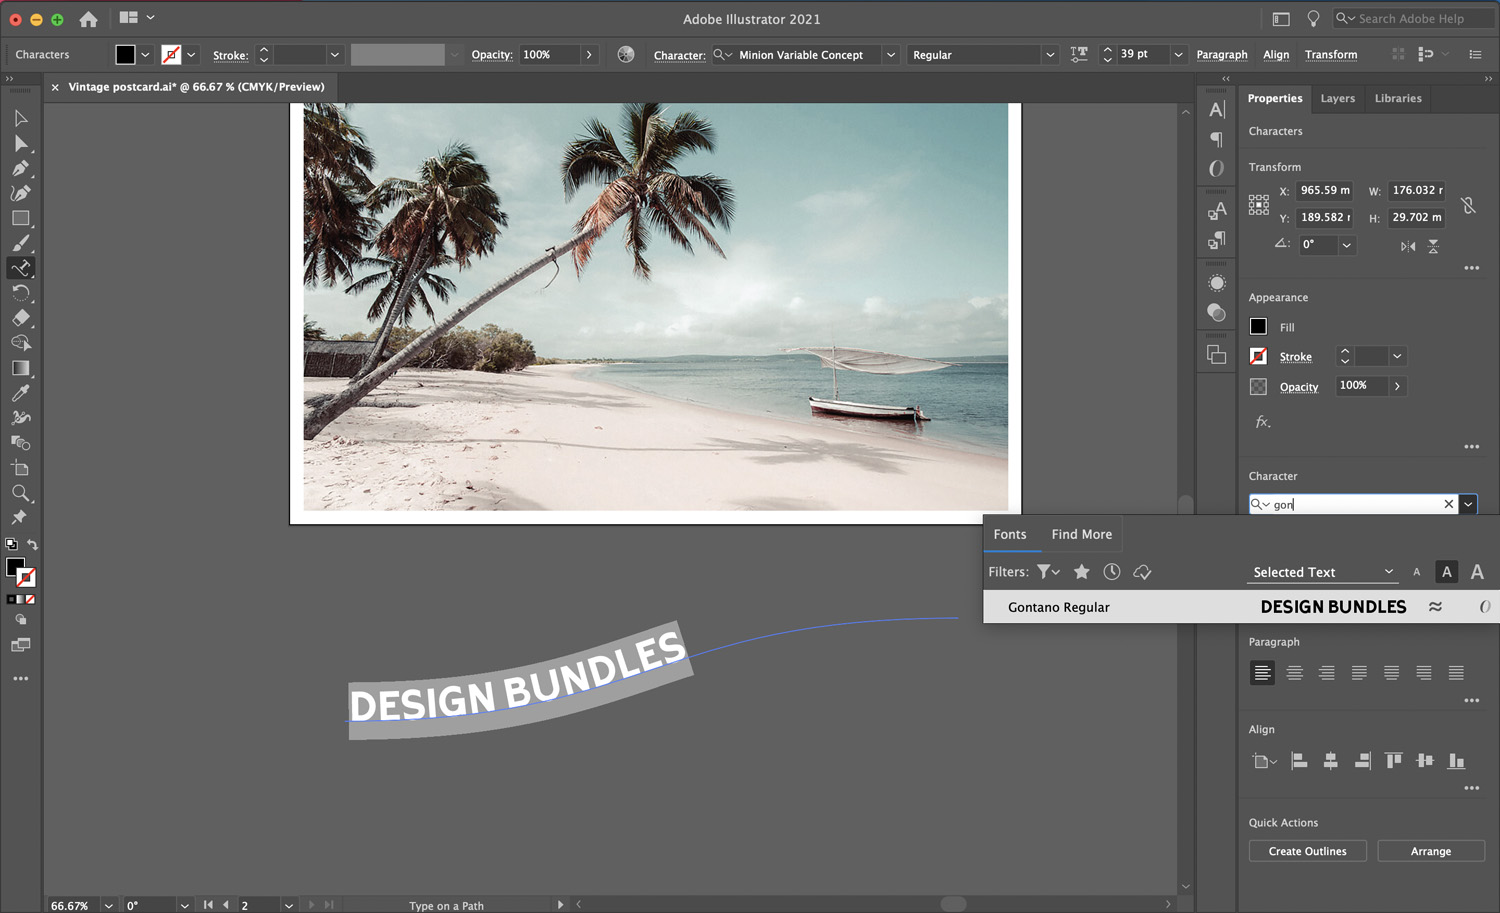
Increase the size of your text until it fills the whole wavy line. We have also added a stroke in the Appearance Panel (Window > Appearance) to make the font bolder. Here you can also change the Fill and Stroke to White.

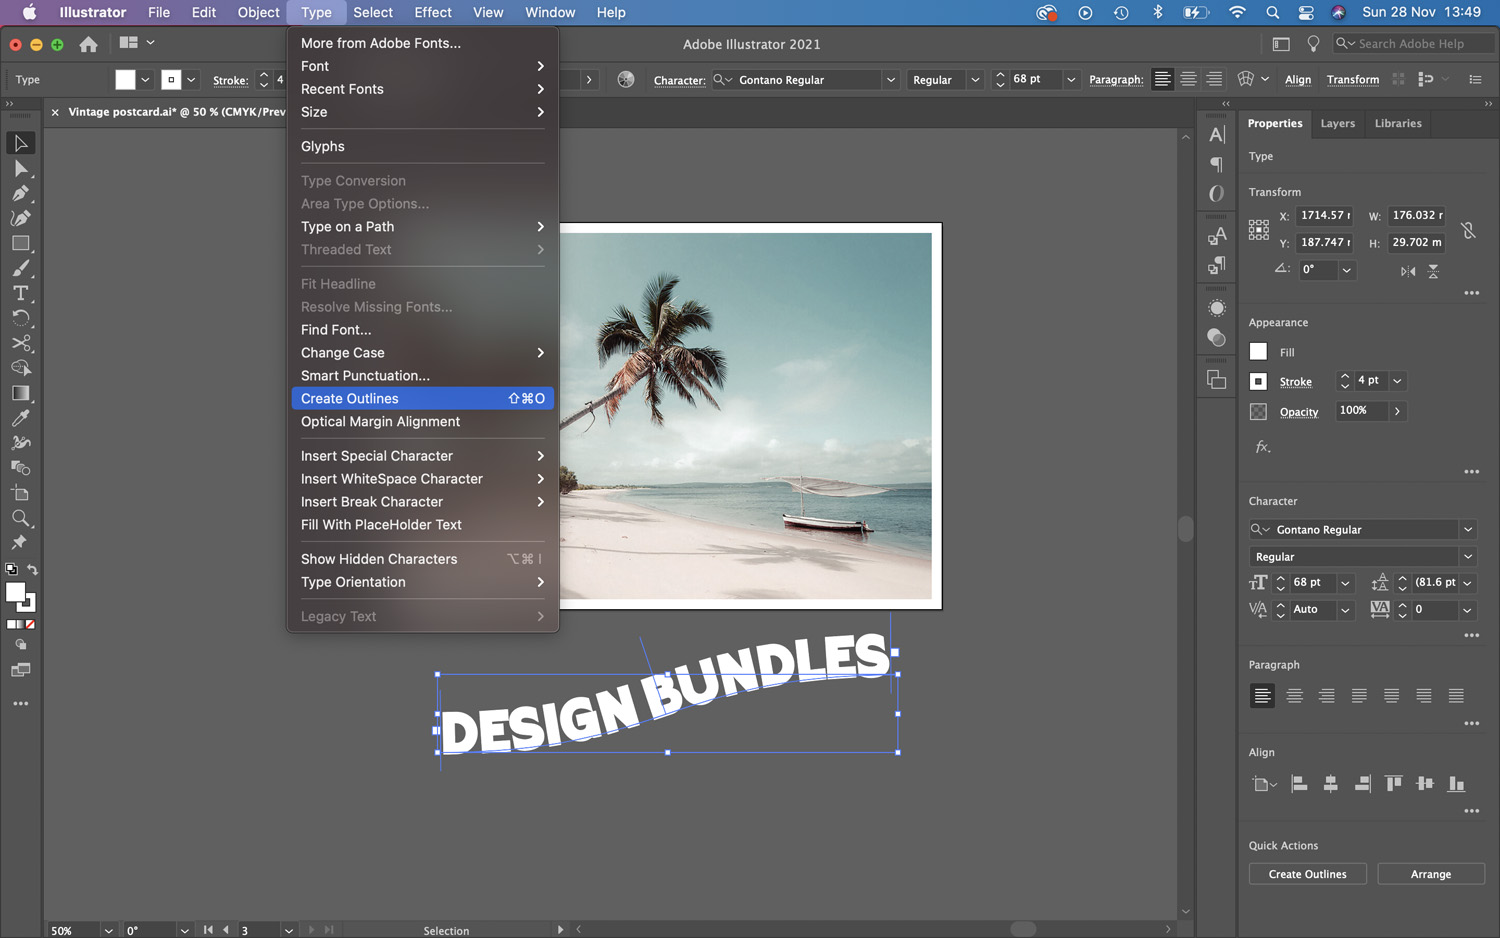
Step 4 - Edit the Text for the Postcard
We need to change the text into shapes.
Change your Text into Outlines
With your text selected, select Type > Create Outlines to convert your text into shapes.
If you have added a stroke to your text, like we have, you will need to also create outlines in order to combine the stroke into the letter form. Select Object > Path > Outline Stroke. Then select the Unite Tool in your Pathfinder options(Window > Pathfinder).

Create an Offset
Select Object > Path > Offset Path, then change your offset setting to your desired thickness and set the Joint to Round.
Note: Turn on preview to see how the settings change your design.
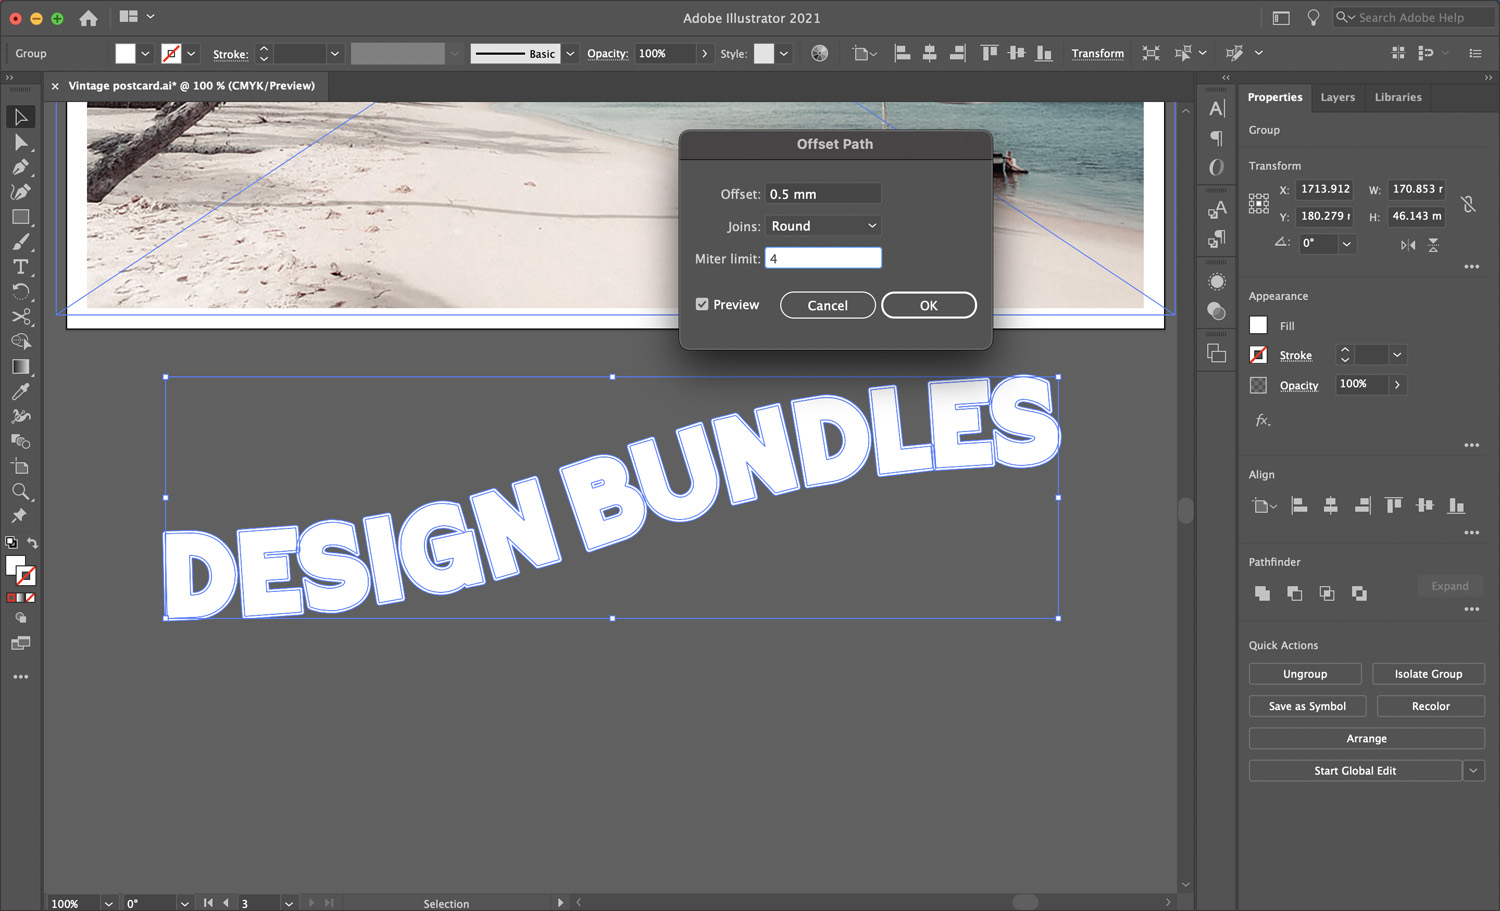
Then use your Swatches Panel or the color picker tool to choose the color of your outline from your photo.
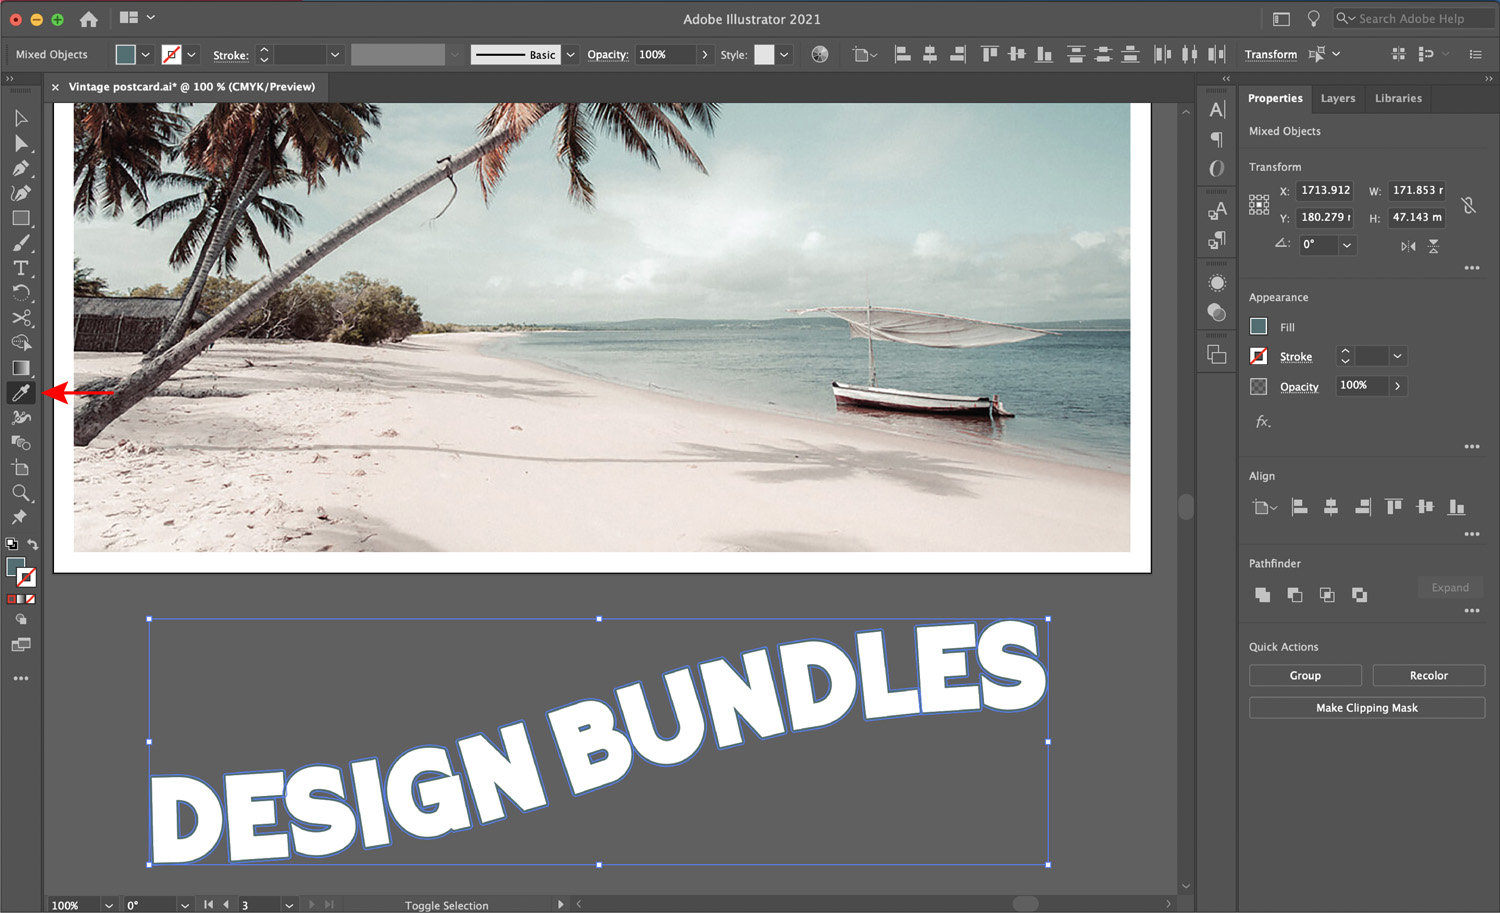
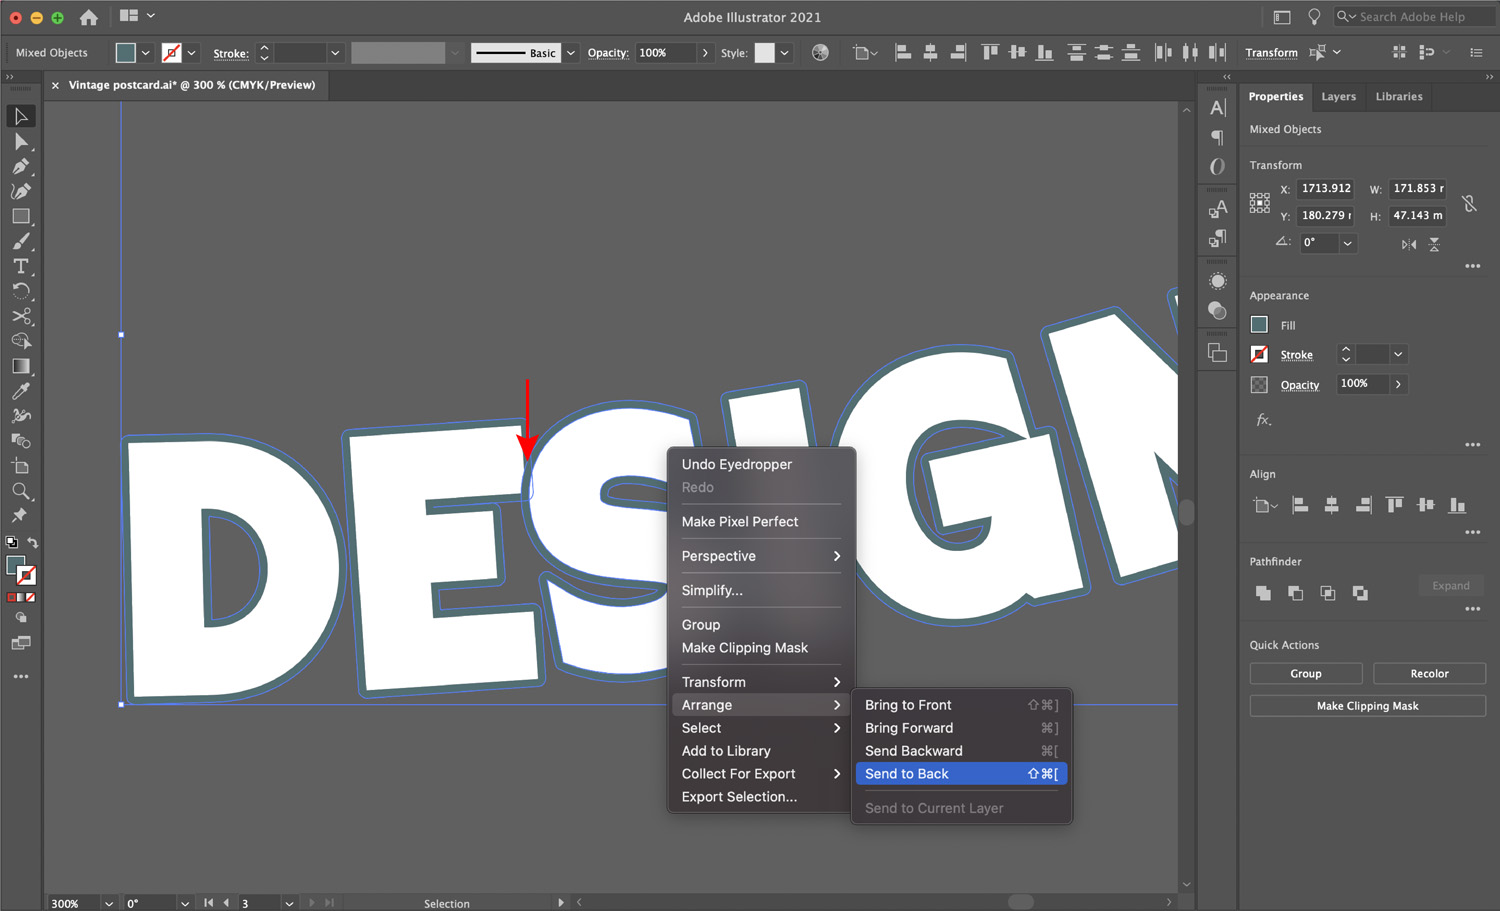
Your outline may overlap some of the letters due to them being close together. If this happens, Right Click > Arrange > Send to Back.
Add a Second Outline
Add another outline by selecting Object > Path > Offset Path again. Then we are going to change this outline to white. Next, Right Click > Arrange > Send to Back.

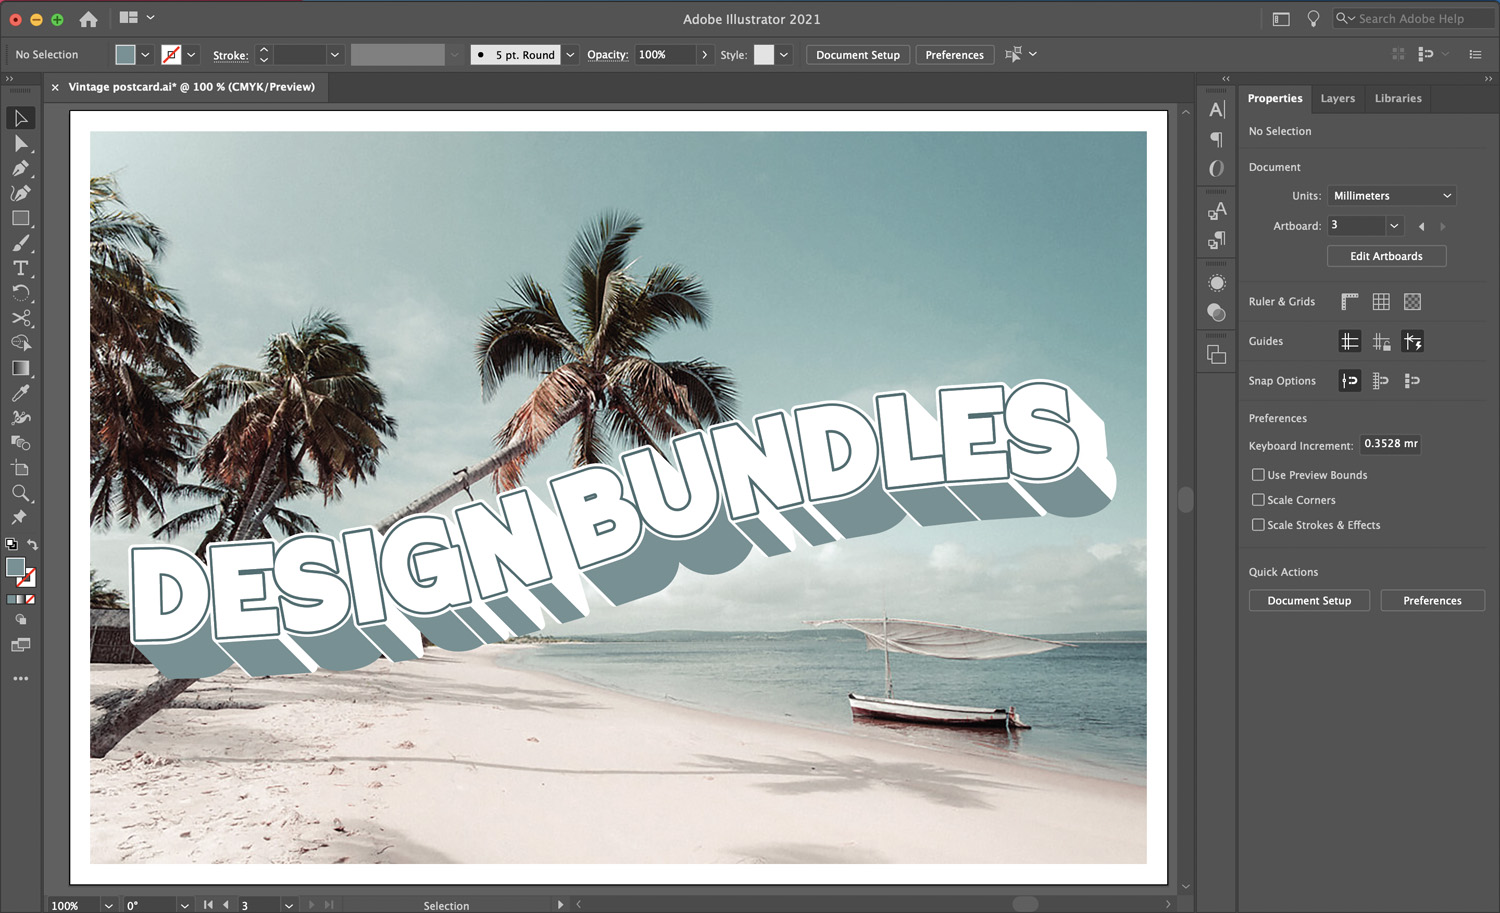
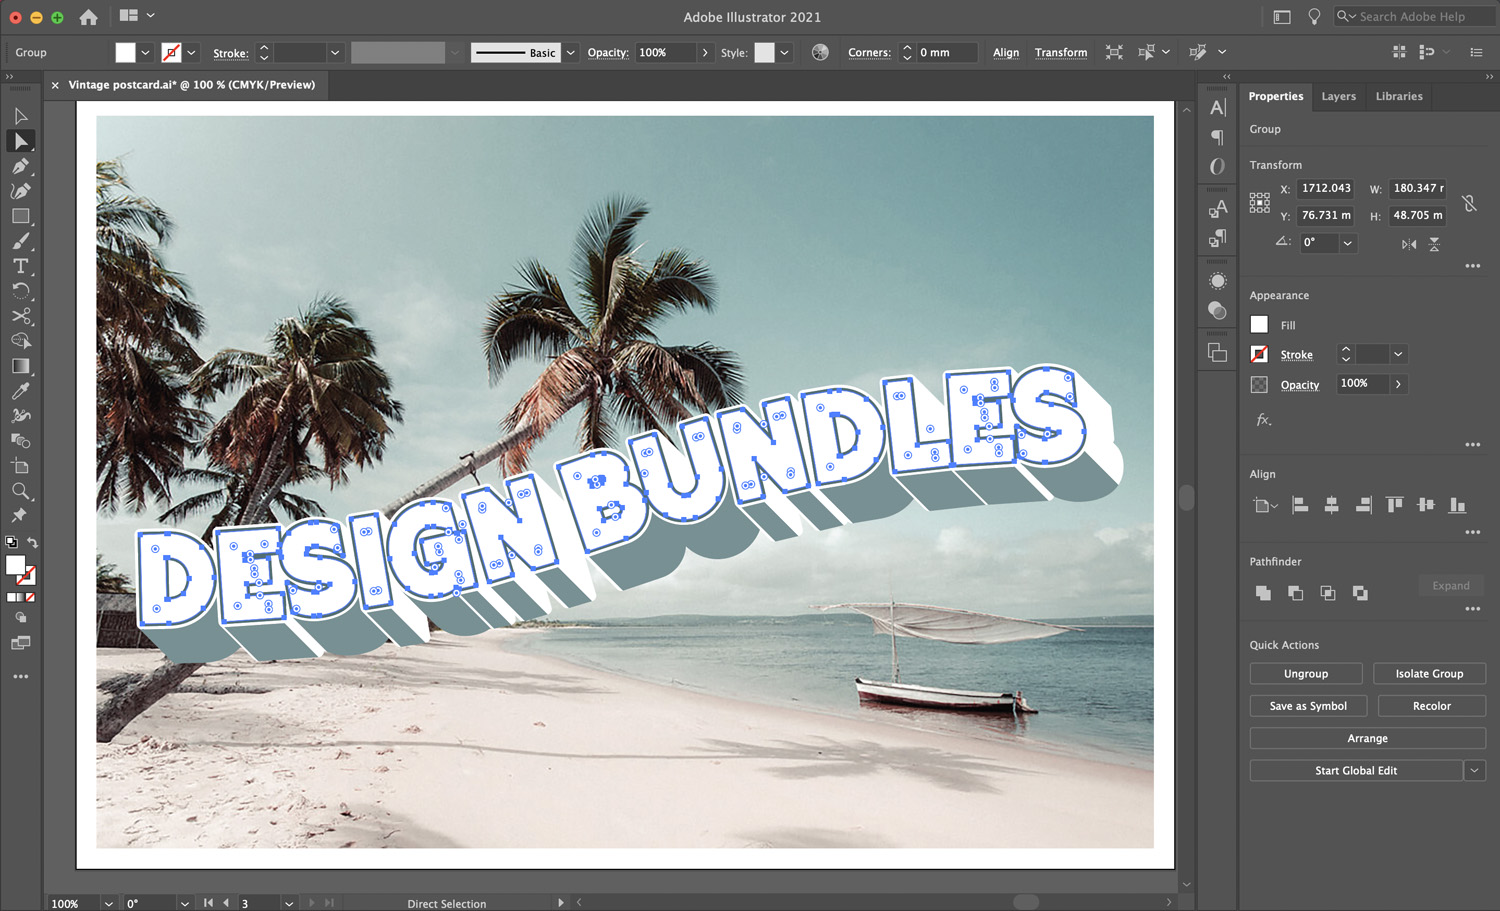
Step 5 - Turn Your Postcard Text into 3D
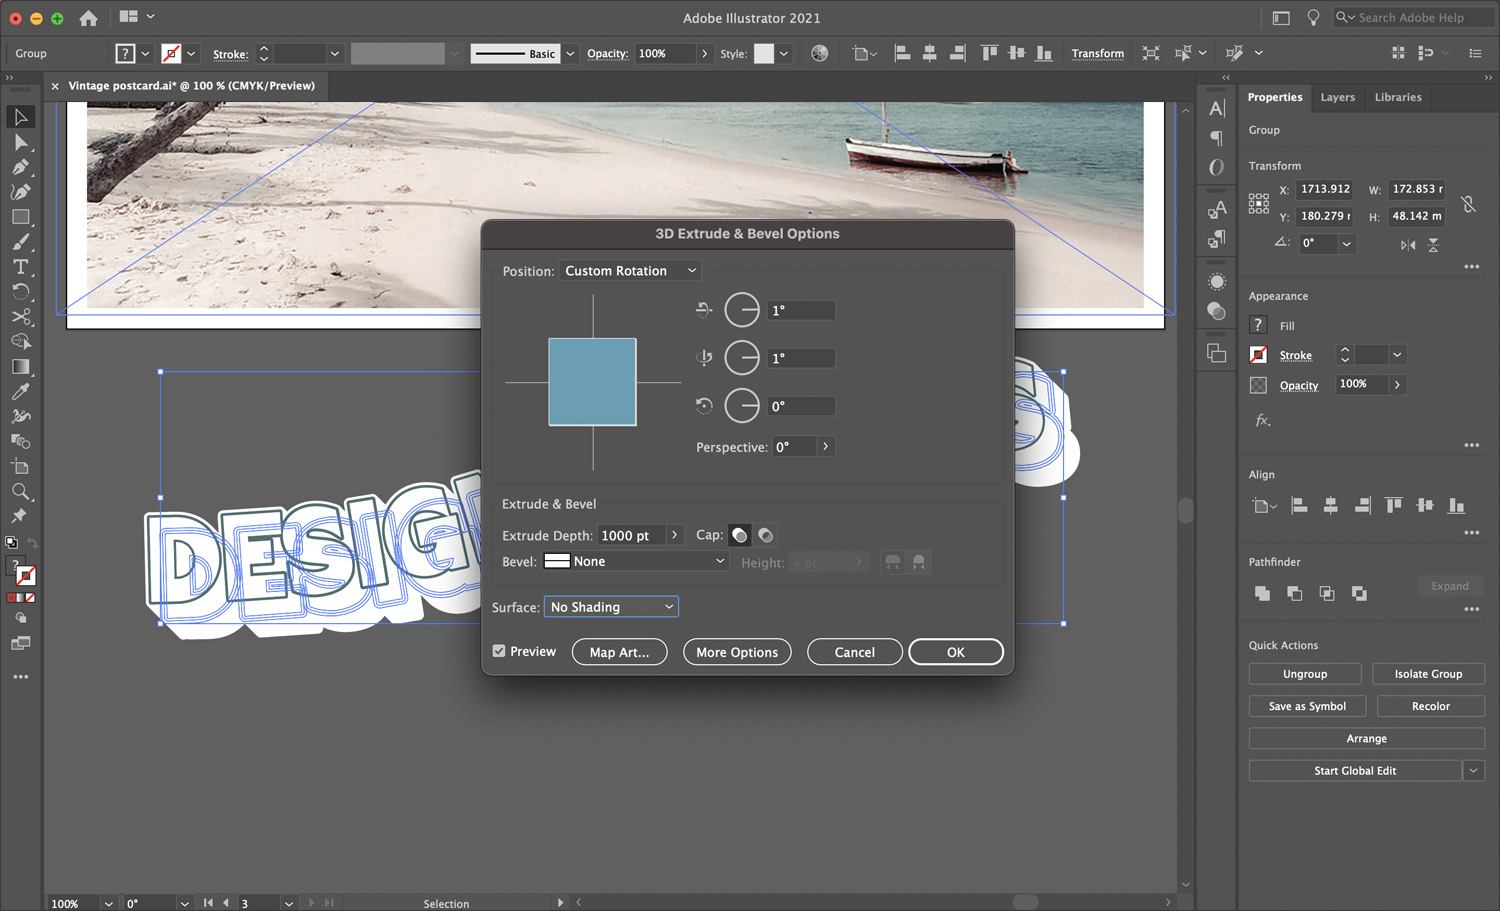
To add more impact to the text we are going to create a 3D Effect. Select your text, then select Effect > 3D > Extrude and Bevel.

Then amend your settings to the following (also shown in screenshot):
X Axis: 1°
Y Axis: 1°
Rotation: 0°
Perspective: 0°
Extrude Depth: 1000pt
Surface: No Shading
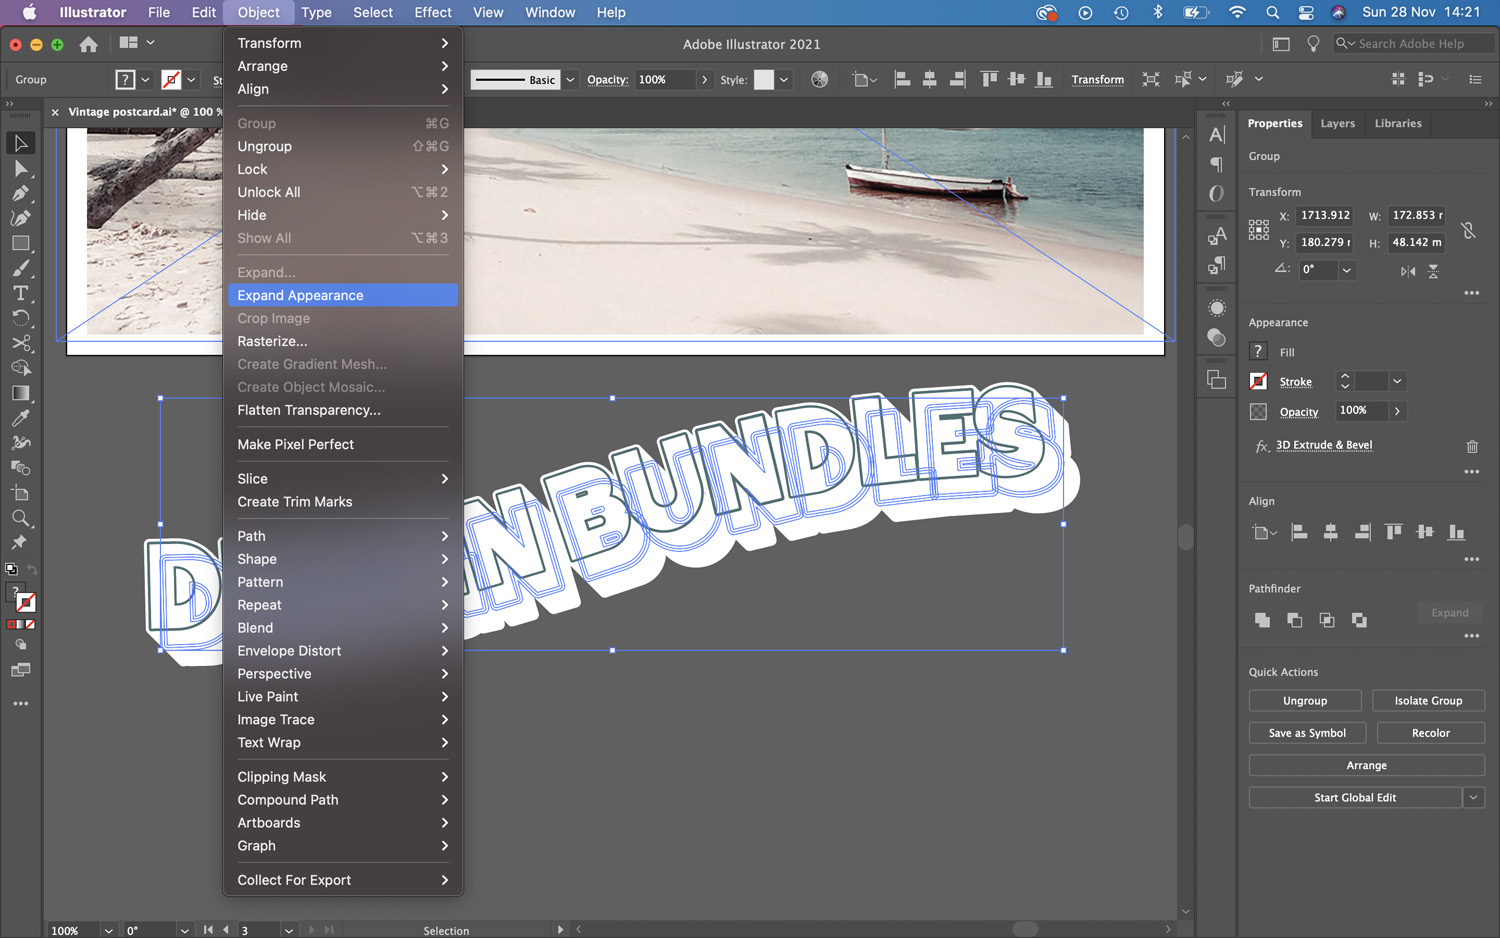
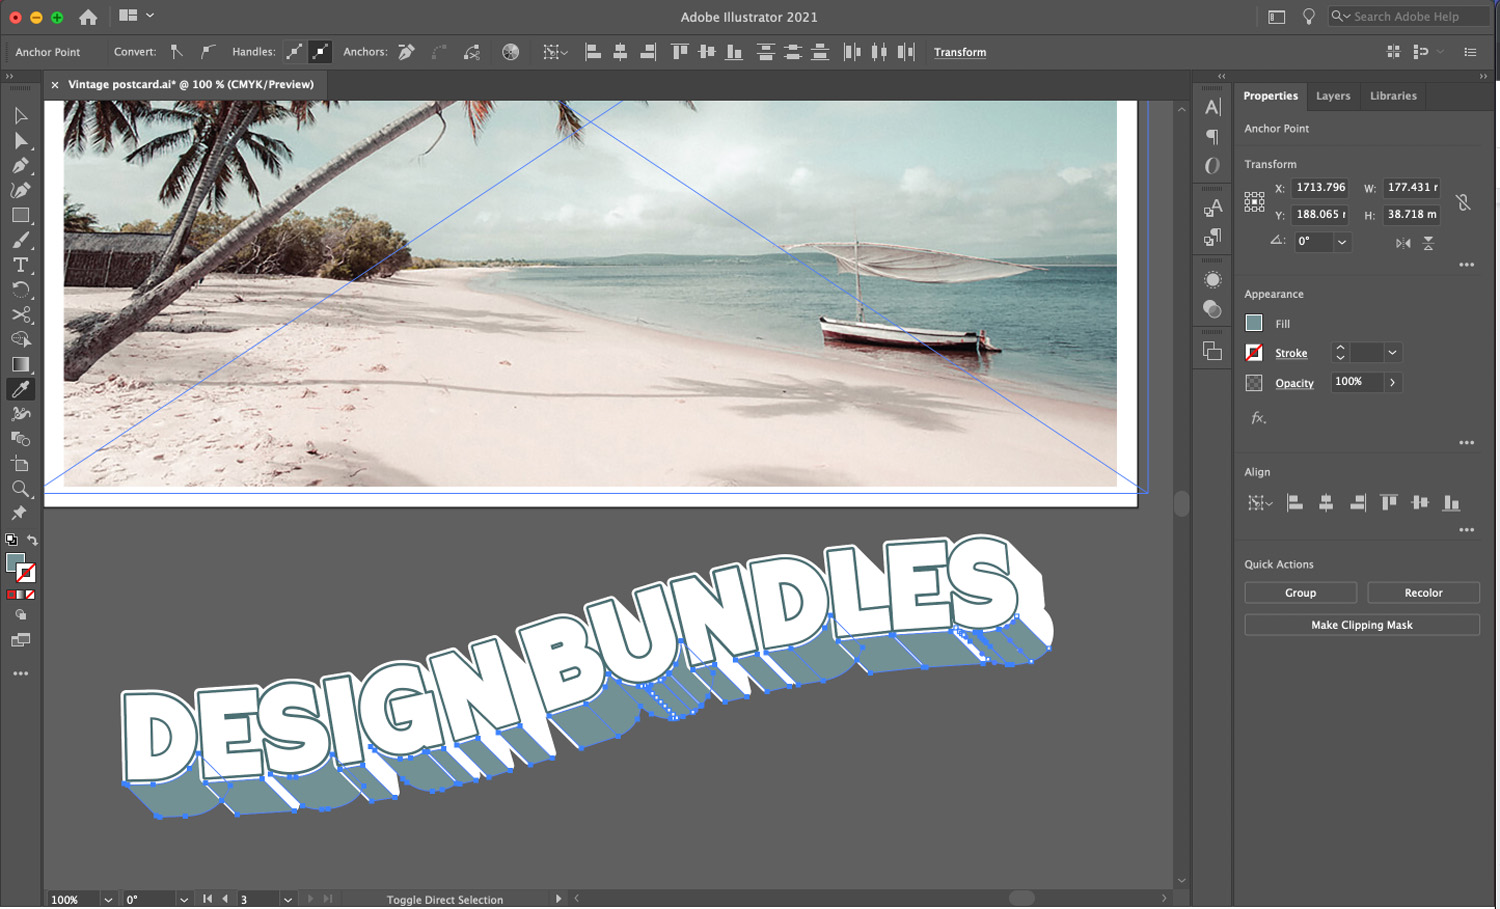
Next, to convert this effect back into shapes, select Object > Expand Appearance.
Now select the Direct Selection Tool. Then select the base of each letter and apply another colour to these selections.
Now you can reposition your text onto your postcard design.
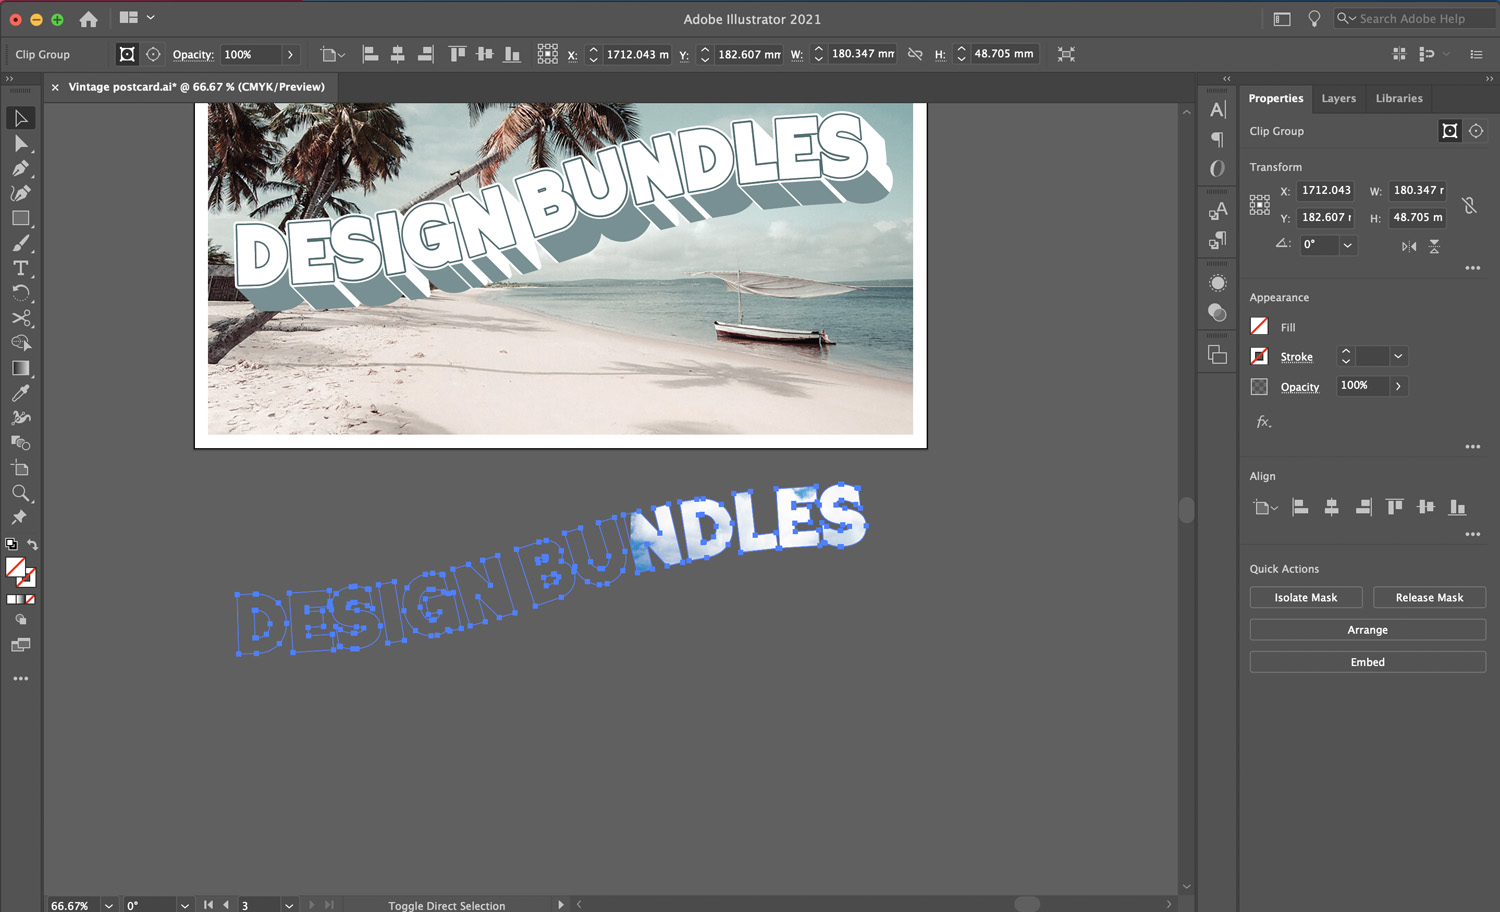
Step 6 - Add an Image to Your Text
In this step we want to add an image to our “Design Bundles” text.
Copy the Text
With your Direct Selection Tool, select the centre letters that you want to apply the image to. Hold down Shift on your keyboard to select more than one shape/letter at a time.
Now, go to Edit > Copy then Edit > Paste in Place. Once this is pasted, use the Selection Tool, hold Shift and drag your new words off your artboard.

Convert text and Create a Clipping Mask
Convert your new text to a Compound Path by selecting Object > Compound Path > Make. Then drop your second image into Illustrator and Right Click > Arrange > Send to Back.

Select both your text and your image, then select Object > Clipping Path > Make. This will place your image inside your text.
If needed, you can double click the text to reposition and resize your image.
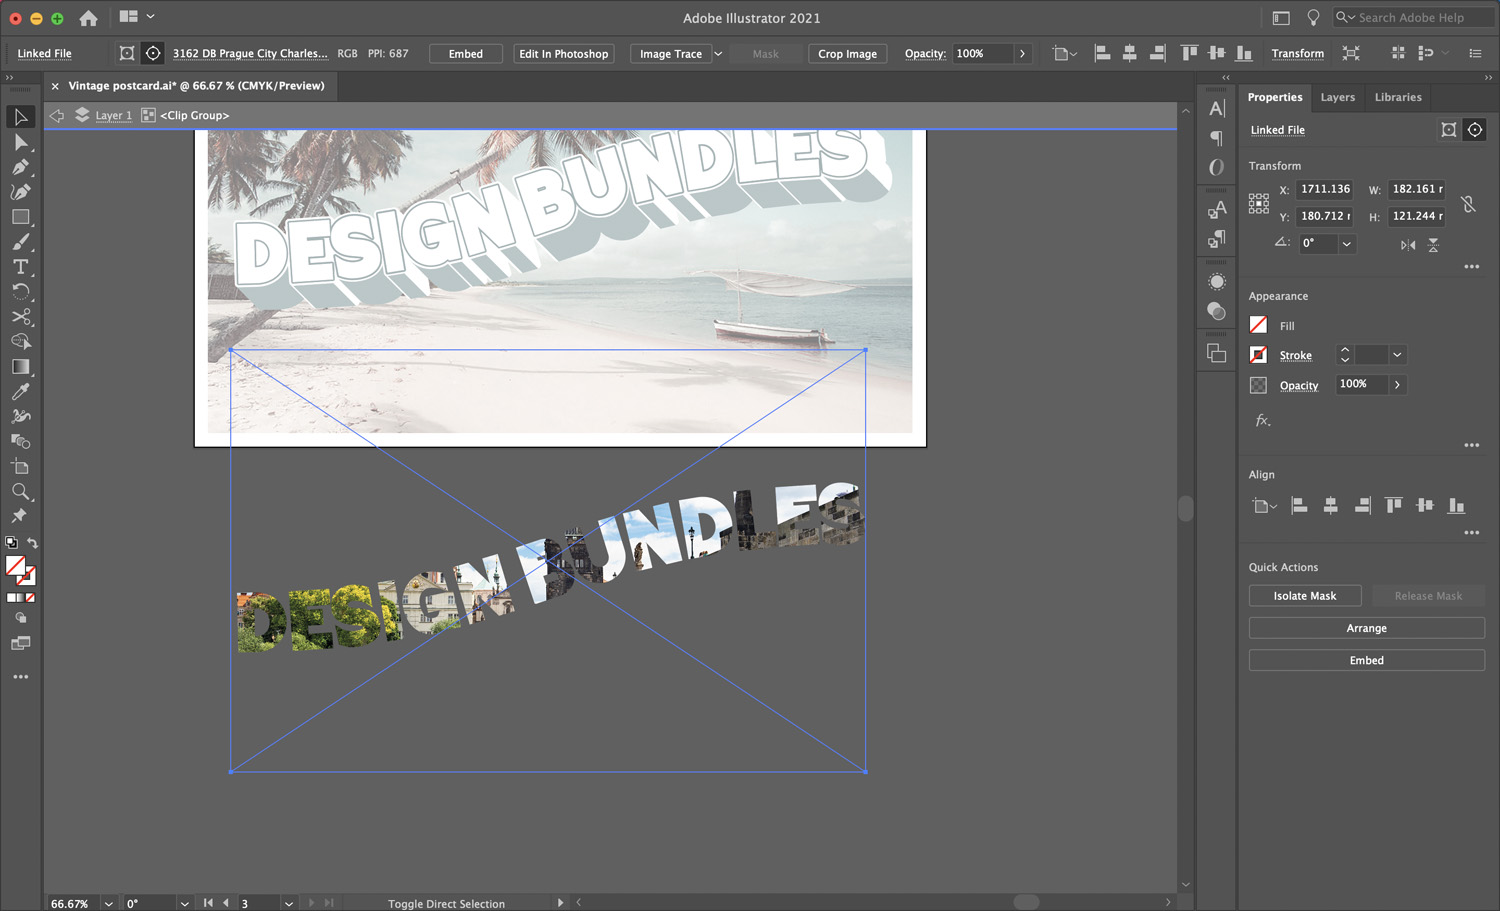
You can now place the text back into your postcard design.

Add More Text
We want to use the Type Tool to add one more line of text to our vintage postcard. We are going to add ‘Greetings from’ to the top of the postcard design.

Step 7 - Add a Distressed Texture to Postcard
To give the postcard a vintage, aged look, we added a distressed texture. So we dragged and dropped a grunge JPG image into the Illustrator document.

With the distressed image selected, in your Properties tab on the right hand side, select Image Trace.

Now select Default. This is just going to create a basic trace of the texture as we want to achieve the distressed look.

Once your image trace is complete, select Expand.

Next, select Ungroup.

Now, select the white part of your image, then Select > Same > Appearance. This will select all the white areas so you can easily remove the unwanted areas.
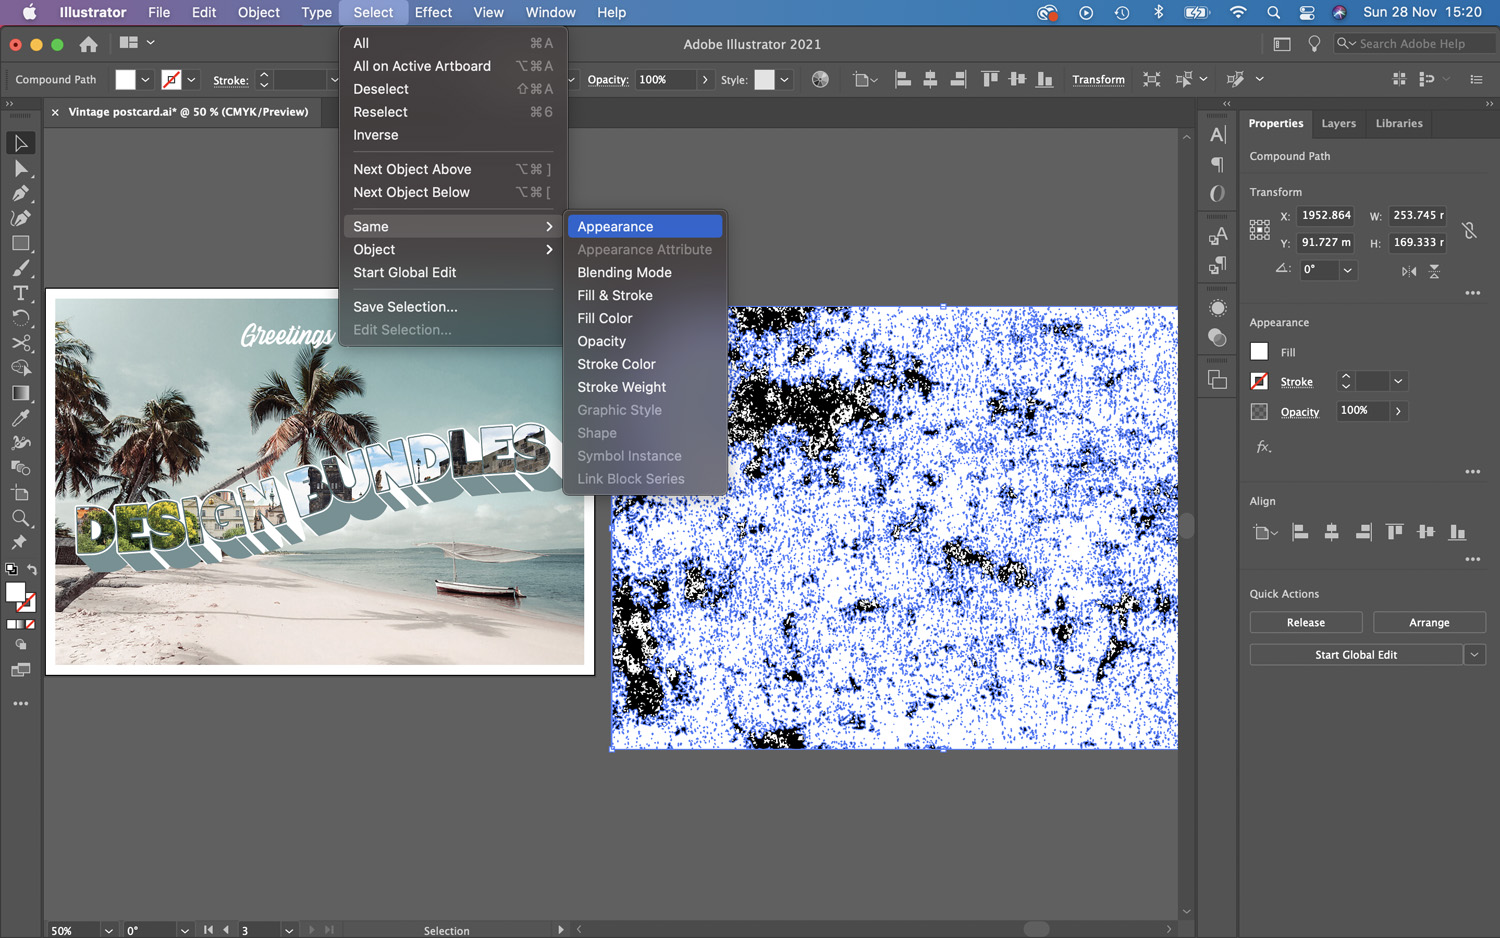
Press the backspace on your keyboard to delete this part of the image. Your distressed image should look similar to the image below.
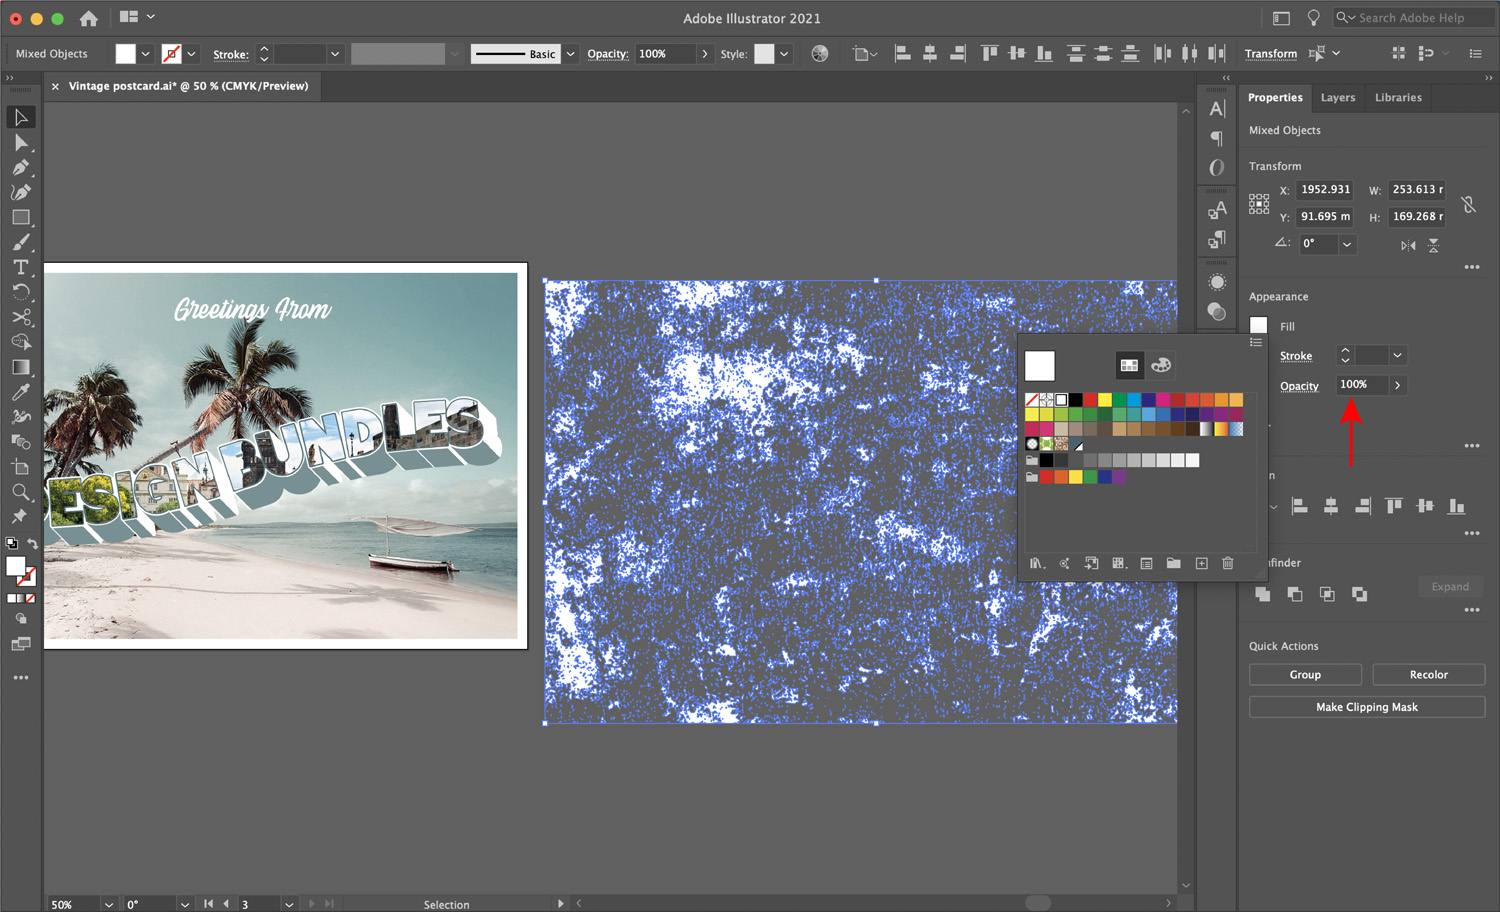
Select all of the black elements that remain of the image, then go to Object > Group. With your black layer selected, change the fill to white in the Appearance Panel by going to Window > Appearance. Now, lower the opacity in the Appearance Panel, to approximately 30%.
Finally, you can reposition this distressed layer over your postcard design.
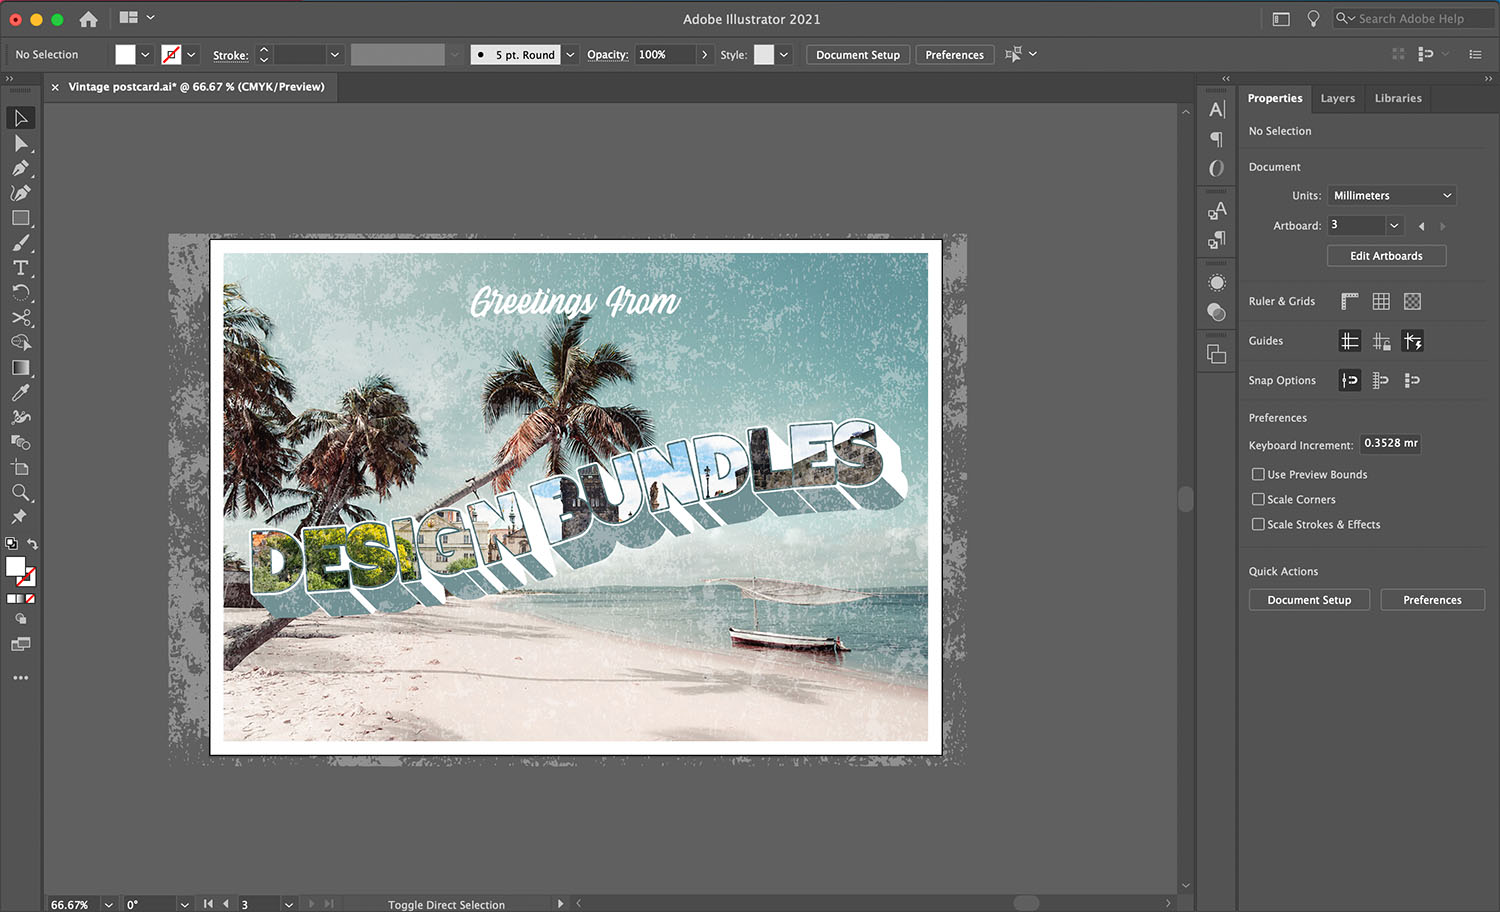
Well done on making your vintage postcard design! You can now save your artboards to PDFs and send to friends online or print it to post to them!


