
Kerning, Spacing and Changing Your Text in Inkscape
Learn how to edit your text in Inkscape with this step by step beginner tutorial!
When working with Inkscape letter spacing, you will hear about kerning and spacing your text. Kerning is the space between two letters or characters of a font. It creates a consistent look for your text when letter combinations don’t quite look as they should. Kerning can also be used creatively to make your text stand out. In this tutorial we will guide you through using kerning, spacing and changing your text in Inkscape.
It should be noted that kerning is more about visual appearance than accurate distancing. While typical spacing is done equally between letters, kerning spaces according to what looks good.
During this tutorial we will be using the Bojangles Font Duo by Salt and Pepper Designs. We have a wonderful selection of duo and trio fonts if you would like to use another font.
Let’s get started by opening Inkscape.
Step 1 - Adjust the Text and Font
First, we need to type out our text. On the left side panel click on the tool Create and edit text objects. Now, click anywhere on the document and type out your text.
When you are typing out your text, you will be in text edit mode. At the top toolbar, click on the text alignment option and select Center.

A quick way to change the font is to use the Font Family top left of the screen. We have a very helpful tutorial on how to use fonts in Inkscape if needed.

To change the font size, highlight the font while in text edit mode. Then, go to the top toolbar and change the font size.
You can also click away from the font to leave text edit mode, click back on the text and use the sizing handles. Hold down Ctrl/Command and click + drag one of the corner sizing handles out to resize. Ctrl/Command will help constrain the size.

Step 2 - Use the Text Spacing Options
When using the Text tool you will see a selection of text editing options at the top toolbar. This is where you can adjust the kerning and spacing of your text. You will only see these options when you are in text edit mode. To get into this mode, double click the text.

Spacing Between Letters
The first option is Spacing between letters. All of the text will be affected by the value you input in this option. The spacing will also be set equally between the letters.
Increasing the number will space the letters further apart. You can also use the up and down arrows to space in smaller increments. Here we used a value of 20.

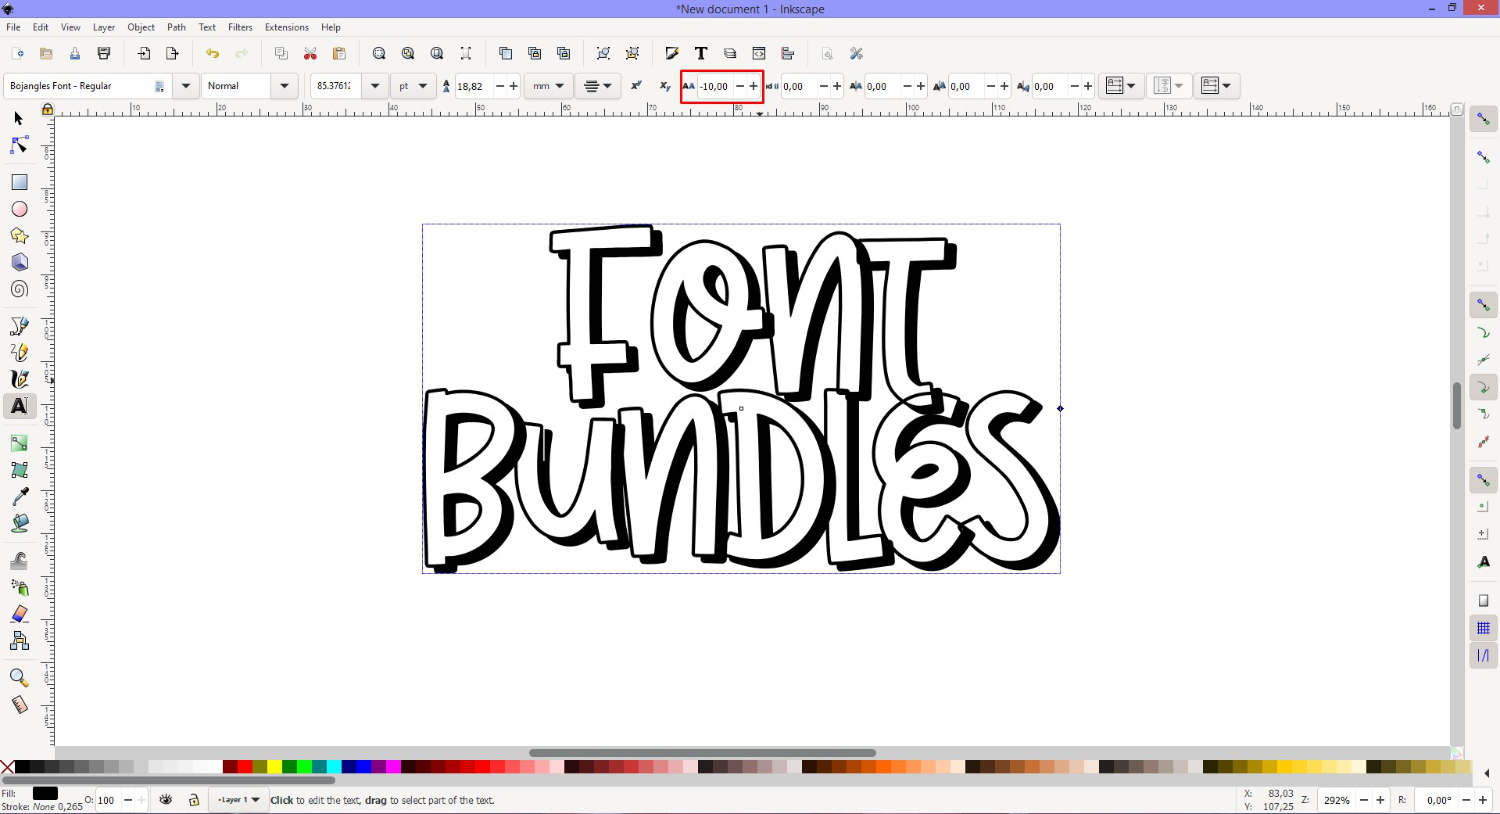
Decreasing the number will place the letters closer to each other. Here we used a value of -10. As you can see, the letters are now overlapping.
You can also select which letters to apply the spacing to. In the case below, we selected the F and O in “Font” and changed the spacing to 10.

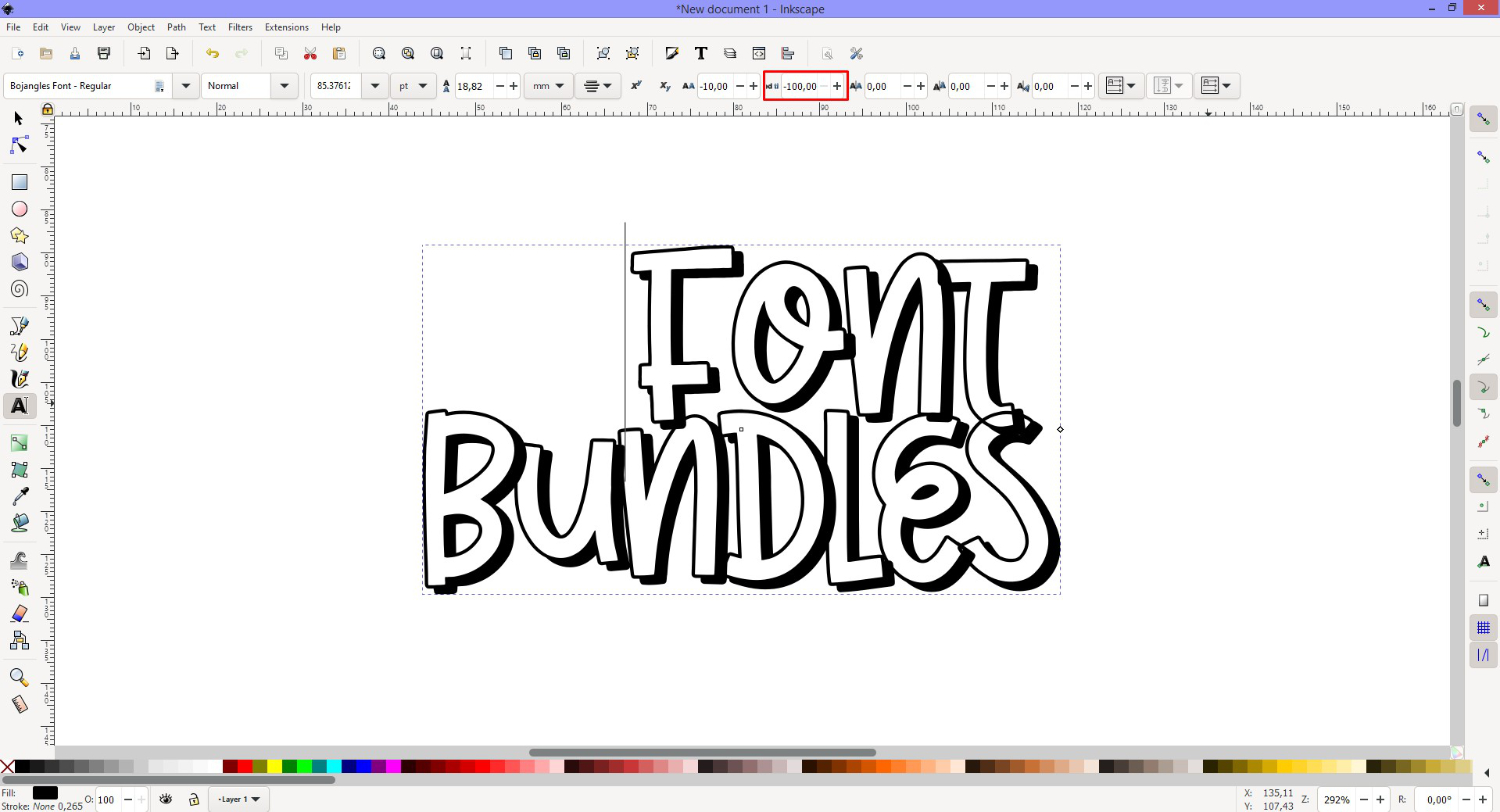
Spacing Between Words
Spacing between words will adjust according to how the text is placed. At the beginning of this tutorial, we placed our text on two lines. To show how this option works, we will use the backspace button so the words are on the same line.
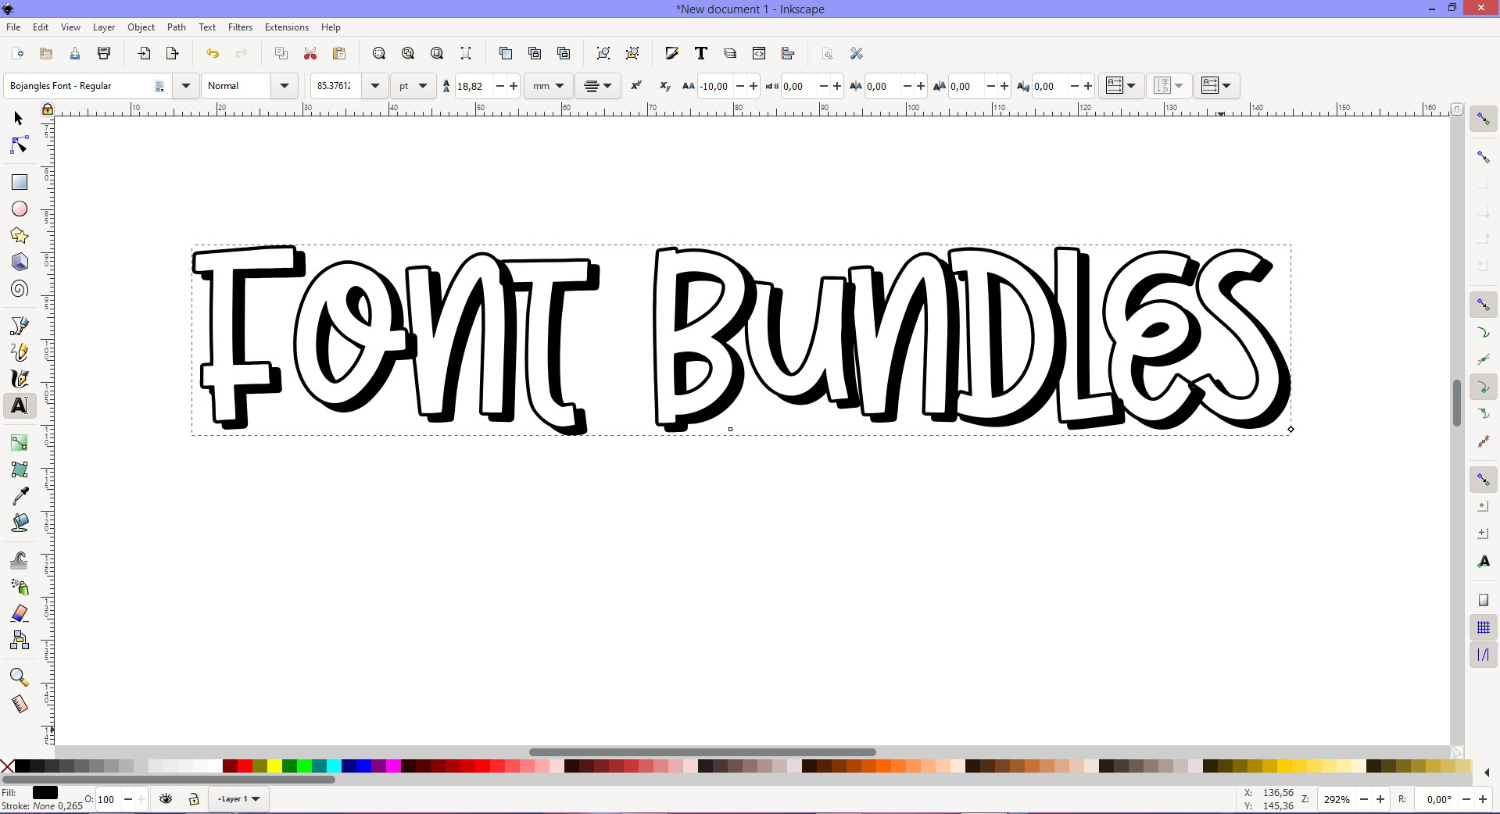
Now, when you input a value in the Spacing between words box, the distance between the two words changes. We used a value of 100.

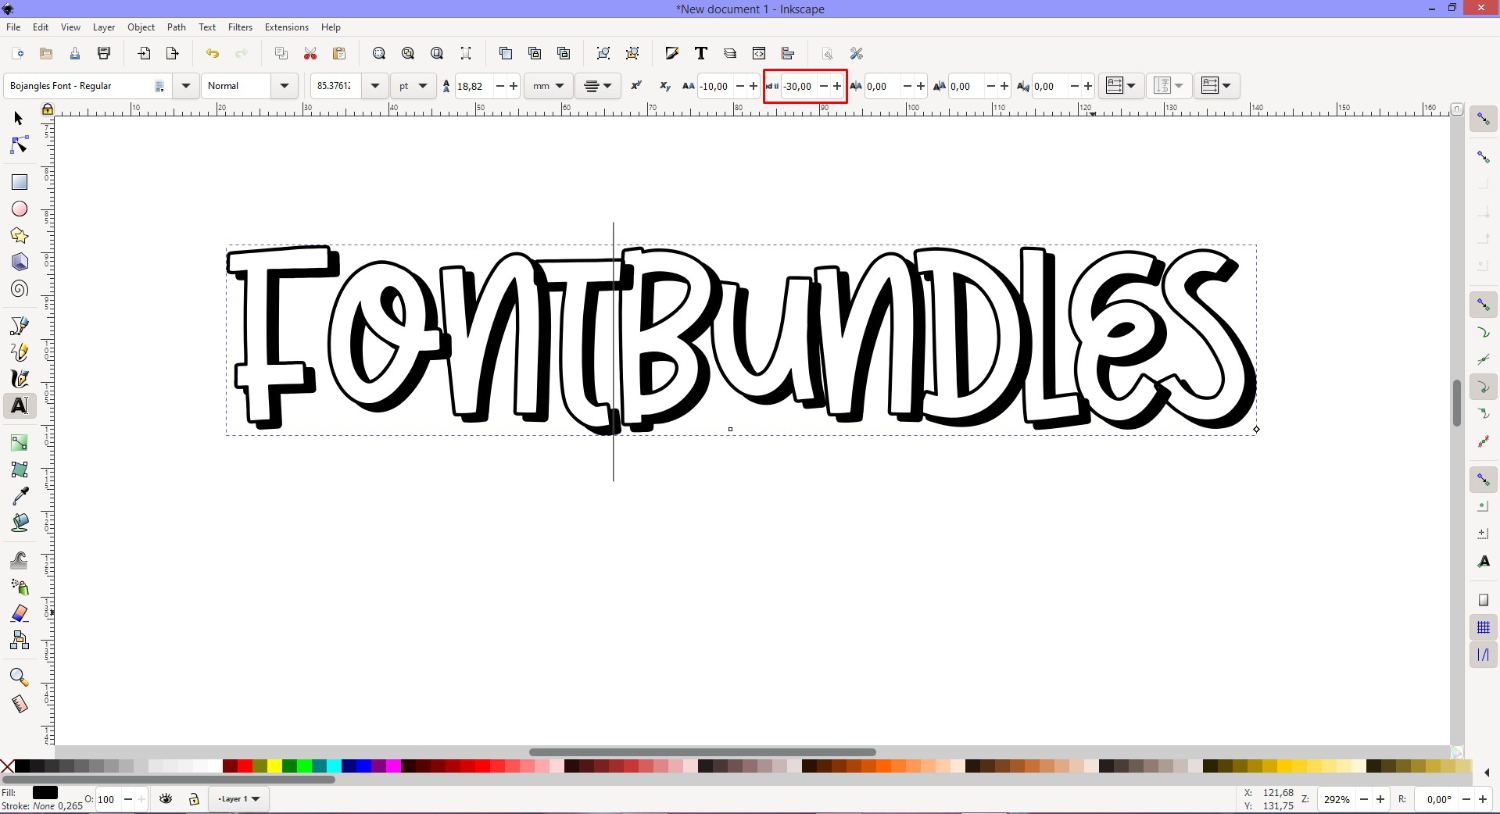
When the value is decreased, the spacing between the words is decreased. If you use an extreme value like -100, the words will sit on top of each other in a jumbled mess. As an example, in the image below we used a value of -30.
When working with two lines, increasing and decreasing spacing between words can have a creative result.
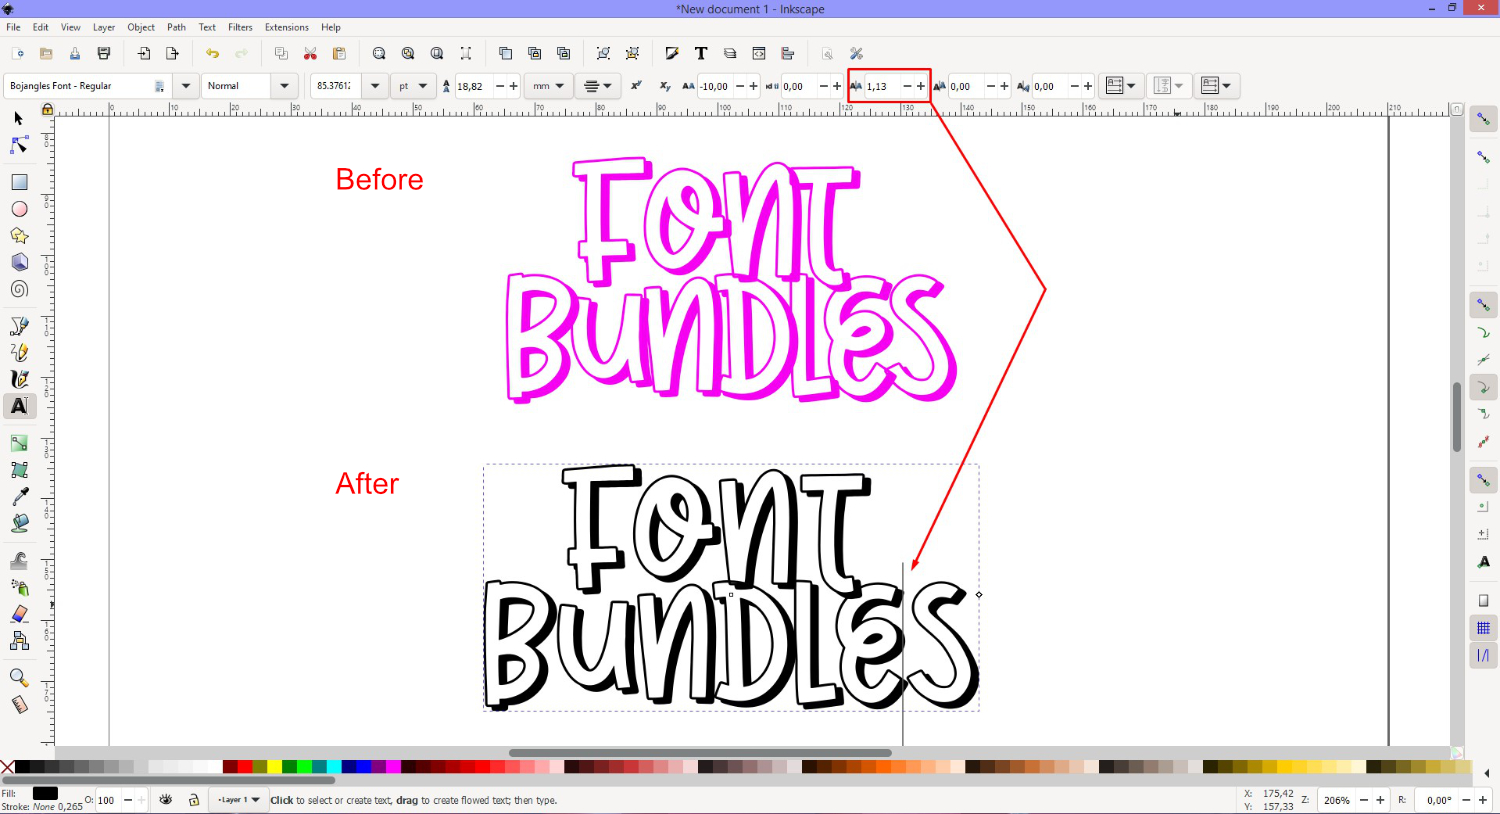
Horizontal Kerning
Horizontal Kerning changes the spacing between two letters or characters horizontally. When spacing between certain letter combinations appears off, kerning is used to correct this.
To use kerning, place your cursor between two letters and change the value in the Horizontal Kerning box.
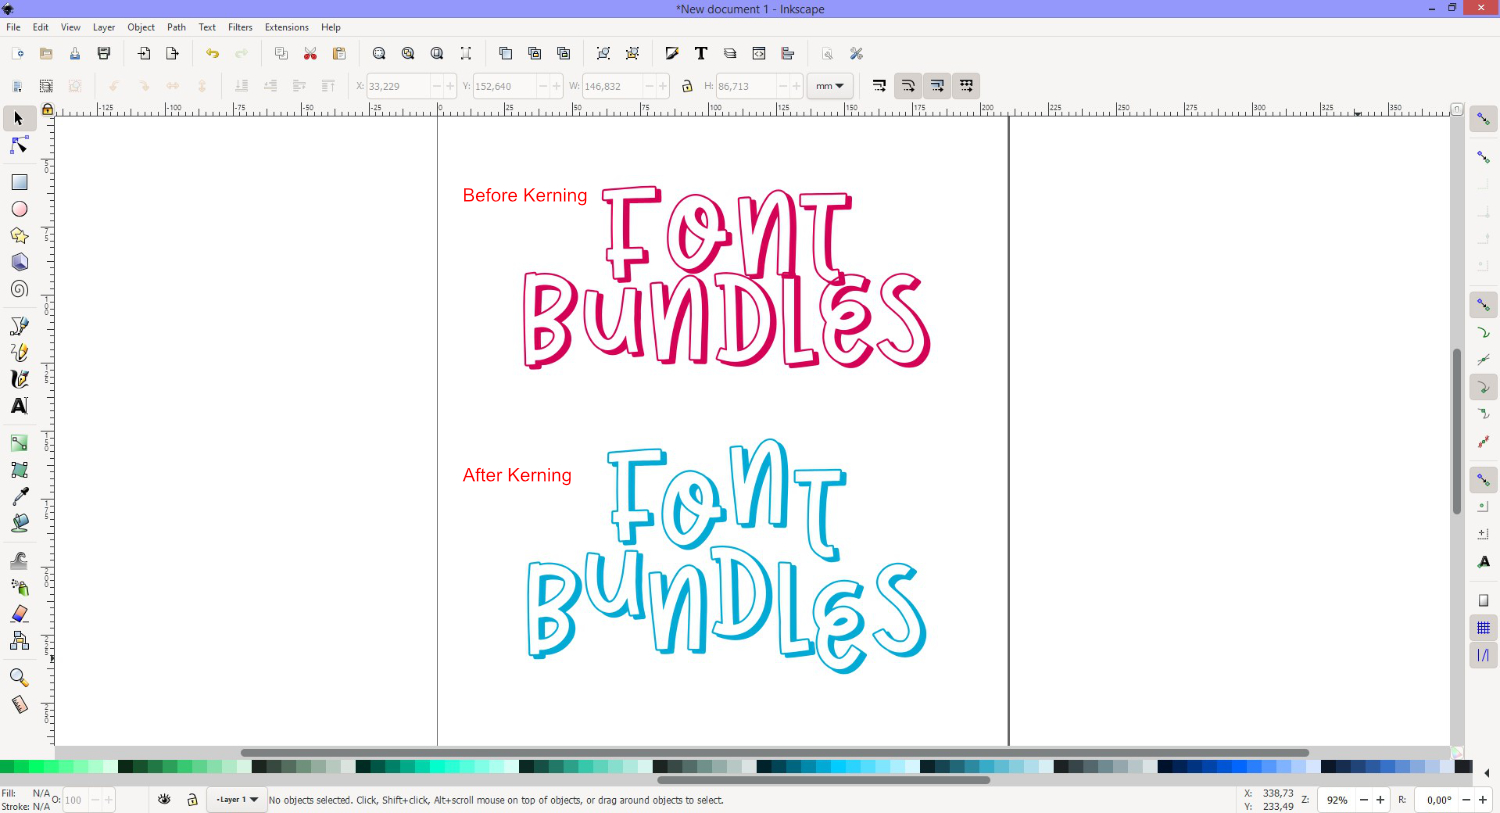
In the image below, the kerning value was adjusted between the letter pairs to make the text easier to read.
Each letter pair used a different kerning value. For example, the cursor was placed between letters N and T in “Font” with a value of 1.78. Letters E and S in “Bundles” were set with a value of 1.13.
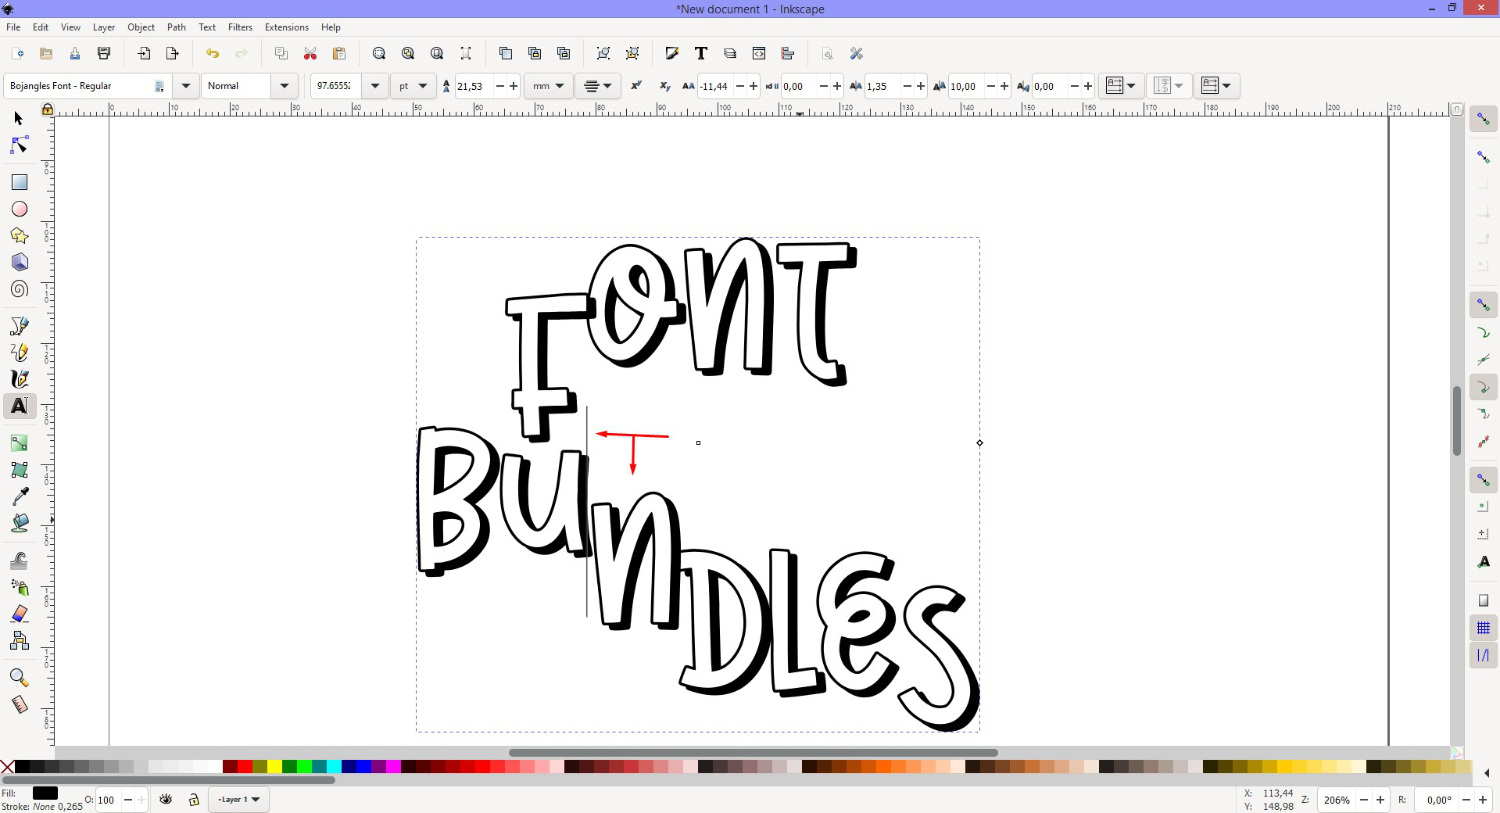
Vertical Kerning or Vertical Shift
With Vertical Kerning, everything to the right of where your cursor is placed will shift up or down. A positive value shifts the letters down while a negative value shifts them up.
Place your cursor between the two letters, then change the value in the Vertical Kerning Box. You can use the up and down arrows for smaller increments.
In our example below, the cursor was placed between the F and O of “Font” with a value of -10. This shifted the letters “ONT” up.
For the word “Bundles”, the cursor was placed between the N and D with a value of 10. The letters “DLES” were shifted down.

Now, when you shift more letters around, the others will shift in relation to their position. Remember, everything to the right of the cursor will shift, no matter where their position is.
In our case, we shifted down the letter N in “Bundles”. Since the other letters had already been shifted, they also shifted down in relation to their current position.
You can shift the letters up and down without affecting the rest of the text. Highlight the letter, then change the kerning value. Do this for each letter you want adjusted.

Character Rotation
You can rotate an entire word or individual characters. Rotation will depend on any spacing and kerning adjustments made beforehand. A positive value will rotate text clockwise while a negative value will rotate counterclockwise.
Select the text you want to rotate then change the value in the Character Rotation box at the top toolbar. Here we used a value of -19.
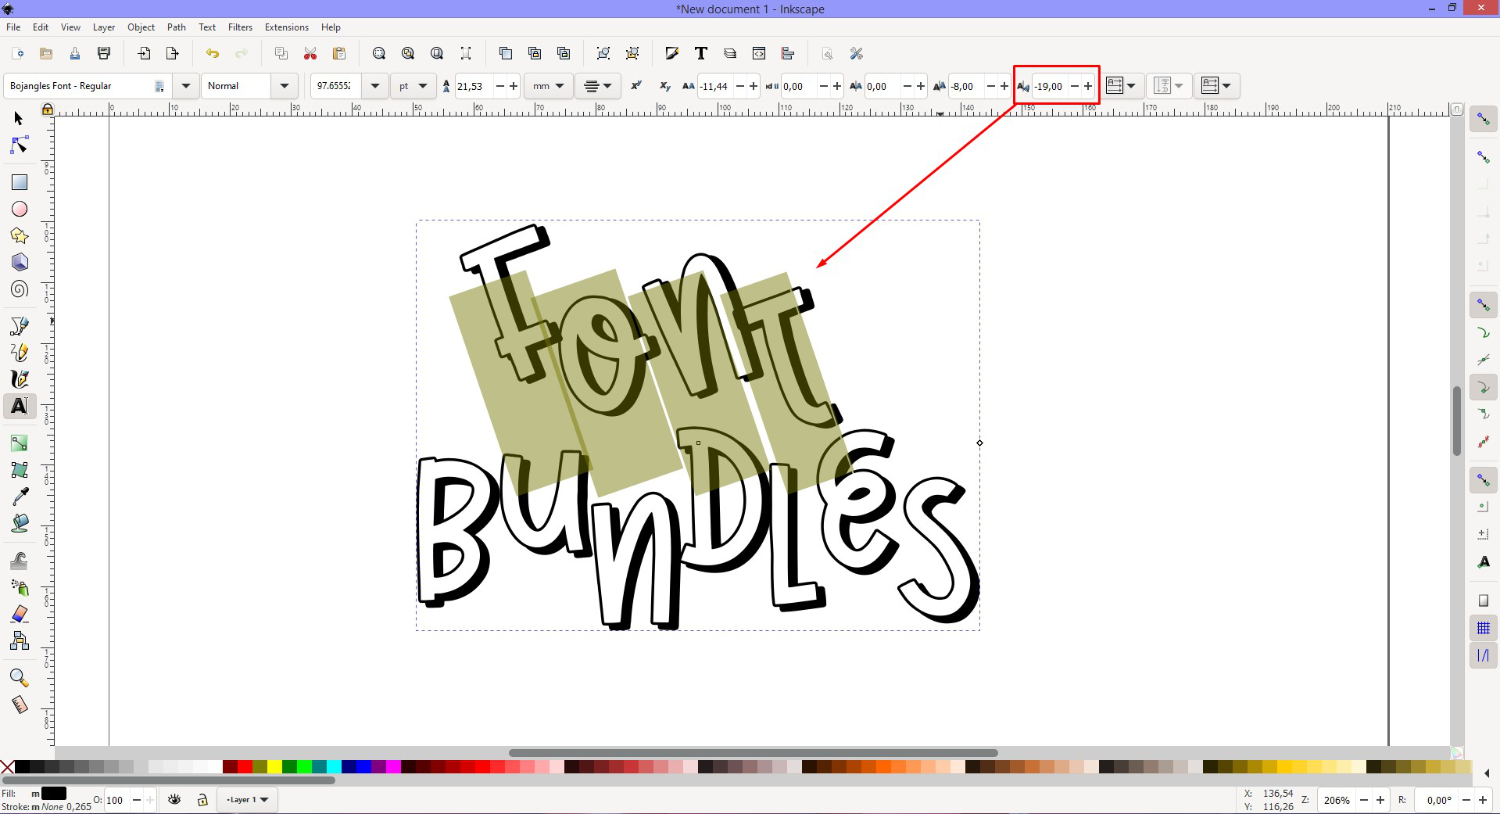
If you want to only rotate a single character, highlight it and set the value as you did with the text above.

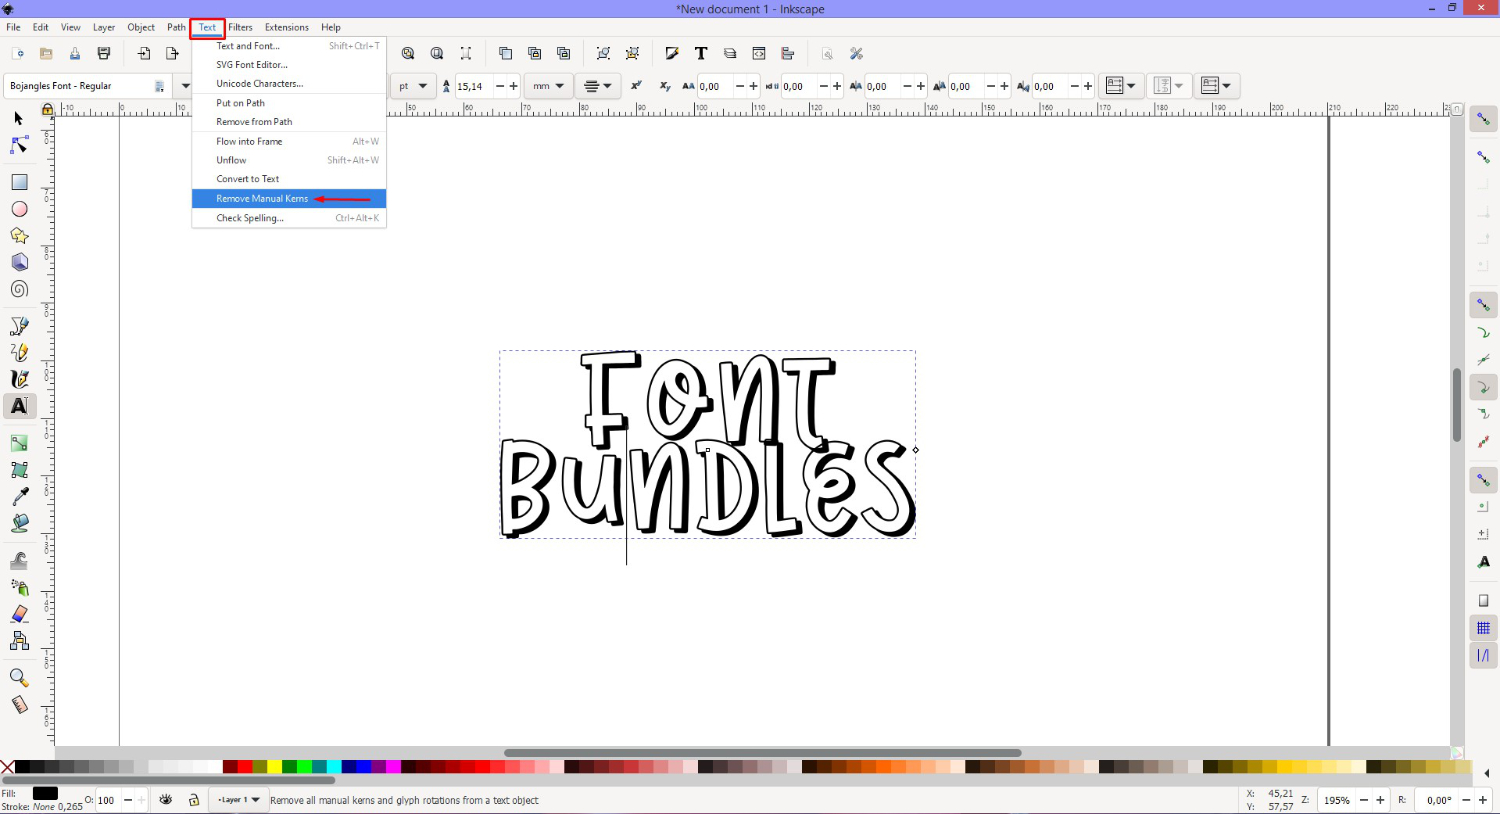
You can experiment until you find the look you want. But what if you wanted to start over without having to reset each and every setting? All you need to do is go to Text > Remove Manual Kerns. Everything will be reset as before.
Step 3 - Convert Text to Path
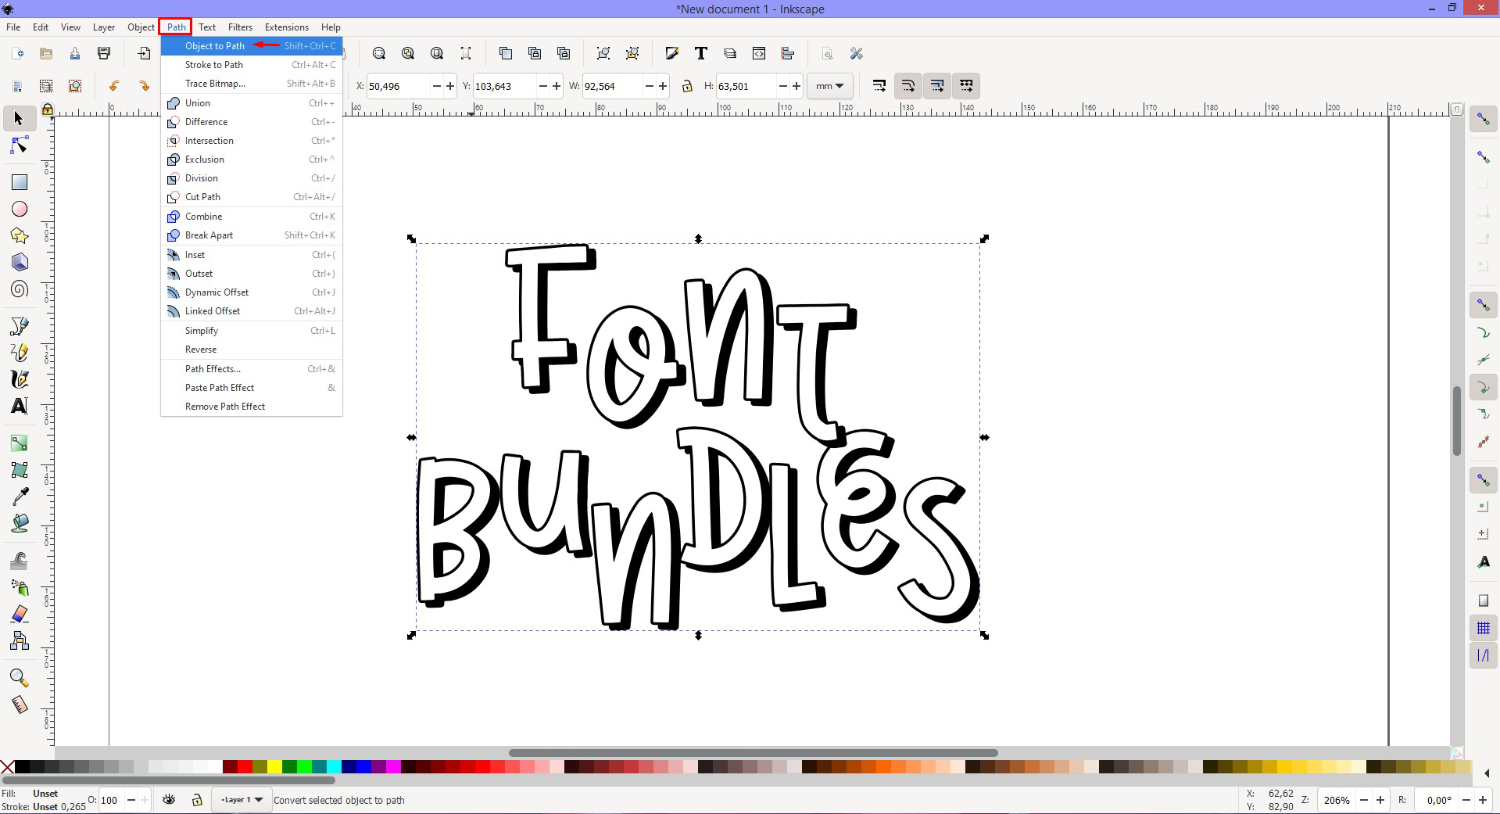
Once you are happy with the result, you need to convert the text to a path. Note that this will turn the text into an object. You will no longer be able to access the text edit mode. So make sure that you are happy with the wording before following this step.
Click away from the text to leave text edit mode then click once on it to select. Now, go to Path > Object to Path. The text will be converted to an object. If you want to individually edit each letter you will need to ungroup the object first.
You can further edit your text by adding a pattern to make your text stand out. When you are done with your design, save it as a SVG file to be used in other applications.
Go to File > Save As then give your file a name. Under Save as type click the drop down menu and choose Plain SVG, then click Save.
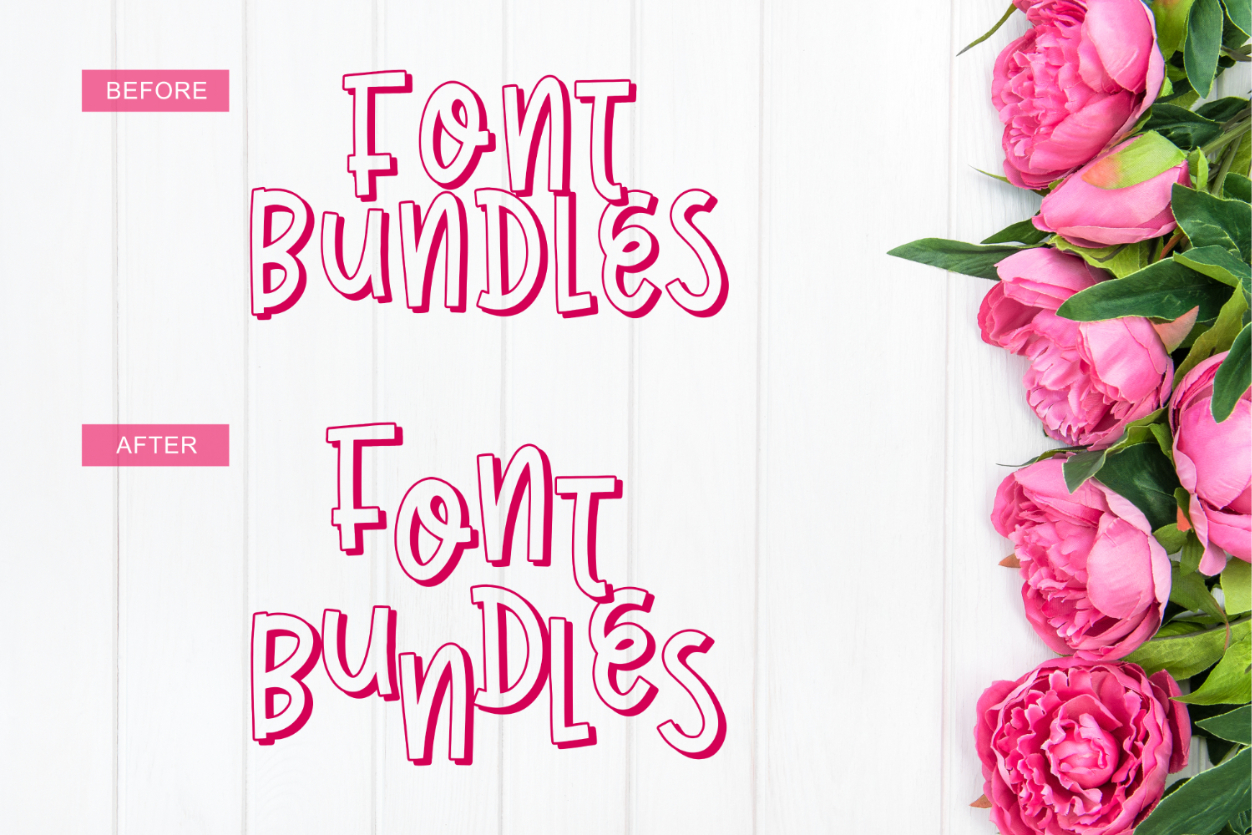
So, in this tutorial we have learned that kerning can give a subtle change to the text.

It can also give text a more dramatic and creative look.
Spacing is essential for creating text that looks visually correct for projects such product information, logos, websites and more. With Inkscape, kerning can greatly improve the readability of your text as well as add a creative spin.


